


Once in a while, our users get themselves in a bind and you have to rely on manual alignment of jaws to each other. Sometimes, it feels like you are doing gymnastics to get the process to work. The sequence of how you import the models and how you set up the case is important in exocad.
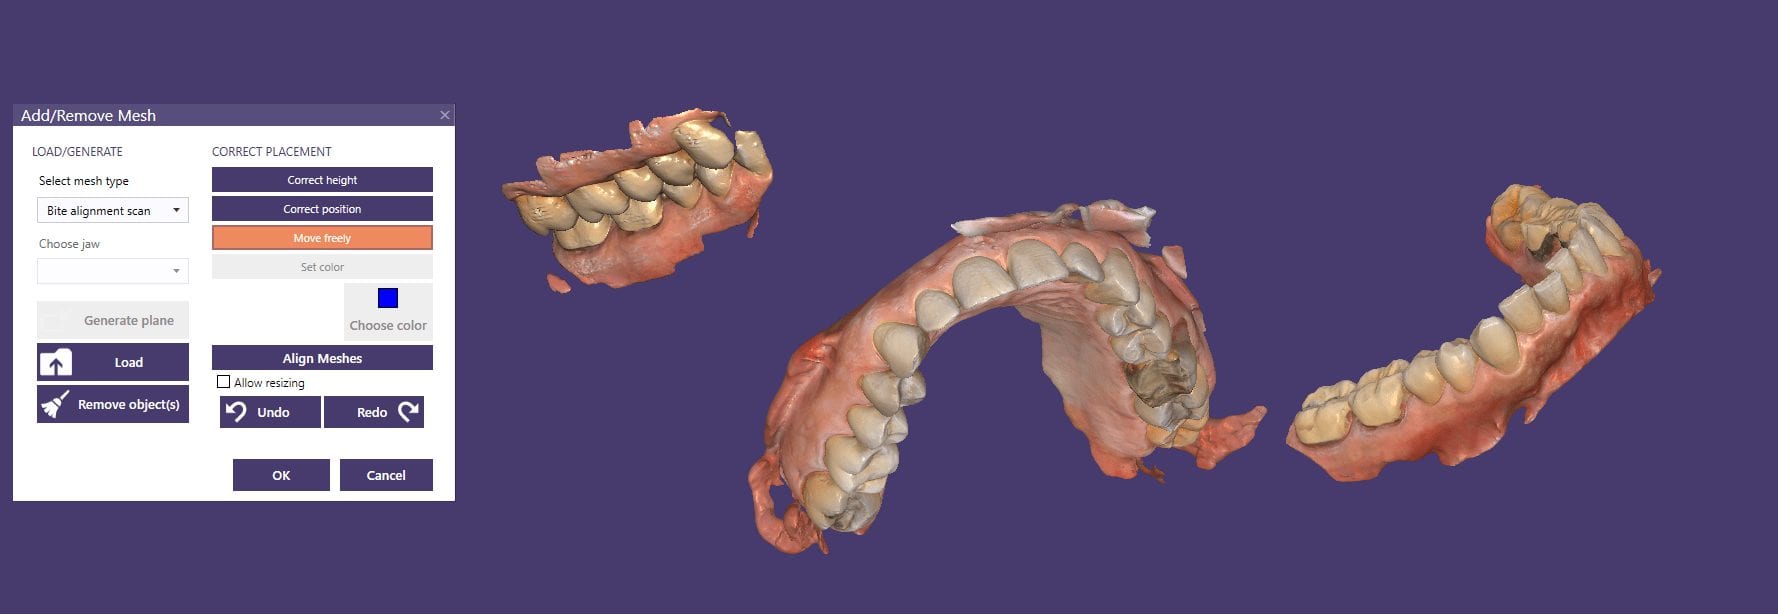
Here we have 3 models; one of the upper, one for the lower, and one for the bite. Don’t ask how we ended up here:) The “direction of travel” is important to keep in mind, and as you can see in this video that is sped up, how the case was managed. if you bring in the upper and lower models in together, and then the bite, as soon as you align the bite to one jaw, you end up dislodging it when you tack it to the opposing jaw.
Reversing the sequence of import helps. We first bring in the upper jaw and the bite alignment and stitch those together. Then we bring the lower jaw into the equation and then merge that to the whole complex. Once that is done, the arches now know their relationships to each other and when you save each arch individually and import them into other programs, they will know exactly how to line up.
At the end of this video demonstration you can see how we re-import the two models in stl format just to verify that they do align properly

[…] a bite alignment scan will come in hand, whether you use a desktop scan or an intraoral buccal bites […]