


Welcome to CAD-Ray’s International CAD/CAM, CT Technology, and Guided Surgery Training Courses.
We will be building a library of clinical tutorials in multiple languages and in subtitles to help train and educate dentists around the world. This is a sample test page with some videos to show you the possibilities! In this article we highlight the workflow that the Meditlink software provides that is unparalleled in the dental industry. Up until now, we have had to exert a lot of energy and time to walk a case from imaging to design to production.
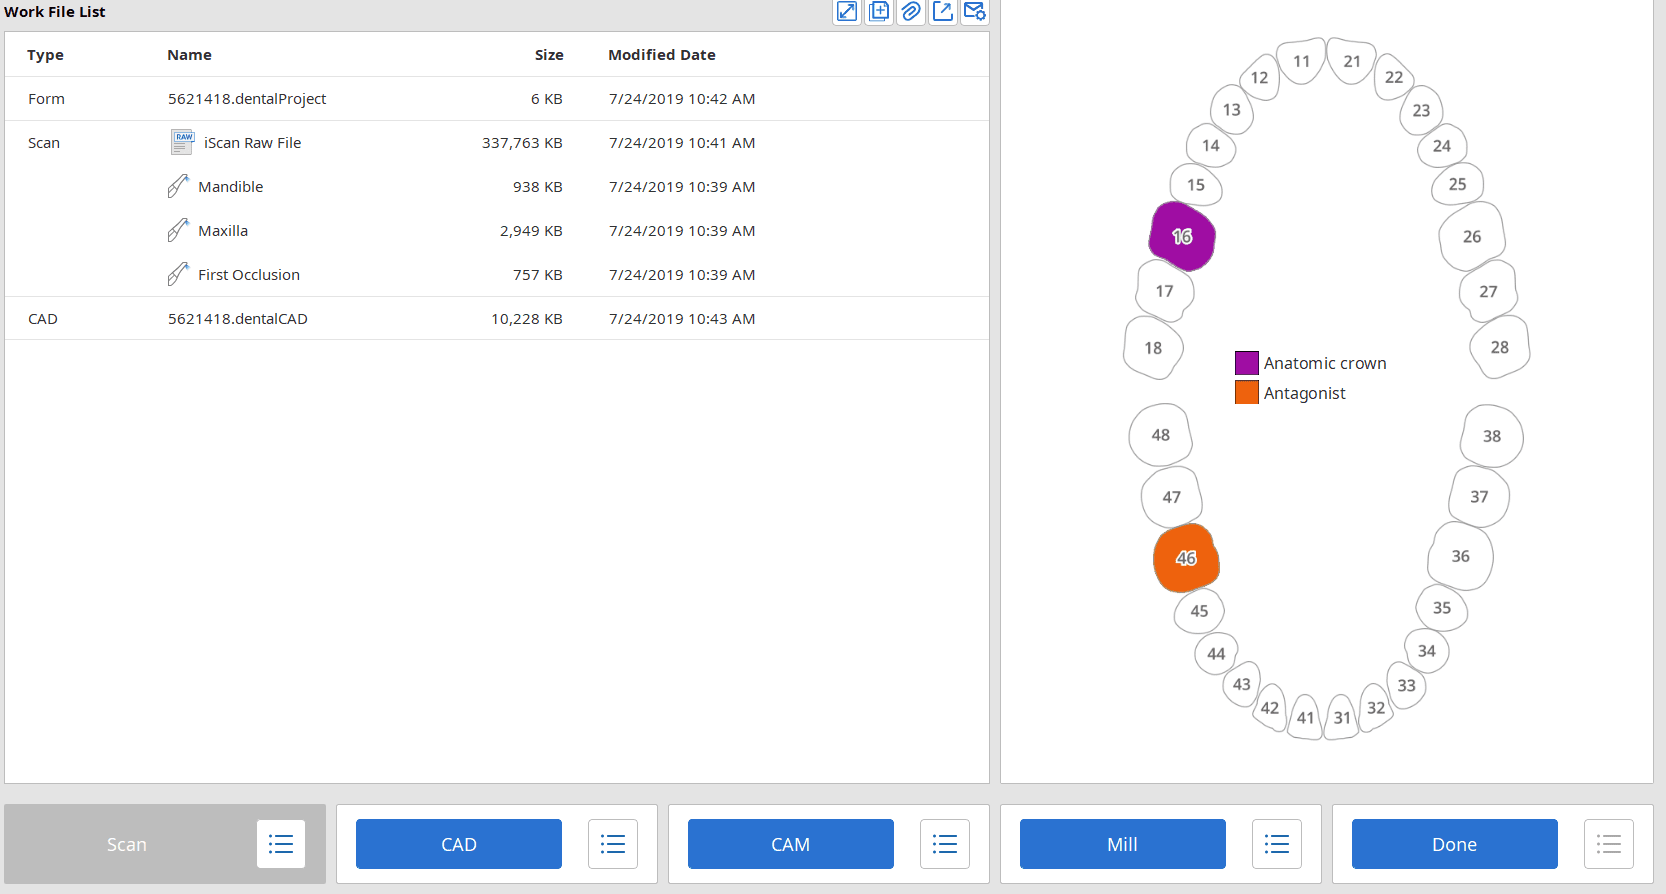
The new workflow in the Medit Version 2.1 simplifies the process and manages most of the difficult parts of the process. It directs traffic in the right direction and keeps track off all the pertinent information that has to accompany a case to produce it correctly. This simple workflow is best demonstrated by the icons in the work box of the software where you an scan with the intra-oral scanner and/or the desktop scanner by Medit.

You then have the option to directly launch a number of different CAD (Computer Aided Design) Software 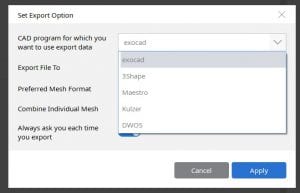 that includes exocad, 3Shape, Maestro, Kulzer amongst others. Most importantly, the appropriate arches are imported automatically into the design software and the relationship of the upper and lower jaws are preserved, along with any pre-op scans, bite alignment scans, or scanbody images you may have captured. Once you are in the design software, you can also import other data like CT information, jaw motion tracking information, face scans or even photos. In the next set of videos, we provide an overview of the whole process. The following videos will give you an overview of the different steps involved.
Case Set Up In Medit i500 Version 2.1
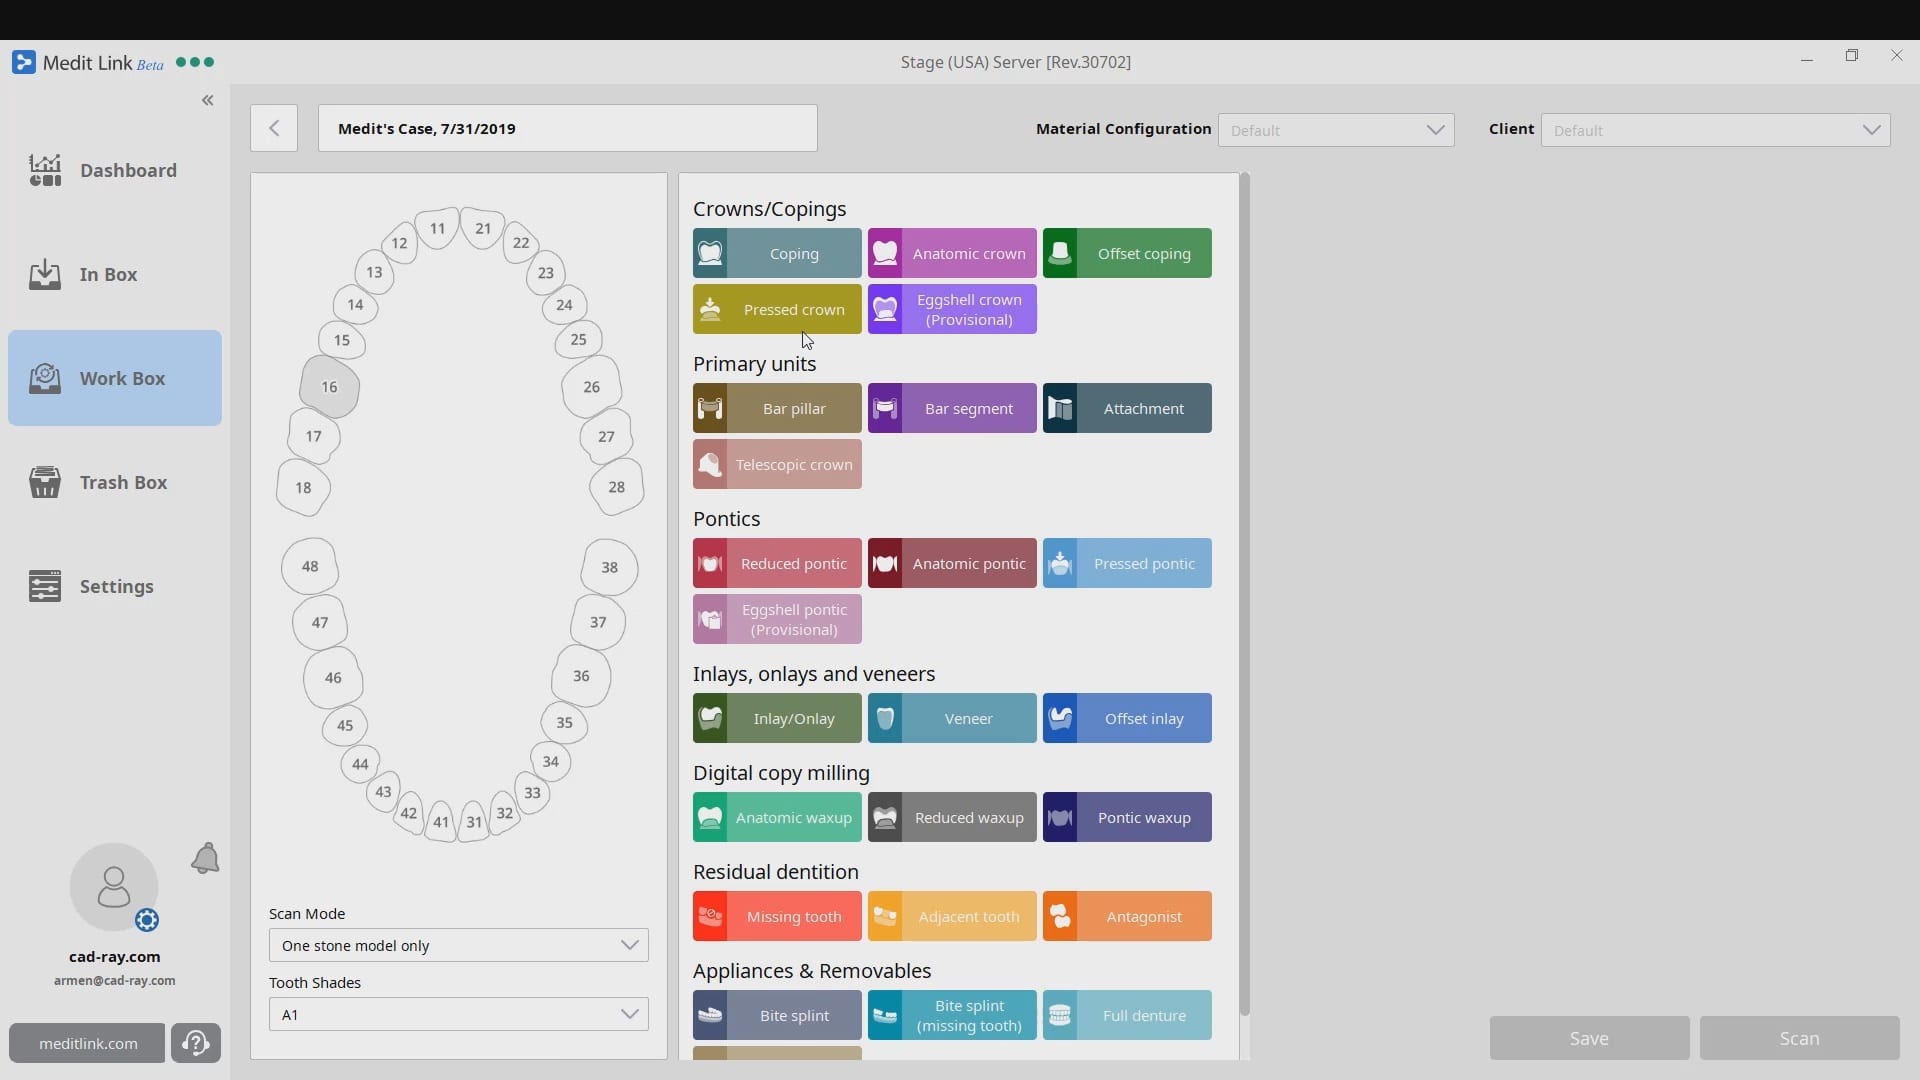
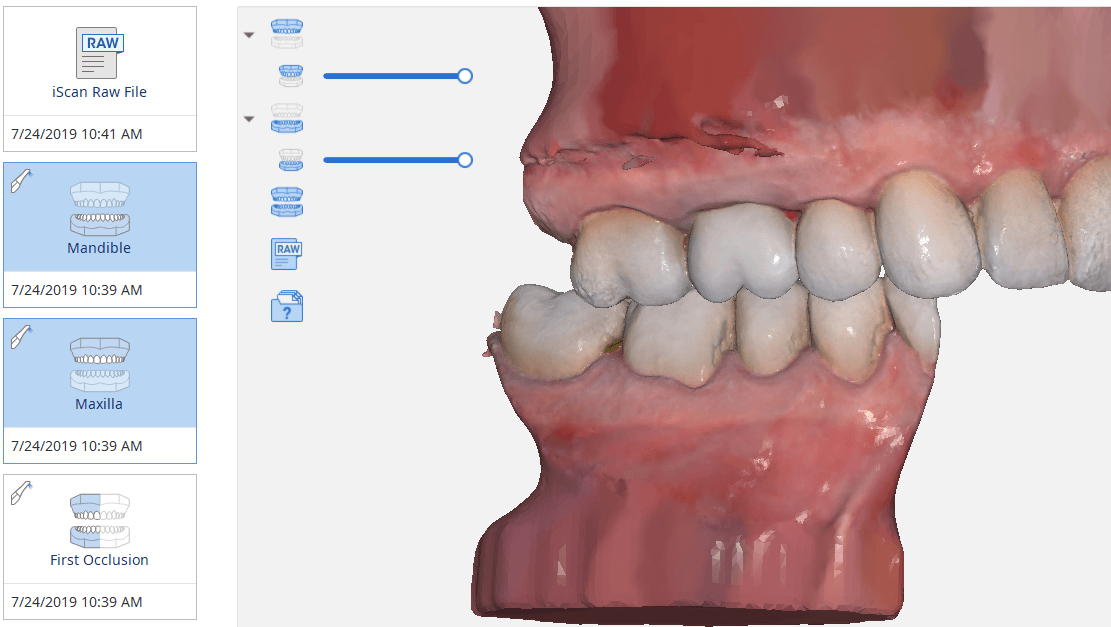
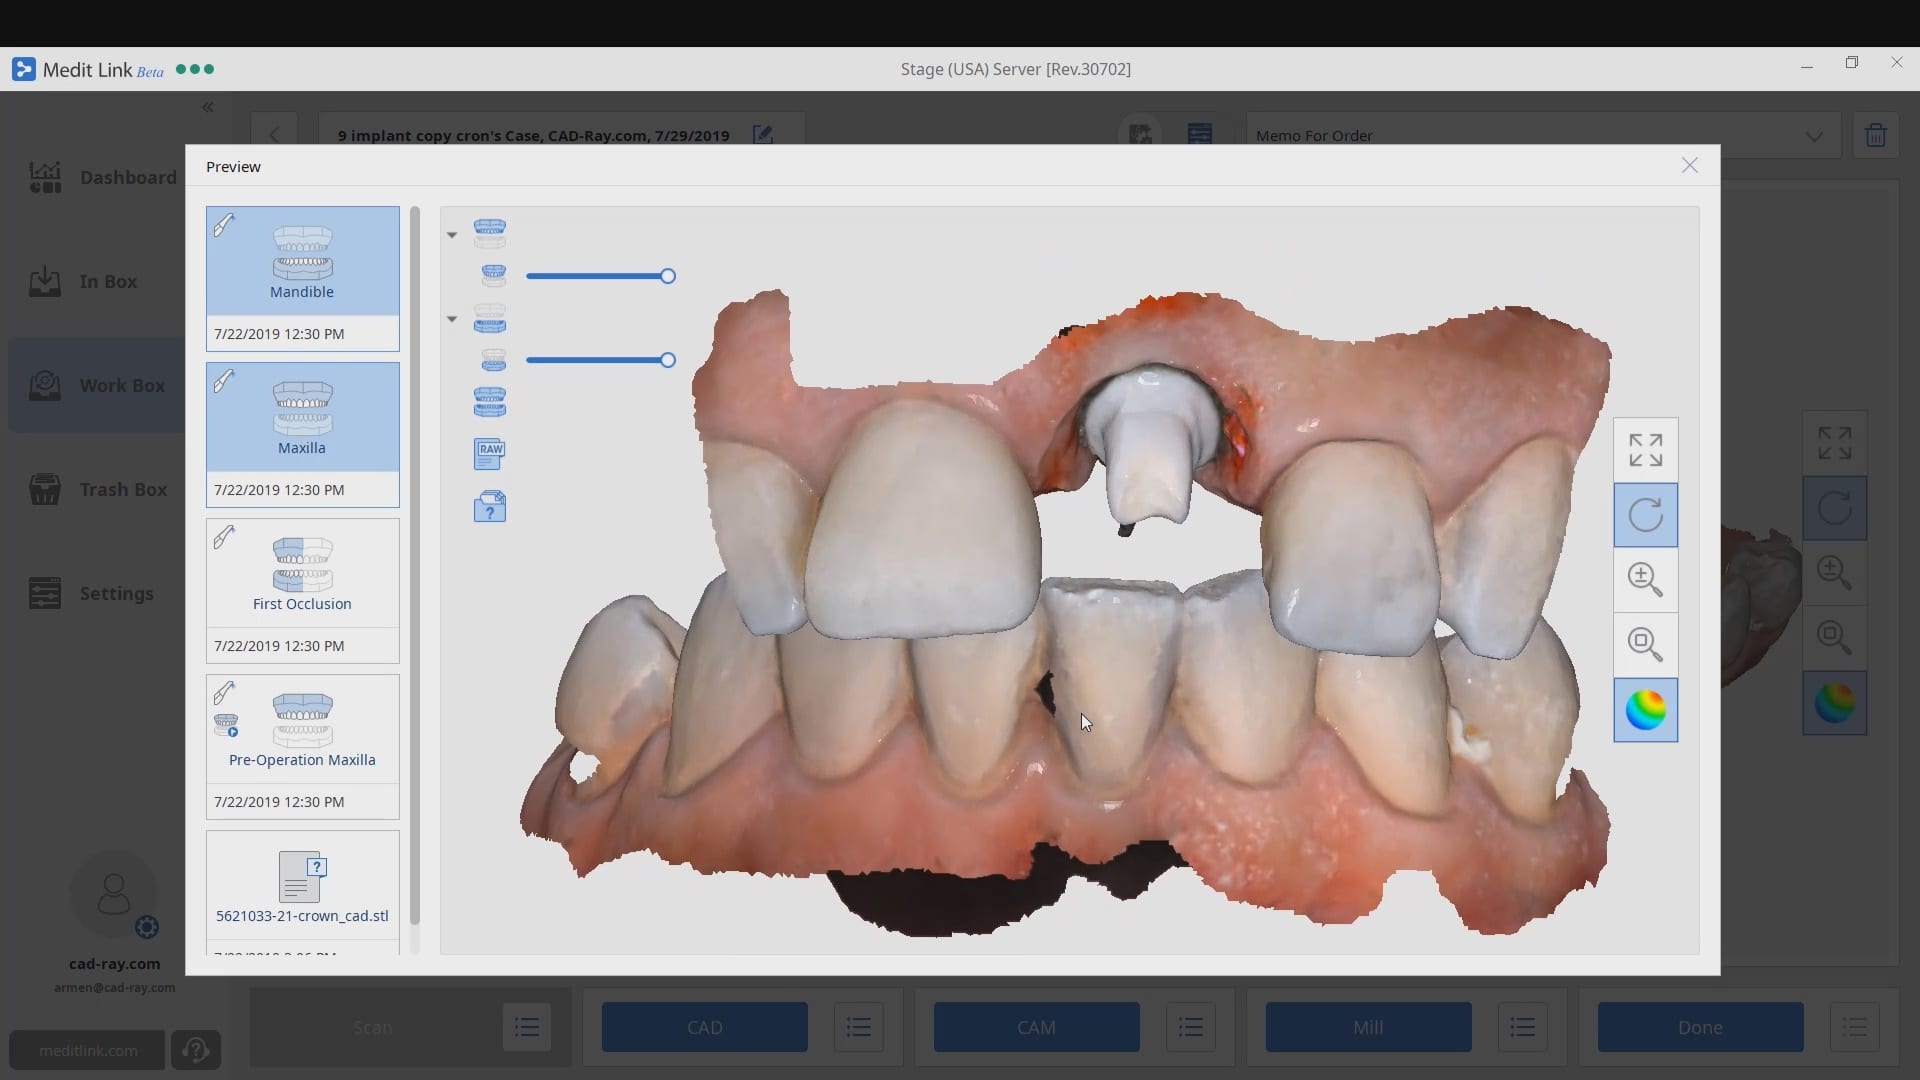
To set up a case you launch the Meditlink software and you register the patient’s name. You start by prescribing the job definition where you enter the teeth involved and you designate the type of restoration you will be delivering. You can also register the type of milling machine you will be using and can set the parameters that pertain to the fit of the restoration. This is very similar to the DB version of exocad, where you can even import pre-configured material configurations. After the job is defined, you proceed to the next step which is imaging. Based on your job definition the appropriate catalog boxes are launched so that you can image within them. For example, you could have a pre-operative situation or a scanbody for an implant you may want to image, so these catalog boxes are launched based on the very first step in the software
Imaging in Medit i500
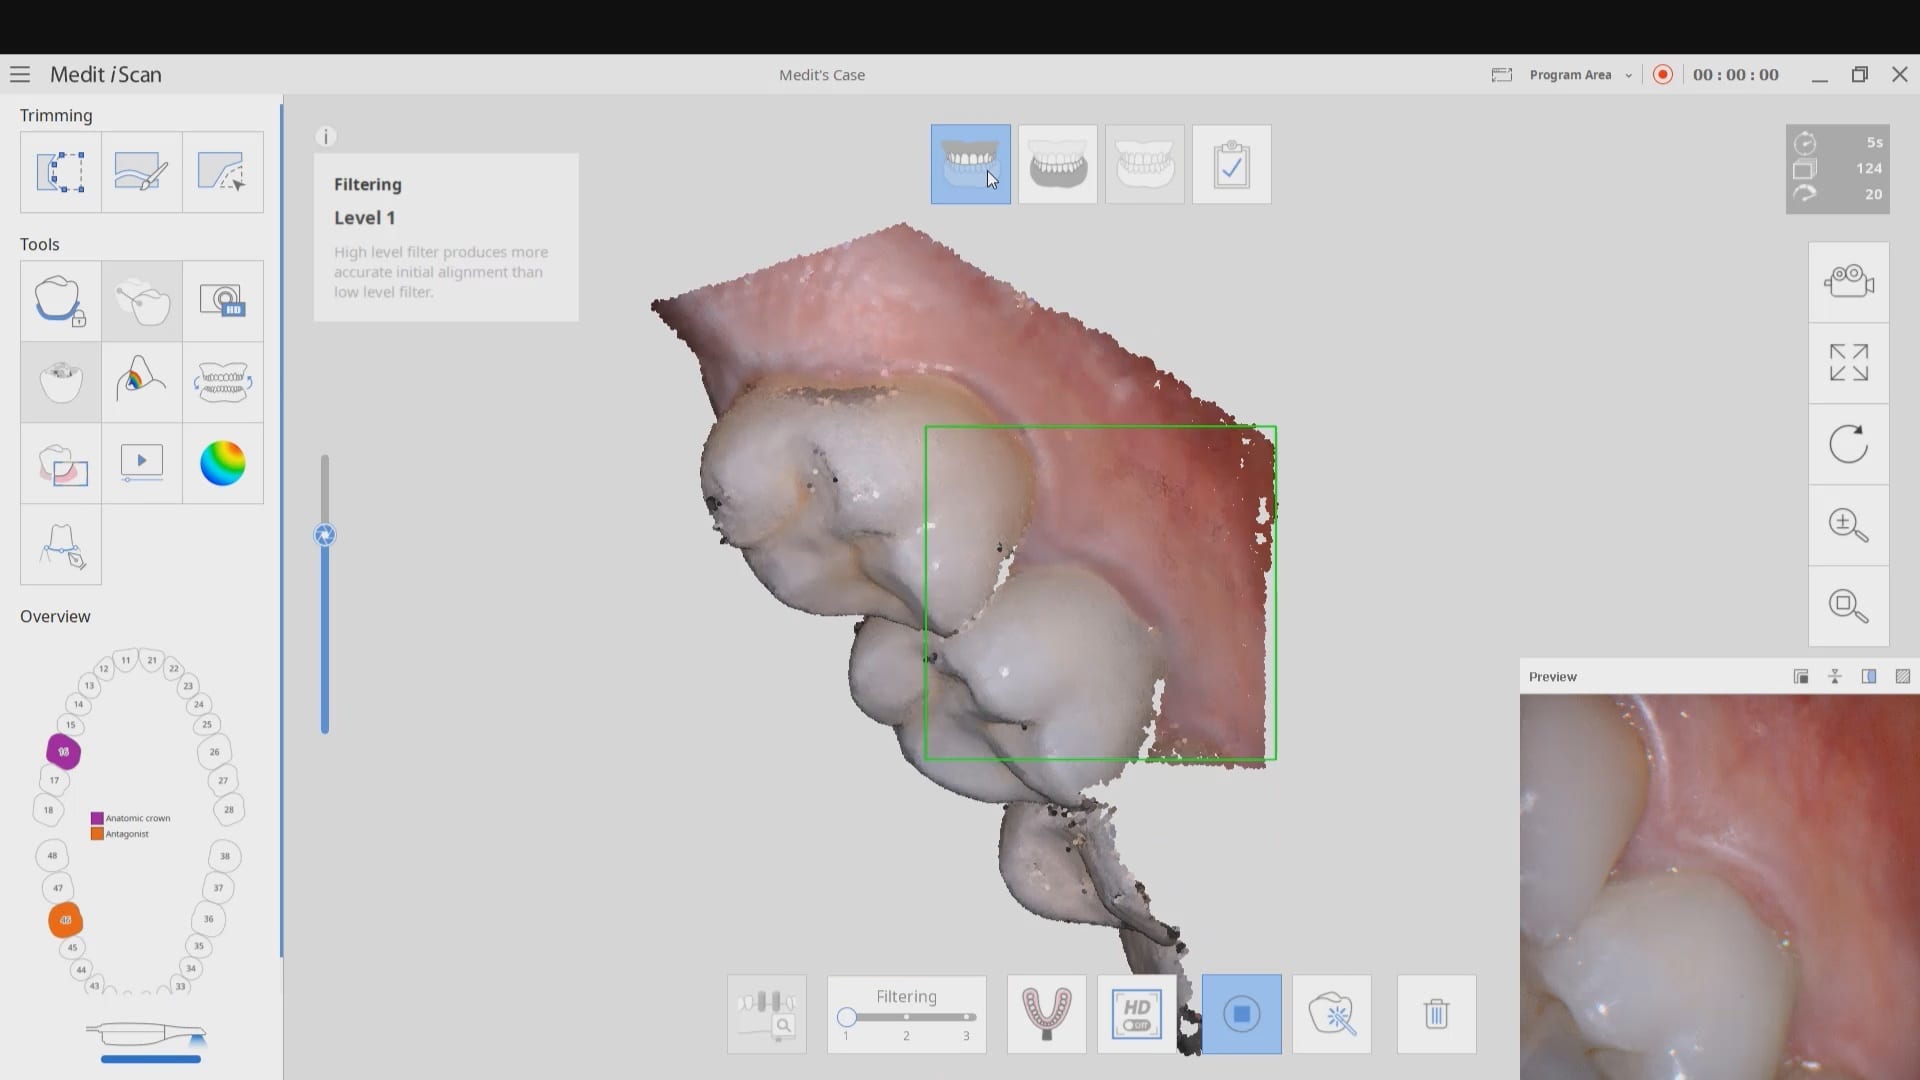
Once you click the scan button you are given a choice on whether to scan with the intra-oral scanner and/or the desktop scanner. In this video, you see how an upper arch is captured, then the lower, and the bite. We also quickly preview some editing functions. There are some great new additions at this step which will be detailed in subsequent videos. When you are finished capturing your images you can process them in a variety of manners.
This is an image of the processed case where the models were closed and a base was added so you can take the case straight to a printer if you wanted to. Alternatively, you could have left the models baseless for clinical situations where you may want to merge a digital file with a CT scan for implant planning
Designing in CAD software
The models can then be imported into a variety of cad software. Here we imported a case into exocad where the restoration was designed. By clicking the CAD button, the models are automatically imported into software where you can finish the case if you so desired. Most importantly, the Meditlink software is managing your case throughout the process taking you from imaging all the way to fabrication.
It is important to note at the end of this video all the different ways you can export your case and take it to the milling or printing machine. You can take individuals files or a whole series of models or construction files that will allow you to properly fabricate your desired restoration.
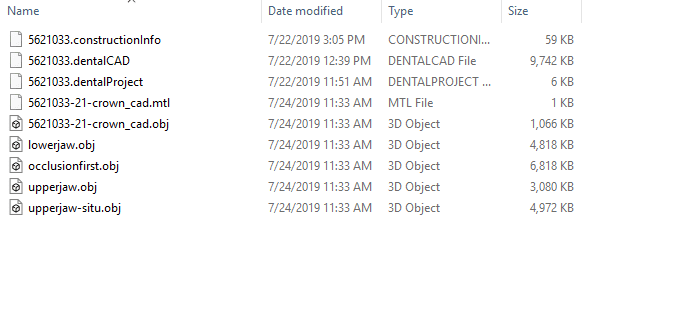
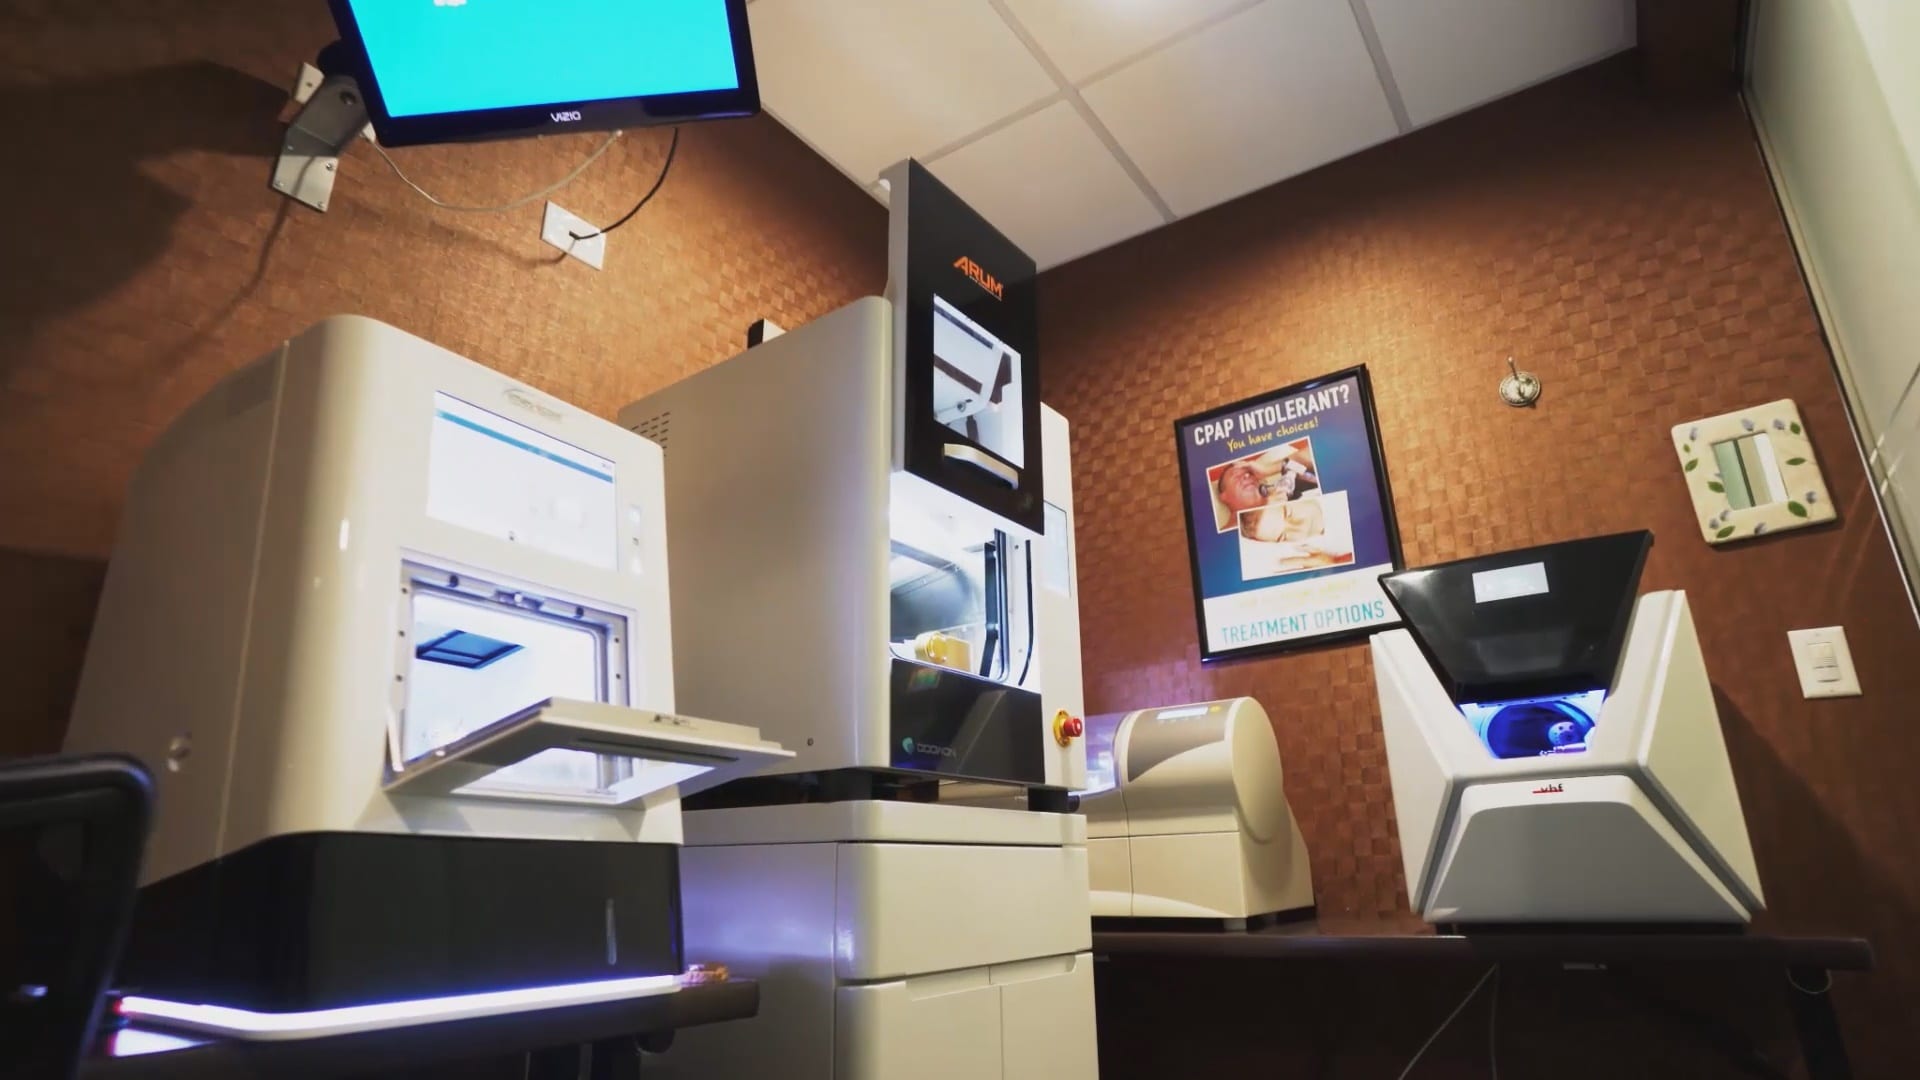
Once you have your case exported you can take it to any printer or milling machine to fabricate any restorative material of choice, appliances, surgical stents, etc. Now this is a simplified version of what really happens and you must make sure the appropriate data is transferred to the CAM software of you manufacturing device. Things like the margin line or the orientation of the connection / hex for a titanium abutment must follow strict nomenclature so that different software from different manufacturers can “talk to each other”. This is precisely what we do at CAD-Ray with our rigorous testing of different milling machines.

You must be logged in to post a comment.