Posted on Leave a comment

Scanbodies and Edentulous Ridges

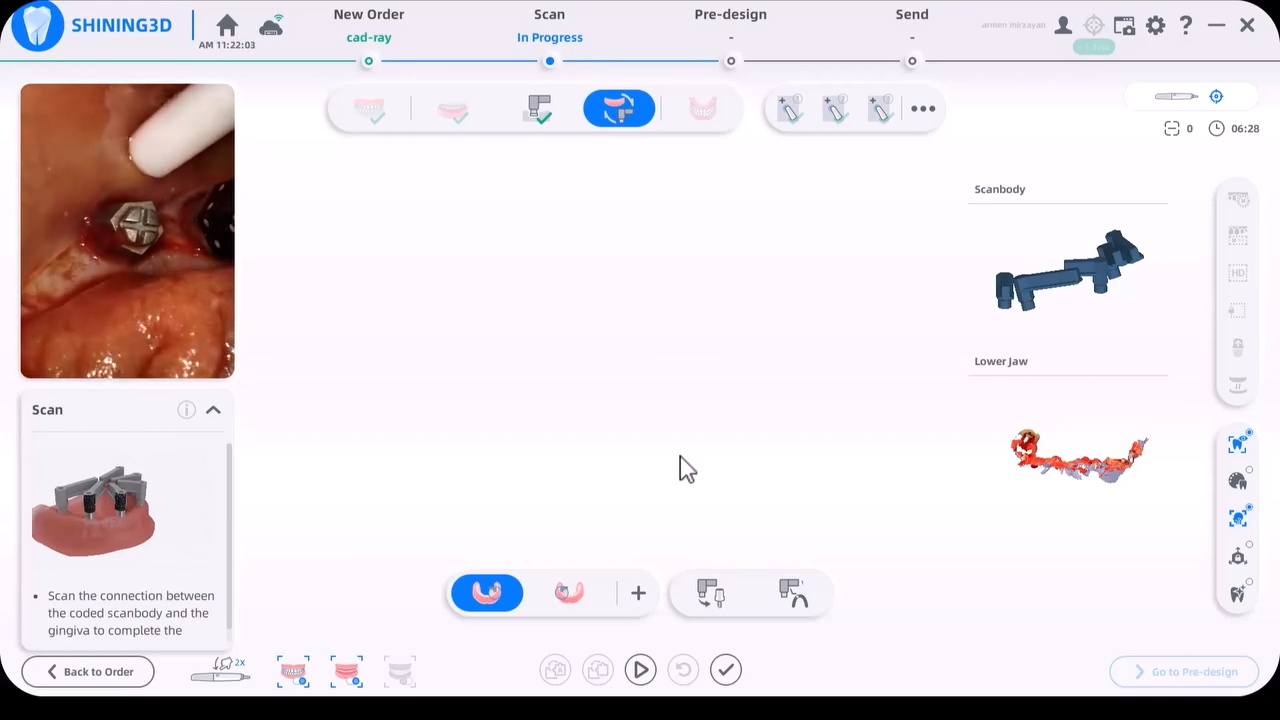
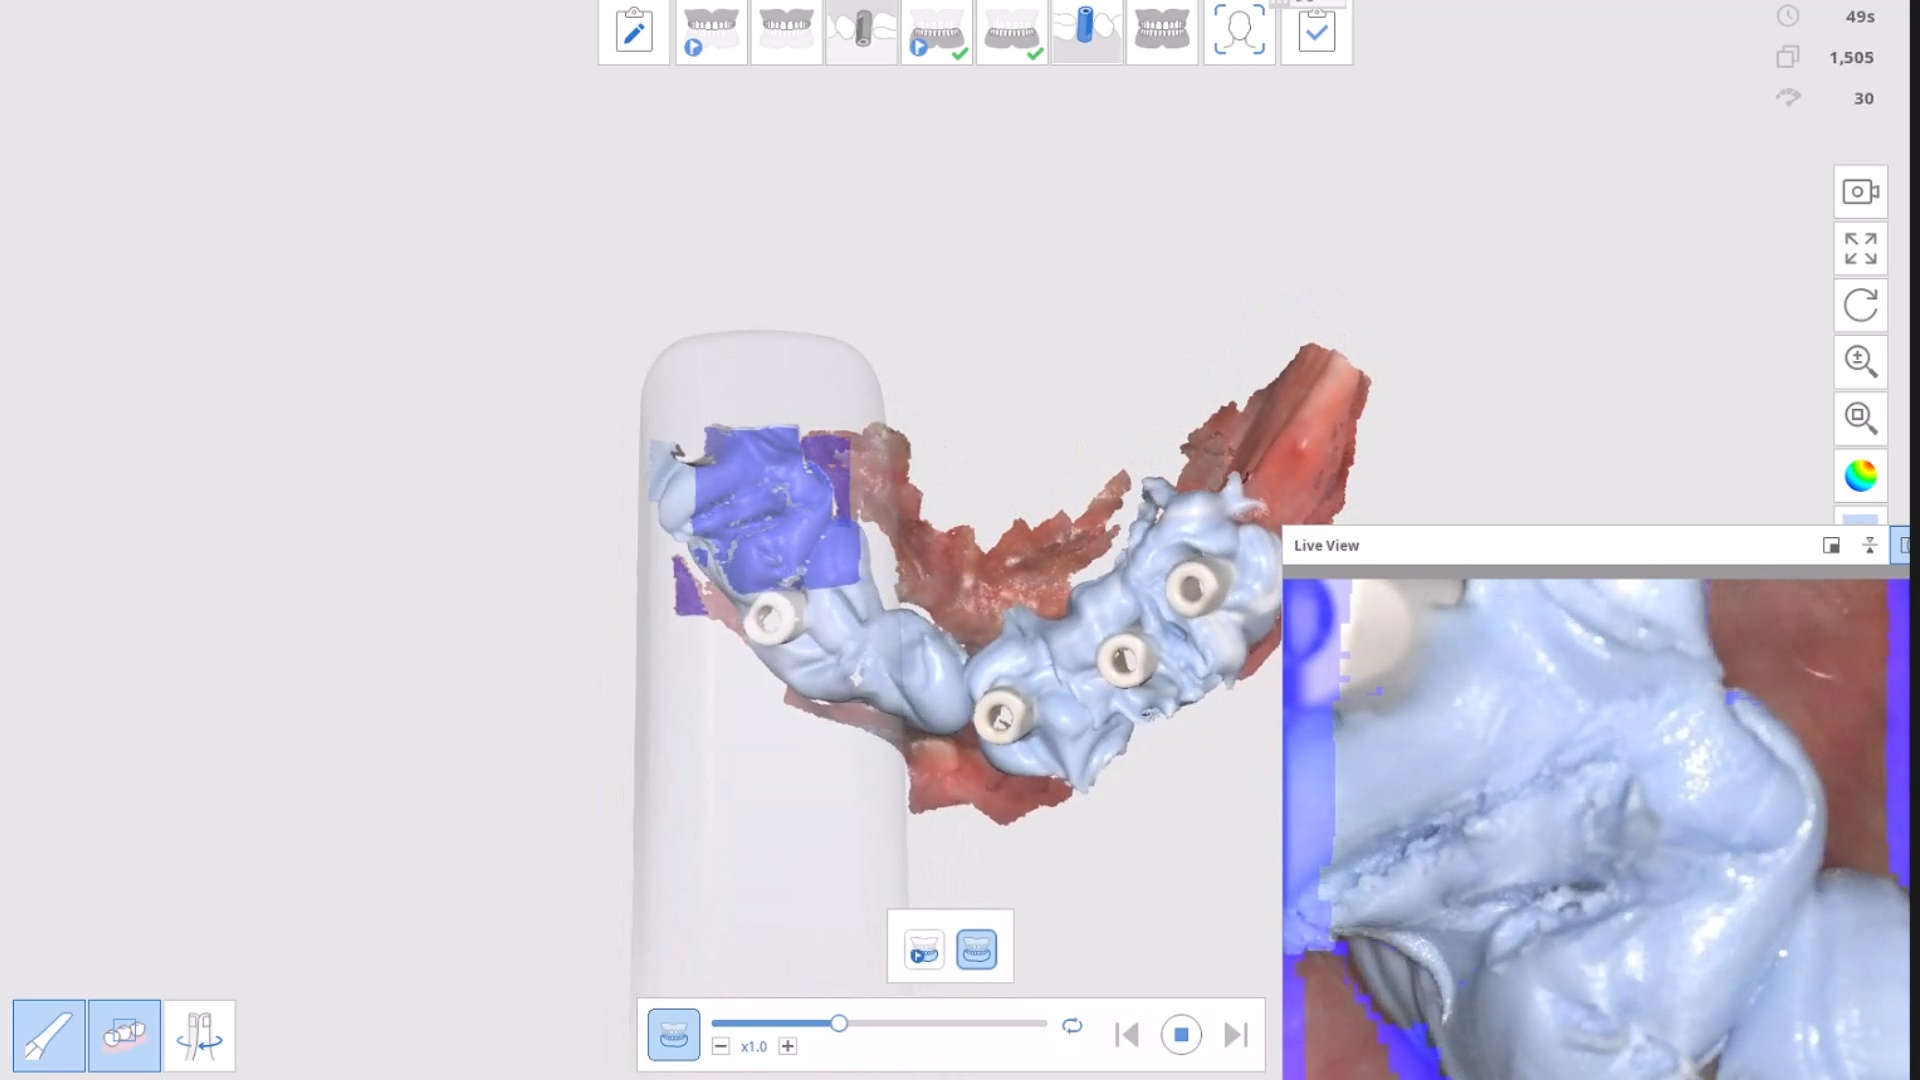
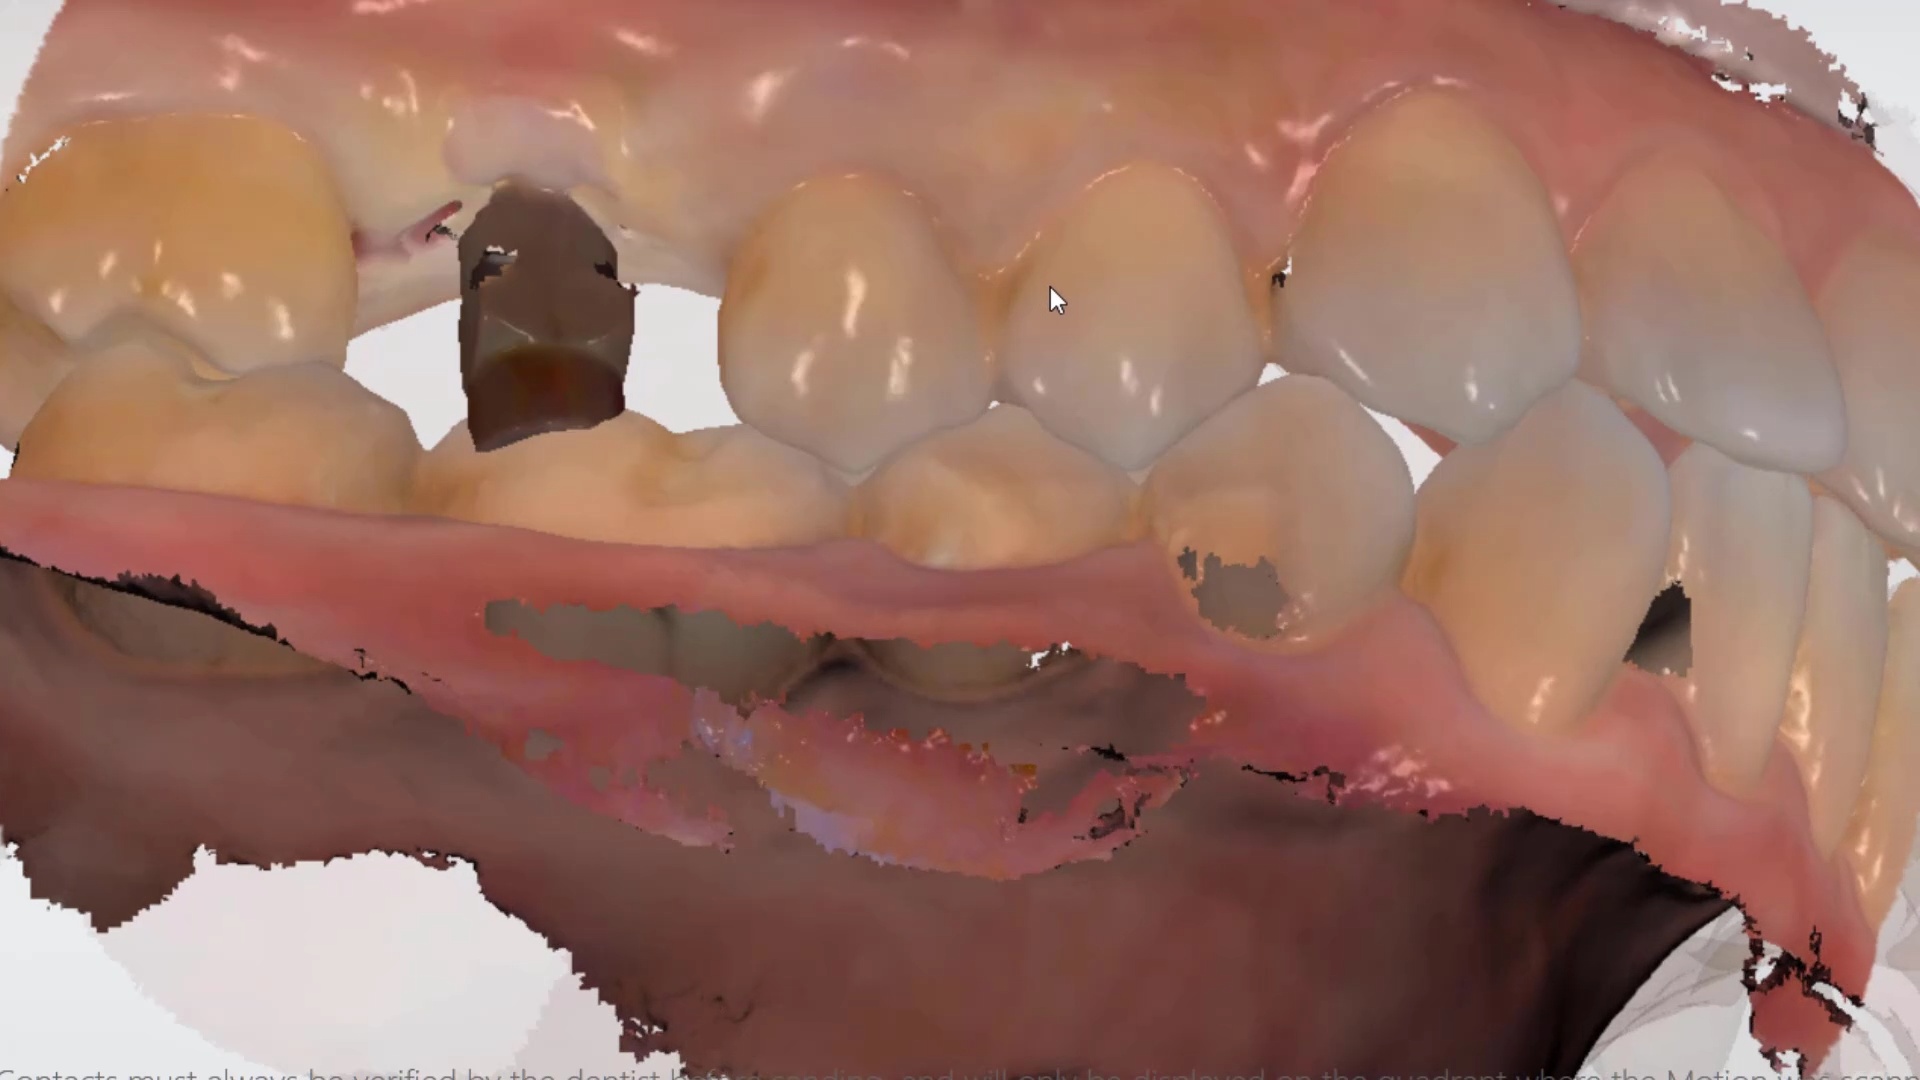
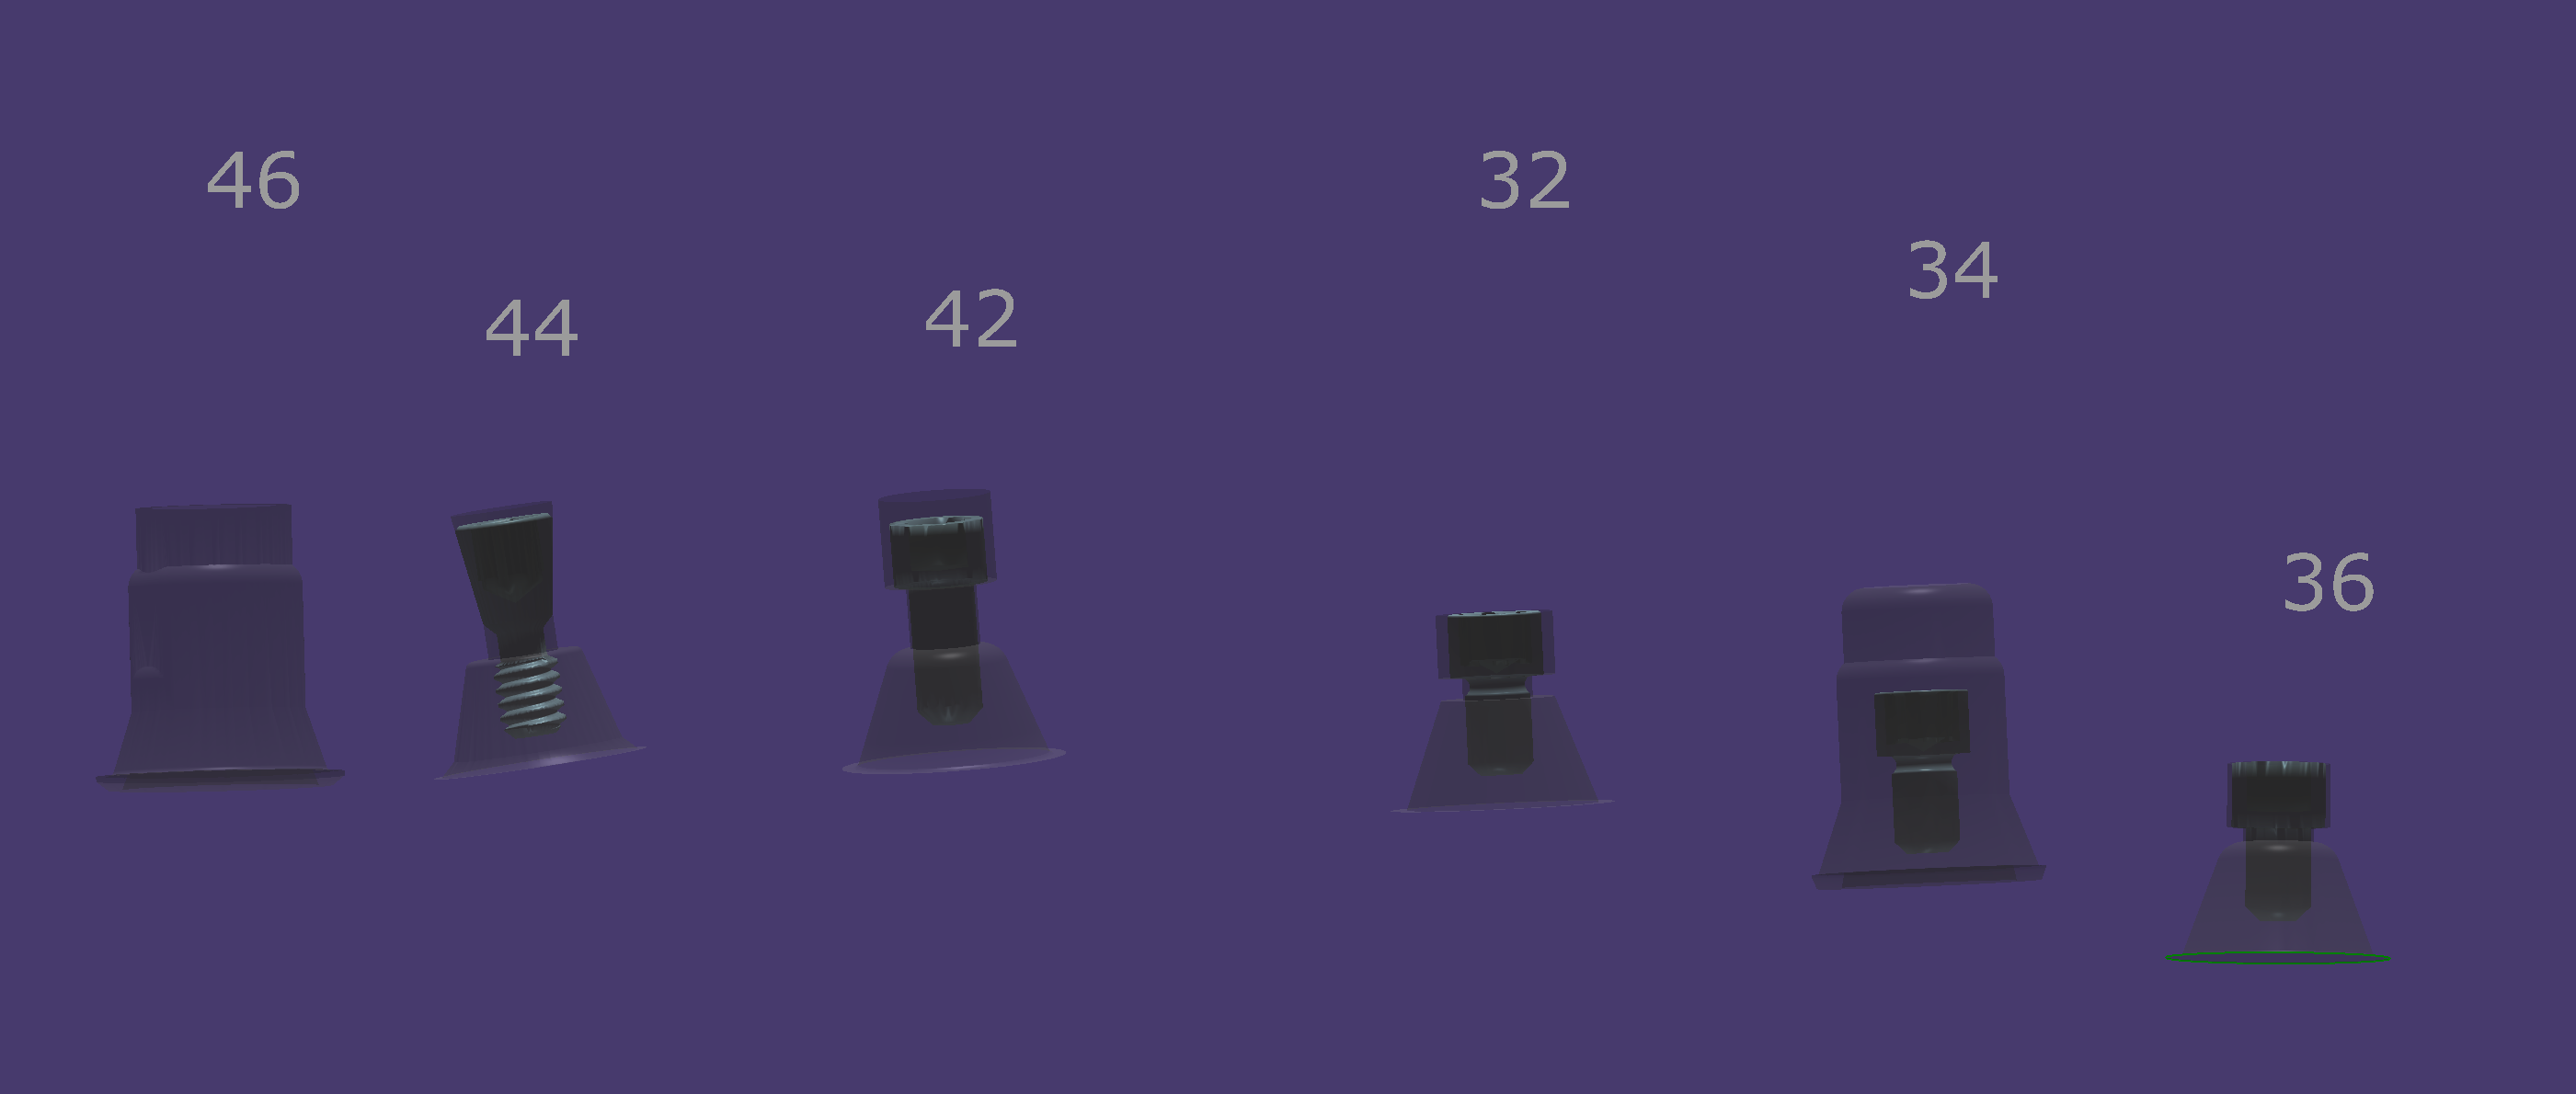
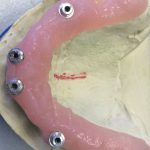
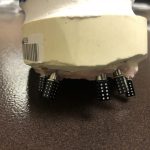
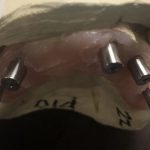
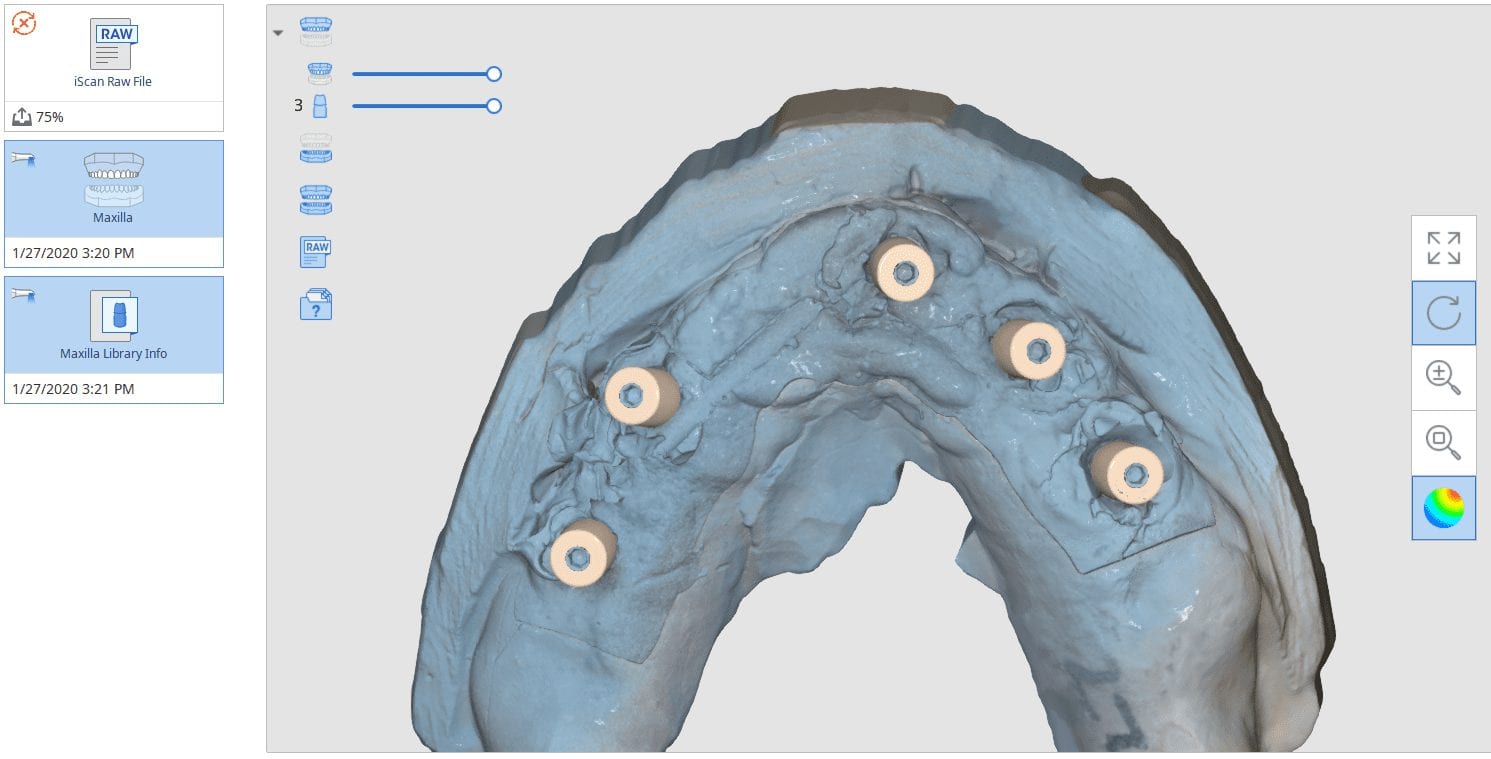
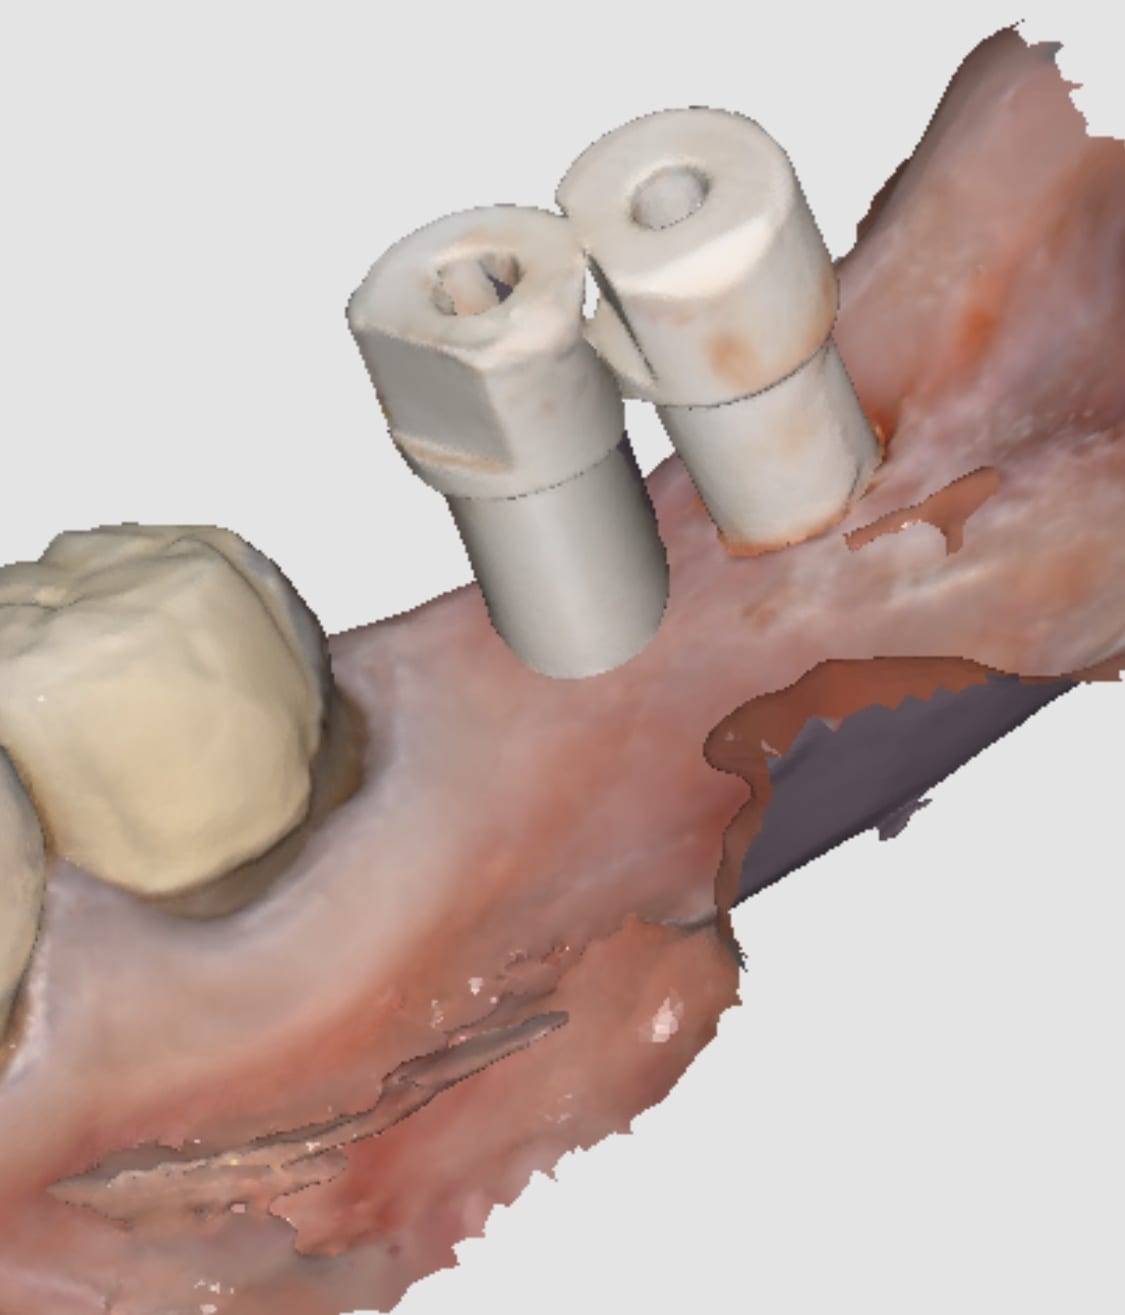
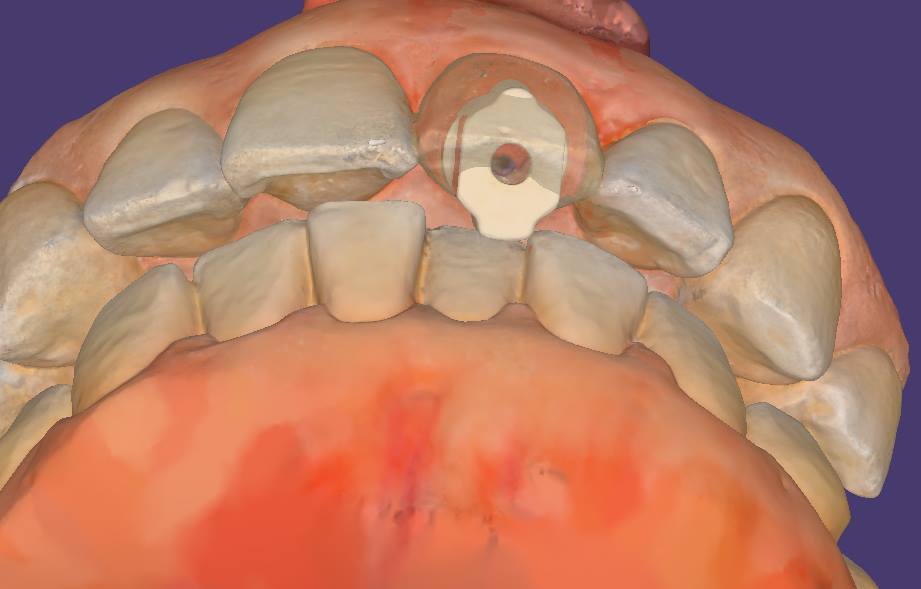
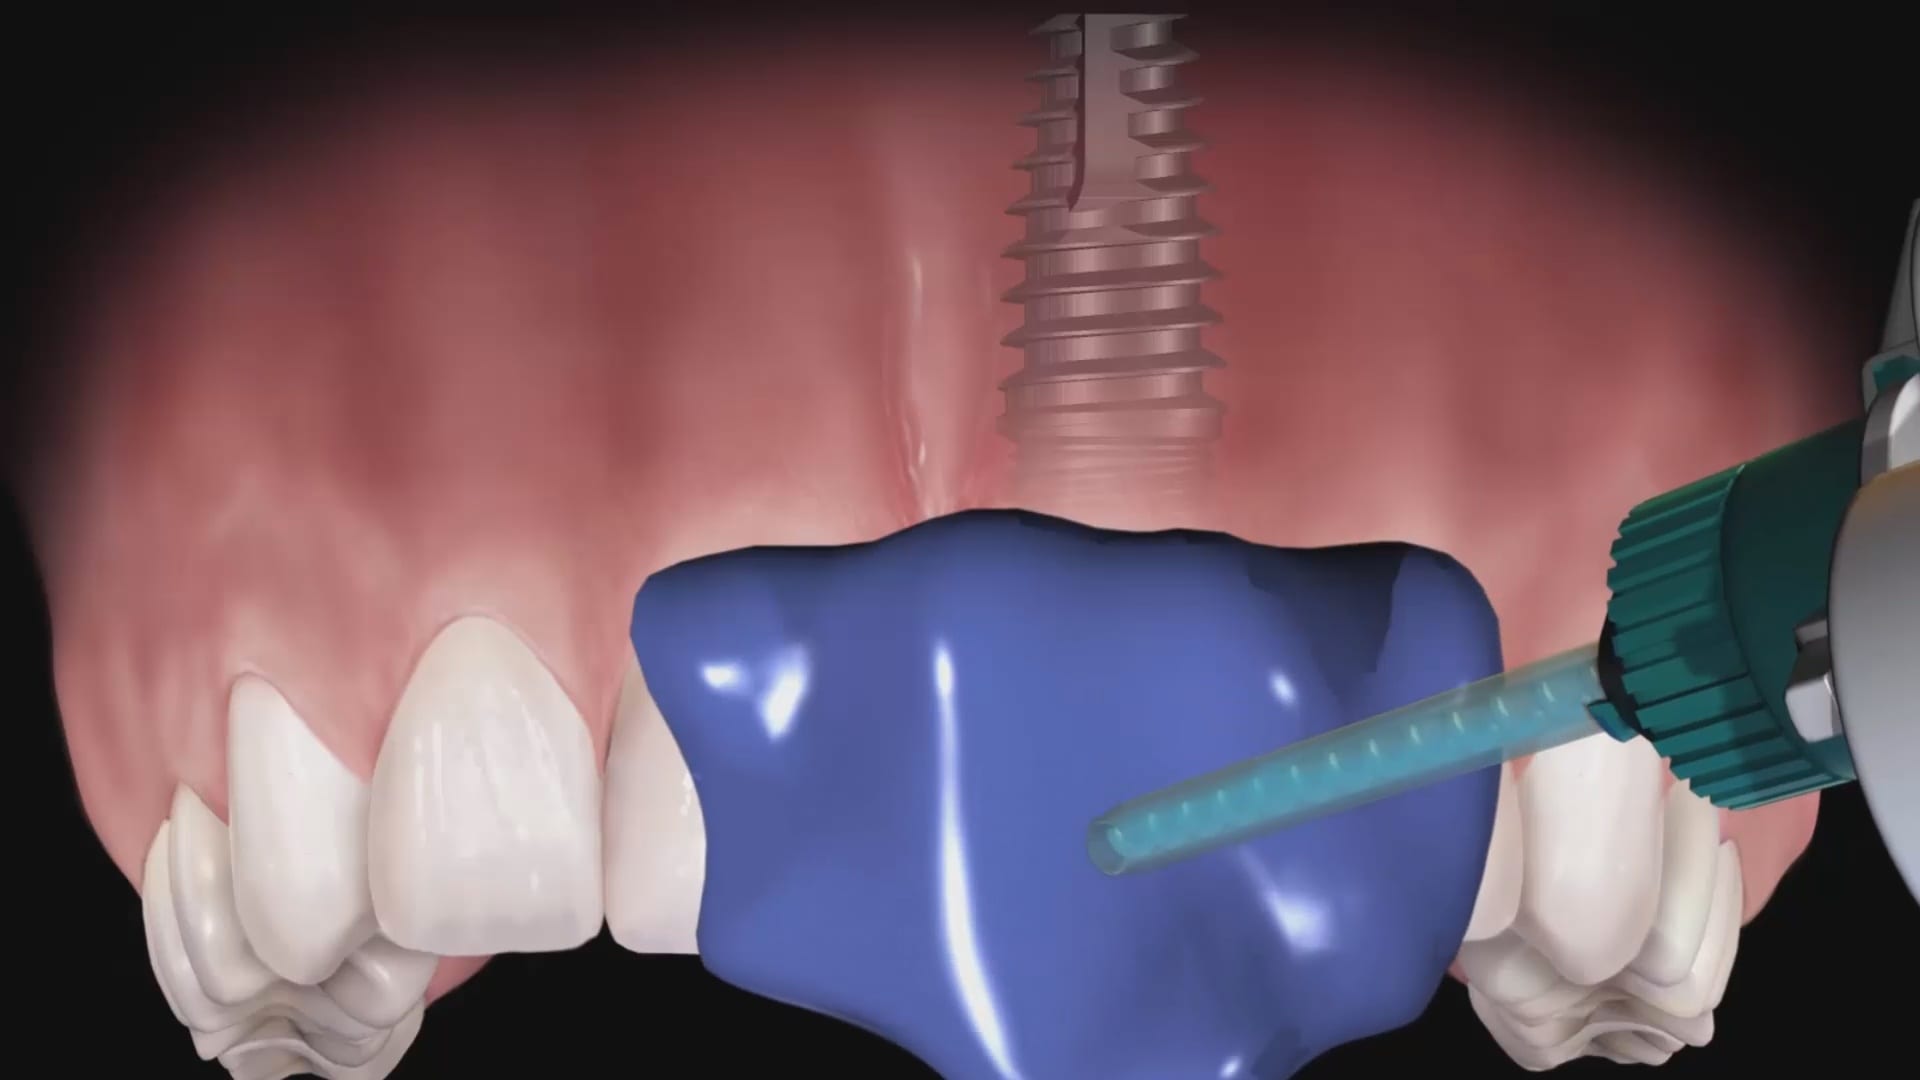
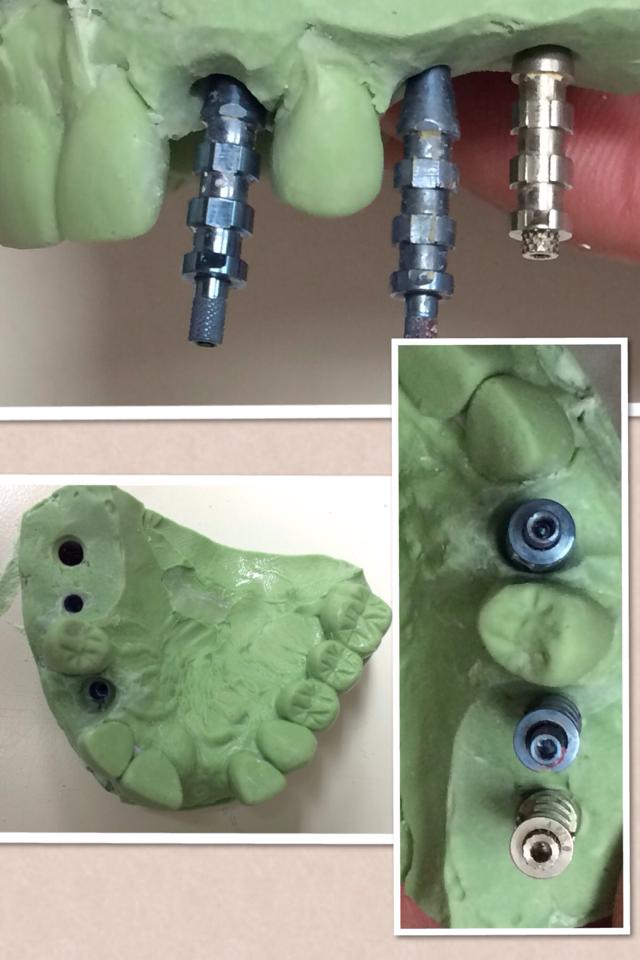
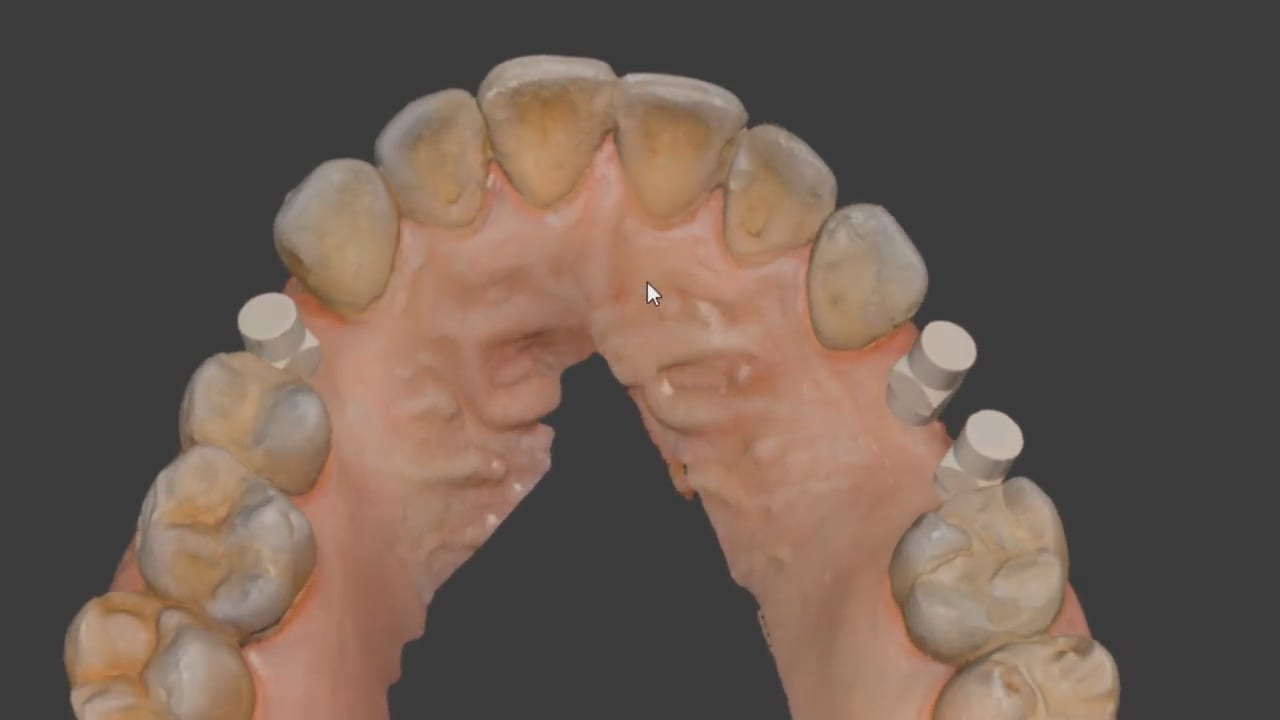
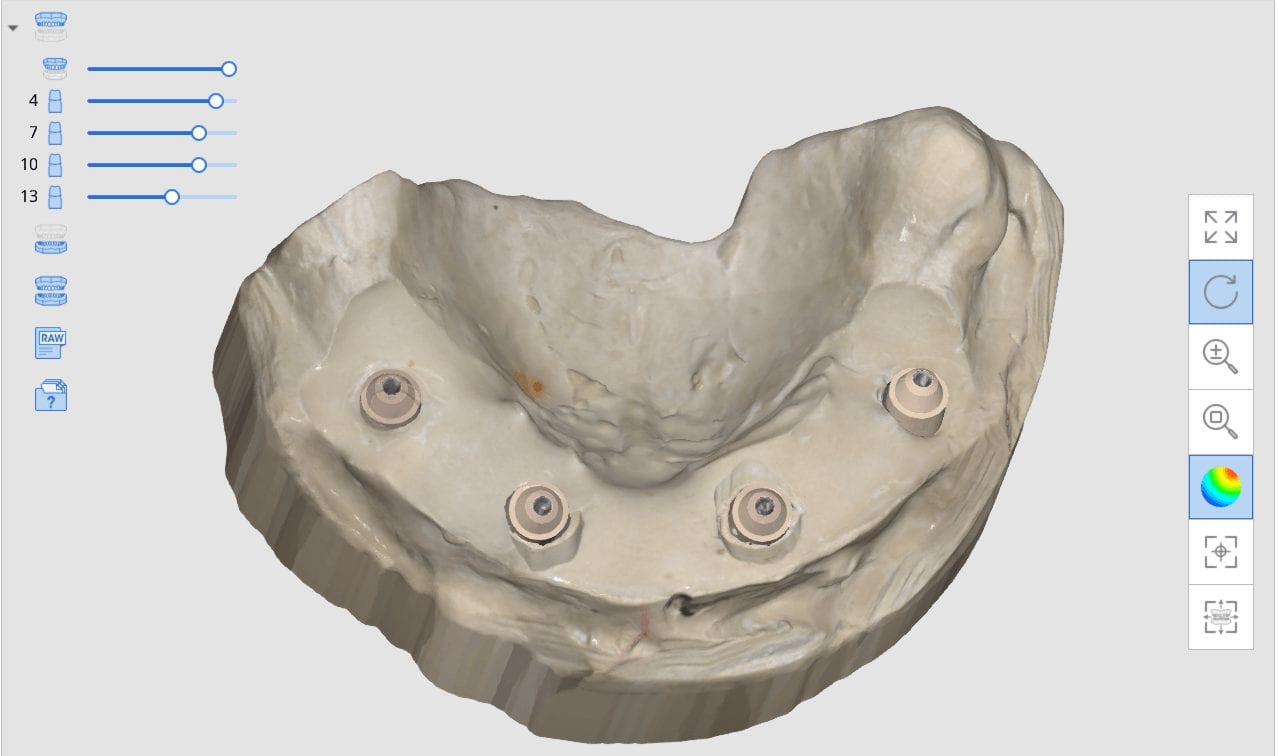
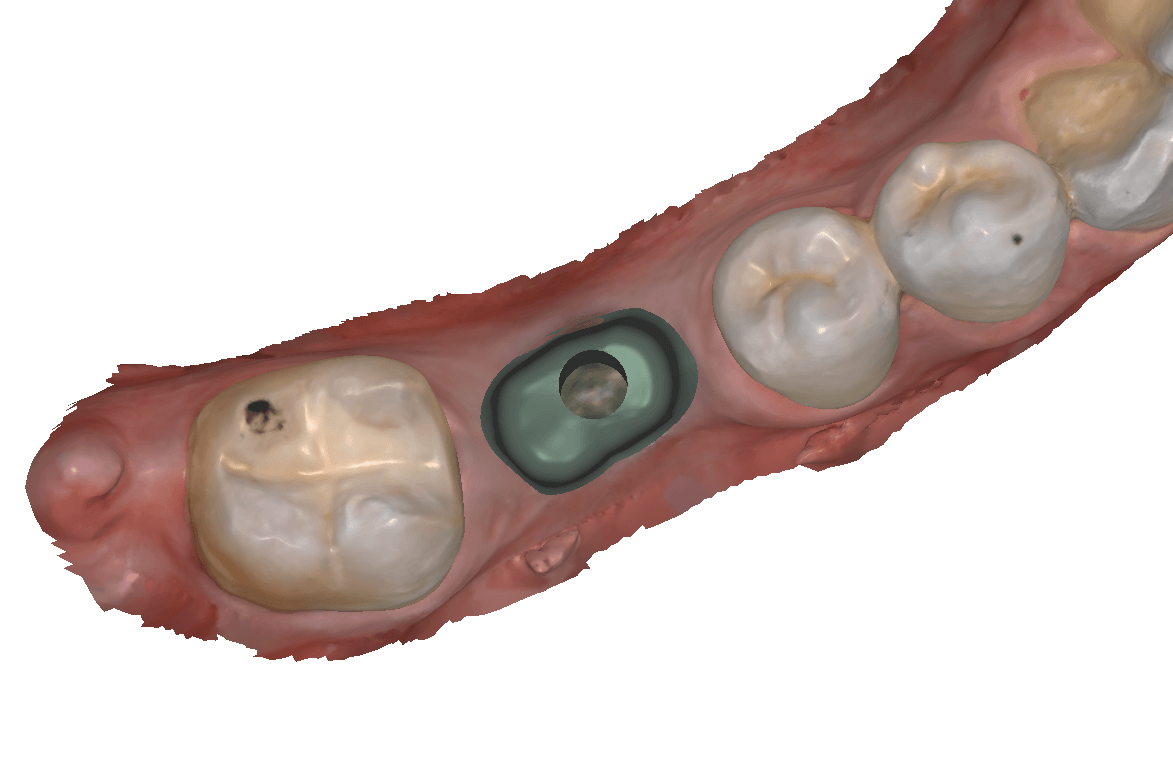
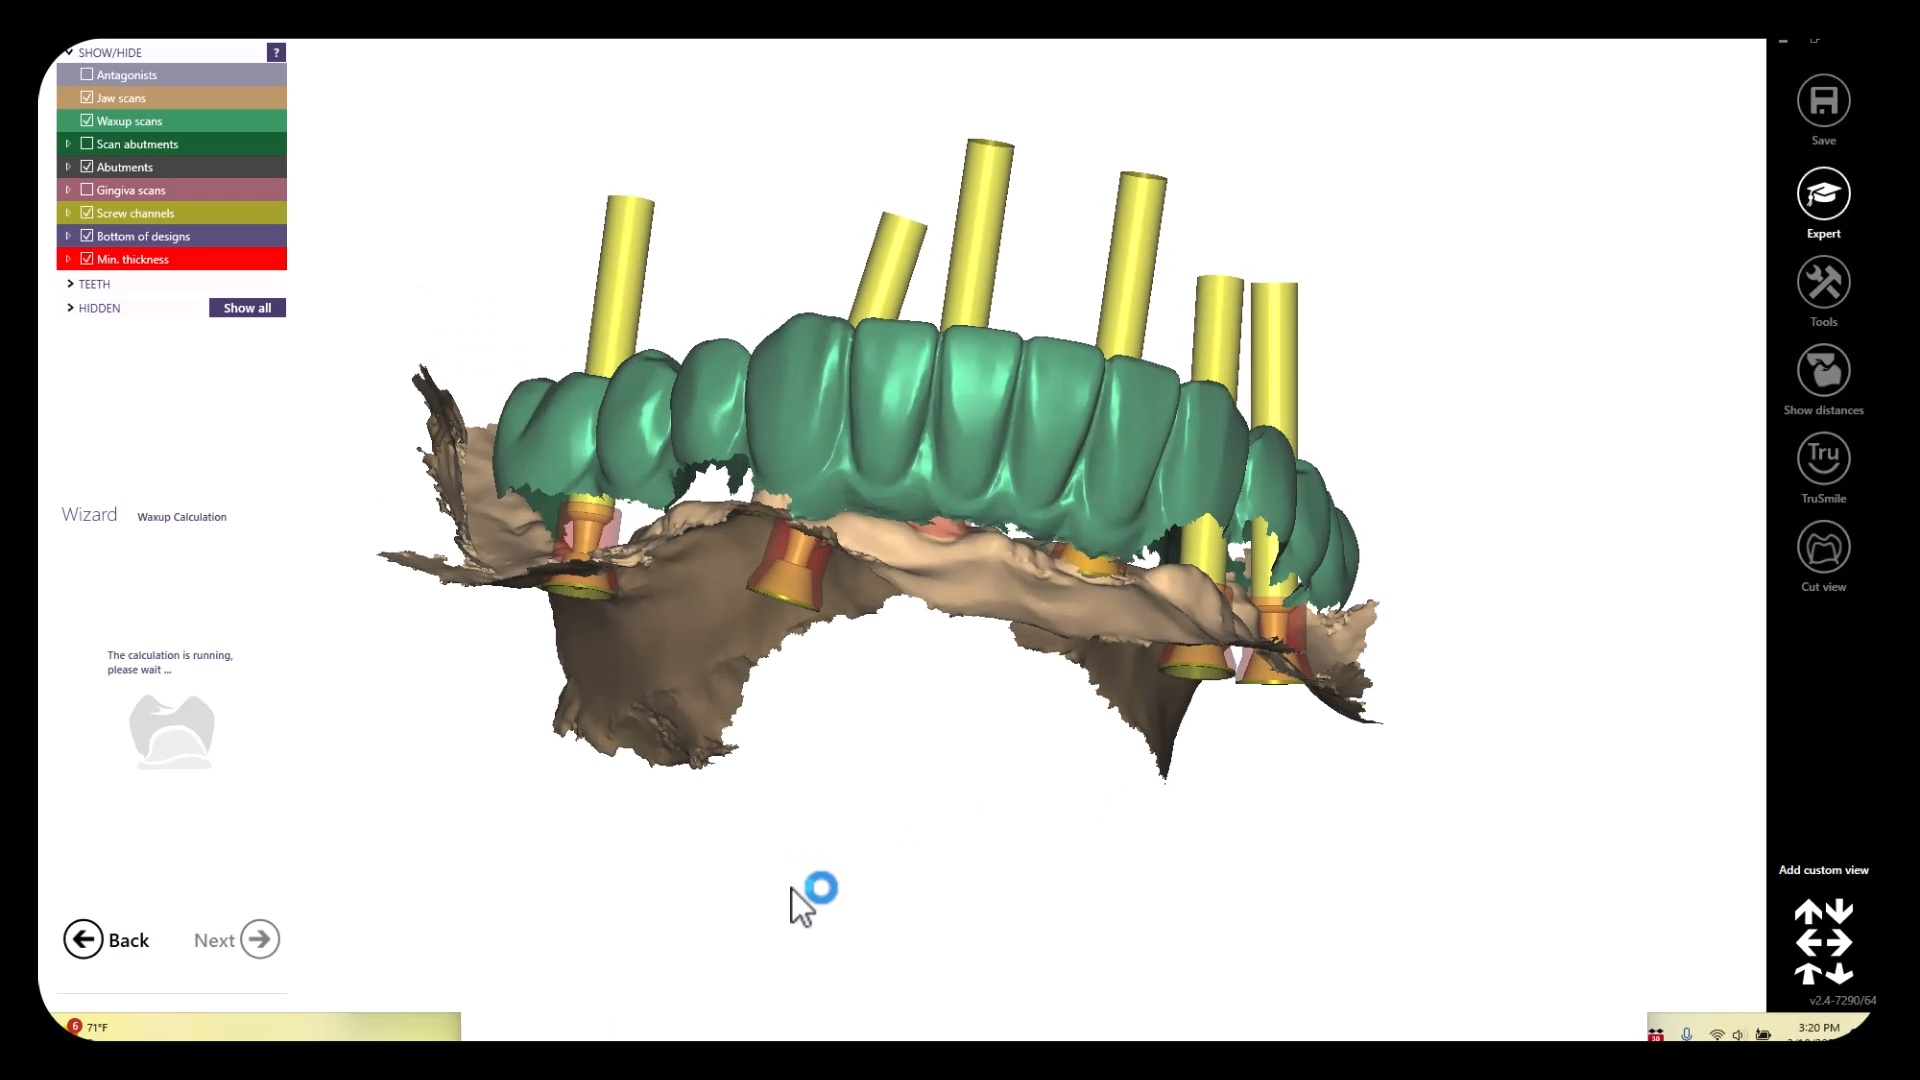
Scanning long span edentulous is a very likely culprit with rendering dimensionally accurate models because to the software and camera, the geometric shapes are too identical across the ridge.

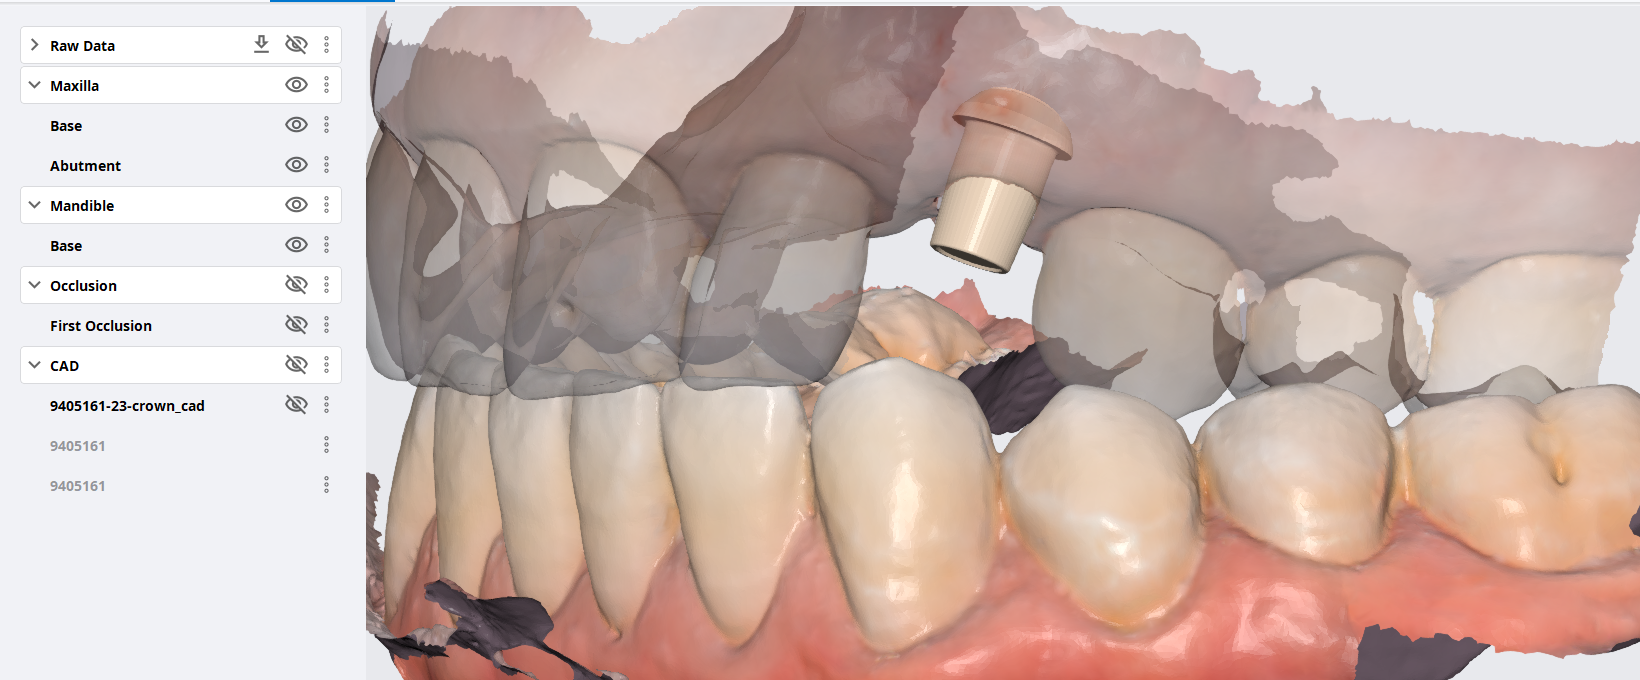
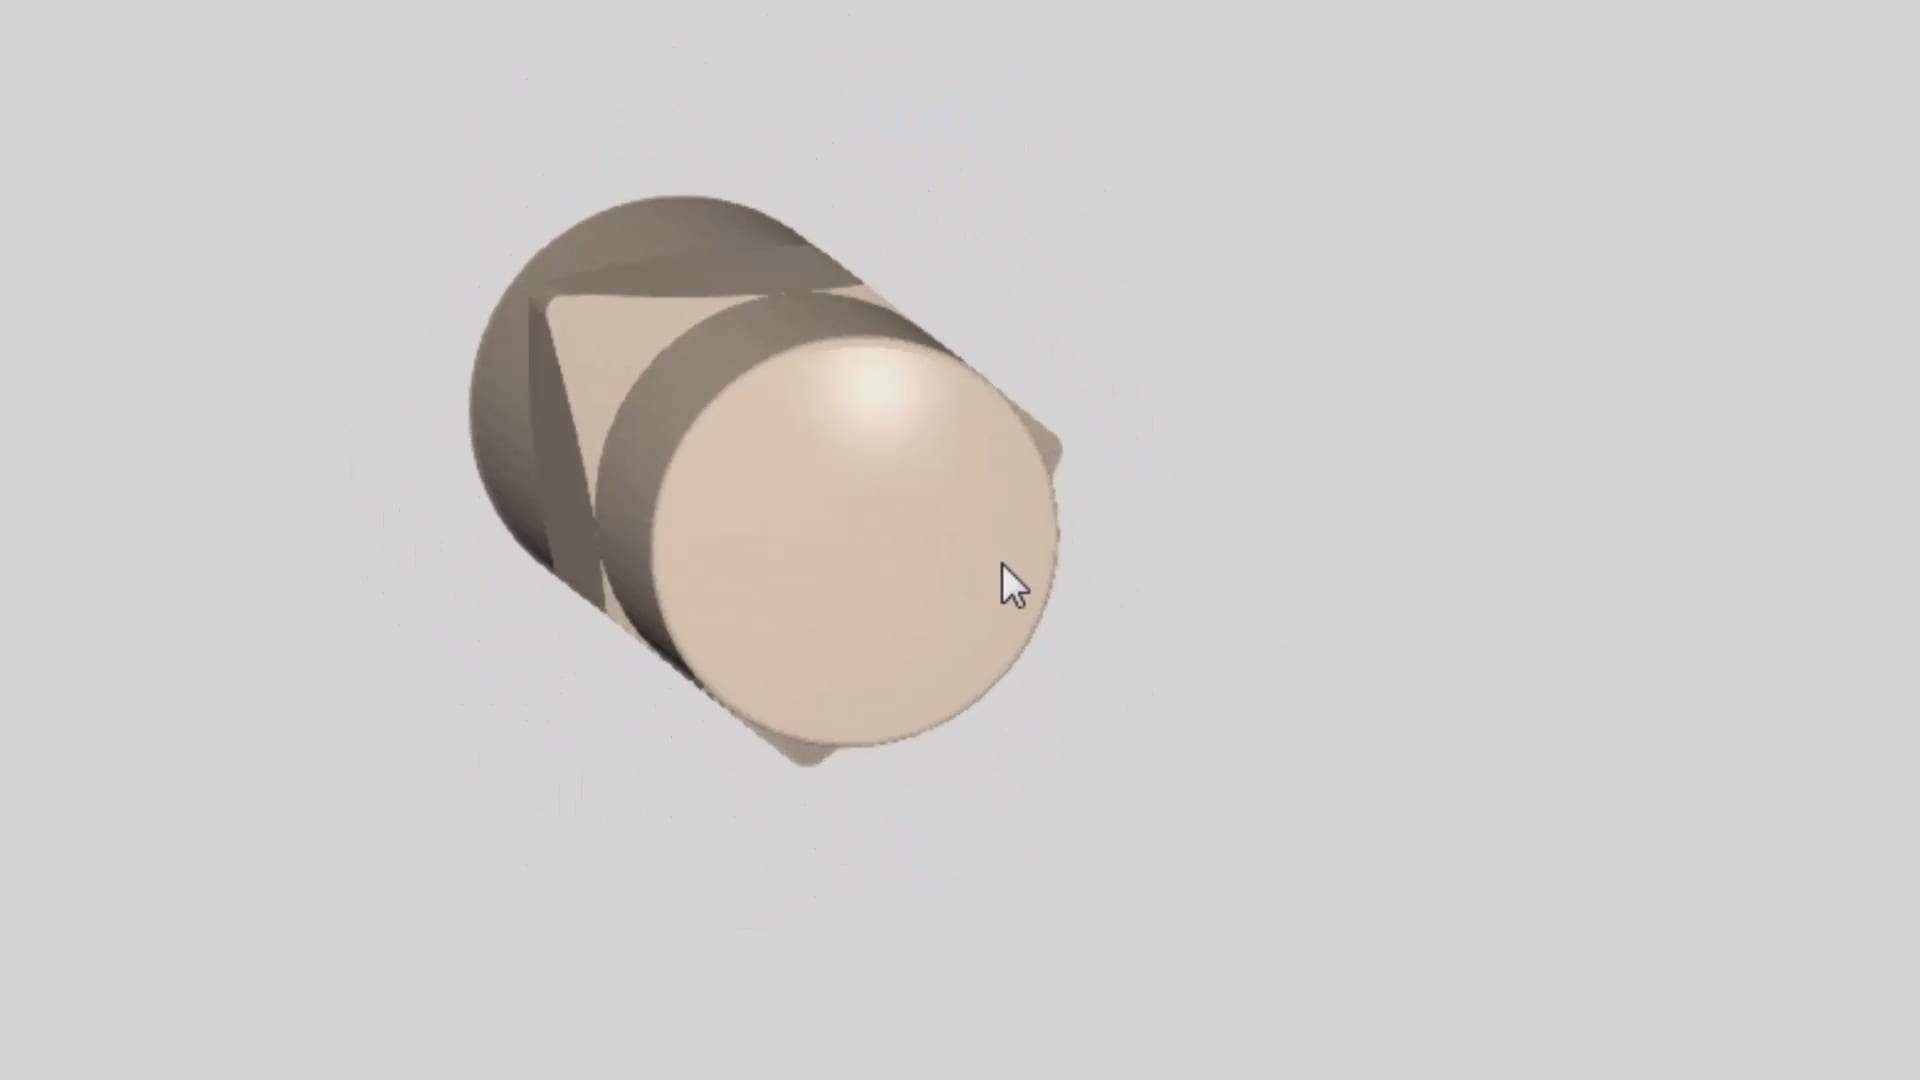
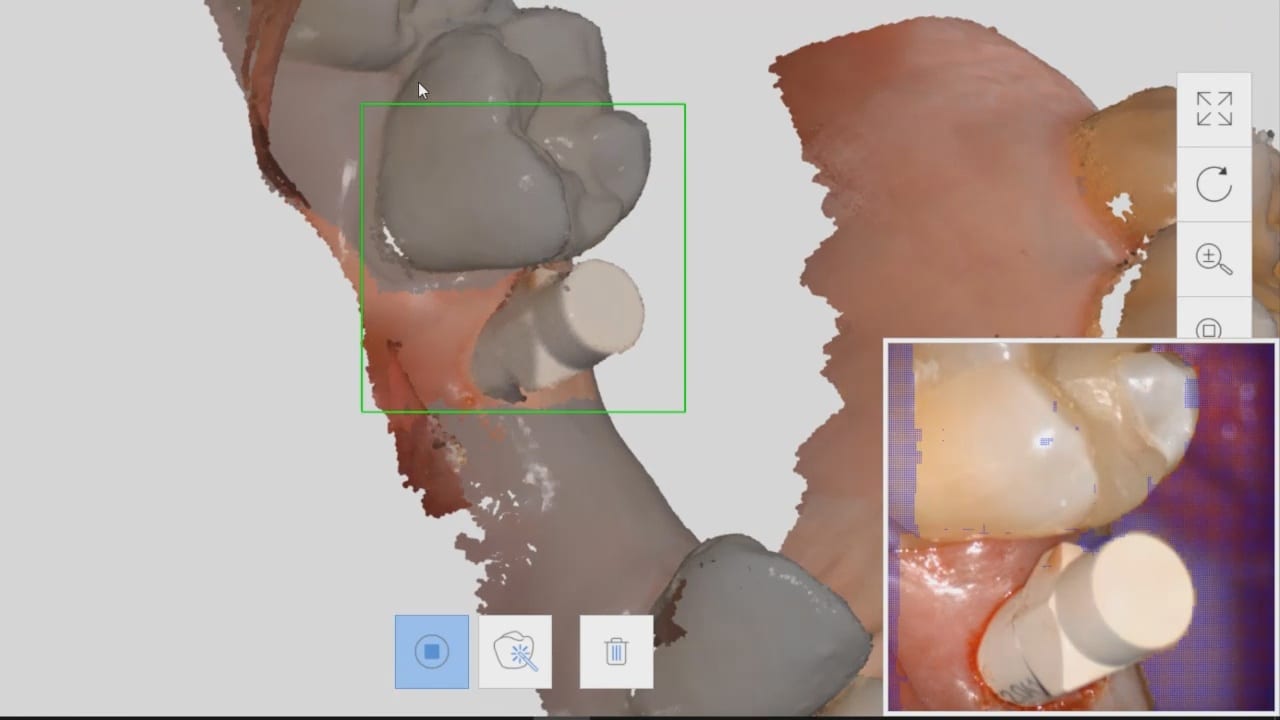
The more we can disrupt the symmetry with large, short, non-reflective and asymmetric scanbodies, the more likely we are to keep the models accurate. This video presentation address some of those issues and how to overcome them.

video
play-rounded-fill
Posted on Leave a comment

Introducing Powerball 2.0 by Dr. Johnathan Abeneim

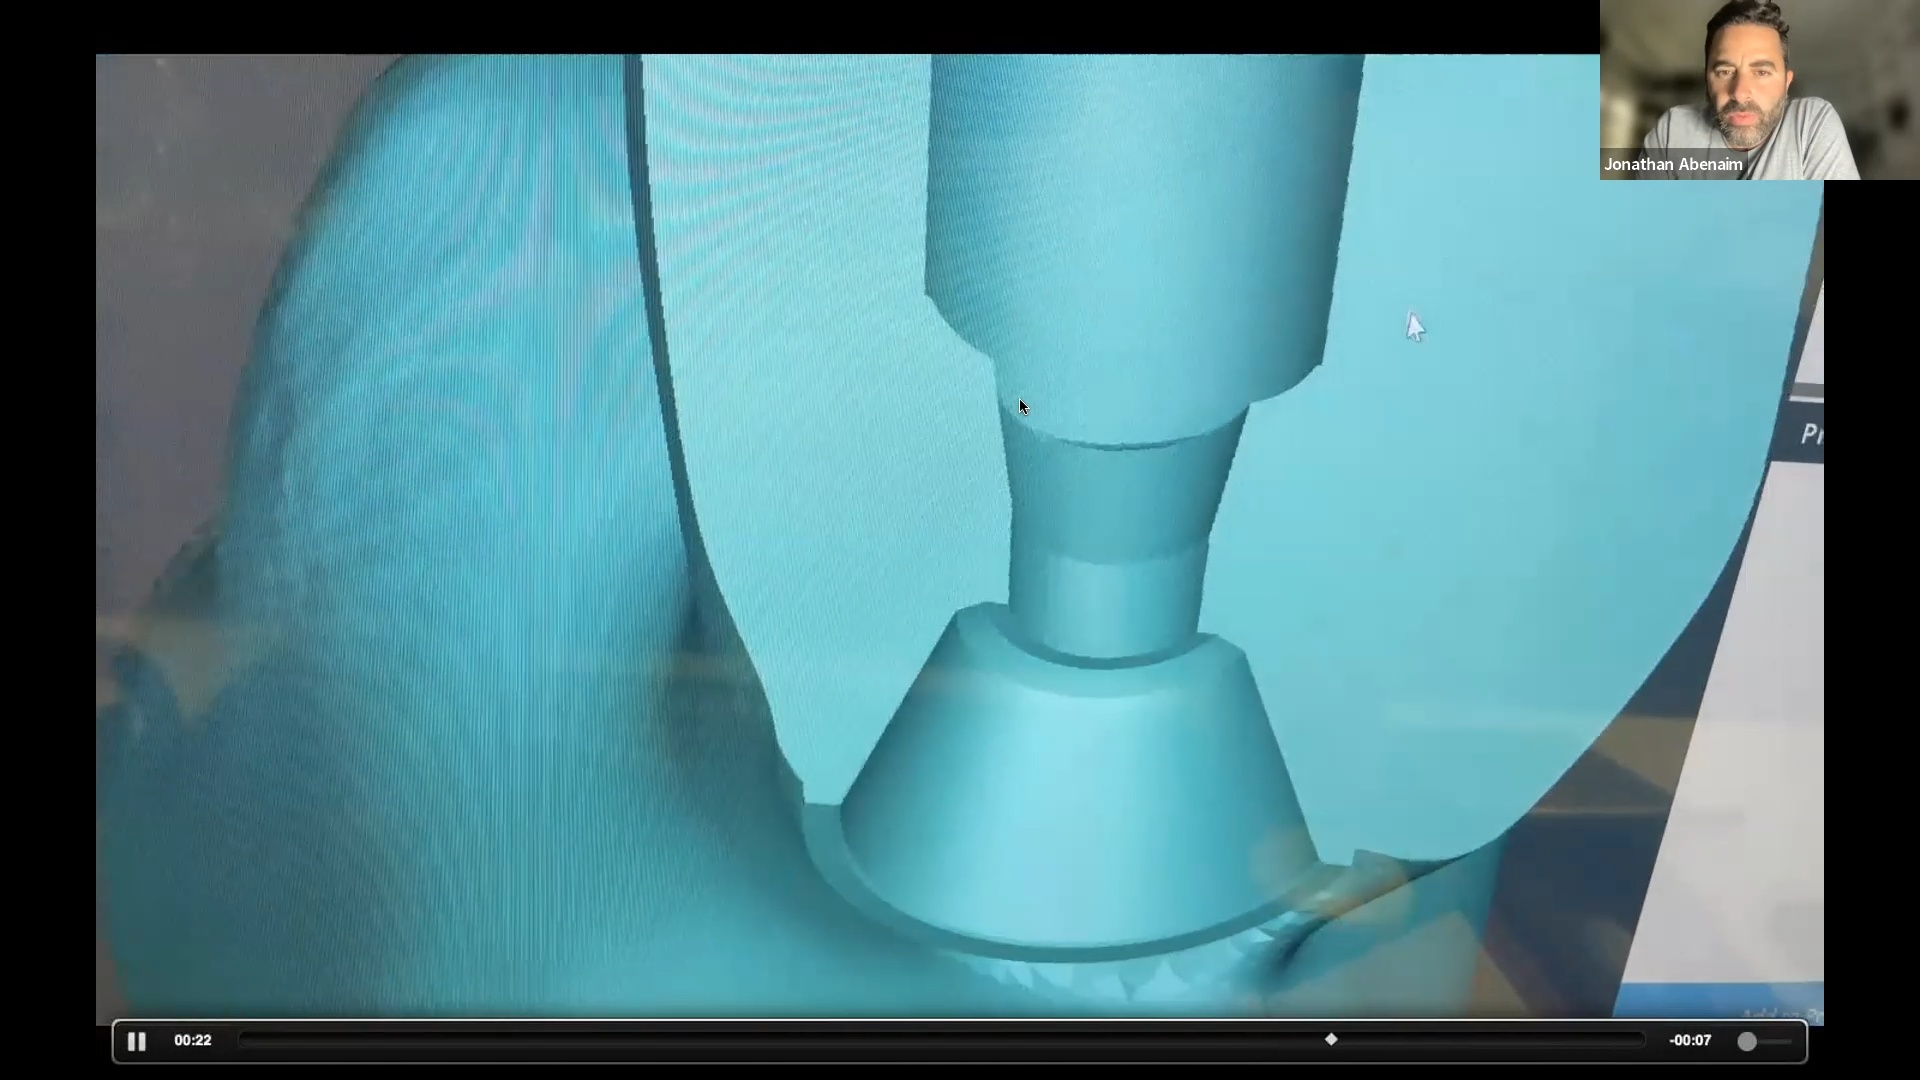
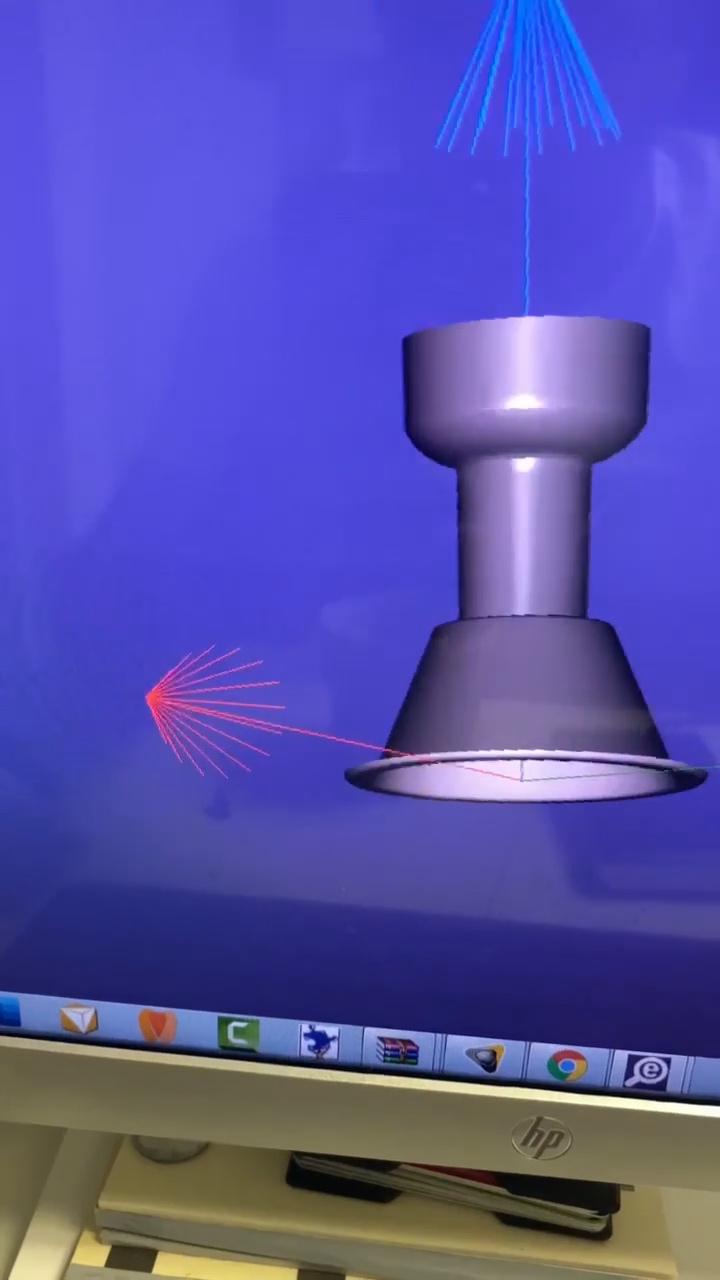
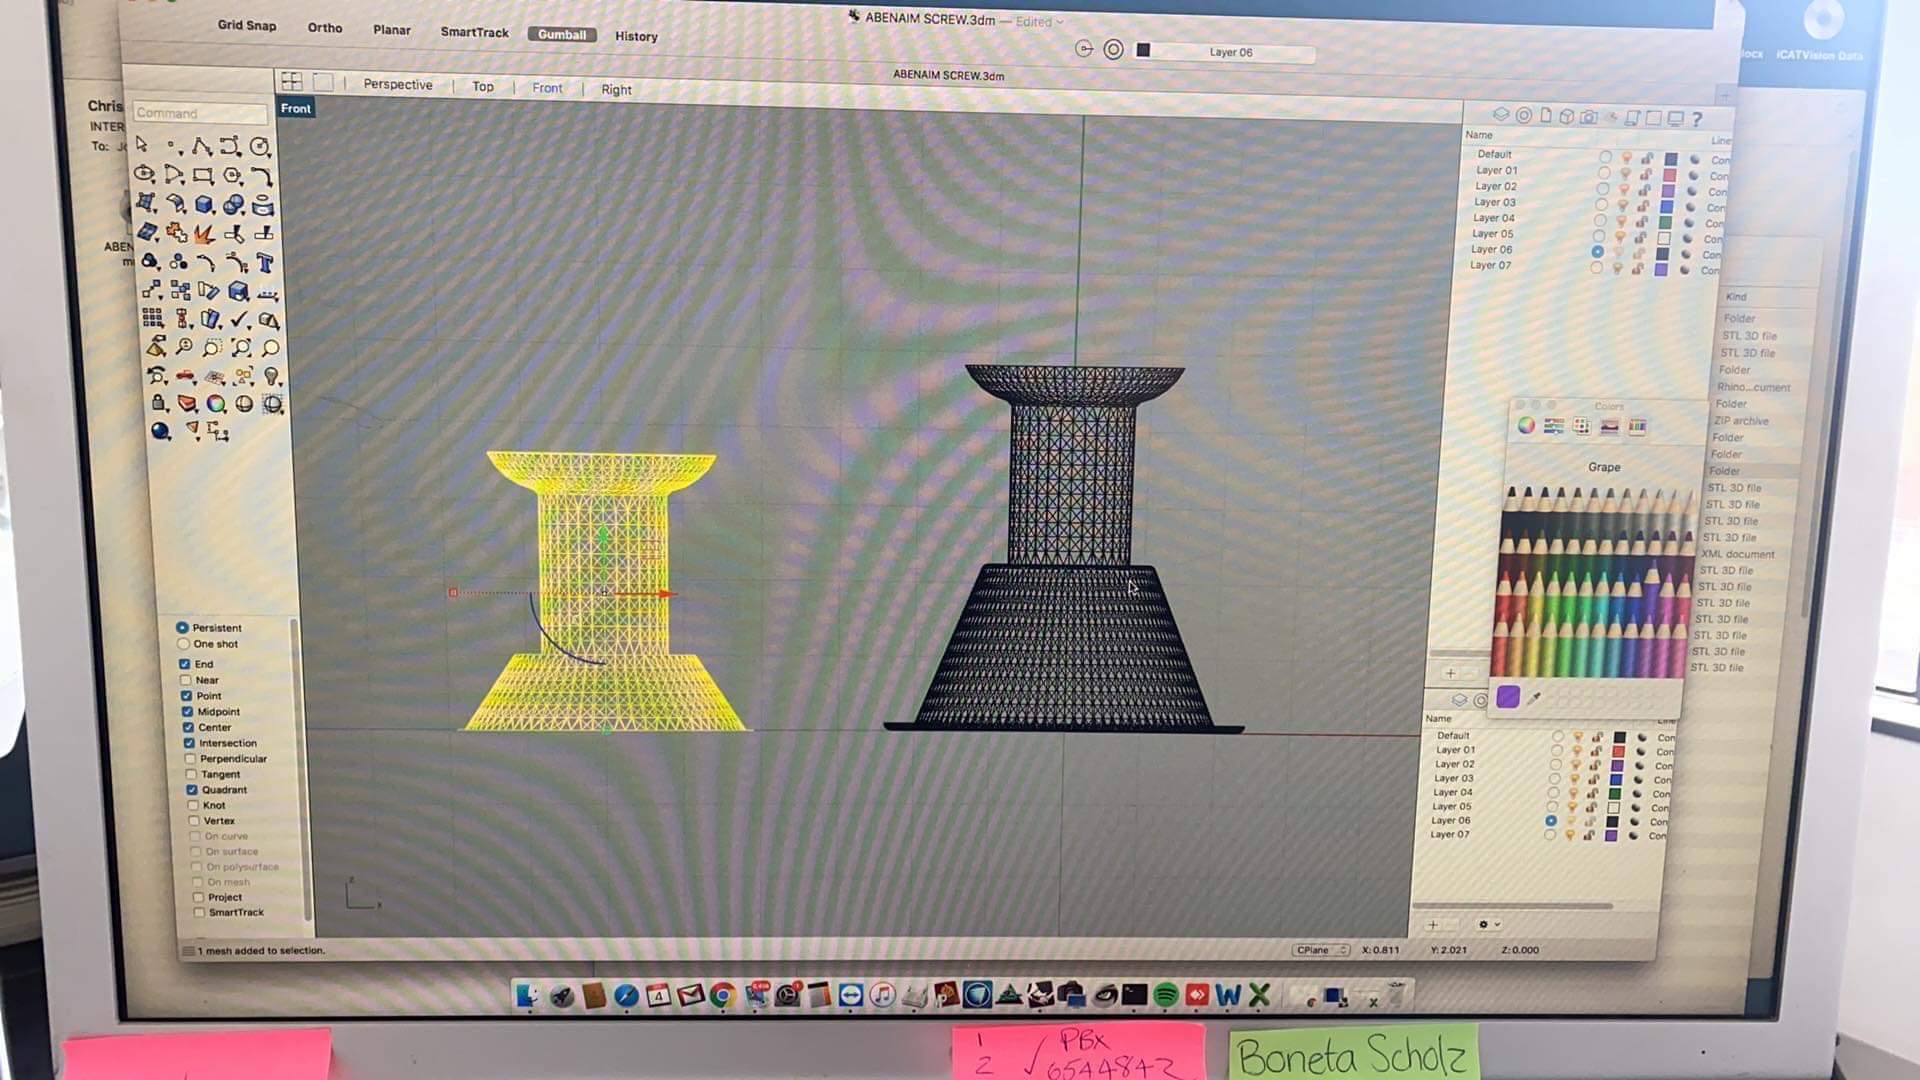
This webinar hosted by CAD-Ray is an information program detailing the specific screw called the Powerball for Full Arch Hybrid Restorations

video
play-rounded-fill
Posted on Leave a comment

Capturing a Dynamic Bite with the Trios 4 Wireless Scanner

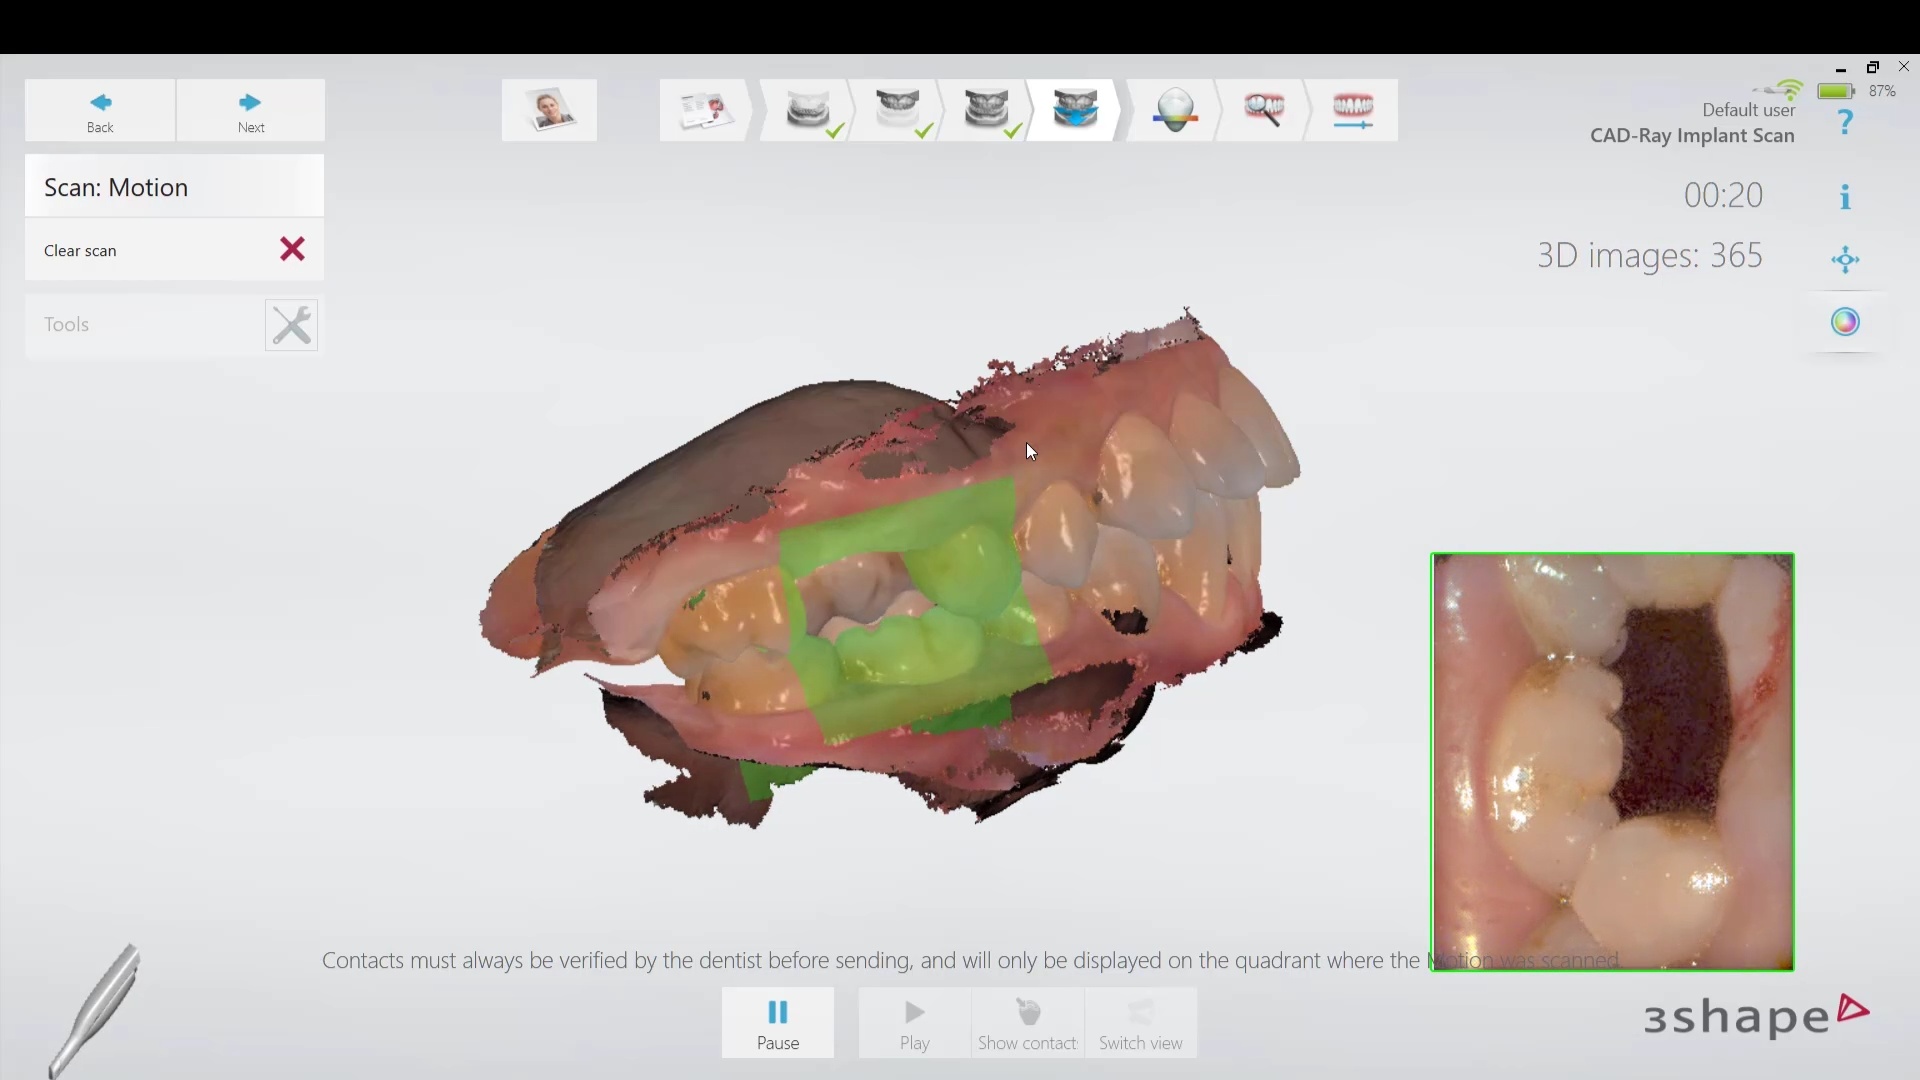
In this video we demonstrate for new and potential users of digital dentistry a implant restoration where the dynamic bite is captured.  We initially imaged the upper and lower jaws with 2 bites. Then we captured the dynamic bite and the returned for the jaw scan with the scanbody. There are many ways to approach this but this sequence we have found to be easiest for new users to digest.

The scanbody was captured after the bite because it usually is taller than the adjacent teeth. There is a chance you may injure the patient if you don’t follow the proper sequence

video
play-rounded-fill
Patient Specific Motion Capture

Here is the fabrication process with Amber Mill Direct and DOF craft milling machine

Posted on Leave a comment

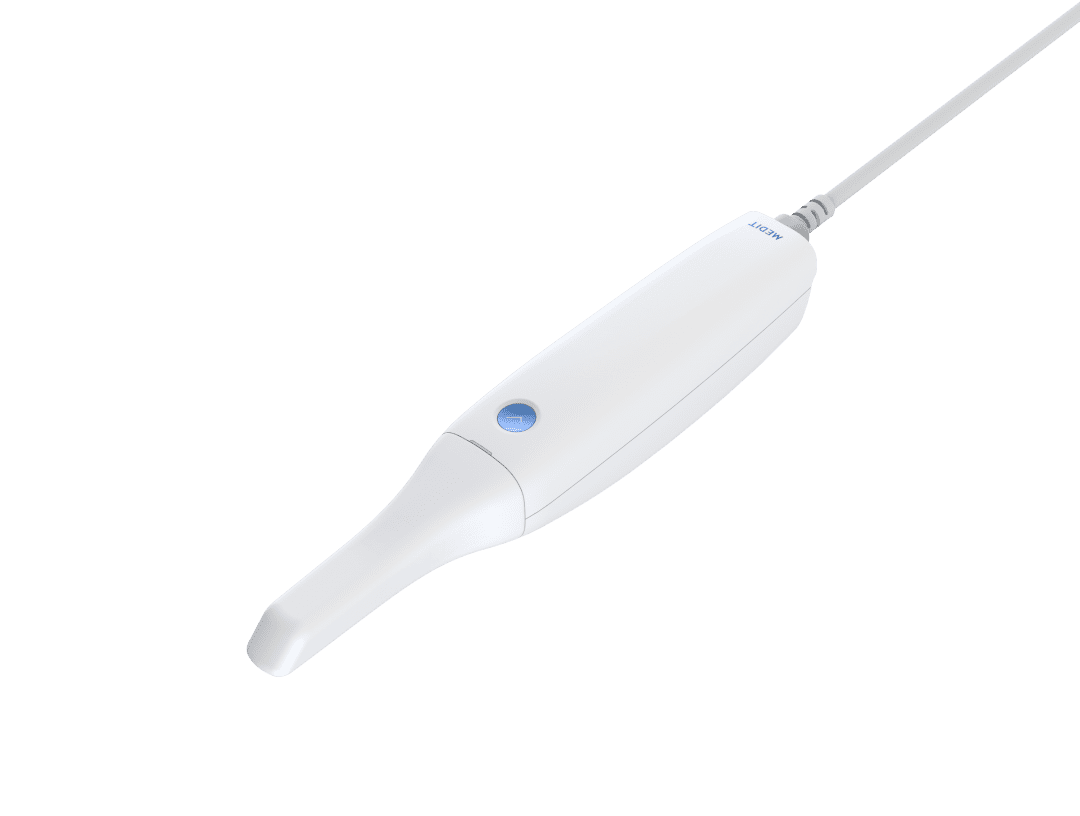
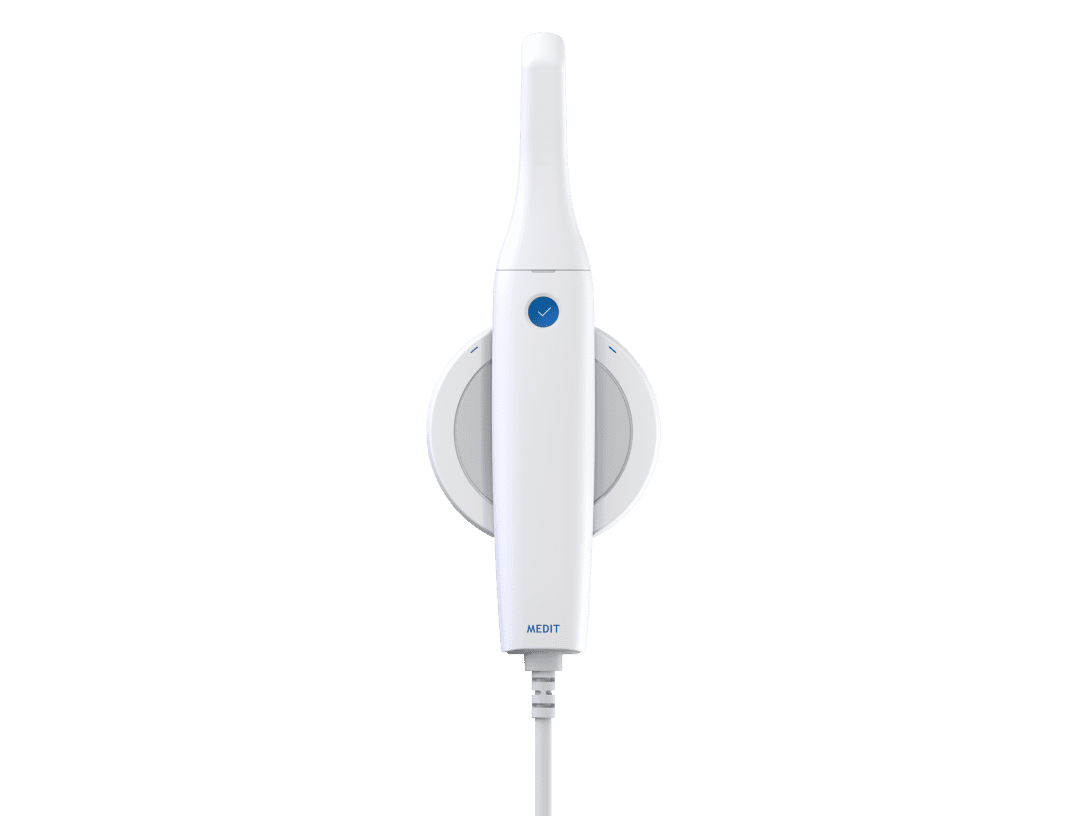
Advanced Features of the Medit i700 IOS That Separate it From All Other Scanners

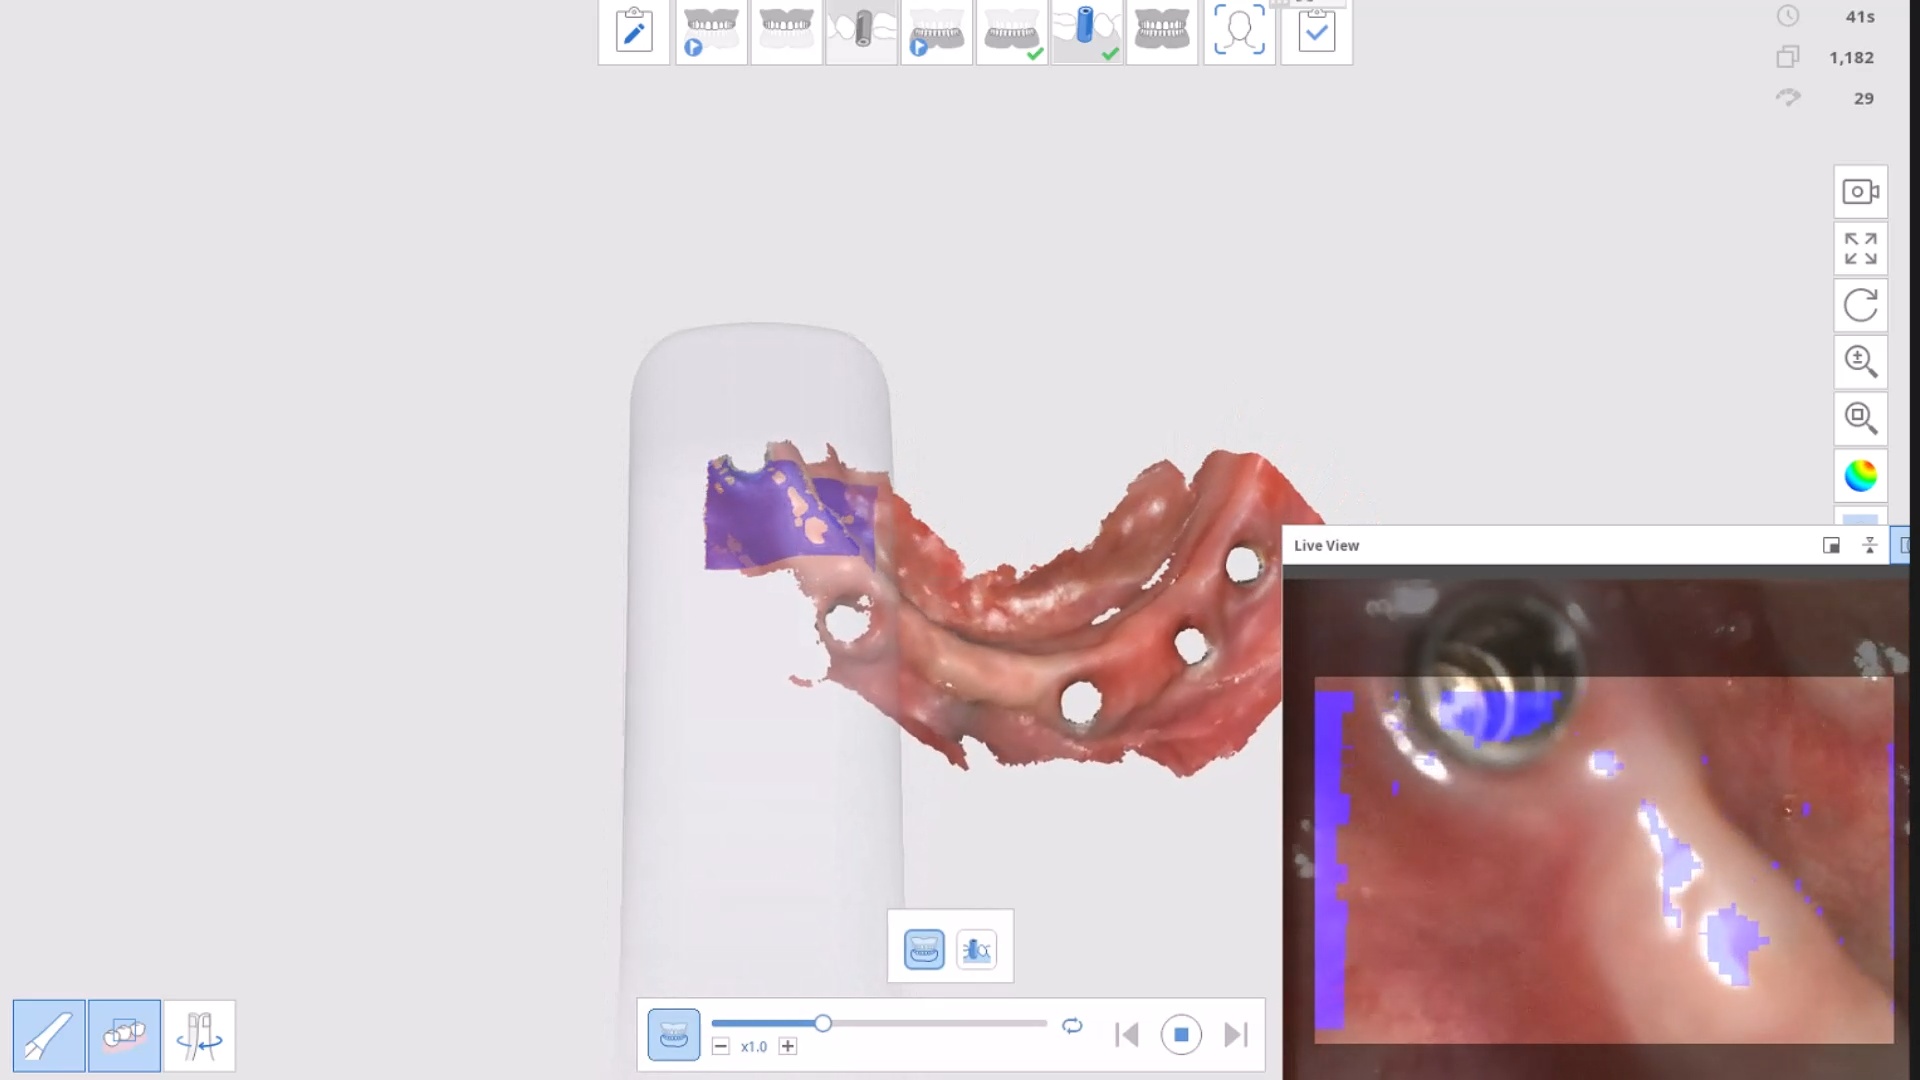
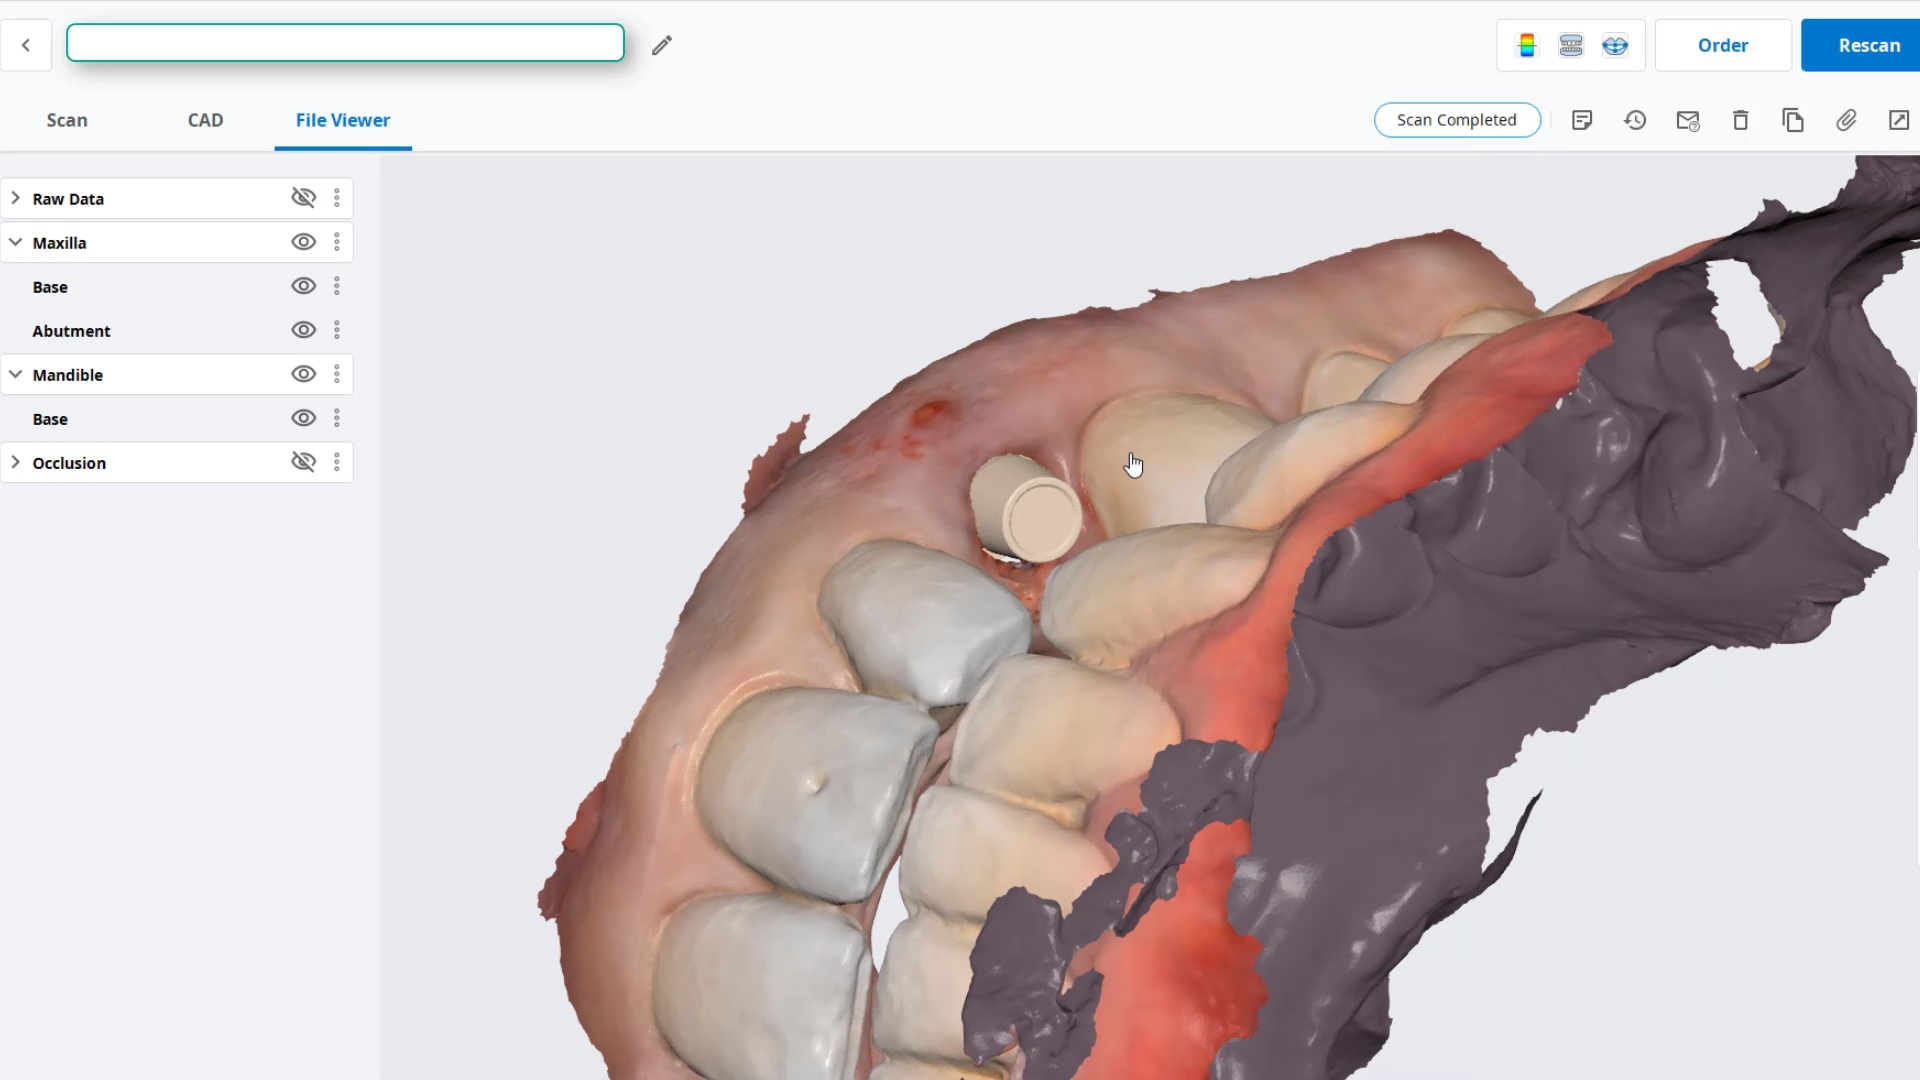
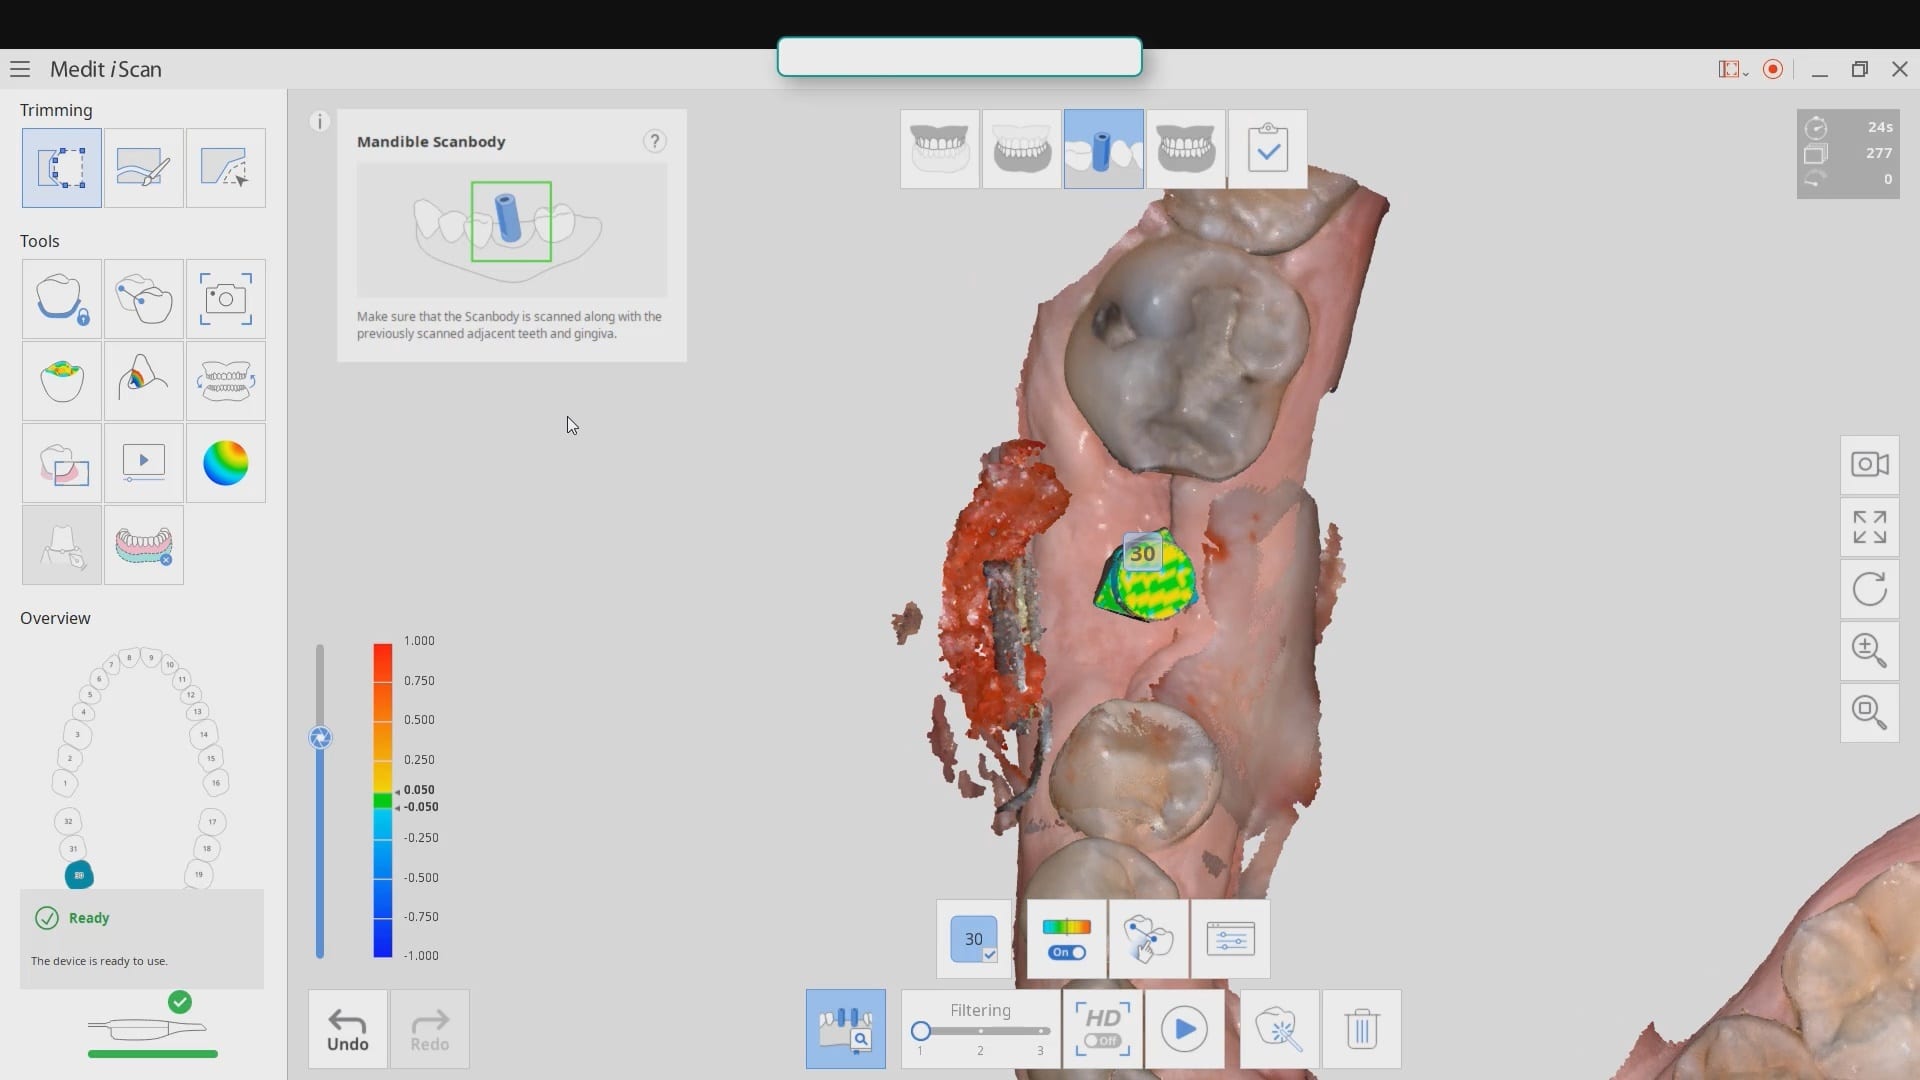
Here is why the Medit i700 is the best intra-oral scanner on the market if you do any kind of implant restorations. There are so many options and tools that are leap years ahead of other scanners and their software. Medit can automatically identify the scanbody for you so you don’t have to do cartwheels and gymnastics to pick up all of the scanbody. This is in part 1 of the video.
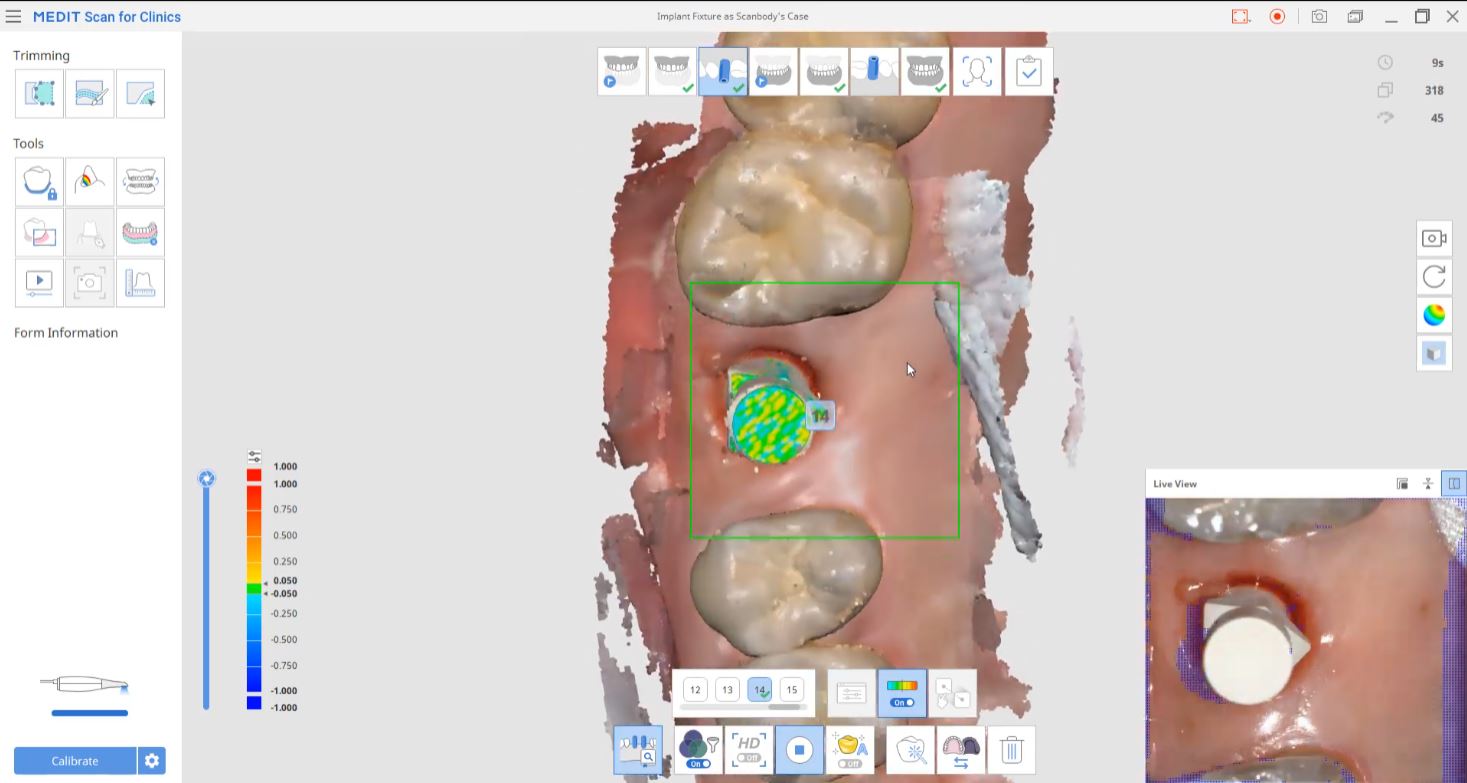
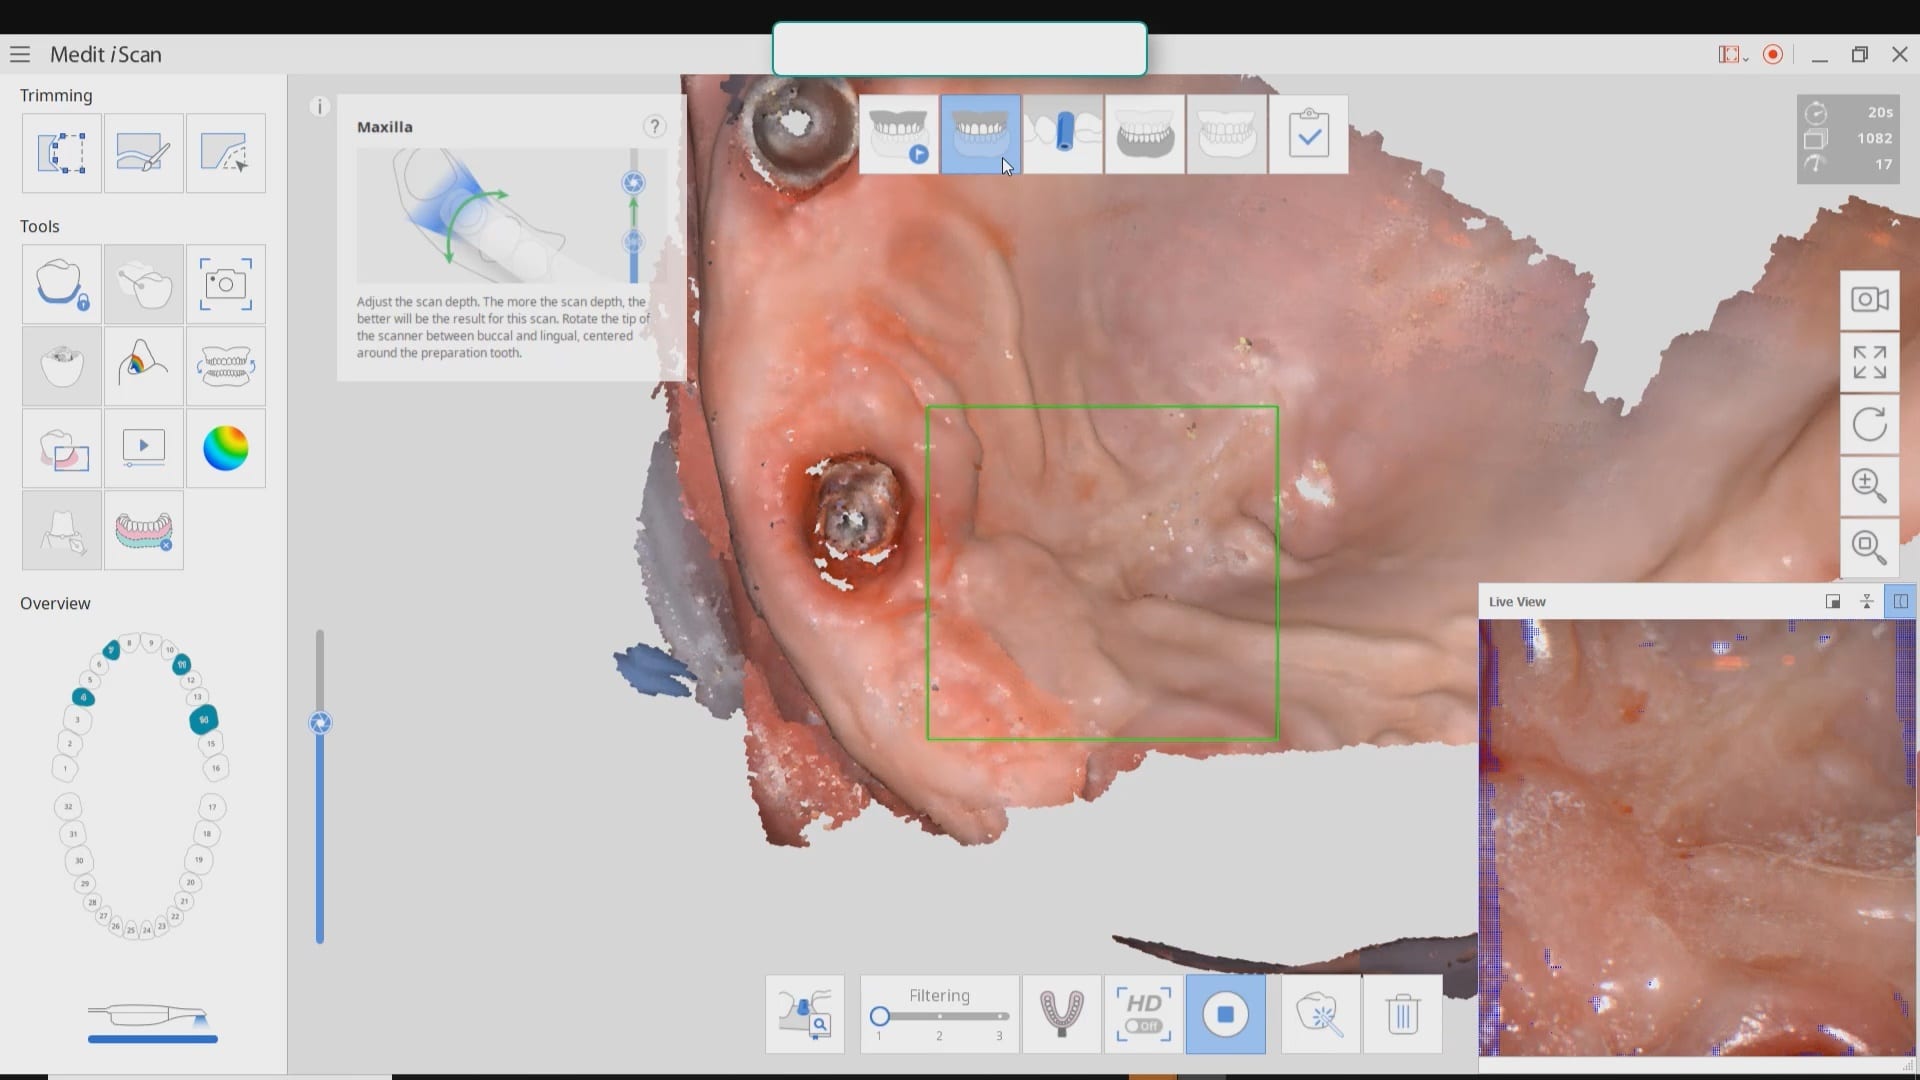
For advanced users, we are sick of dealing with scanbodies and checking to make sure they are seated all the way and not binding on the tissue or bone, so we developed this technique of just scanning the fixture itself. It is not ideal just yet, but it will be the future, as the inside of the fixture is too shiny. i just used some old cerec spray to mask the topography for this demonstration.
oh, and really, no one else can show you how to milk that medit like cad-ray.com can. we use it well beyond what it was intended for and frankly you are wasting your time and money with most others. contact Frank DeLuca, Frank Weinstein, Laura Geney, Nick Statly, Damien Bonner, Jonathan Acker in the US or Milos Gedosev, Mariangela Di Nato, Roddy MacLeod in Europe for more information

Posted on Leave a comment

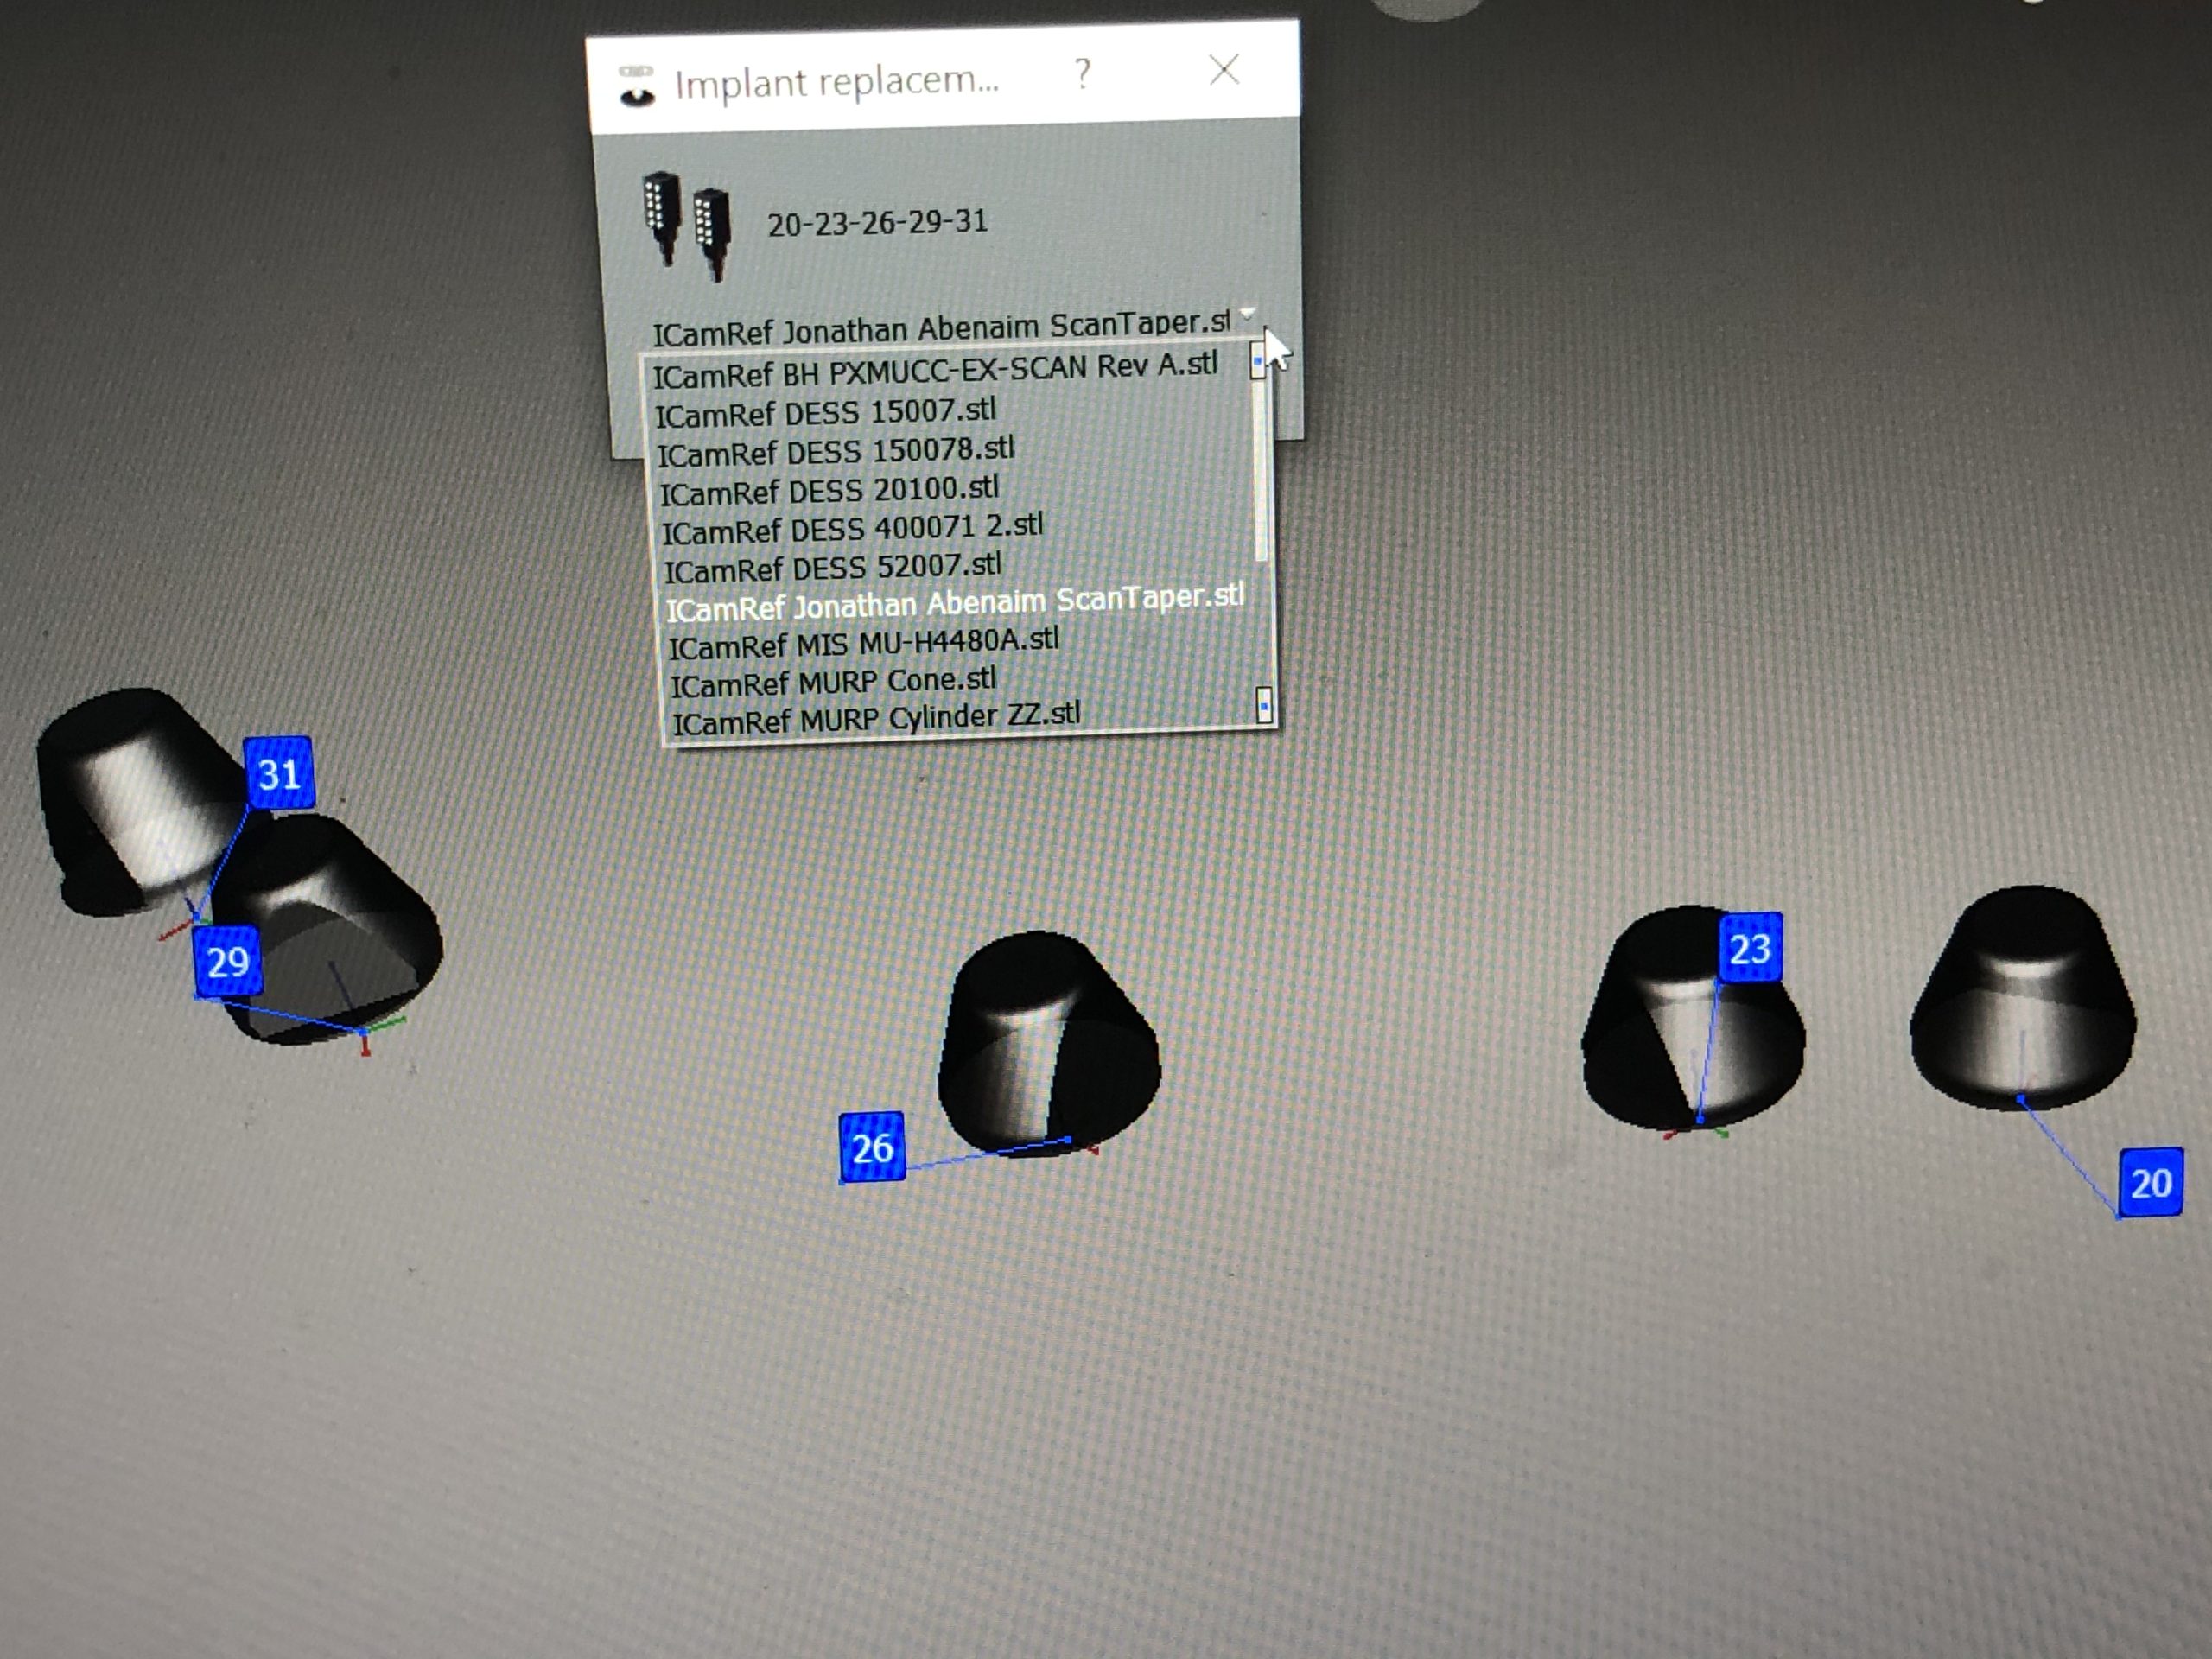
Jonathan Abenaim MUA’s and Powerball Screw now in iCam4D imetric library

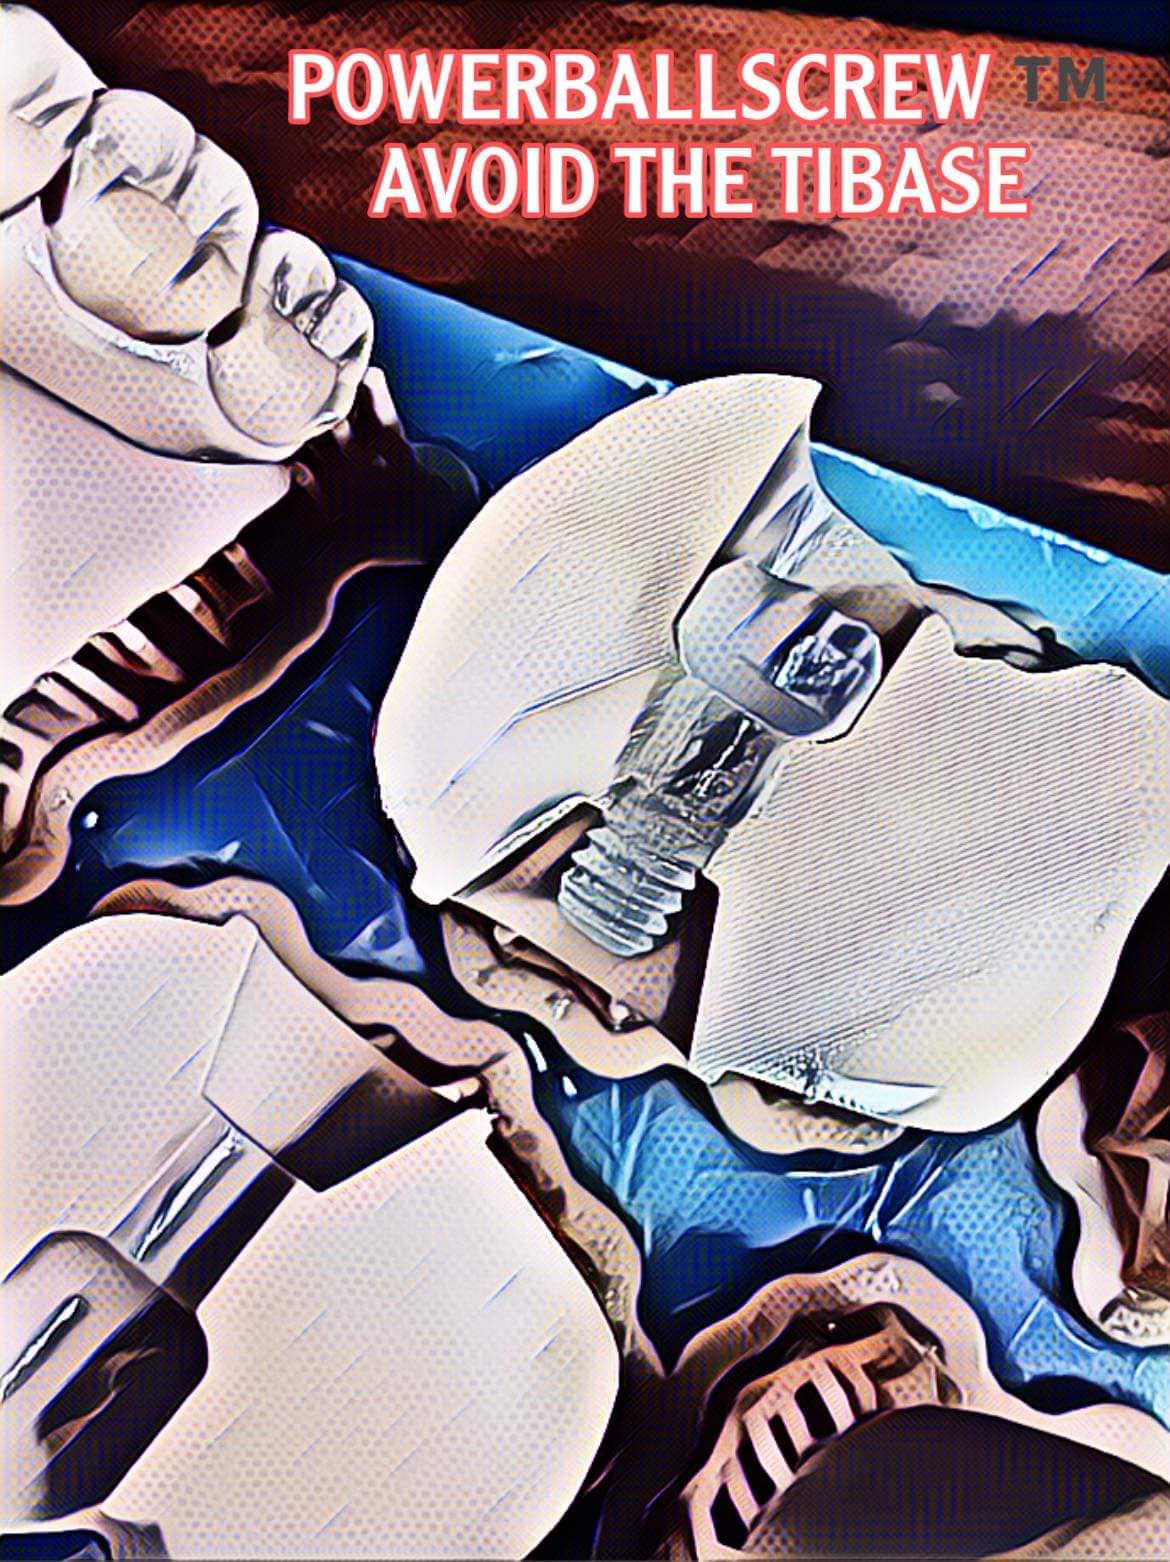
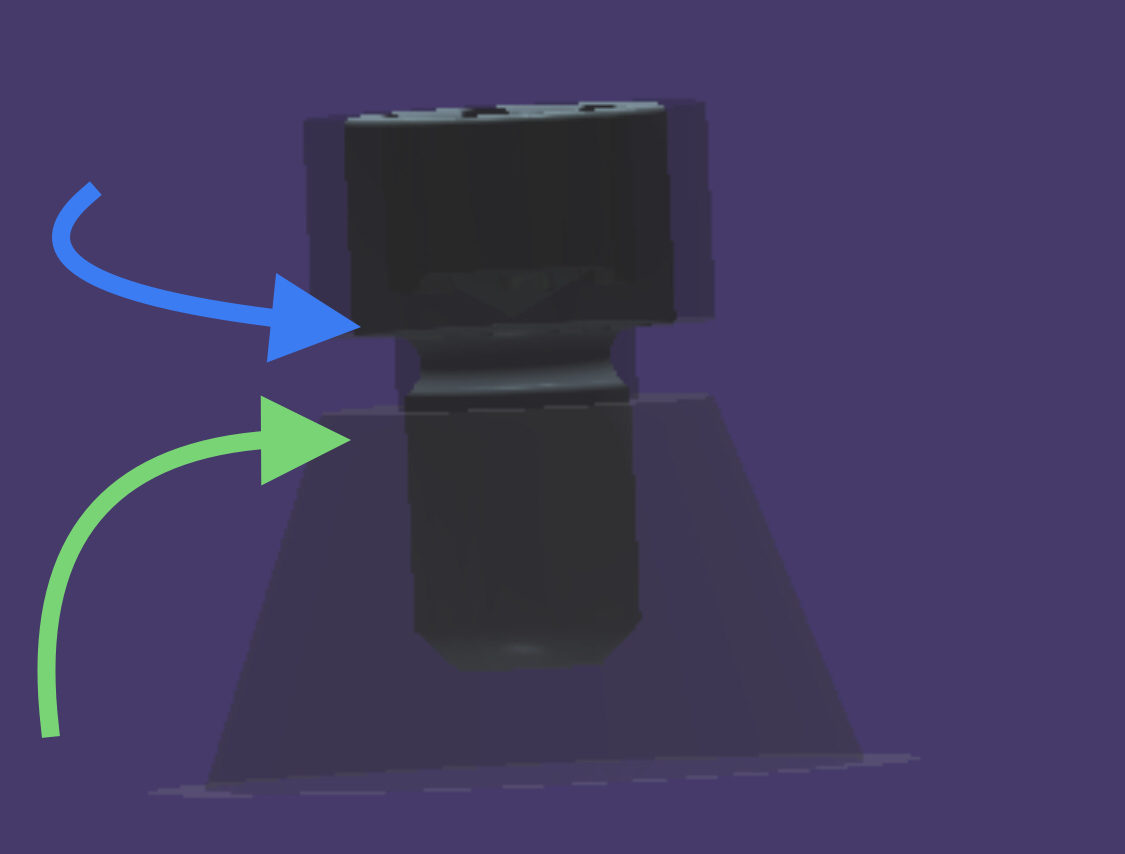
There is a lot of focus nowadays on the connection between the screw and the MUA and top clinicians are recognizing this to be the most vulnerable part of full arch prosthetics.
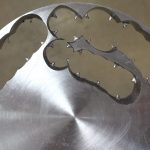
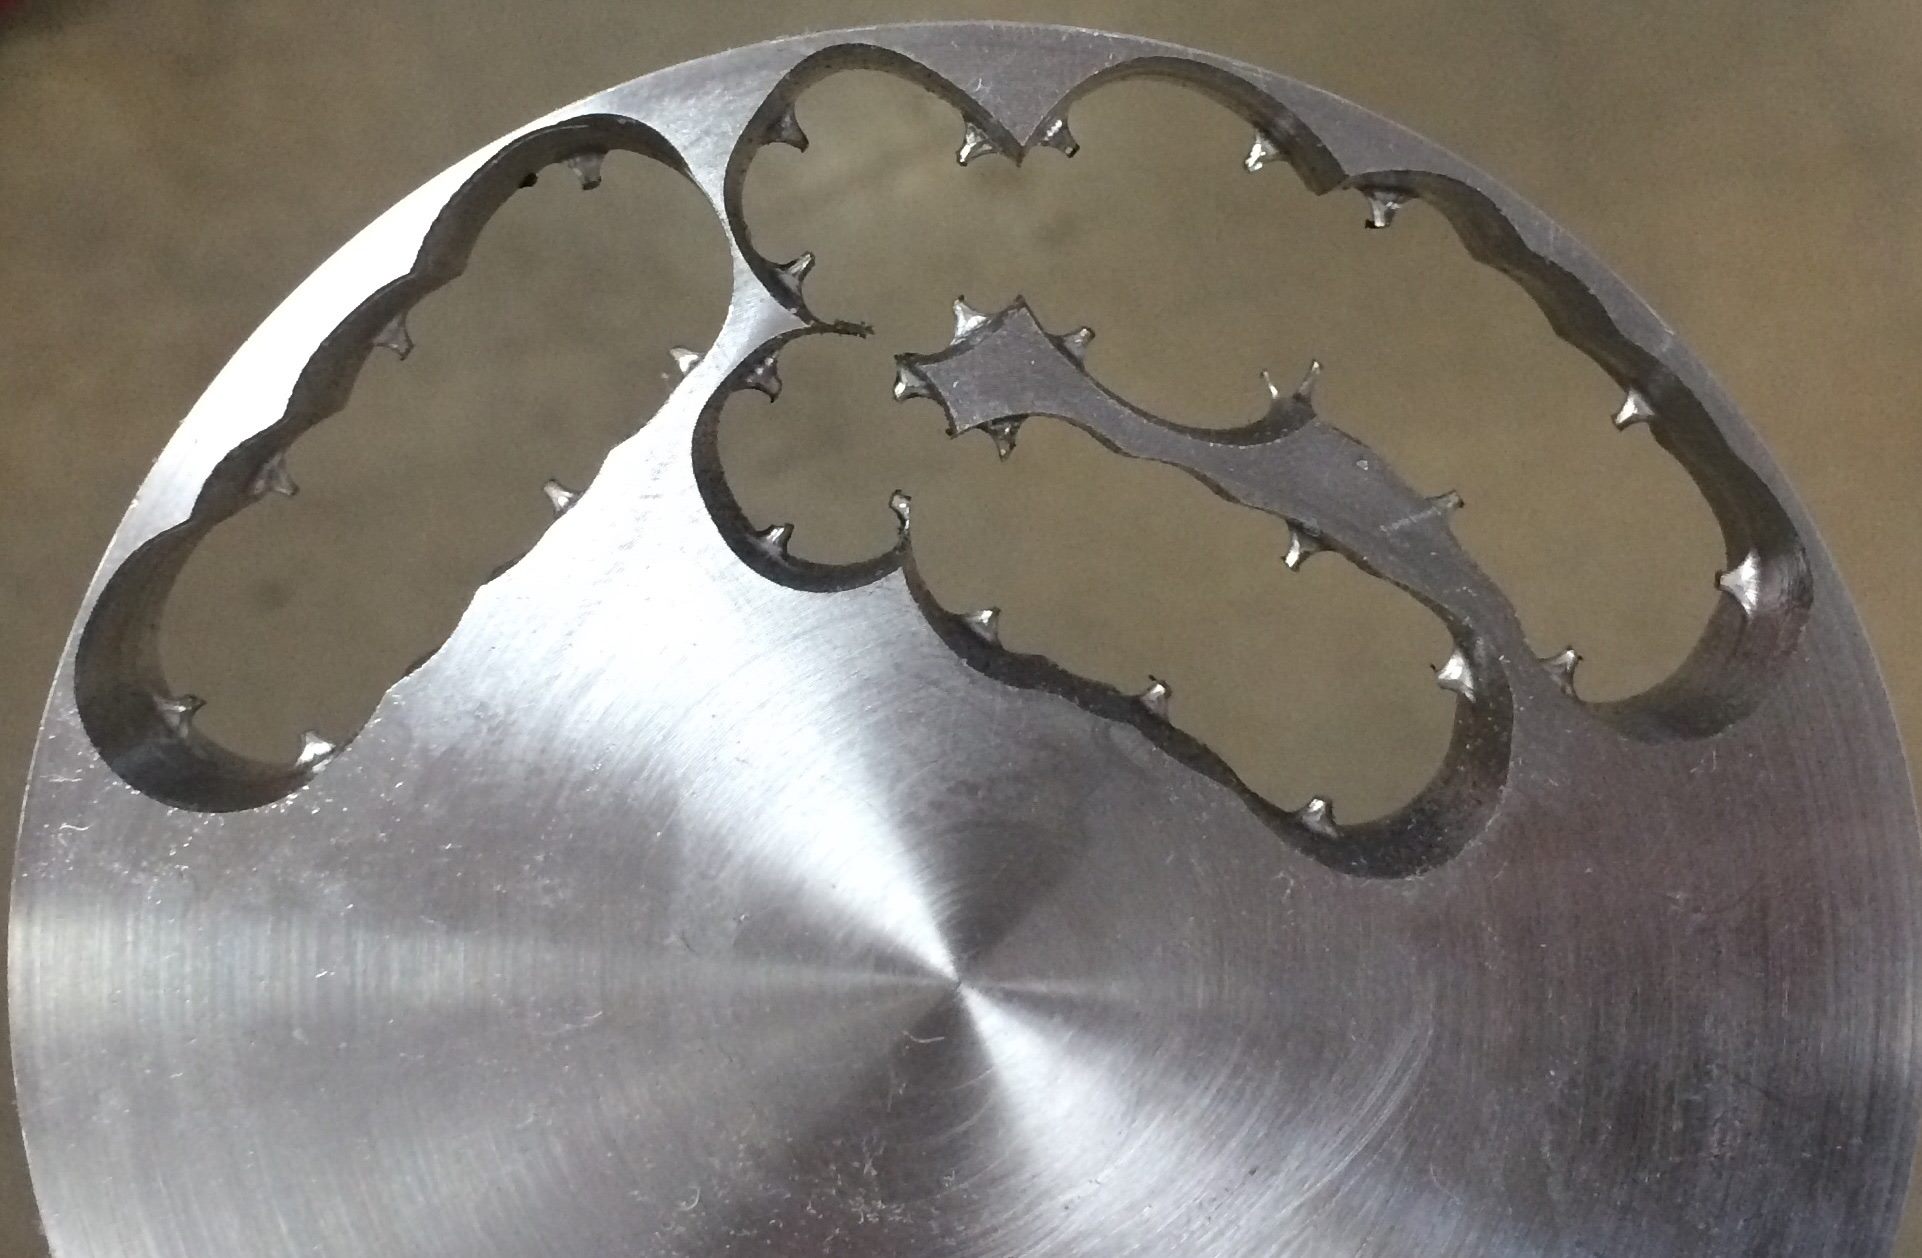
An issue to consider the space between the green and the  blue arrows on the following photo and how some have designed solutions around the small area that is prone to chirping or breakage during milling or printing

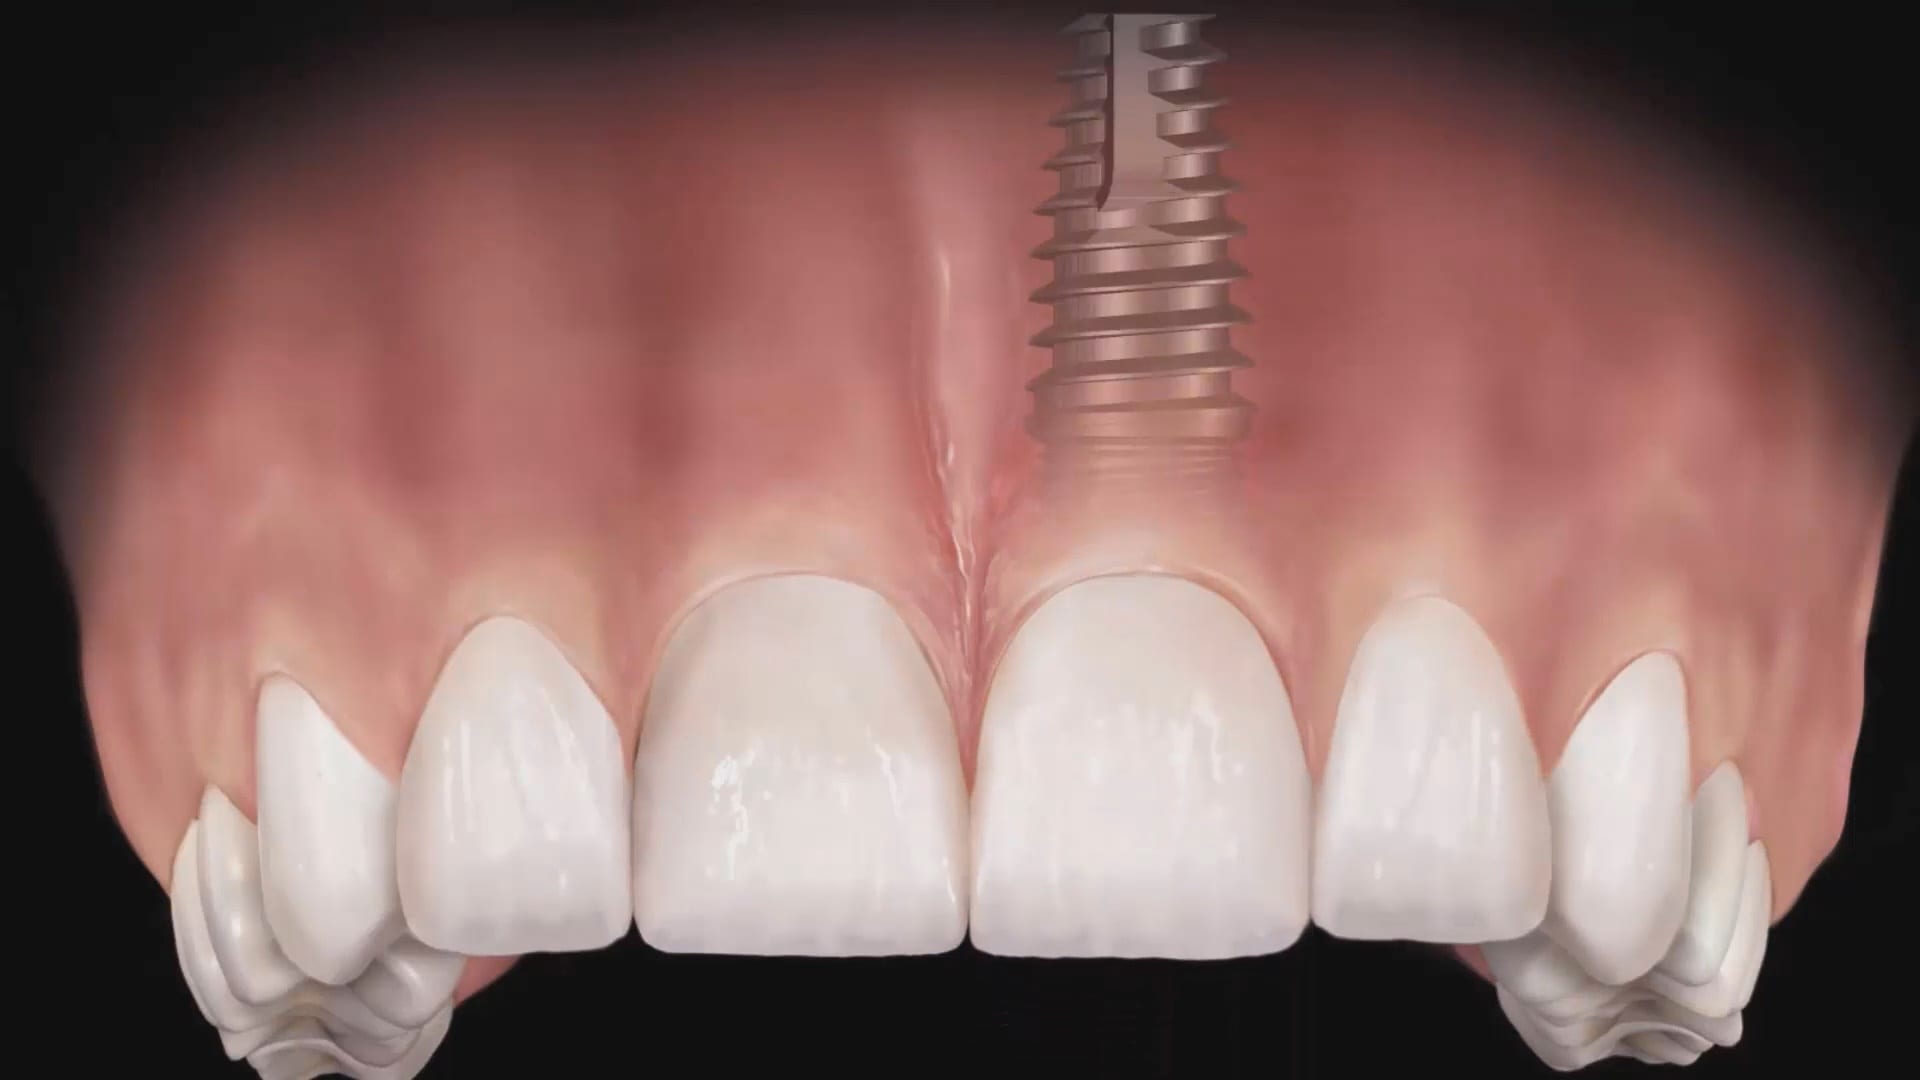
“The powerball screw by  Dr Jonathan Abenaim is one of a kind. Finally a screw designed to skip the tibase with the material in mind. It is rounded to provide gentle forces that are transferred to the body of the screw instead of the weak threads where the the screw is the weakest. It has the ability to be used in Zirkonia and pmma with no tibase. Its angle can be corrected up to 20 degrees. With our proprietary biaxial screw head the screw head is robust and cannot be stripped.”

video
play-rounded-fill
Powerball Design

For more information contact Smile Syllabus

Posted on Leave a comment

How Medit’s AI Killed The Tibase Scanbody Star!

here is a list of why the Medit Artificial Intelligent Implant Suprastructure Identification System is significantly more advantageous over all other cadcam systems.

  1.  It s technically a crown and bridge case and the implant location or timing does not matter
  2. You can find margins outside the mouth!  See the first video to appreciate the significance of this
  3. You don’t have to deal with retraction or hemostatis at all
  4.  You don’t have to worry about sprue position. Many other systems force the placement of the sprue to a specific location often making the case more difficult to manage than necessary
  5.  you are not limited to just a few implant lines
  6.  you don’t have to worry about location of anti rotational notch
  7.  you can digitally alter the prep and get a virtual reduction coping in cad
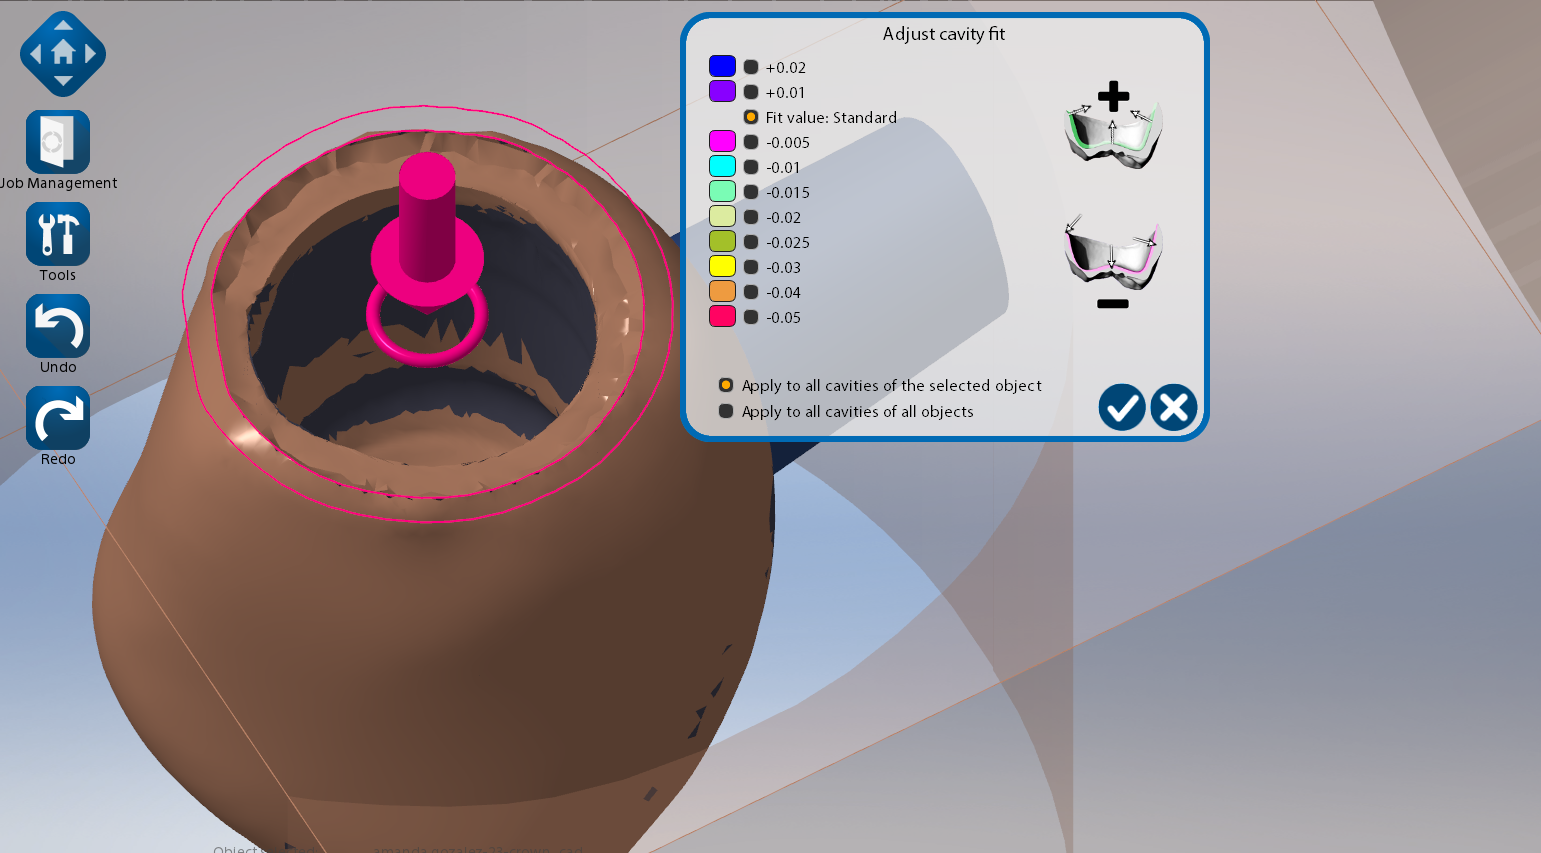
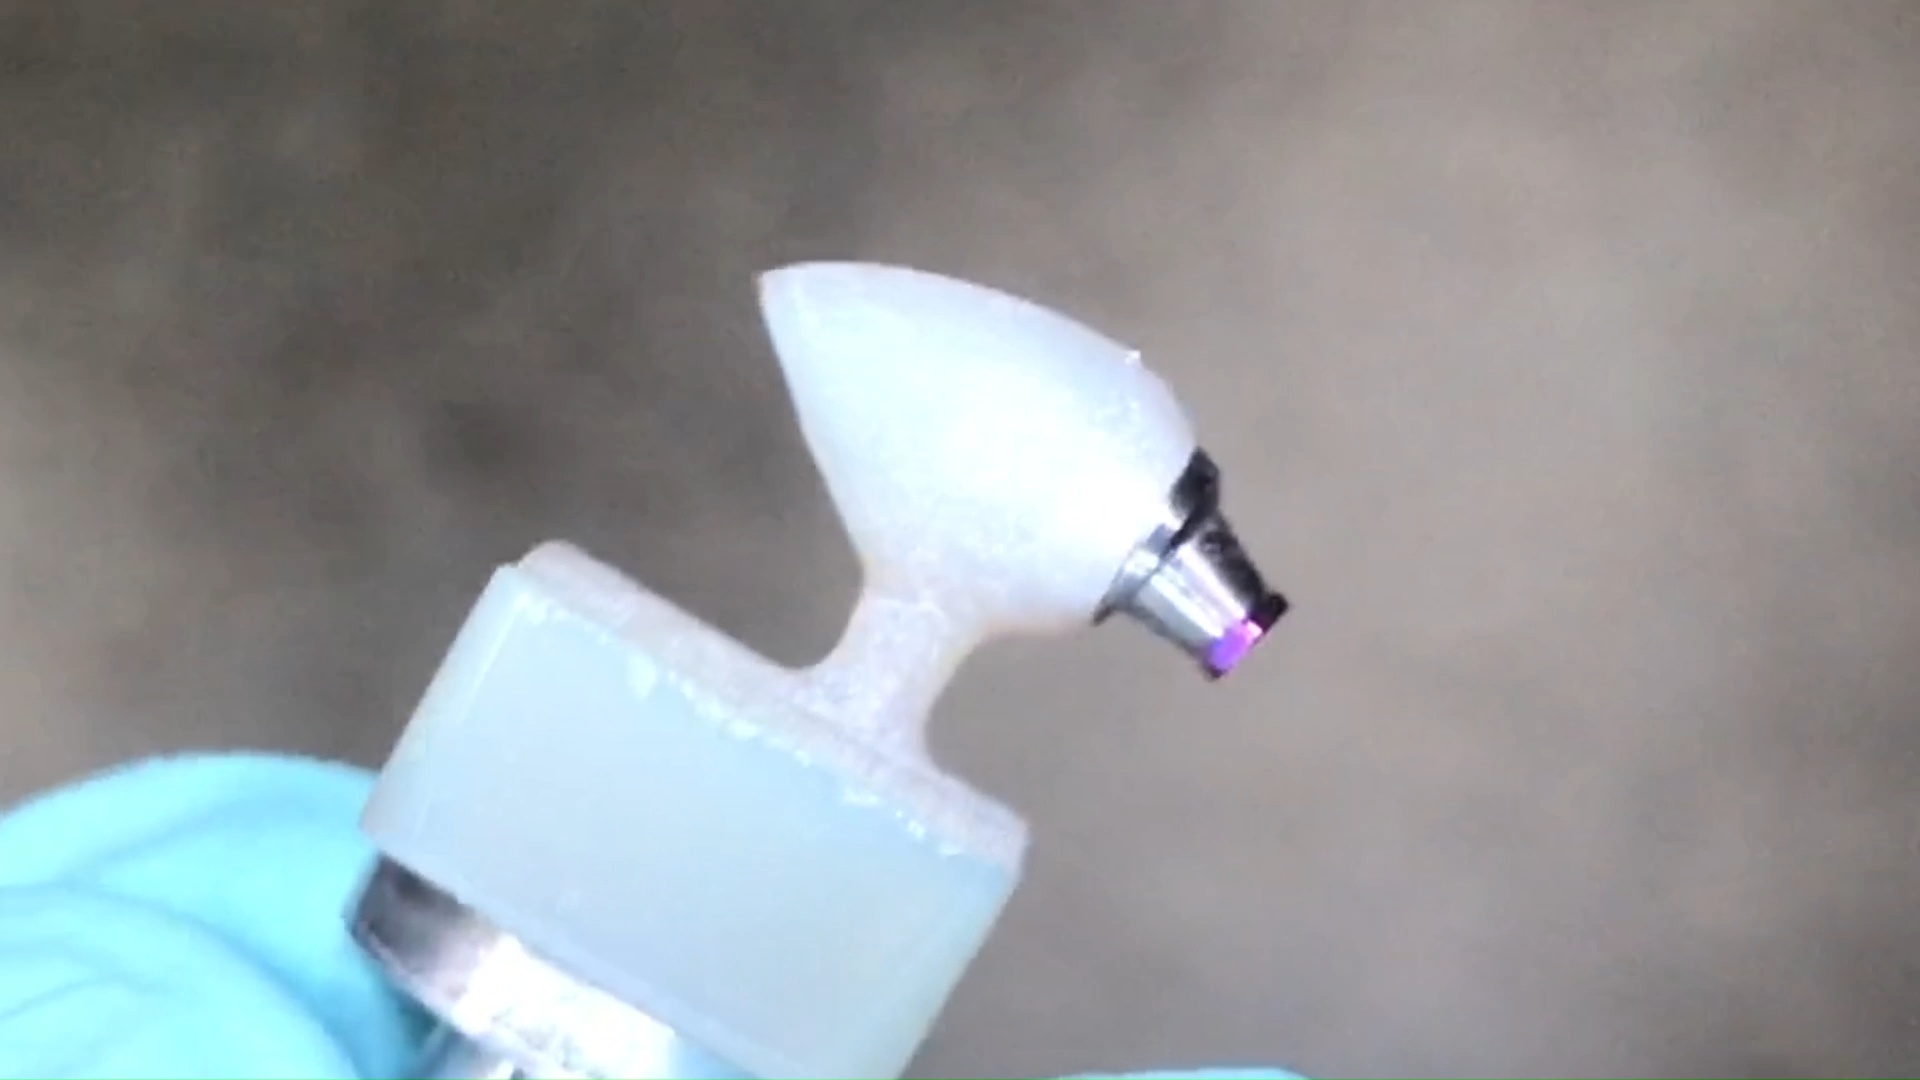
  8.  Use any restorative block you want.  There is no need to order special blocks with pre-fabricated access channels and keep a large inventory of many colors. Your regular block inventory will suffice.  Just make sure the top of the tibase is wider than the diameter of the drill used to mill out the intaglio.  Also, the CAM and the milling machine determine the exact product and different settings maybe utilized to give you relief off the walls.  Some will even remove the antirotational notch because the adaptation is so tight, the restoration will not rotate due to the tall walls of the tibase
  9.  You can check the fit outside the mouth on the same tibase or a one you keep chairside for every case to let you know that if you are not seating, it is clearly a contact or contour issue as opposed to an intaglio issue.


video
play-rounded-fill
Digital Tibase - Medit's AI Feature

video
play-rounded-fill
Fit of Tibase to Milled Restoration

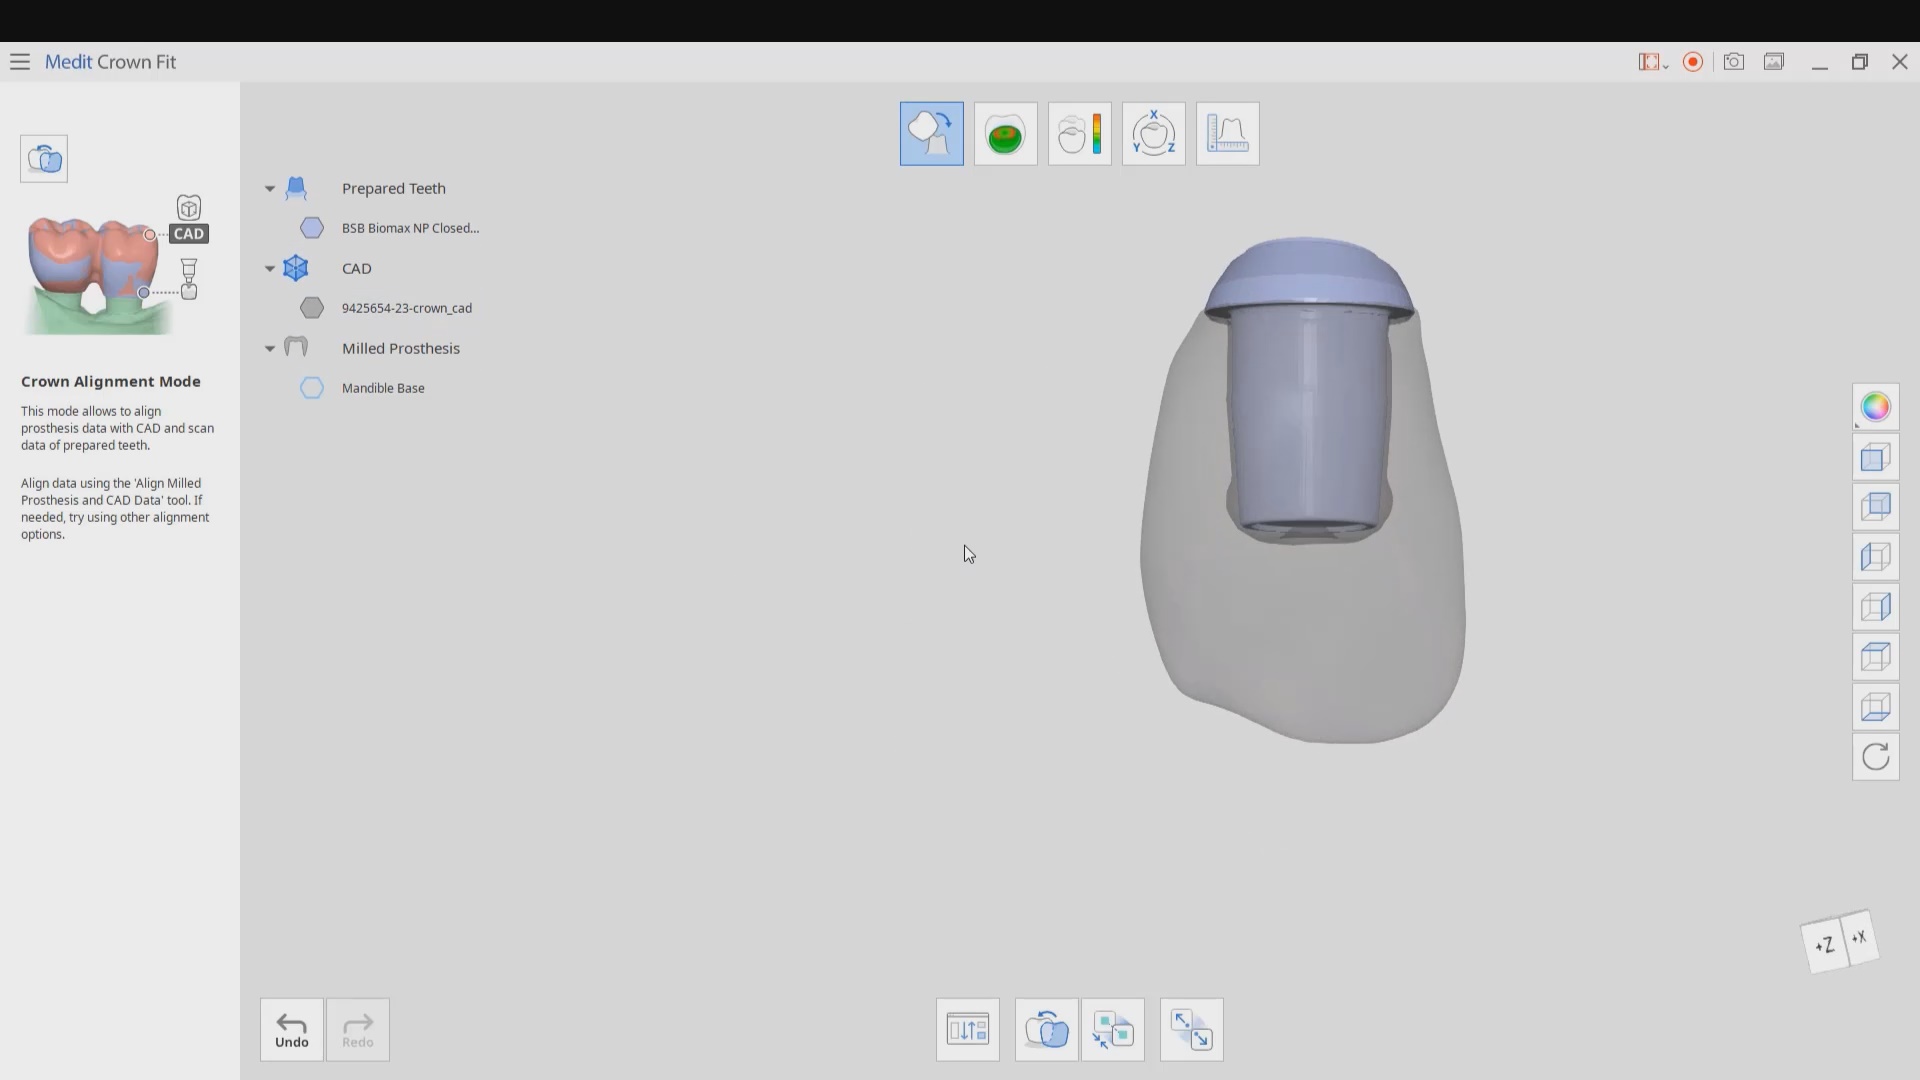
With Medit’s Crown Fit function, you can see exactly how much cement is required to seat the restoration and how well it is adapted to the tibase.

video
play-rounded-fill
Medit Crown Fit
Posted on Leave a comment

Full Arch Prosthesis – Current “Real World” Information


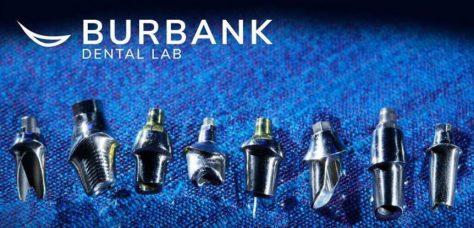
I am not one to place much faith in published articles from academicians. I usually draw my information from trusted colleagues and also a very reliable source, Mr. Andrew Sedler, from Advanced Technology Centers in Burbank California. He is in charge of manufacturing thousands of full arch restorations for clinicians and many other labs that outsource their manufacturing.
One of the things I always get a kick out of is whenever they do purchase technology or implement a process, they always have to do it with redundancy. What that means is that their machines can never go down for whatever reason, so they always purchase printers and mills by multiple sets. Interestingly, I was witness to them incorporating printers into the lab about 6-7 years ago and now they have a large wing dedicated to printing with over 20 machines for many different purposes.

I trust his judgement and always follow his recommendation and tested methods. When he says “do not bypass verification jigs, no matter what scanner was used”, I don’t even question it. He sees all the cases many entities can’t manage and he can manufacture any screw, prosthetic, abutment, etc… with their high end milling machines. In fact, it was on his word alone we decided to distribute the ICam4d by imetric.

I thought it would be a good idea to revisit full arch implant restorations with him and see what the state of the industry is like today and what he would recommend for the end users and patients. A very good perspective for a clinician to keep is how a simple mistake or misunderstanding can wipe away all the profit margins for a lab and even for the clinician. A simple example is if you have to correct an angulation issue on an abutment which can dramatically impact the costs of the lab work.
Here is the Q/A session:

“Hi Andrew, I am writing an article on full arches and would appreciate some info”

  • what % of the full arches that docs order from you are zirconia on tibases only at implant sites?
  • what % are on titanium bars?
  • what % are hybrids with acrylic?
  • what % are MUA vs Implant level?
  • what is the most prescribed full arch prosthesis now compared to 5 -10 years ago?
  • what % are soft tissue level vs bone level / mua level?
  • what would you do for yourself?
  • which one has the most failure rate?
  • how often does zirc framework break?
  • how much damage do you think people do to zirconia frameworks while trying to mill it to sharp corners of tibases?

Answers:

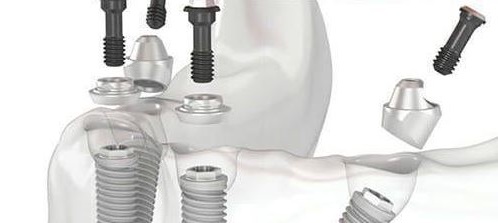
  1. MUA vs IMPLANT LEVEL : over 90% of upper arches will have MUA and 60 to 70 % of the lower arches will have MUA
  2. BONE LEVEL vs TISSUE: majority of implants (90% and up) bone level that requires MUA .
  3. The most failure rate in order is (all of these in respect to the material limitations ):
    • the traditional acrylic hybrid
    • composite hybrid next
    • zirconia monolithic
    • and the least breakage will be zirconia hybrid supported by metal frame
  4. Zirconia failure is around 4 to 5 %  (adding the internal lab remakes – i would say another 3 to 4 %)

The damage caused by adjusting the zirconia could be very considerable, especially around the access hole since those areas are thinner than the full teeth .  For myself i would restore zirconia over metal frame if my choice is hybrid, while removable bar overdenture will be a more predictable and more hygienic choice .

Posted on Leave a comment

Multi Unit Abutment on ANY Fixture

If you place enough implants, you may find yourself in need of a prosthetic part that just isn’t manufactured by anyone.  For example, you may have a hybrid case on Bicons and for some reason you wanted to restored them with Multi Unit Abutments (MUA) and photogrammetry, yet there are no parts manufactured for such an endeavor.  The problem is complex because a manufacturer needs to mass produce these parts and get them past regulatory matters.

Some have found a simple solution, which is to have the parts custom made specifically for the implant.  If they need the MUA part before the procedure, they just send a digital or physical model into a lab that can custom make the part.  The lab itself needs a prescription form on the lab analog.  Since it is custom made, you have direct input on how tall you want the height of the margin, how much  you want to displace the tissue, how much would want the restorative head angled, etc..

Most people will order a variety of them to address any situation on the same model and keep it in stock.  What’s important to realize is that from the restorative standpoint, all your CAD software needs to know is the location of your abutment margins.  It doesn’t care where fixture is and how the timing is lined up in the arch form. As long as it knows where the margins are, you can proceed with the design of the prosthesis.


Contact Andrew Seddler to send a digital or physical model and an Rx to get your custom made MUA’s

Posted on Leave a comment

Short Summary of Advantages of in Digital Dentistry

DISTINCT ADVANTAGES OF DIGITAL IMPRESSIONS

Here are two very simple examples of clinical advantages of digital impressions over analog ones.  You can edit or add to your models and you can work independent of time and sequence.

You can also know immediately if you have captured your margins correctly. Once you understand these concepts, there are dozens of ways you can apply these principles to make some of the most challenging clinical cases very easy to manage

video
play-rounded-fill
distinct advantages of digital dentistry over analog dentistry

FIND OUT HOW RESTORING IMPLANTS CAN BE THE MOST PREDICTABLE PROCEDURE YOU CAN DO

For decades, placing and restoring implants was a very stressful and unpredictable procedure. Digital dentistry has reversed that trend, making it now the most predictable procedure you can perform. You can easily capture contacts, opposing dentition, and the location of the implant. More importantly, you can design the emergence profile to your liking.

video
play-rounded-fill
advantages of digital implant impressions

SEE HOW EASY IT IS TO ADD A CONTACT TO A RESTORATION WITH AN OVEN

Emax restorations are milled in a pre-crystalized state (blue phase) as it is more gentle on the drills than the final crystallized form. A big advantage of emax lithium dissilicate material is that you can easily add contacts with addition powder in the same cycle as glazing. This reduces the stress of try-ins and allows you to recover without wasting precious time. Other materials on the other hand may require extensive oven times or a re-mill (or send the restoration back to the lab)

video
play-rounded-fill
adding contacts to emax


Posted on Leave a comment

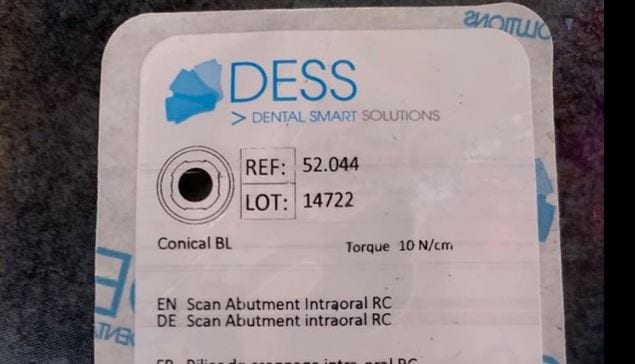
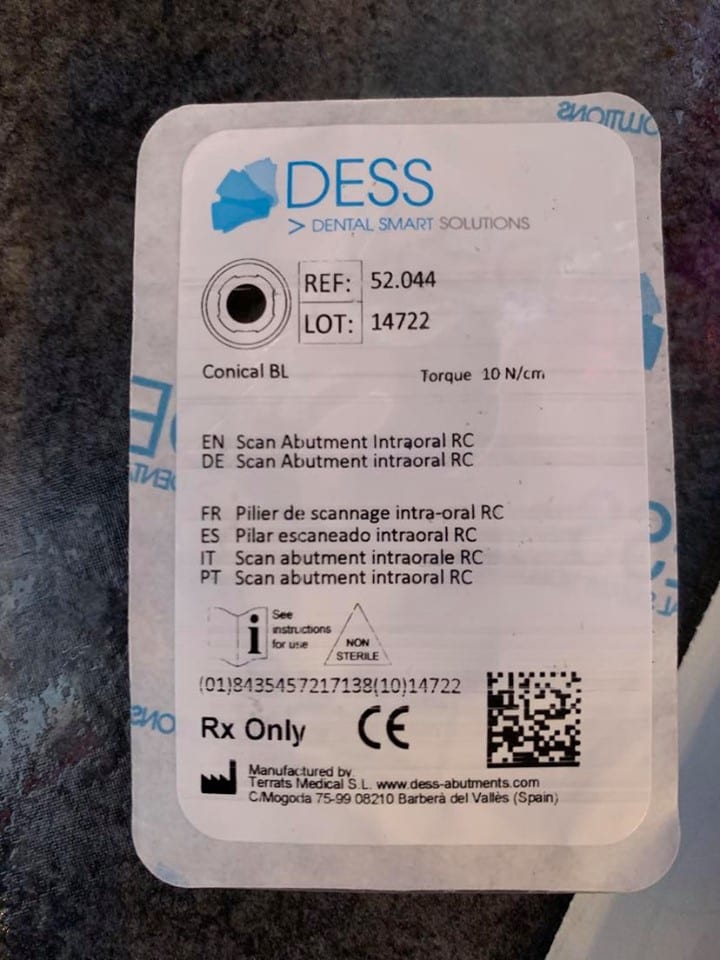
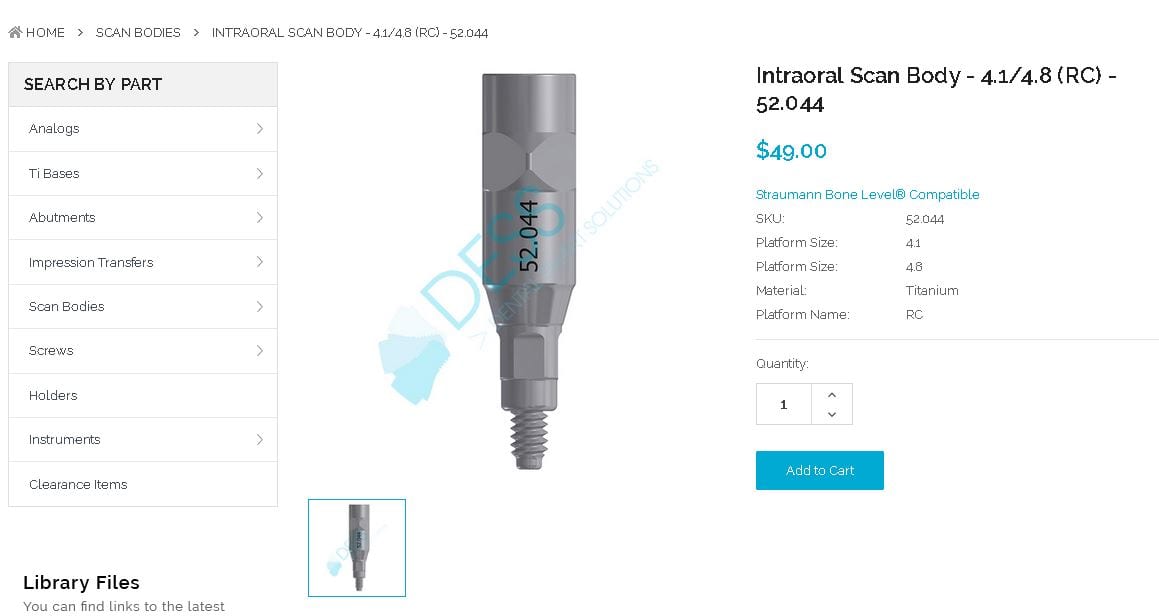
DESS 52.044 Straumann Bone Level® Compatible Intraoral Scan Body – 4.1/4.8 (RC)

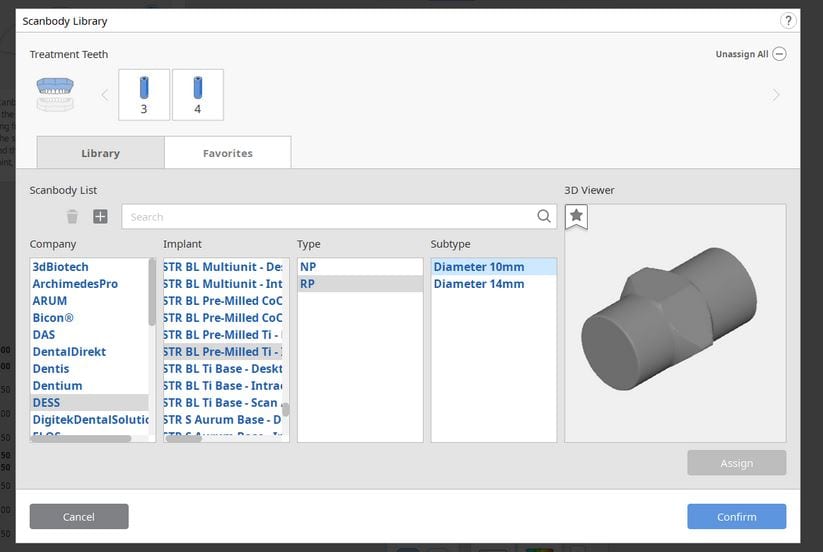
“Hi doc, I was not able to find this scan body in the automated system match.  I tried to scan conventional but lab said it was not good. I am scanning strumann RC #3,4 implants. Using one scan body switching from one to another but I couldn’t get it right”

Talk to Keith!


Posted on Leave a comment

Mixing Photogrammetry and Intra-Orals Scanner by Medit i500

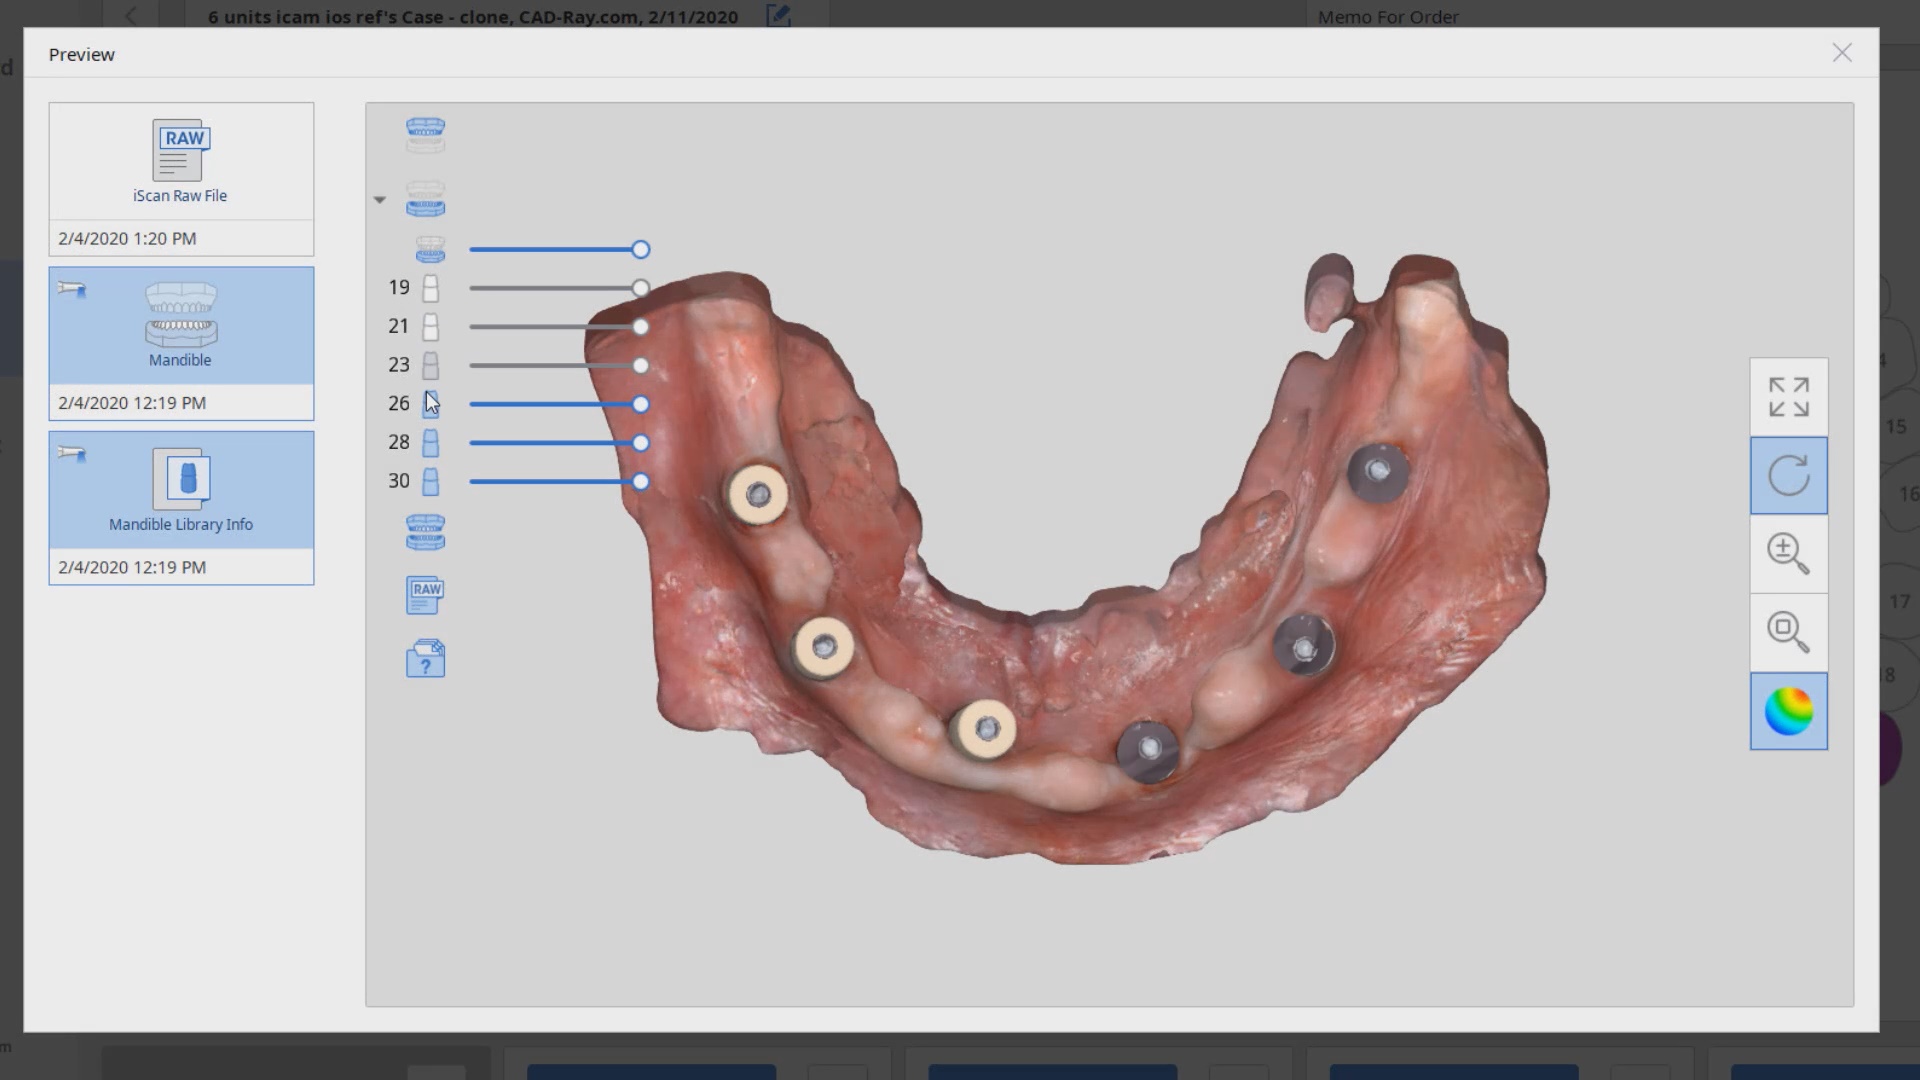
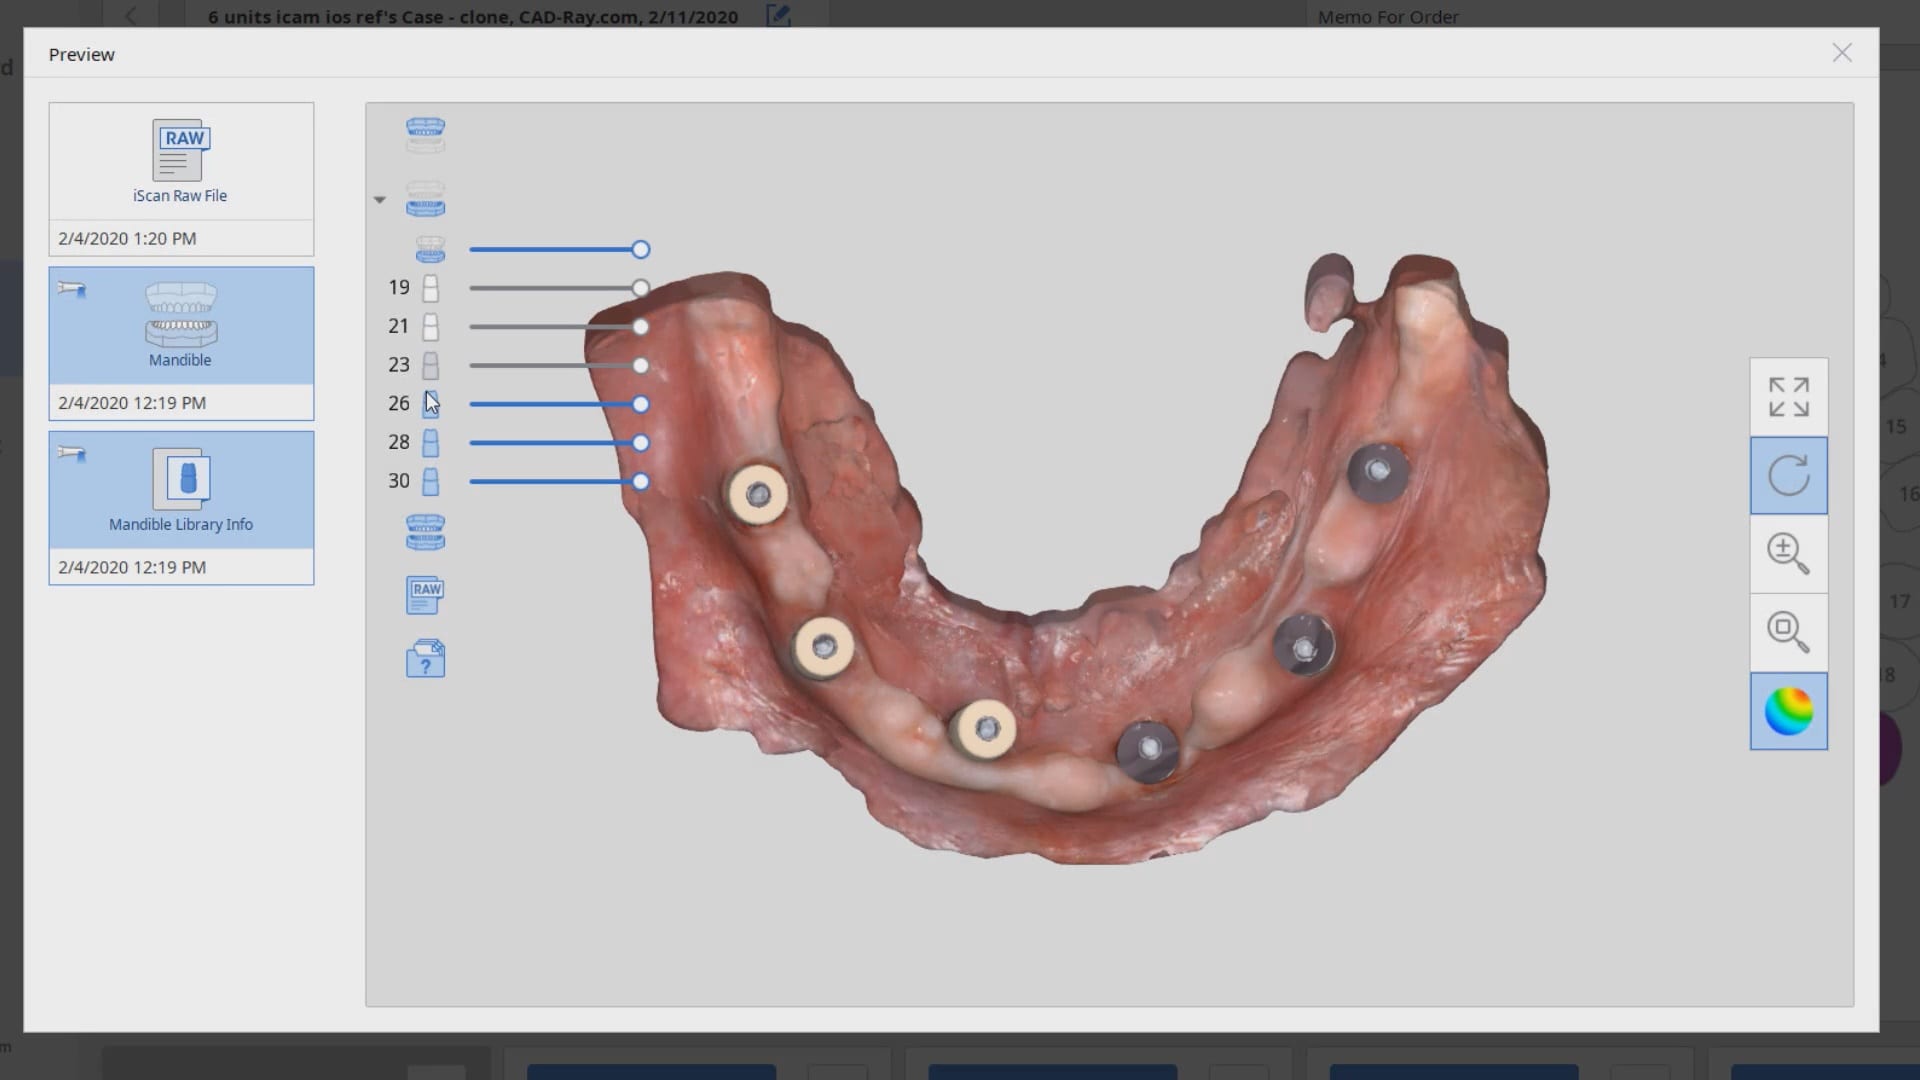
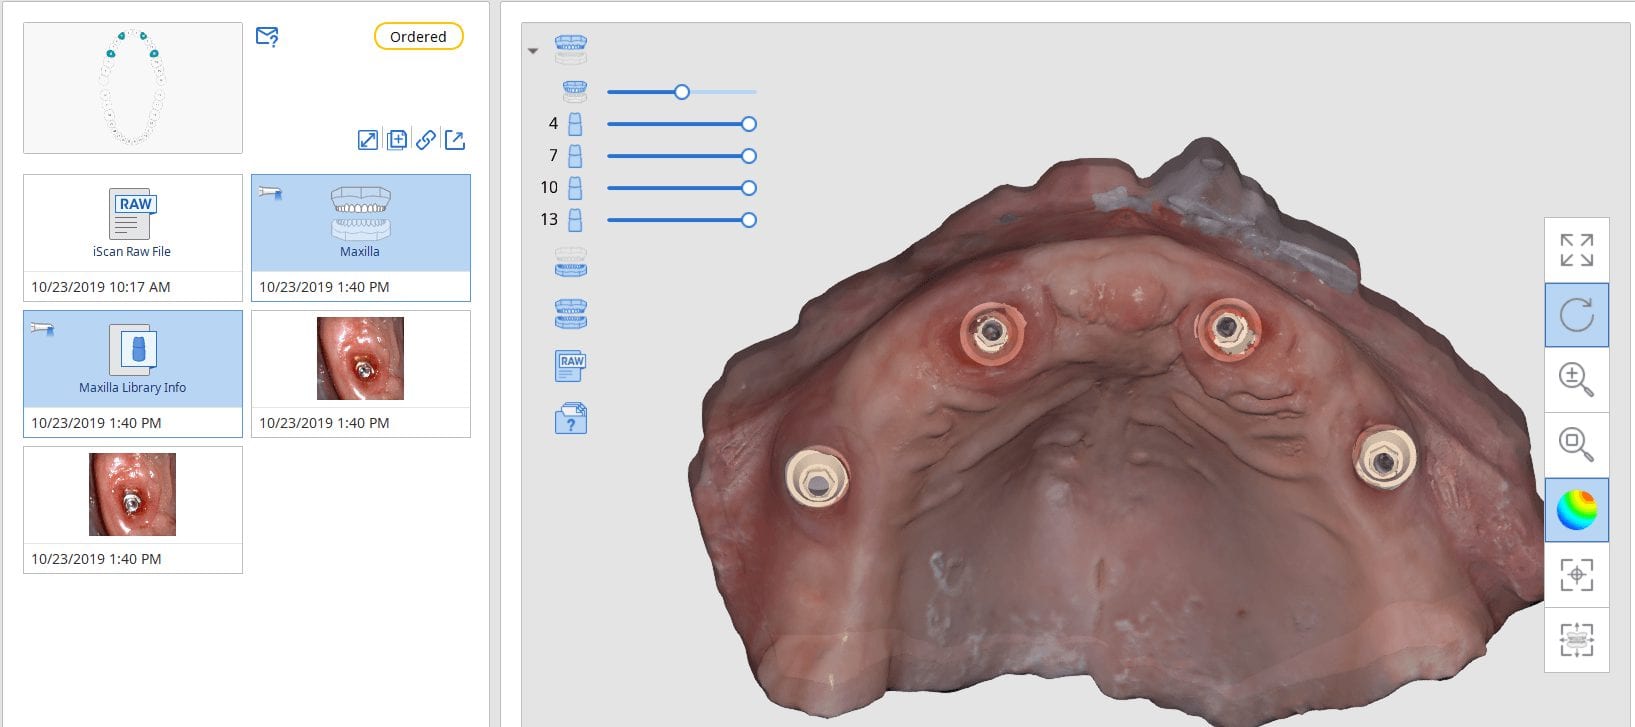
To date, the literature and research clearly points out that full arch scans with edentulous arches are prone to inaccuracies.  That’s because we have never had a way to measure and verify models while scanning. There are two features unique to the Medit i500, namely the reliability map and the artificial intelligent implant suprastructure identification system.  Individually, they do not provide much information with regards to accuracy, but if you understand how they work, you can utilize them to assess accuracy while you are scanning edentulous arches.
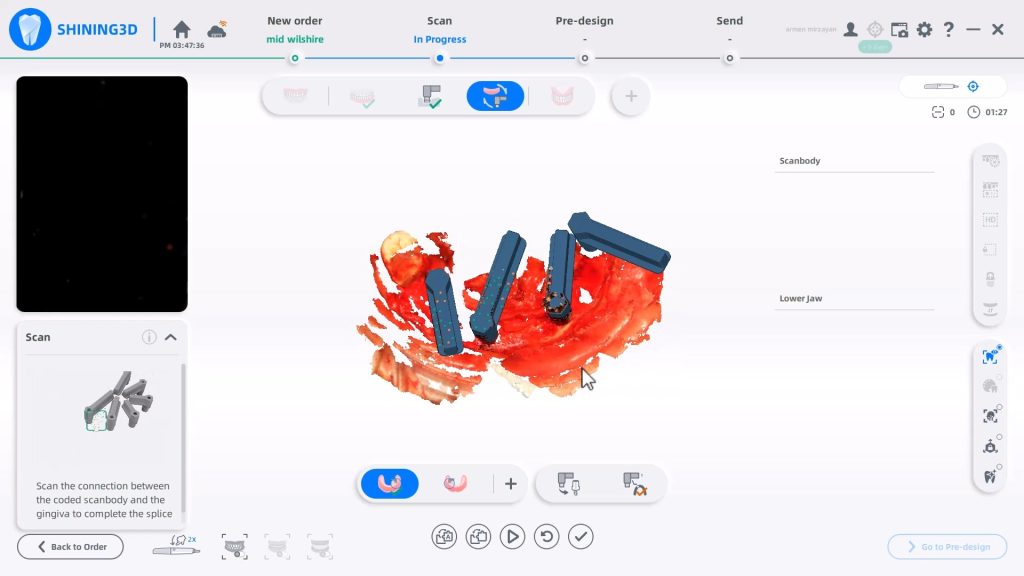
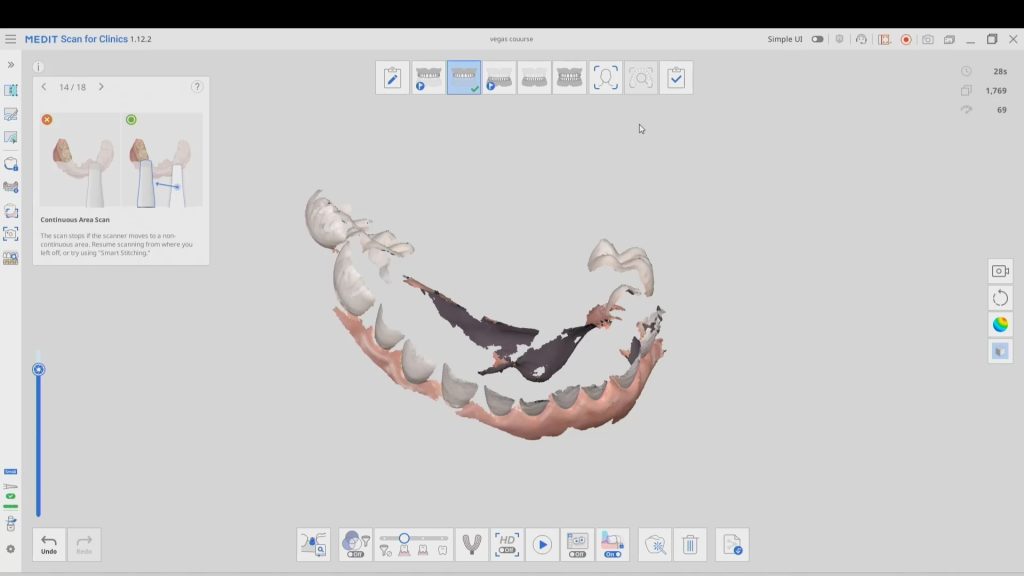
We proved the validity of this concept by utilizing these two features by incorporating a scan from the imetric Icam4D scanner and merging its data with the IOS to render a perfect match.  Details are posted for our users in the Imaging Implants Section of our tutorial liabrary

video
play-rounded-fill
Posted on Leave a comment

Using Photogrammetry to Validate the Accuracy of the Medit i500

Photogammetry has set the highest standard for full arch accuracy in digital dentistry for edentulous patients with multiple implant fixtures. An easy scan in under 15 seconds captures enough detail on scanbodies that help the software capture the location of the fixtures. Conversely, Intra-Oral Scanners (IOS) do not garner support for most of the literature that is currently published in dental journals.  Scan paths can dictate the outcome of 3D model and determine how correctly it replicates the intra-oral condition. The same scan can render a variety of results and models based on the user and the direction the scans are taken. Simply stated, the user is control over the final product.

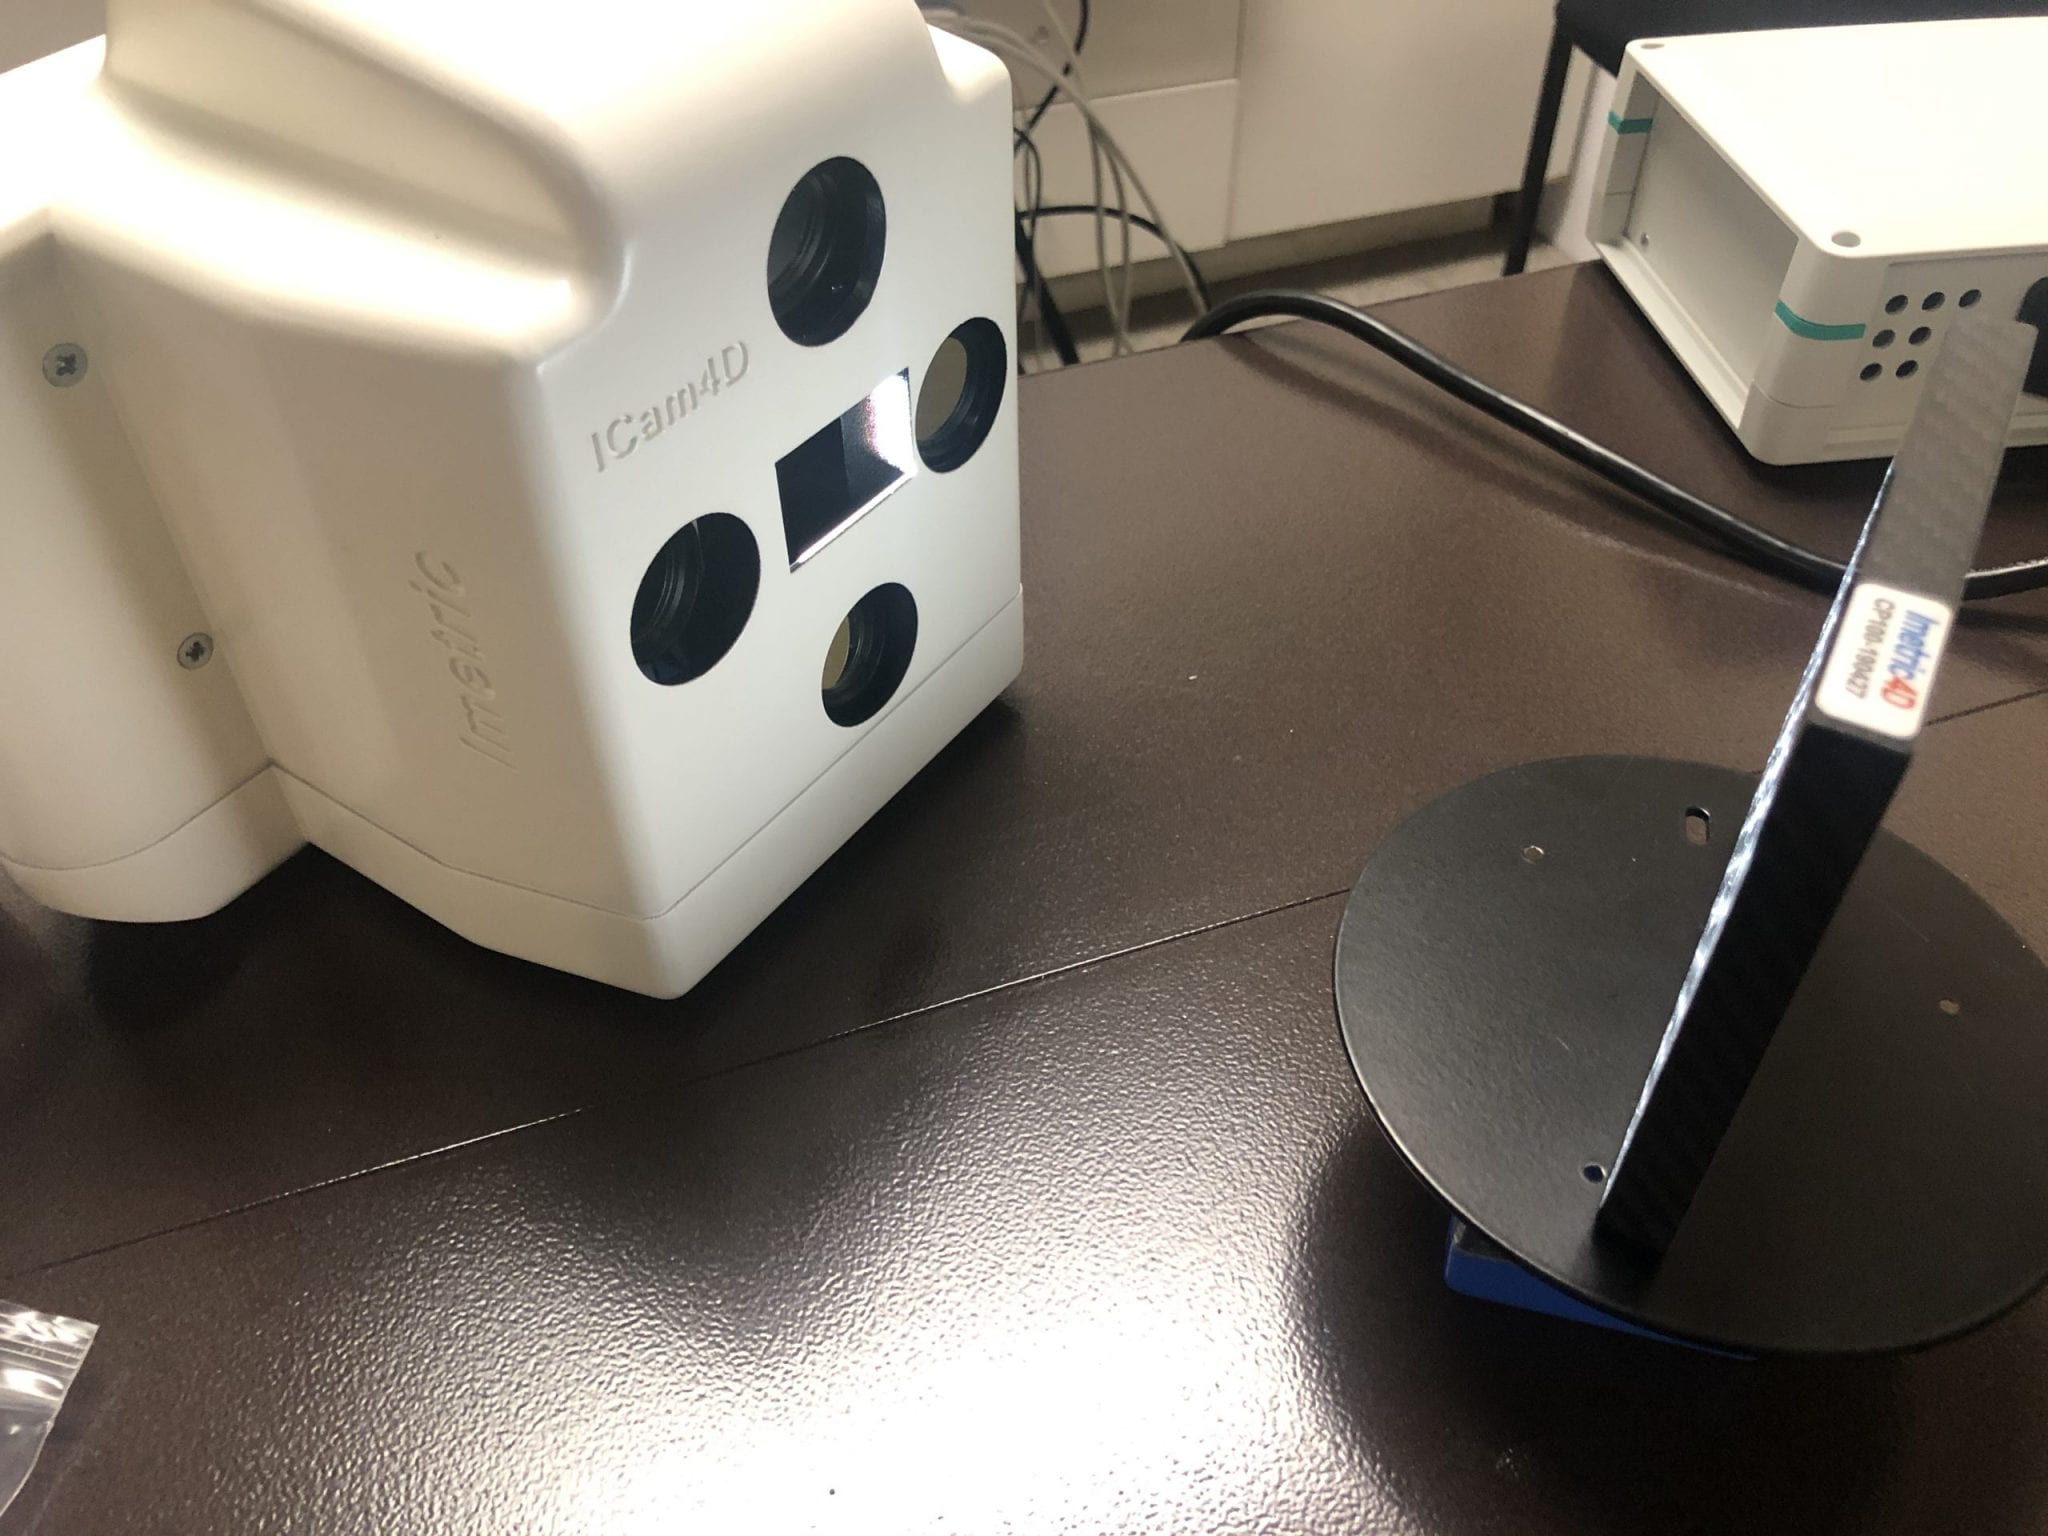
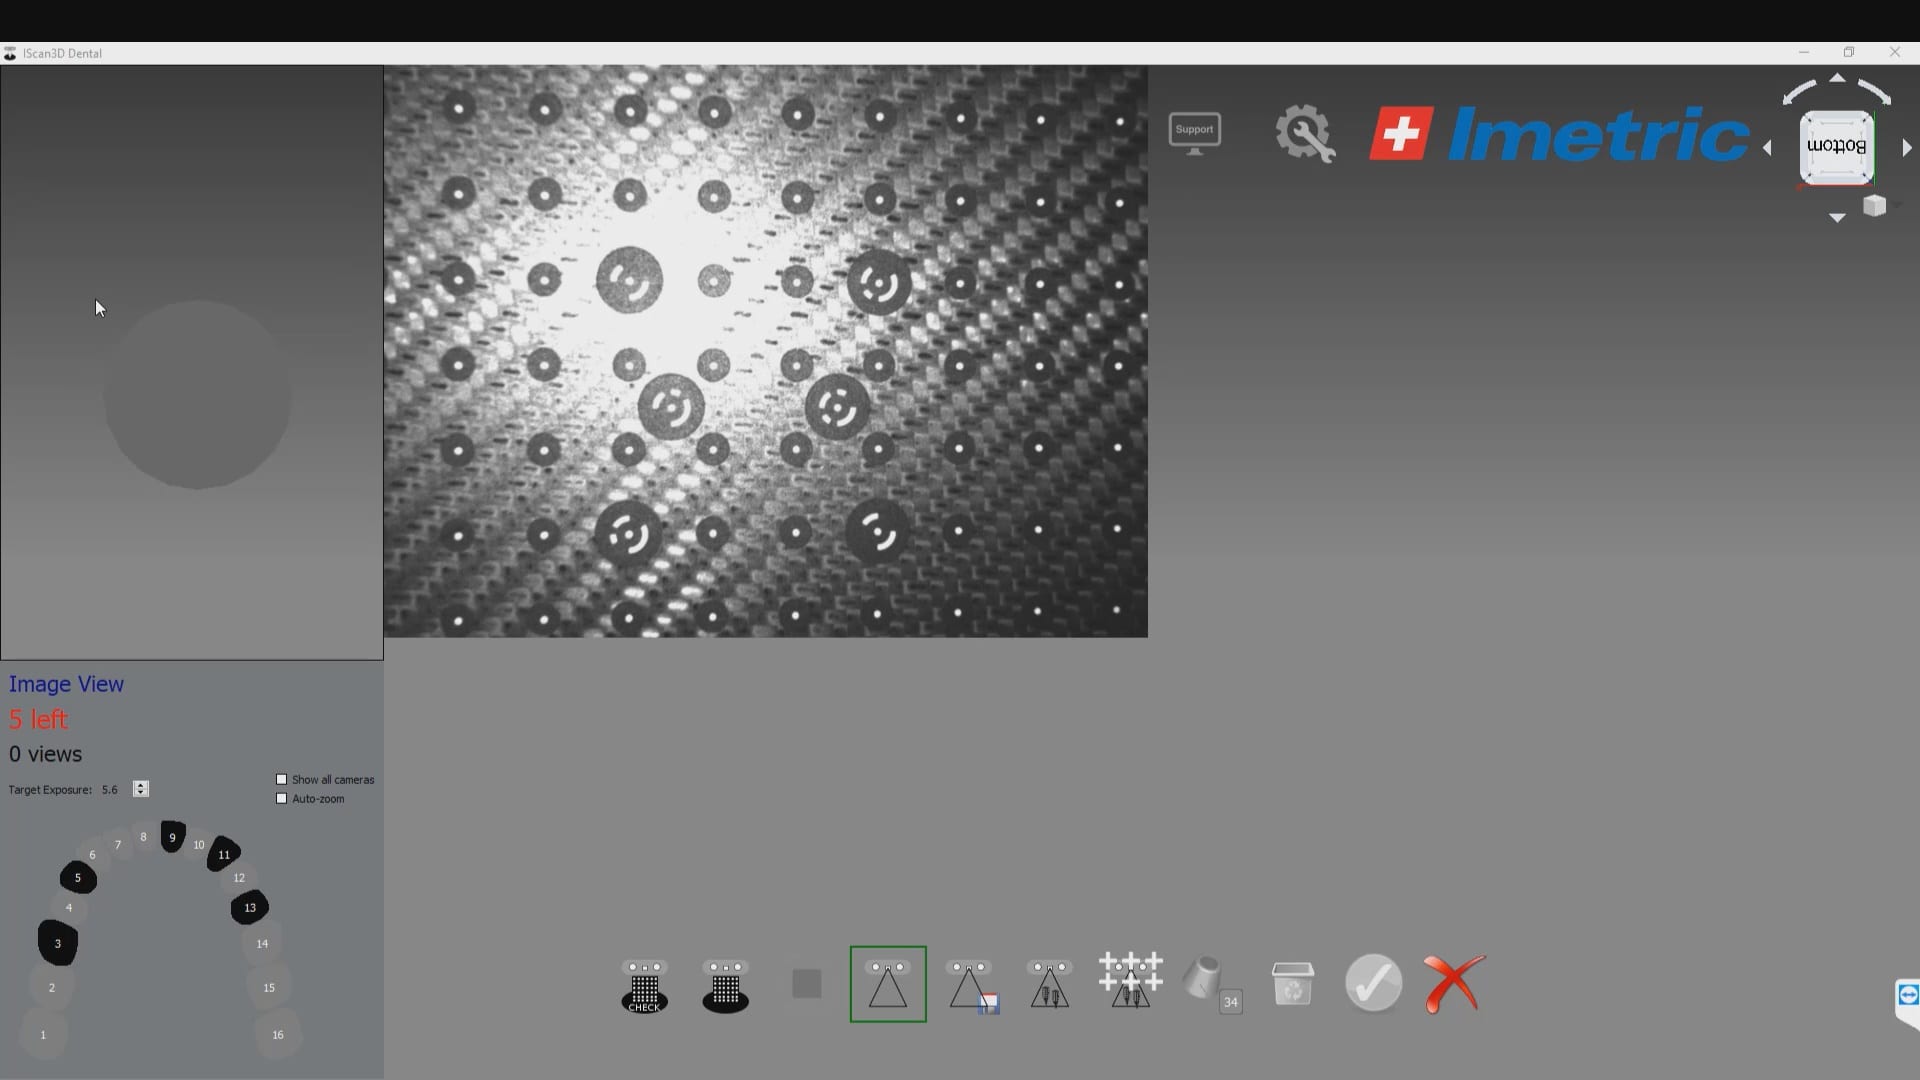
To use the ICam 4D scanner you must first calibrate the machine with a plate immediately prior to the intra-oral scan capture.  There are specific reference points that the camera and software recognizes and after you capture about a dozen landmarks, you are ready for an intra-oral scan

Calibration of the ICam 4D Photogammetry  Machine

video
play-rounded-fill
calibrate icam 4D


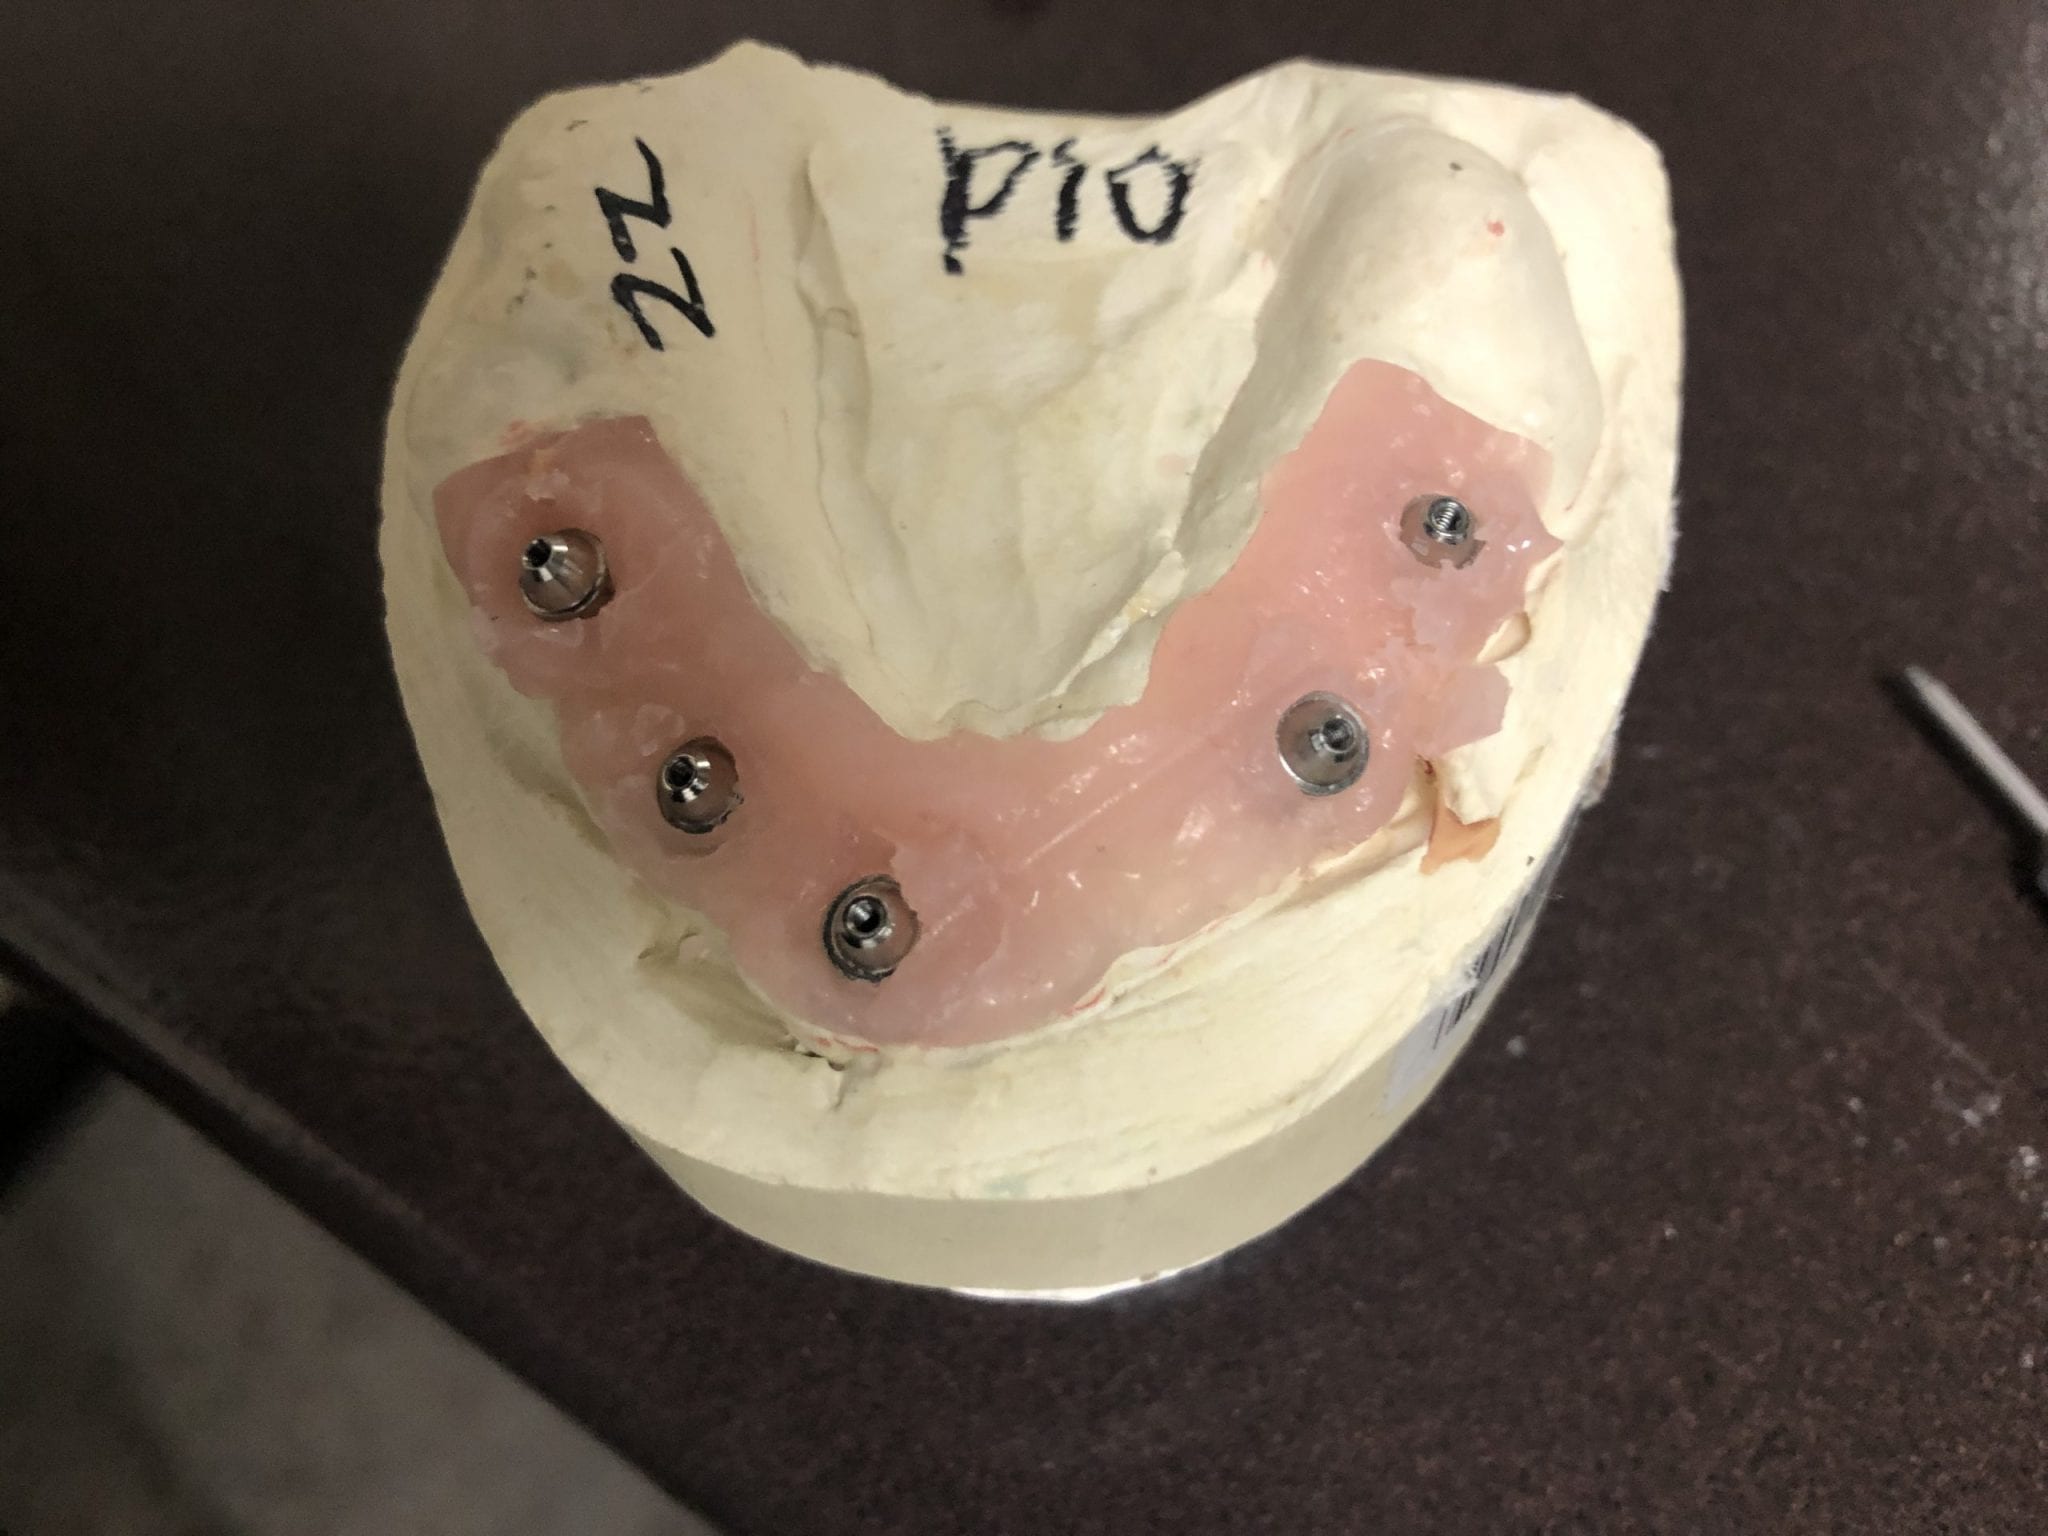
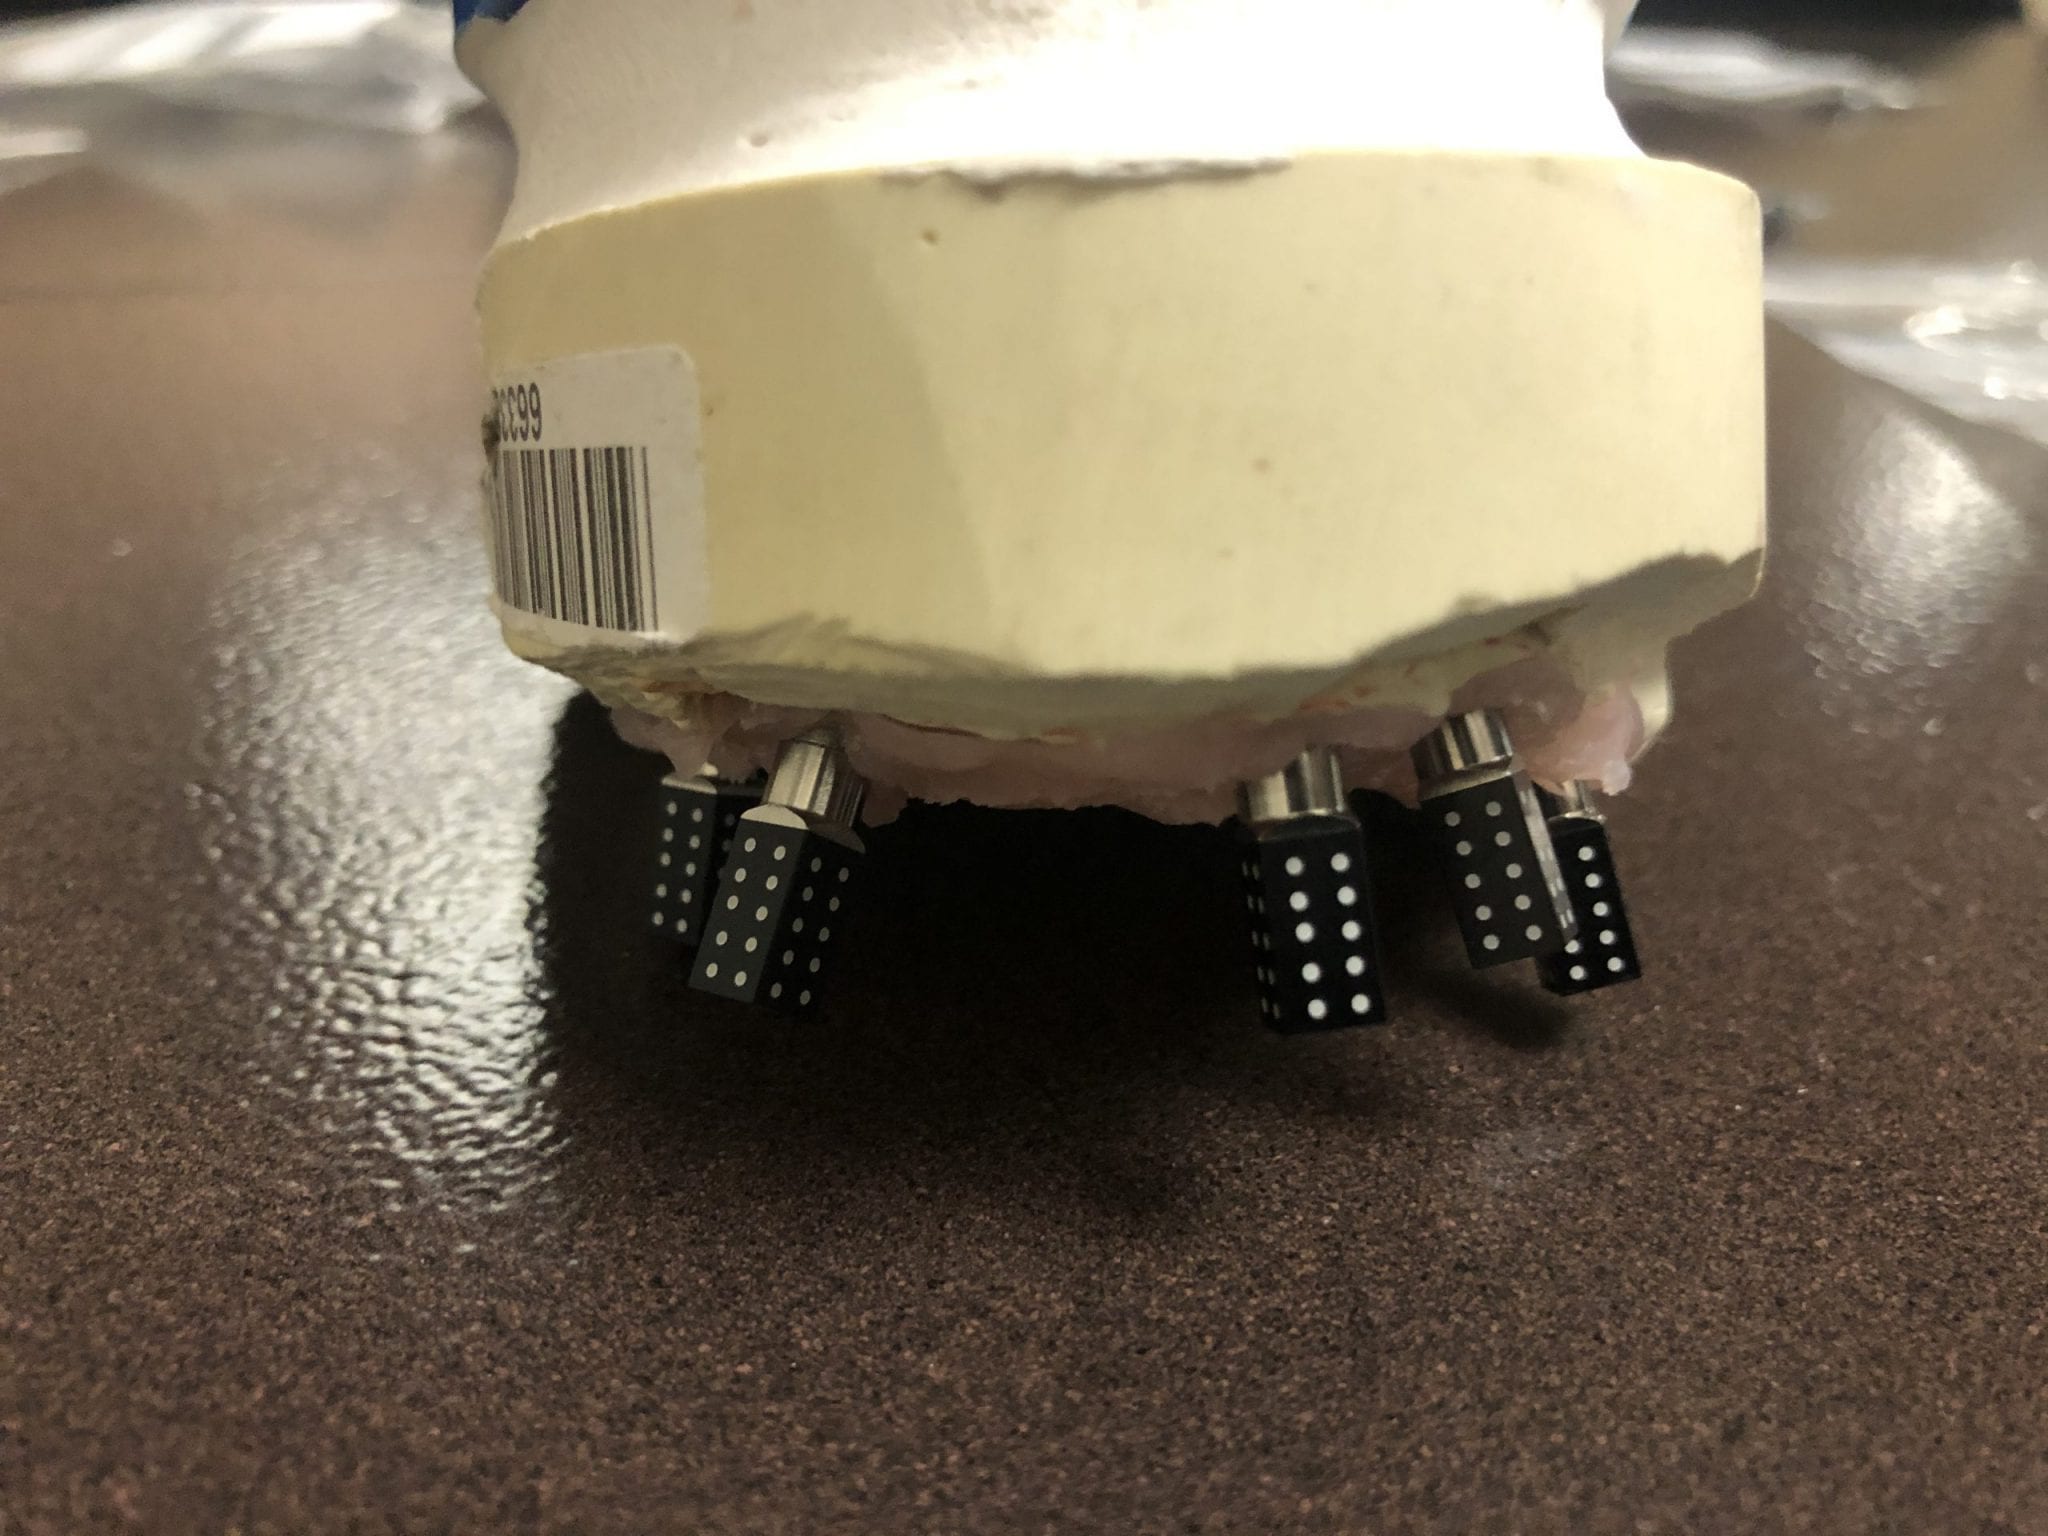
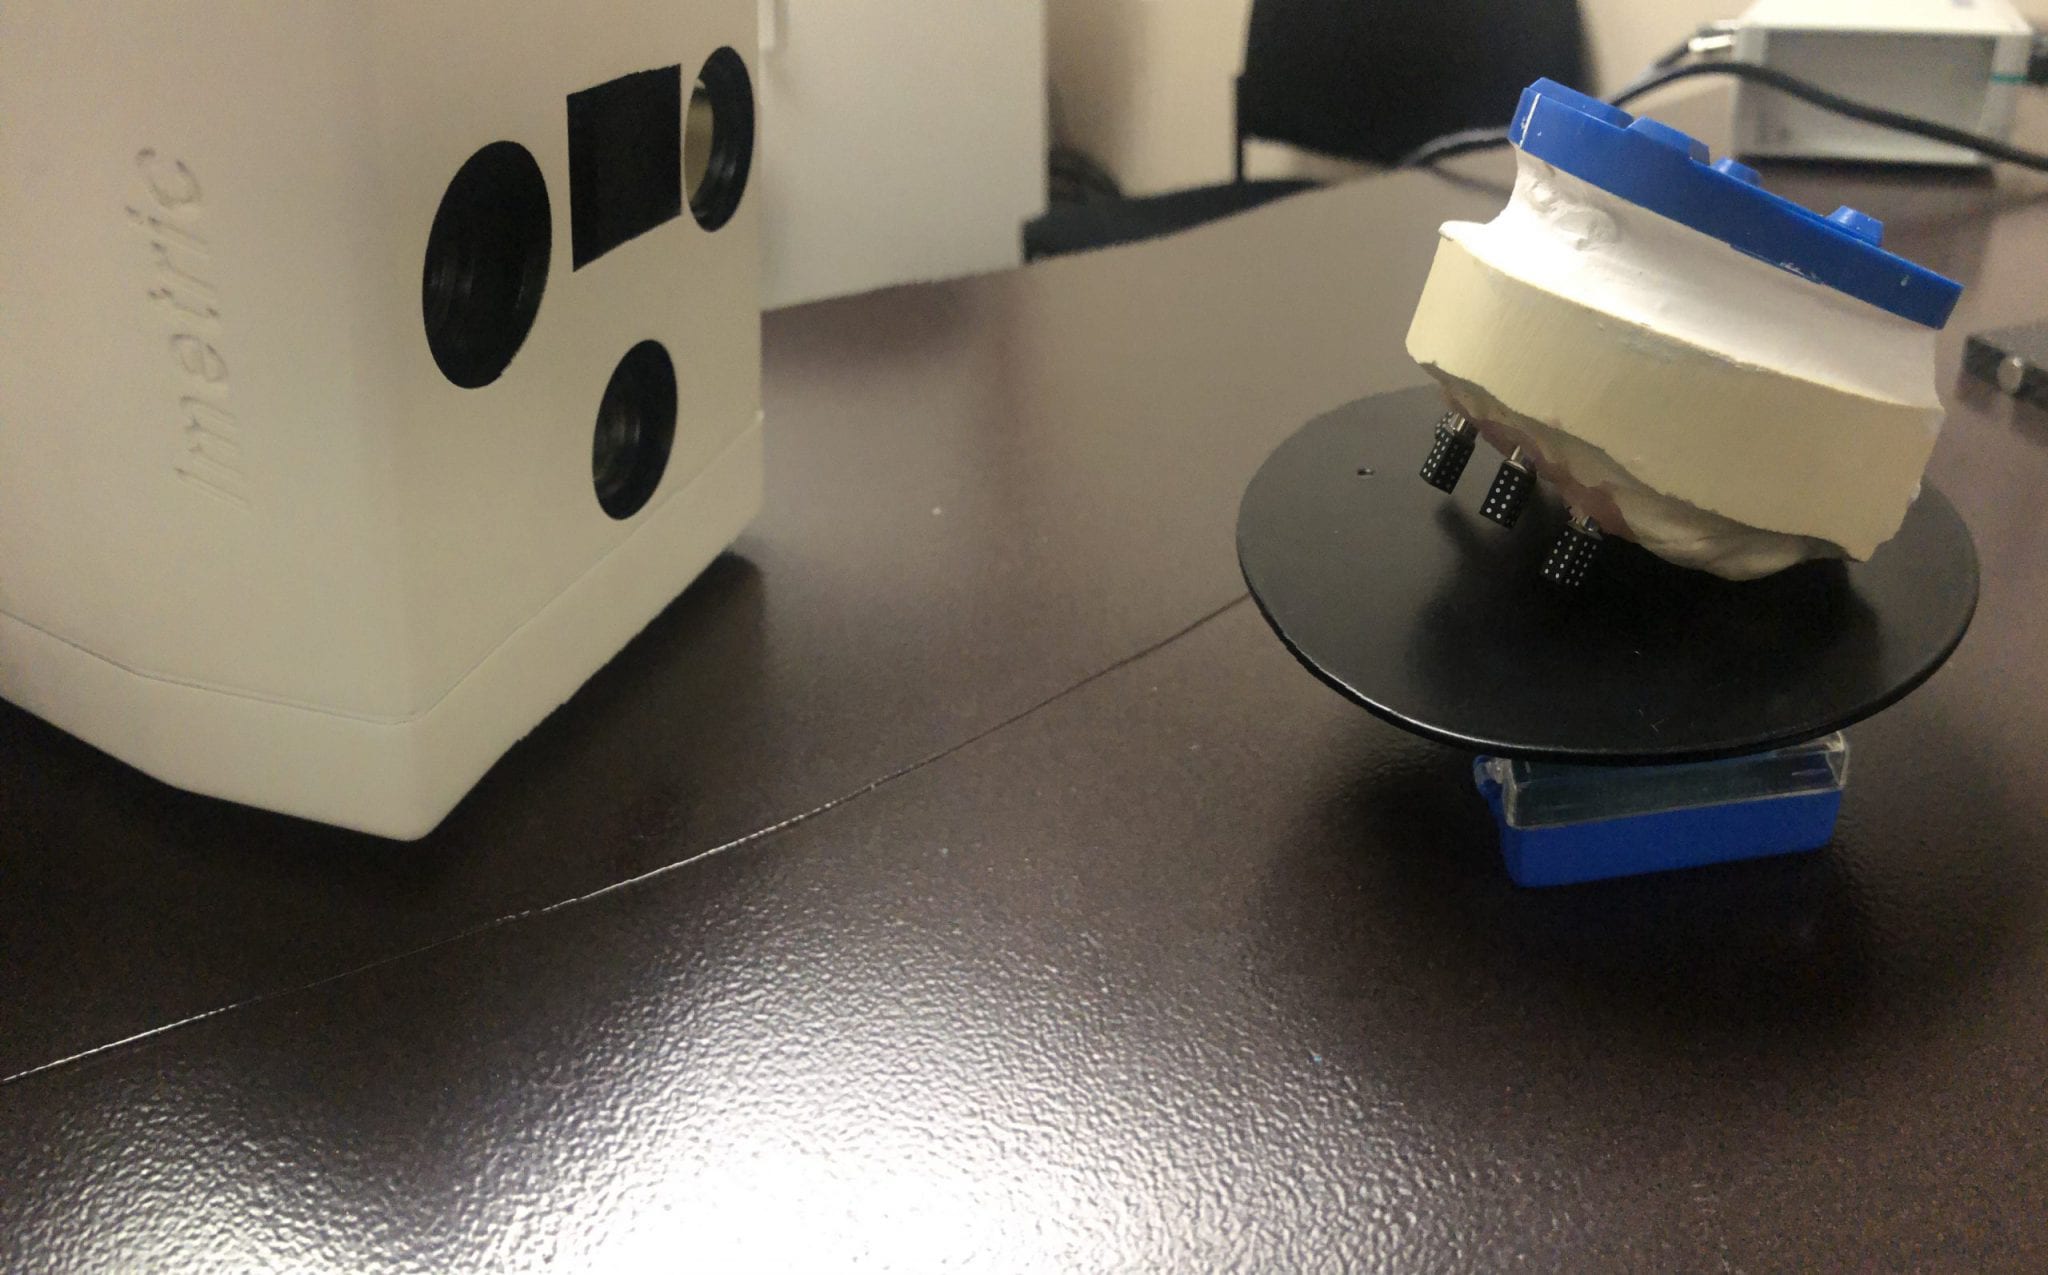
After the camera is calibrated, the patient, or in this demonstration case, the model with Multi-Unit Abutment analogs is mounted with ICam Reference Bodies that are shaped like dominos.  They can attach to the multiunit abutment or directly to the implant fixture (available soon in the USA).


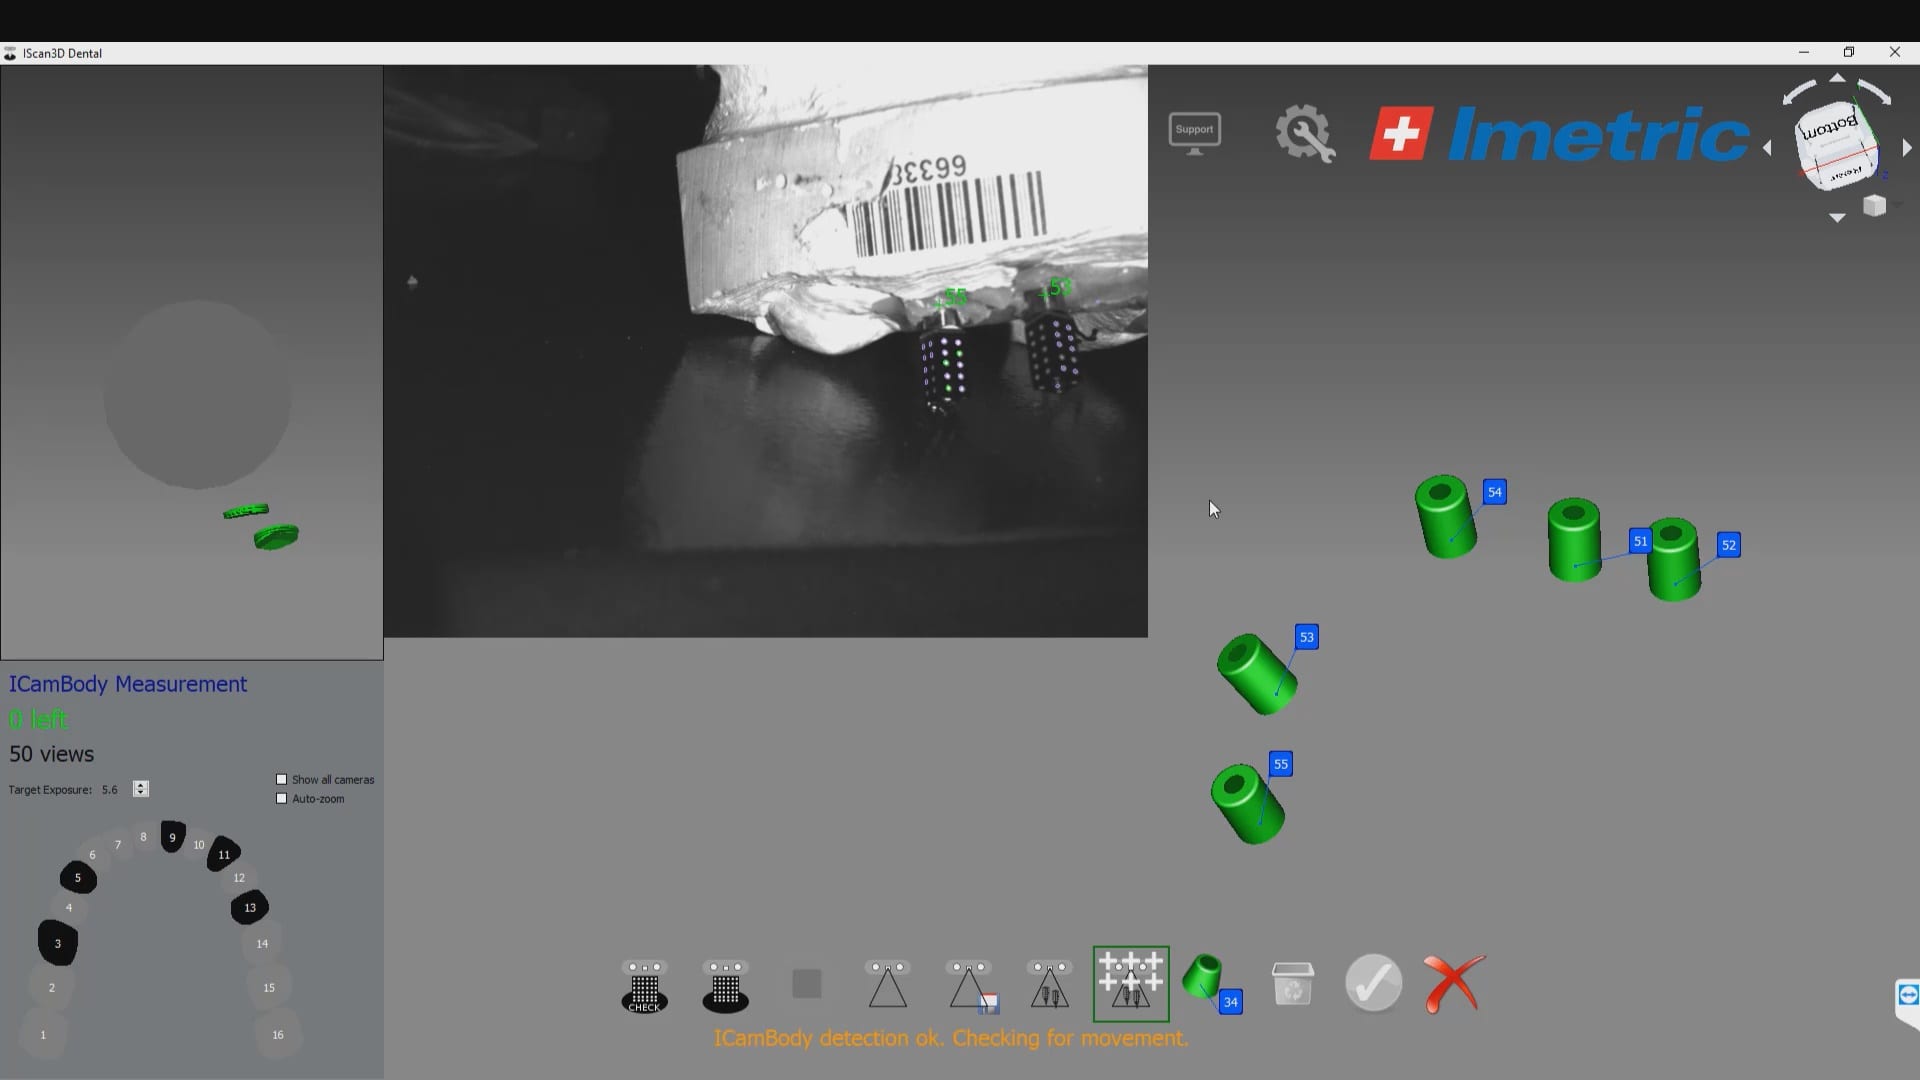
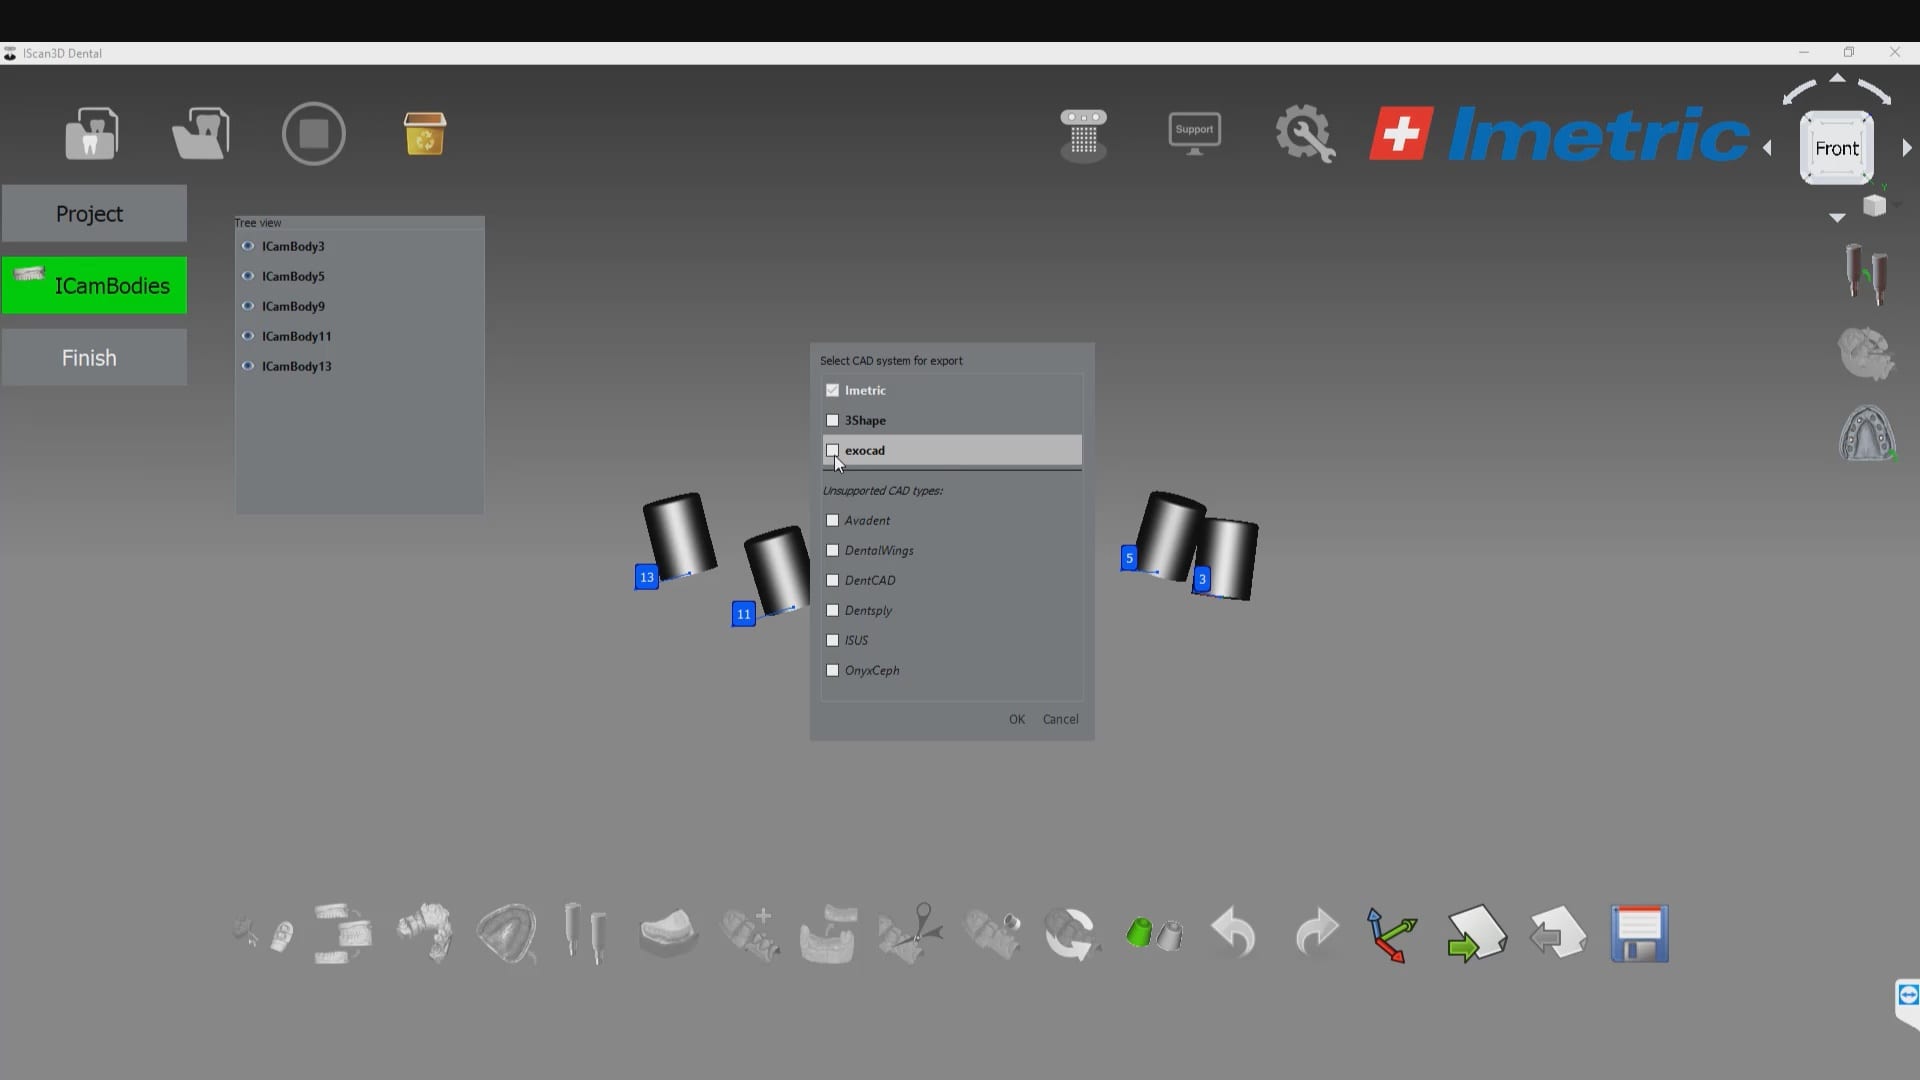
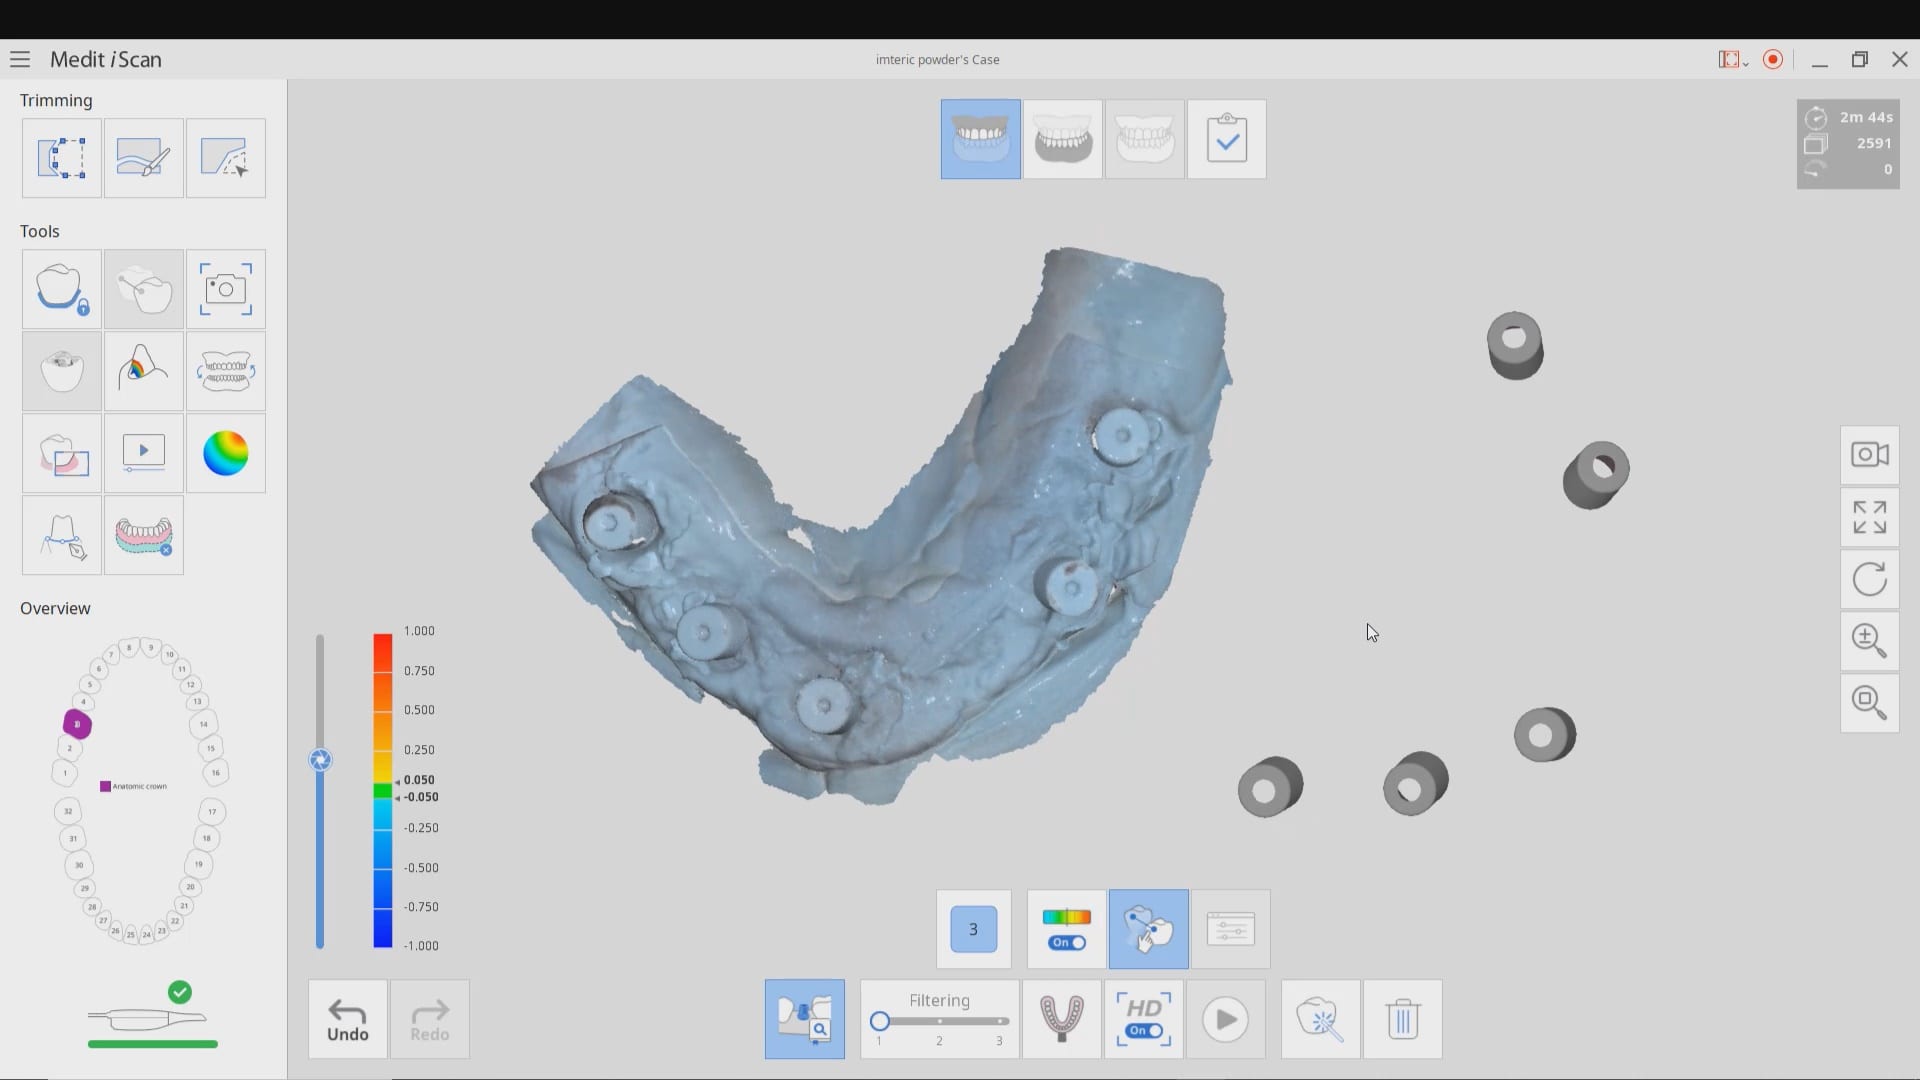
The markers are captured by the device in the software with multiple identification marks, ideally 10 marks on each scan post.  This data is then exported as an stl file that has all the locations of each cylinder preserved.  This whole process just takes minutes.  Most people just utilize this device for full arch impressions so they can bypass the verification jig for large cases.  Here, we use it to assess the accuracy of the medit i500 ios to provide cross arch accuracy if doctors follow our protocols for imaging, which utilizes the reliability map as a guide for imaging.  When then utilize the Artificial Intelligent Implant Suprastructure Identification Software to merge and evaluate the accuracy of the ios scan.

video
play-rounded-fill
measure implant icam scanbodies
video
play-rounded-fill
save the implant scanbody cyliners and their coordinates

There are a lot of ways one can introduce errors into a full arch scan with any ios, but the medit’s powerful features that include the reliability map and the AI tool separate it from all other scans that do not allow you to assess the accuracy of your scan while you are imaging.  You can only do so with the fabrication of a verification jig

video
play-rounded-fill
Medit's AI feature merges the IOS model with the photogammtry produced model
Posted on Leave a comment

Implants and Digital Impressions

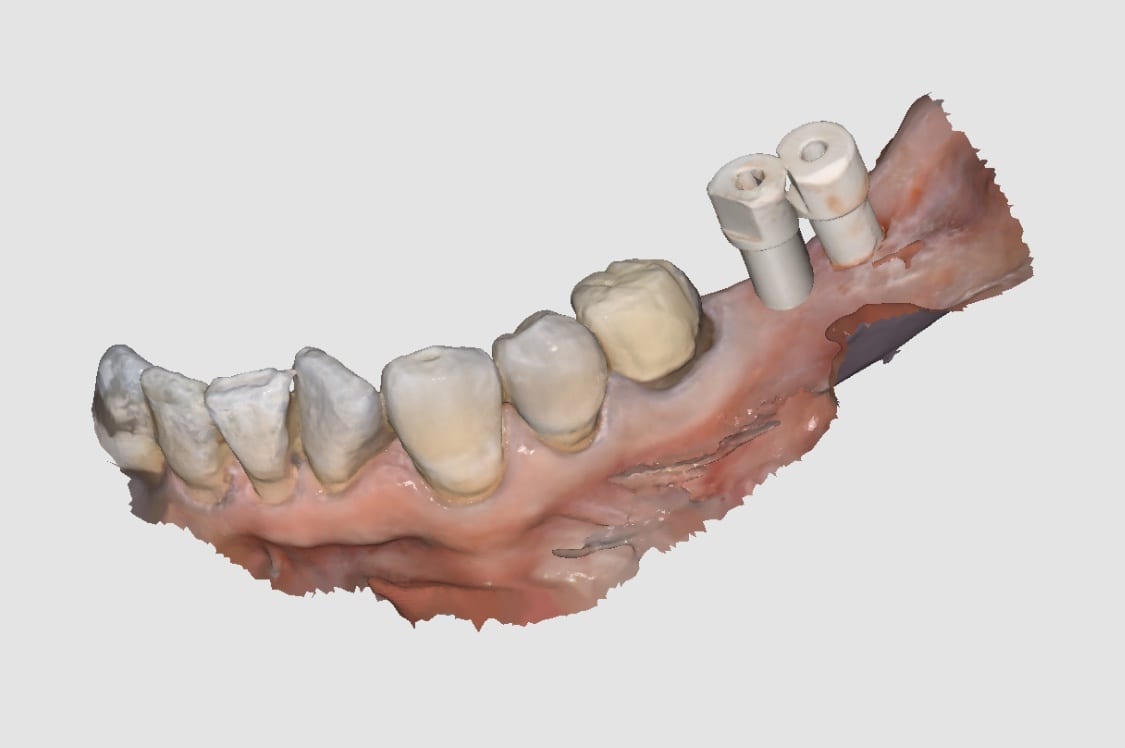
“Yes it can

I would however do separate abutments and crowns just in case you bind somewhere you can adjust crowns separate from abutments

You would have struggle with analog impressions

This is THE indication for digital dentistry over analog impressions!

I’m stealing this photo for my presentations 😉”


Posted on Leave a comment

What Is An Implant Scanbody, Why Should You Use it, And Why You Need The Medit i500’s AI !

dental implant scanbody used by the medit i500

Dental implant surgery and restorations were the most risky procedures just 10 years ago. They were also the most profitable, but also carried the largest liability and the most significant surgical and restorative lab costs. A simple error introduced in the restorative process could easily eliminate the profit margin and a more significant mishap can create an undesirable outcome

We have seen dramatic changes in implant surgery where both the cost of the surgical stent and the fixture placement have reduced to the point where fully guided surgery is now the norm as they speed up the surgery and normalize the accuracy of placement across a broad range of practitioners with varying levels of experience. We are now seeing the same type of effect on the restorative side of the implant treatment, where digital dentistry is greatly reducing costs and errors.

With permission from blueskybio.com, we captured some key elements with analog impressions to highlight potential errors that can be introduced. The full video can be seen here:

video
play-rounded-fill
analog impression of an implant fixture

The common sources of errors that someone can introduce are:

  • The inherent nature of impression material that can distort during the impression step
  • The angulation of the impression abutment may prevent it from seating all the way or may bind on the adjacent teeth making it difficult to capture an accurate impression
  • The size of the impression abutment can usually block access to the contours of the adjacent teeth where the pvs material does not capture the detail needed to generate good contacts and emergence profiles
  • Not securing the implant analog with the abutment in the impression material so that it does not distort or vibrate out of its position while pouring stone into the PVS material
  • With multiple implant, the problems can compound exponentially if the implants do not draw well together with complications ranging from locking the tray in the patient’s mouth accidentally or distorting the impression material enough when removing it where you decrease the accuracy.  Some practitioners prefer to do this in multiple steps, correcting angulation and collisions with custom abutments and several impressions

Fortunately, in this impression of 3 implants that were placed with a guided, the impression abutments are parallel to each other but just a few degrees in either direction, you can have multiple collisions of the abutments with the adjacent teeth or in between the abutment themselves. What a scanbody does is it allows for the optical scan of a geometric shape that helps CAD software identify the exact location of an implant fixture, its timing, and its relationship to the arch form.

It has significant advantages as there is no distortion of the impression material.  Moreover, you can capture all the detail of the adjacent teeth before you place the scanbody in the mouth.  This dramatically reduces the errors and adjustments you will need to make during the seat appointment.

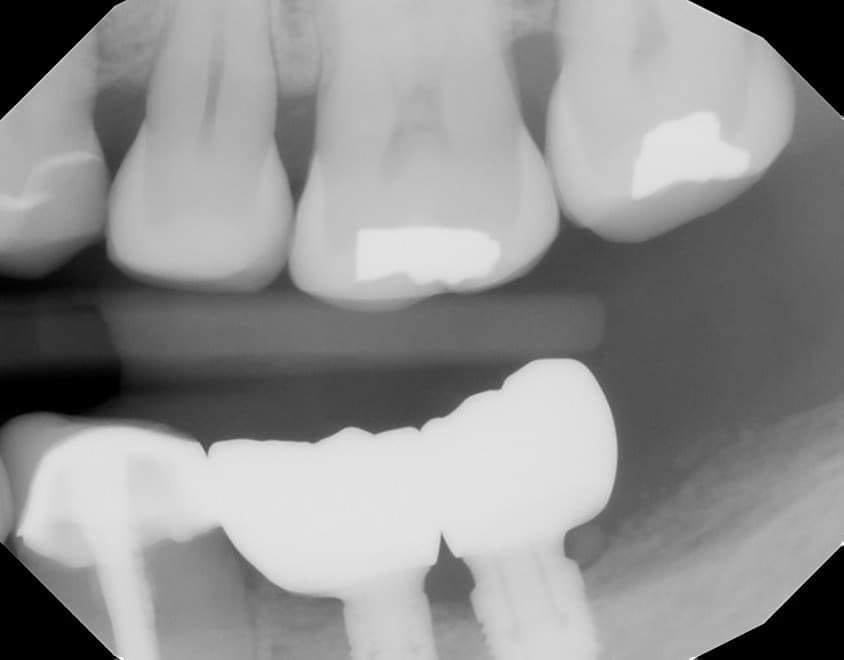
This video shows you the contour or the shape of a specific scanbdoy. There are many manufacturers that produce the scanbodies for a variety of fixtures with different geometries.  Ideally, you use a titanium based one so that you can take an x-ray to make sure it is seated all the way.  A frequent cause for error with digital impression is that you bind on tissue of bone which block you form seating all the way.

video
play-rounded-fill
sample scanbody

Once you have scanned the pertinent information, you can then take the digital models to CAD software where the location of the fixture is identified digitally and you can design the restoration of your choice.  This can be titanium abutment or a tibase that retrofits ceramic material like emax or zirconia.  The following video demonstrates how you identify the scanbody in exocad and proceed with a sample design.

video
play-rounded-fill
purpose of a scanbody

Once the design is completed, you can outsource the fabrication of the abutment and/or the crown.  There are many machines that you can use to fabricate the titanium abutment.  Please note that the milling machines do not mill the connection. The connection to the implant comes pre-manufactured.  The cylindrical block is milled to shape.  The cad software also maintains the relationship of the abutment to the crown so that they retrofit to each other.

video
play-rounded-fill
video
play-rounded-fill


Now imagine if you had multiple implants that did not draw together?  What’s great about digital dentistry and how we use the Medit i500 here is how we utilize a single scanbody to capture the location of 3 fixtures.  One thing we emphasize at CAD-Ray is how digital impression allow you to create models over time and out of sequence. They are also editable and additive.  In the subsequent video we demonstrate how you can capture segments at a time, which can greatly help when you have implant abutments colliding into each other.

You can place the scanbdoy in one location, scan it, digitally protect the area, remove the scanbody, place it into another location and image it at the new location, dramatically overcoming all the obstacles described above

video
play-rounded-fill
video
play-rounded-fill
3 implant fixtures captured with one scanbody

Now for the greatest news and the largest advancement in digital dentistry in a decade!  Medit i500 has launched the Artificial Intelligent Implant Identification System where the software automatically recognizes these scanbody and lets you skip dozens of steps to get to the immediate design steps of the restoration.  The algorithm utilized to match the digital scanbody to the physical one is proprietary to Medit and is unparalleled in its accuracy.  A lot of the guess work and inherent errors in the digital platforms are reduced with this software which is a contrasting as the difference between analog and digital impressions.


Posted by Armen Mirzayan on Monday, September 23, 2019

Posted on Leave a comment

Using Medit’s Artificial Intelligent Implant Suprastructure Identification System to assess the accuracy of a cross arch digital impression!

medit i500 artificial intellegent implant identification system


Using Medit’s Artificial Intelligent Implant Suprastructure Identification System to assess the accuracy of a cross arch digital impression! long title but it had to be to do it justice. For a primer, we highly recommend that you watch all of our videos on imaging fundamentals

imaging fundamentals with the medit i500


here we put all the pieces of a puzzle together to answer how you can capture full arch impressions for implants accurately (or inaccurately). As the user, you are completely responsible for not introducing errors or capturing the data correctly

The Medit i500 has features that help you not only capture implant suprastructures, where you can bypass the scanbodies all together which impedes capturing the bite correctly for a lot of people, but you can identify their location and margins, even if they are hampered by bleeding. Most importantly you can use them as landmarks to accurately capture very accurate full arch impressions.

Medit’s reliability map, implant suprastructure identification system, and matching histogram colors can help you drastically reduce or eliminate steps and errors in full arch digital implantology


Using Medit’s Artificial Intelligent Implant Suprastructure Identification System to assess the accuracy of a cross arch digital impression! long title but it had to be to do it justice

here we put all the pieces of a puzzle together to answer how you can capture full arch impressions for implants accurately (or inaccurately). As the user, you are completely responsible for not introducing errors or capturing the data correctly

The Medit i500 has features that help you not only capture implant suprastructures, where you can bypass the scanbodies all together which impedes capturing the bite correctly for a lot of people, but you can identify their location and margins, even if they are hampered by bleeding. Most importantly you can use them as landmarks to accurately capture very accurate full arch impressions.

Medit’s reliability map, implant suprastructure identification system, and matching histogram colors can help you drastically reduce or eliminate steps and errors in full arch digital implantology

Posted by Armen Mirzayan on Wednesday, September 25, 2019

Posted on Leave a comment

One Mill Does It All

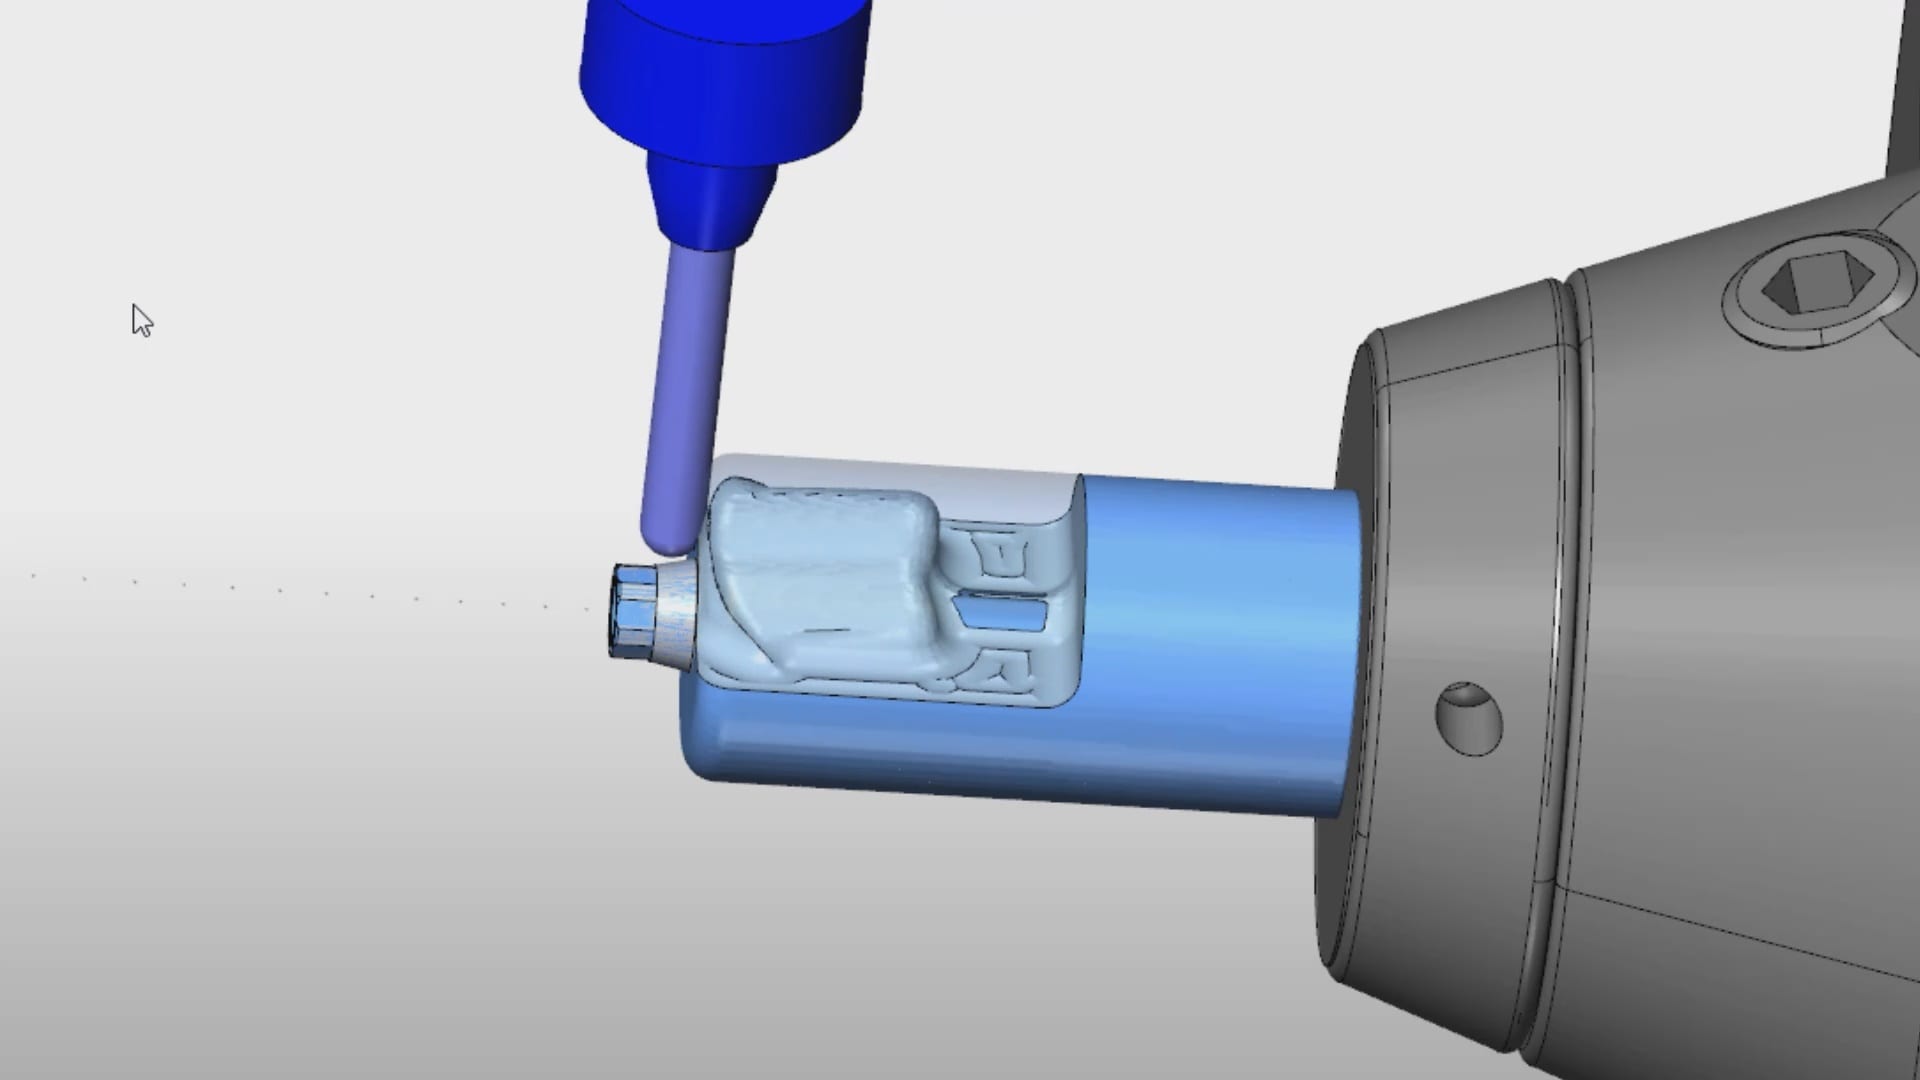
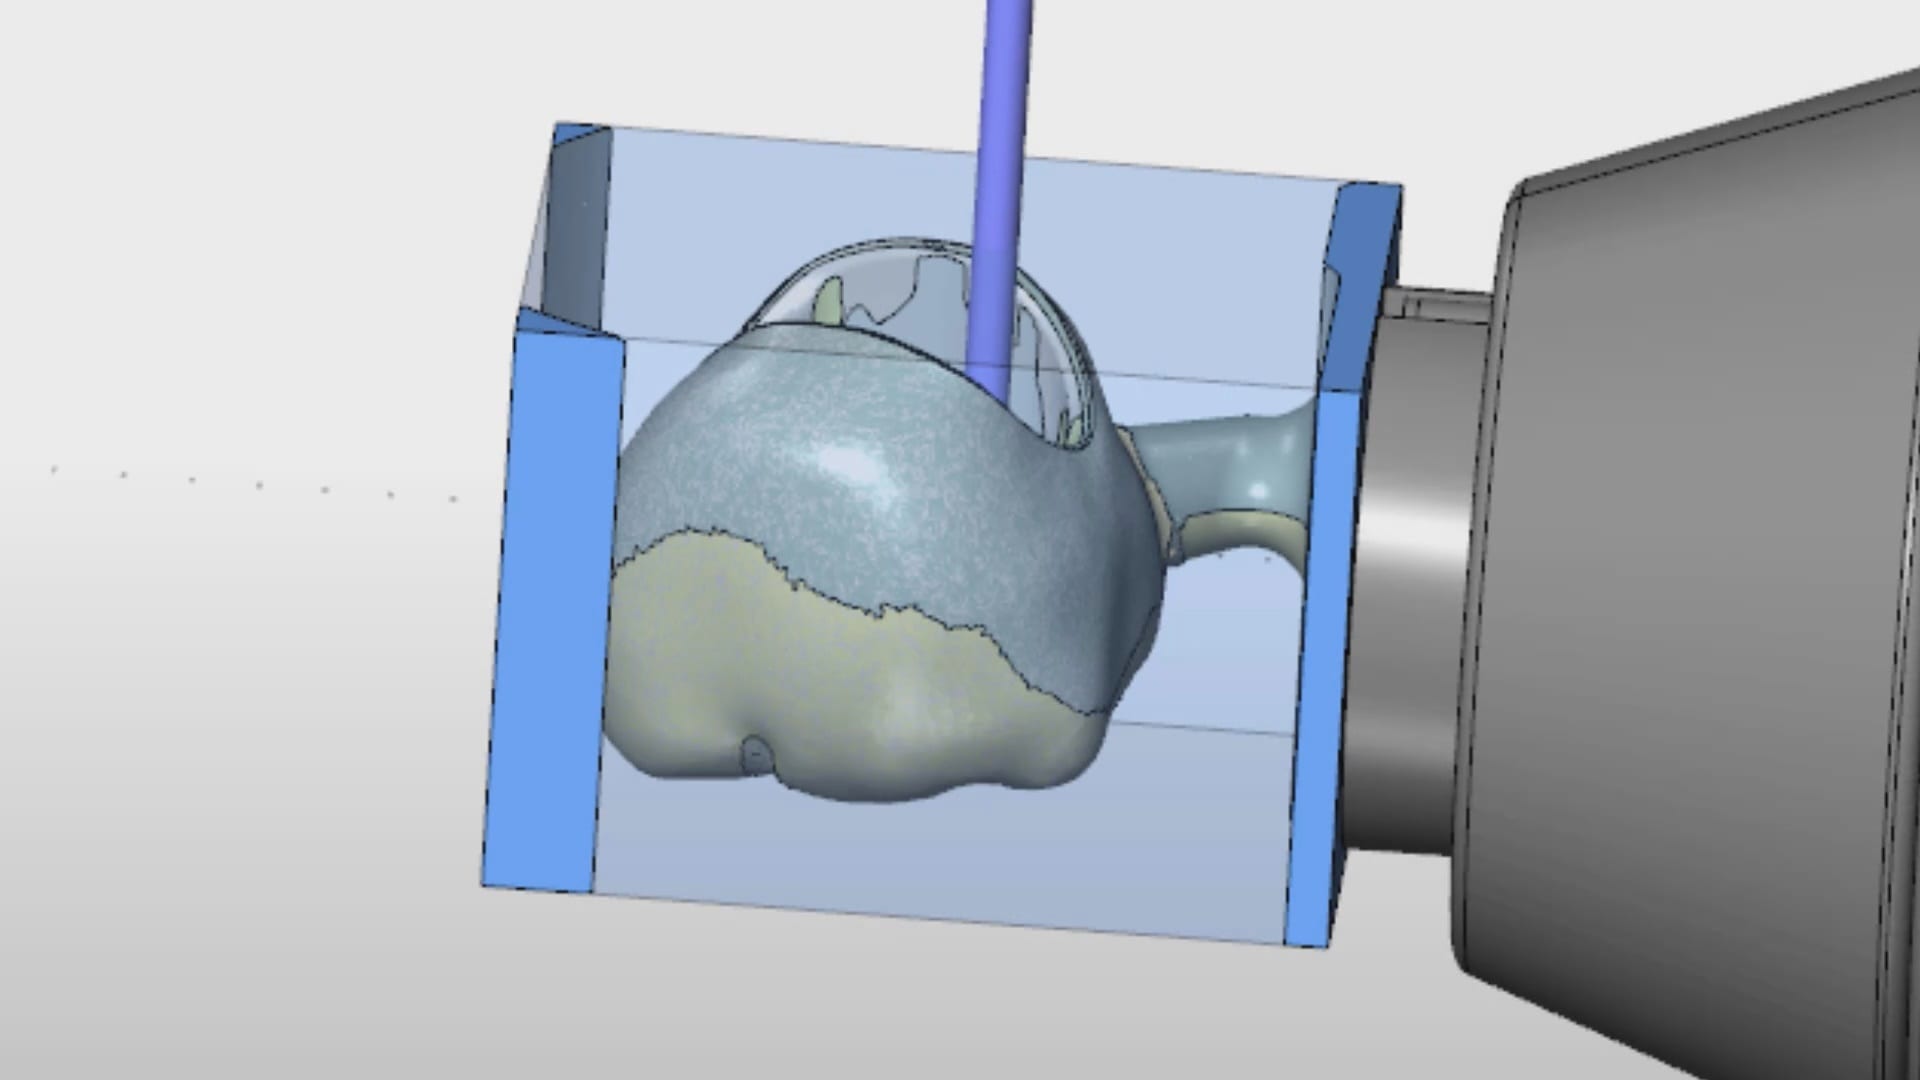
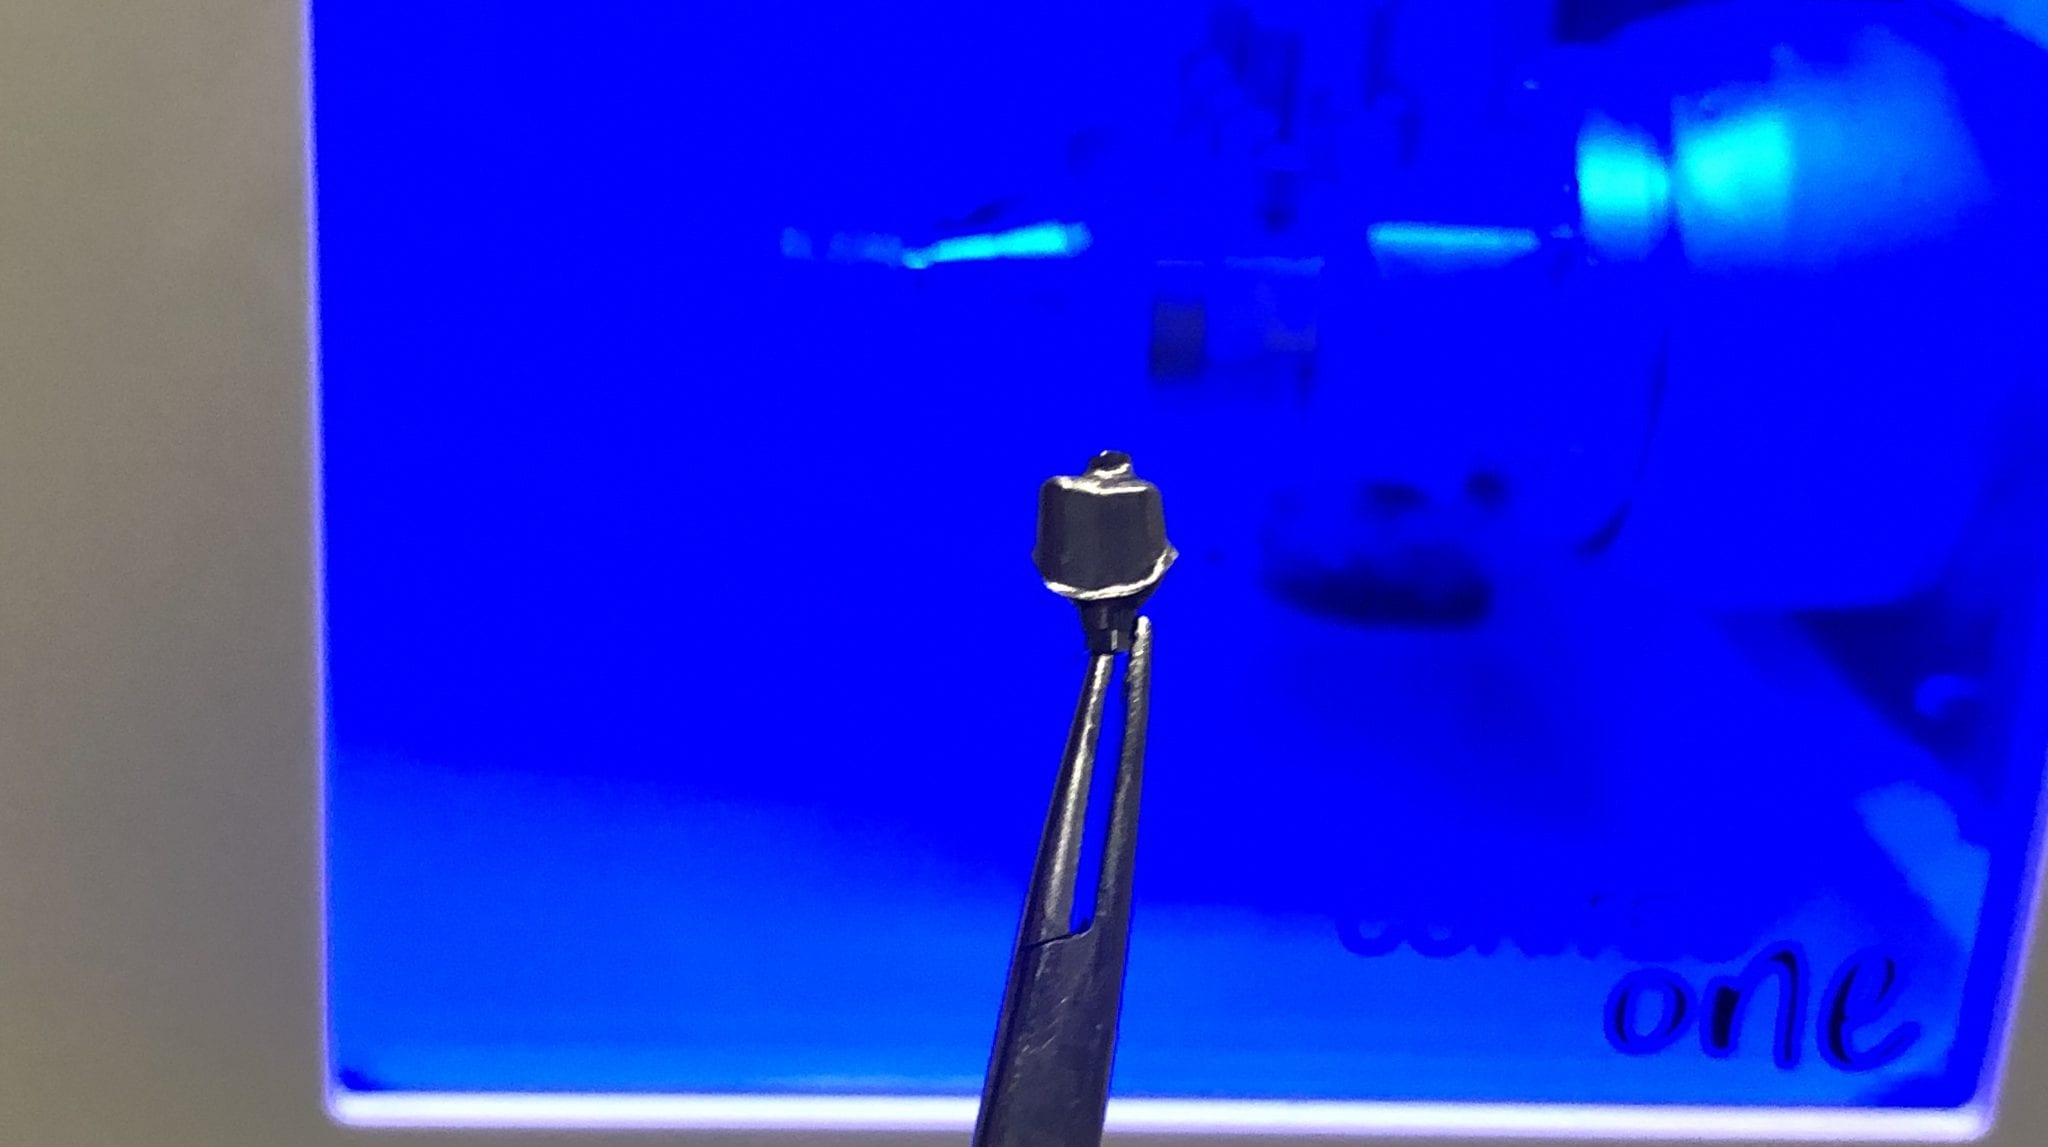
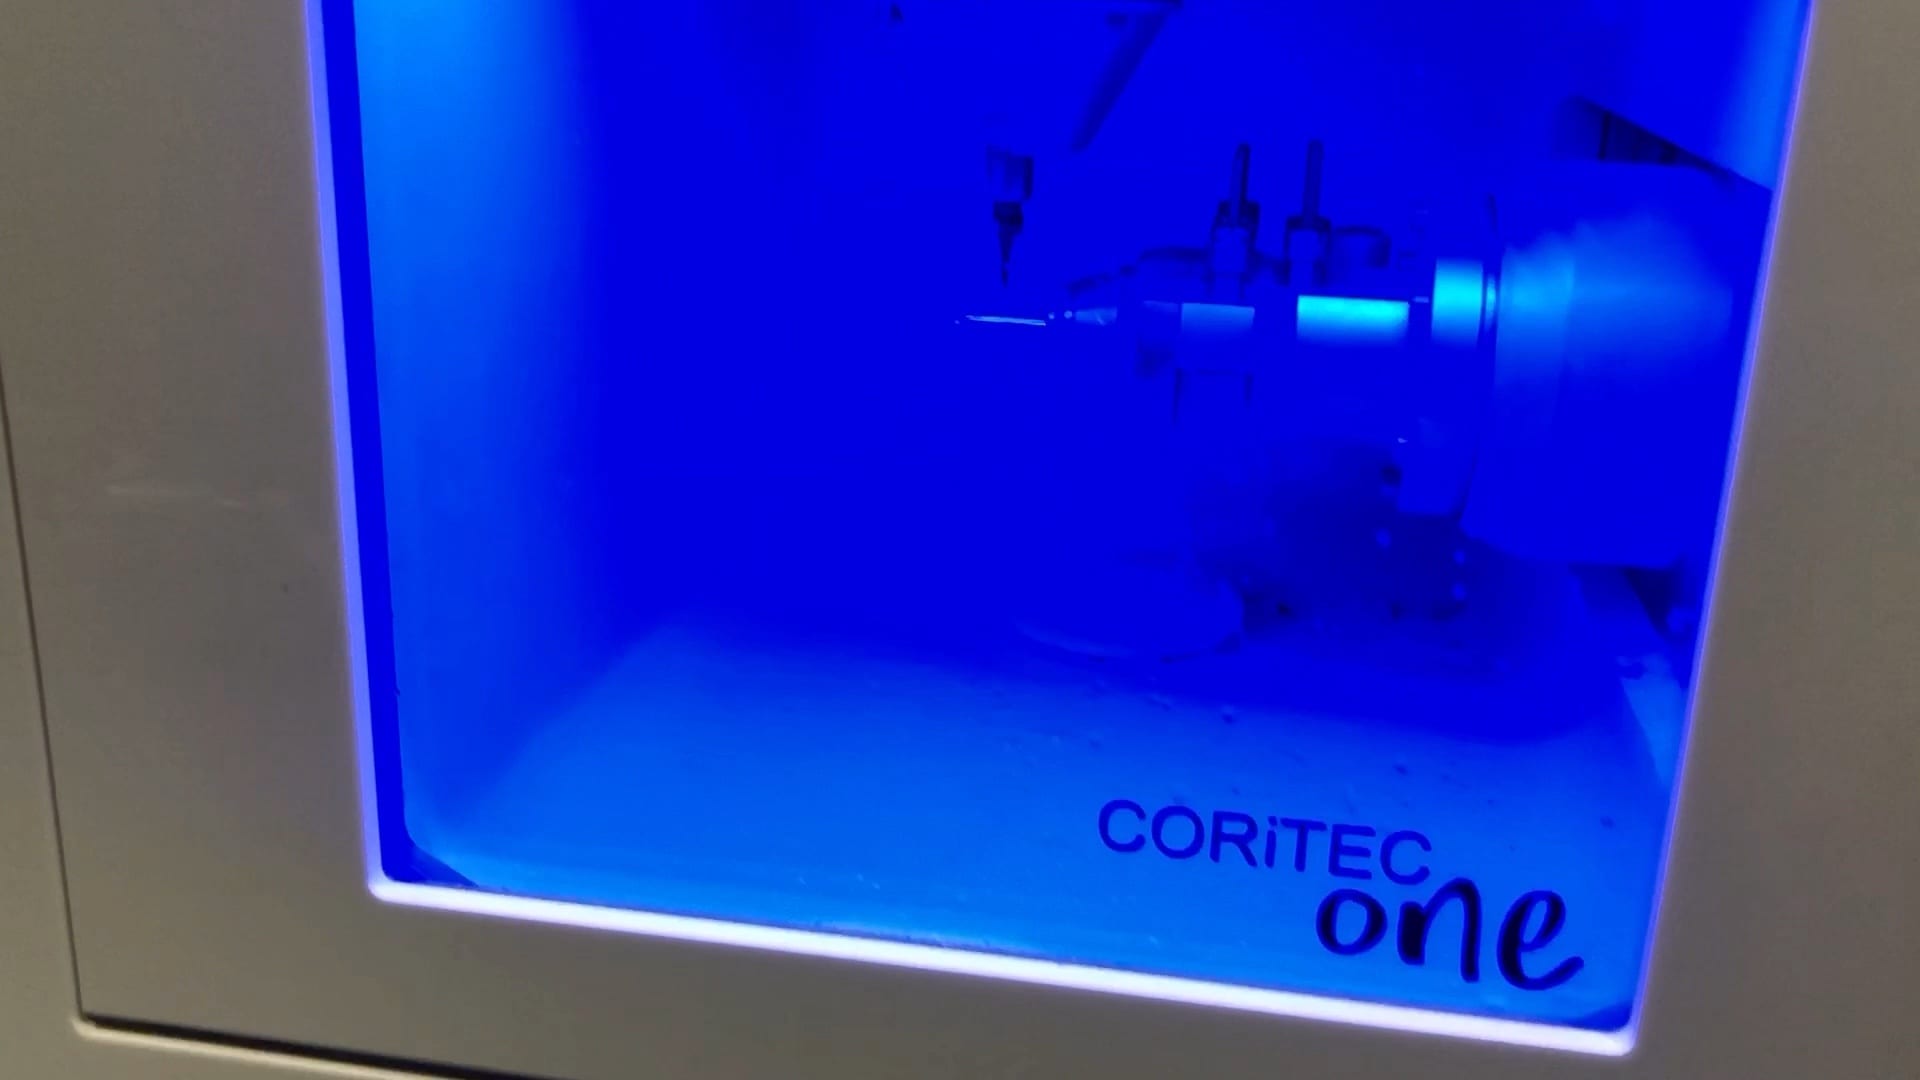
We are very pleased with millbox and the imes icore coritec one for a chairside milling solution. We’ve been testing it for a long time and its CAM (millbox) is very intuitive and the results are always predictable. It can mill titanium abutments, emax, and zirconia blocks.

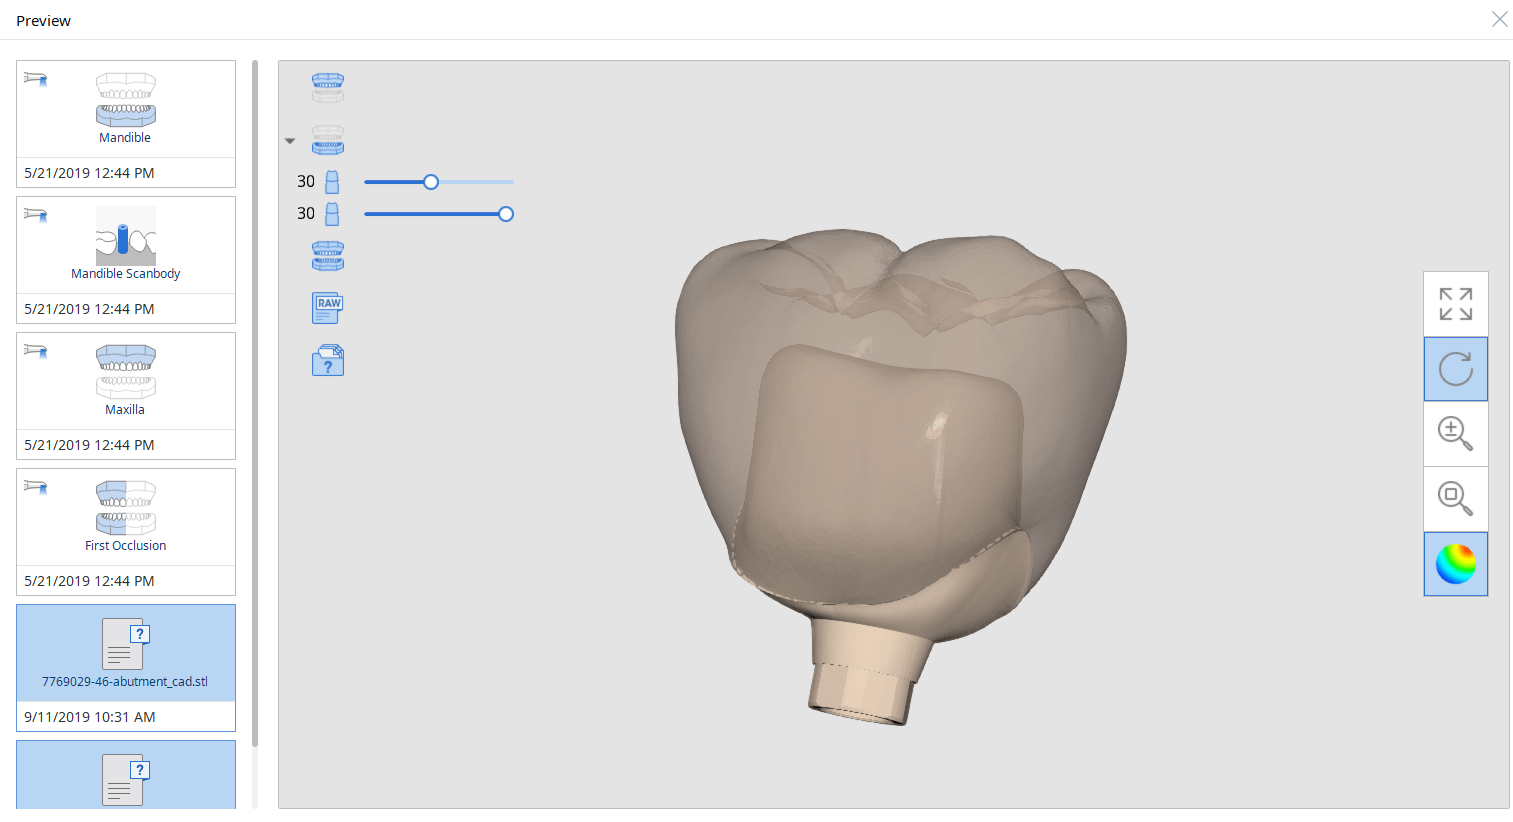
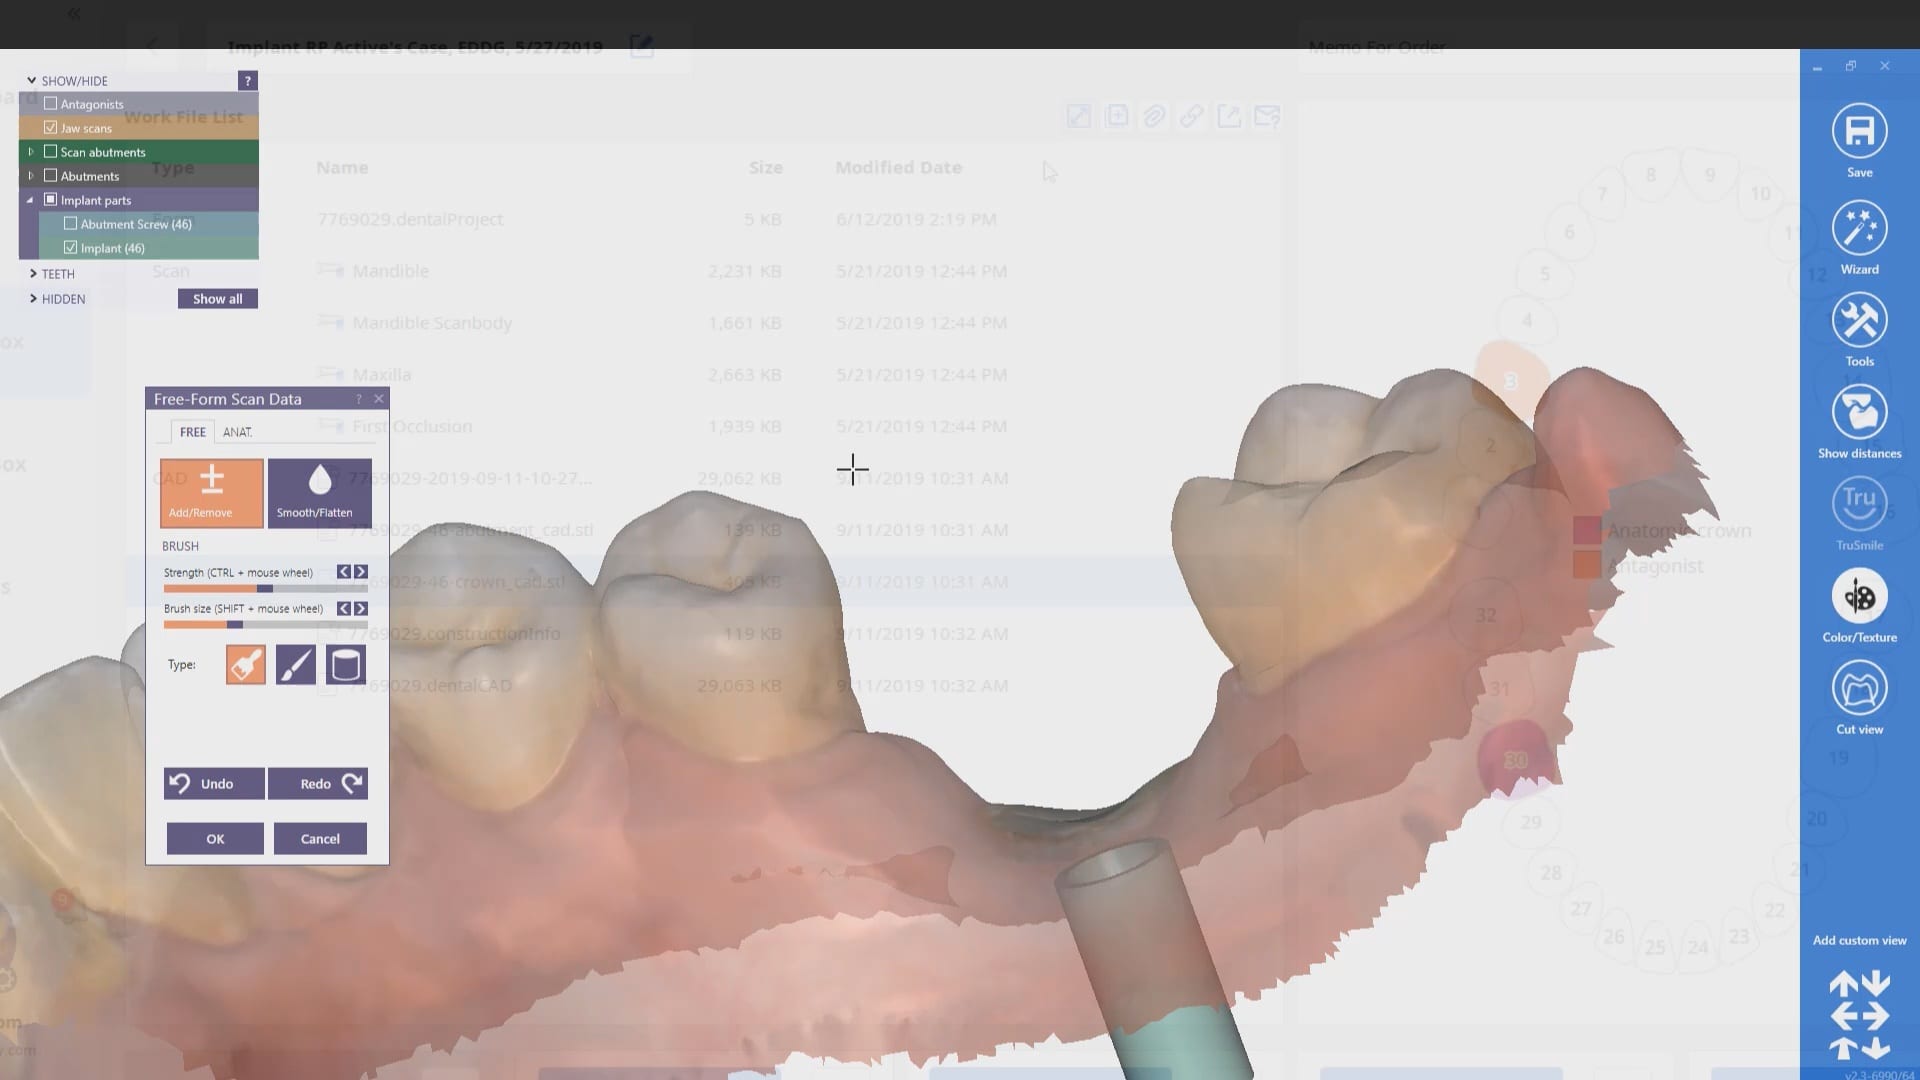
The following videos illustrate how you can image a scanbody intra-orally and then design it in cad software. Here we used exocad to identify the biomax RP implant and designed both the custom titanium abutment and the suprastructure, both of which were milled with the CORiTEC ONE

video
play-rounded-fill
video
play-rounded-fill
video
play-rounded-fill

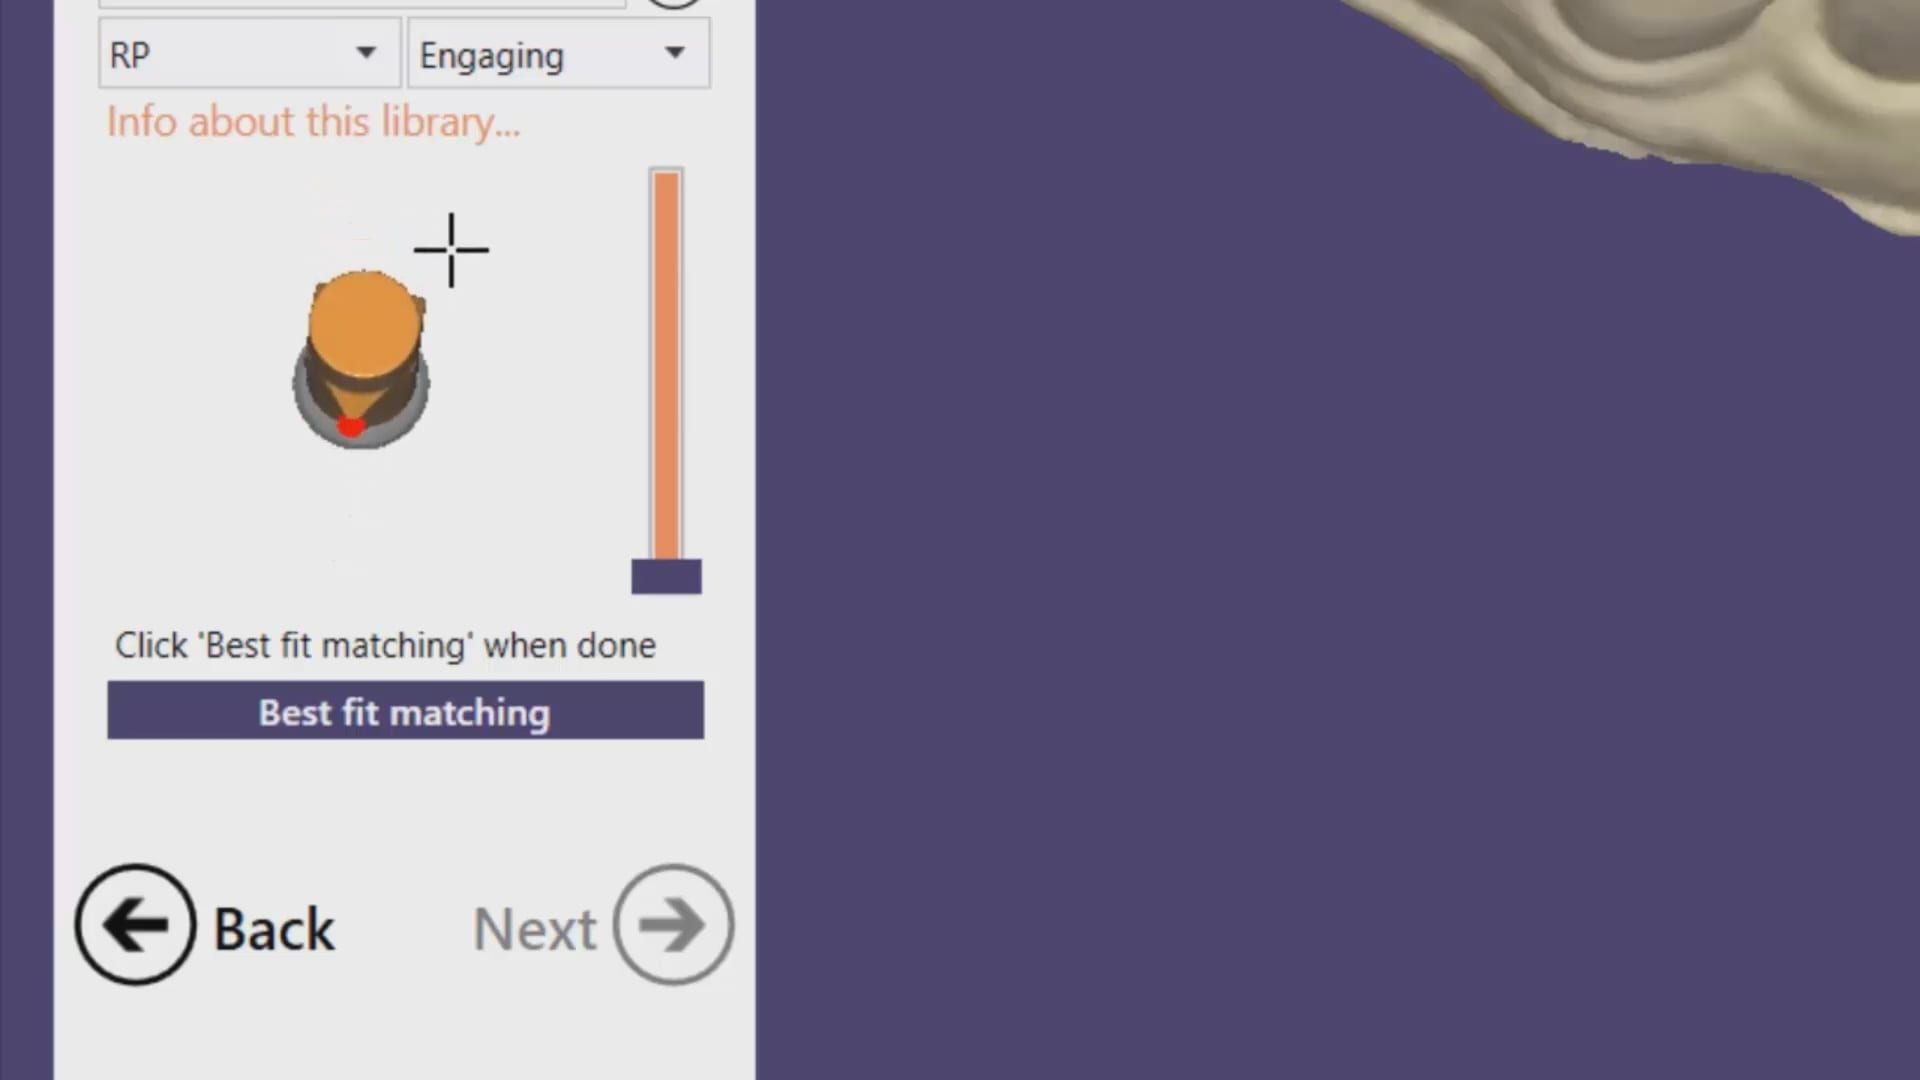
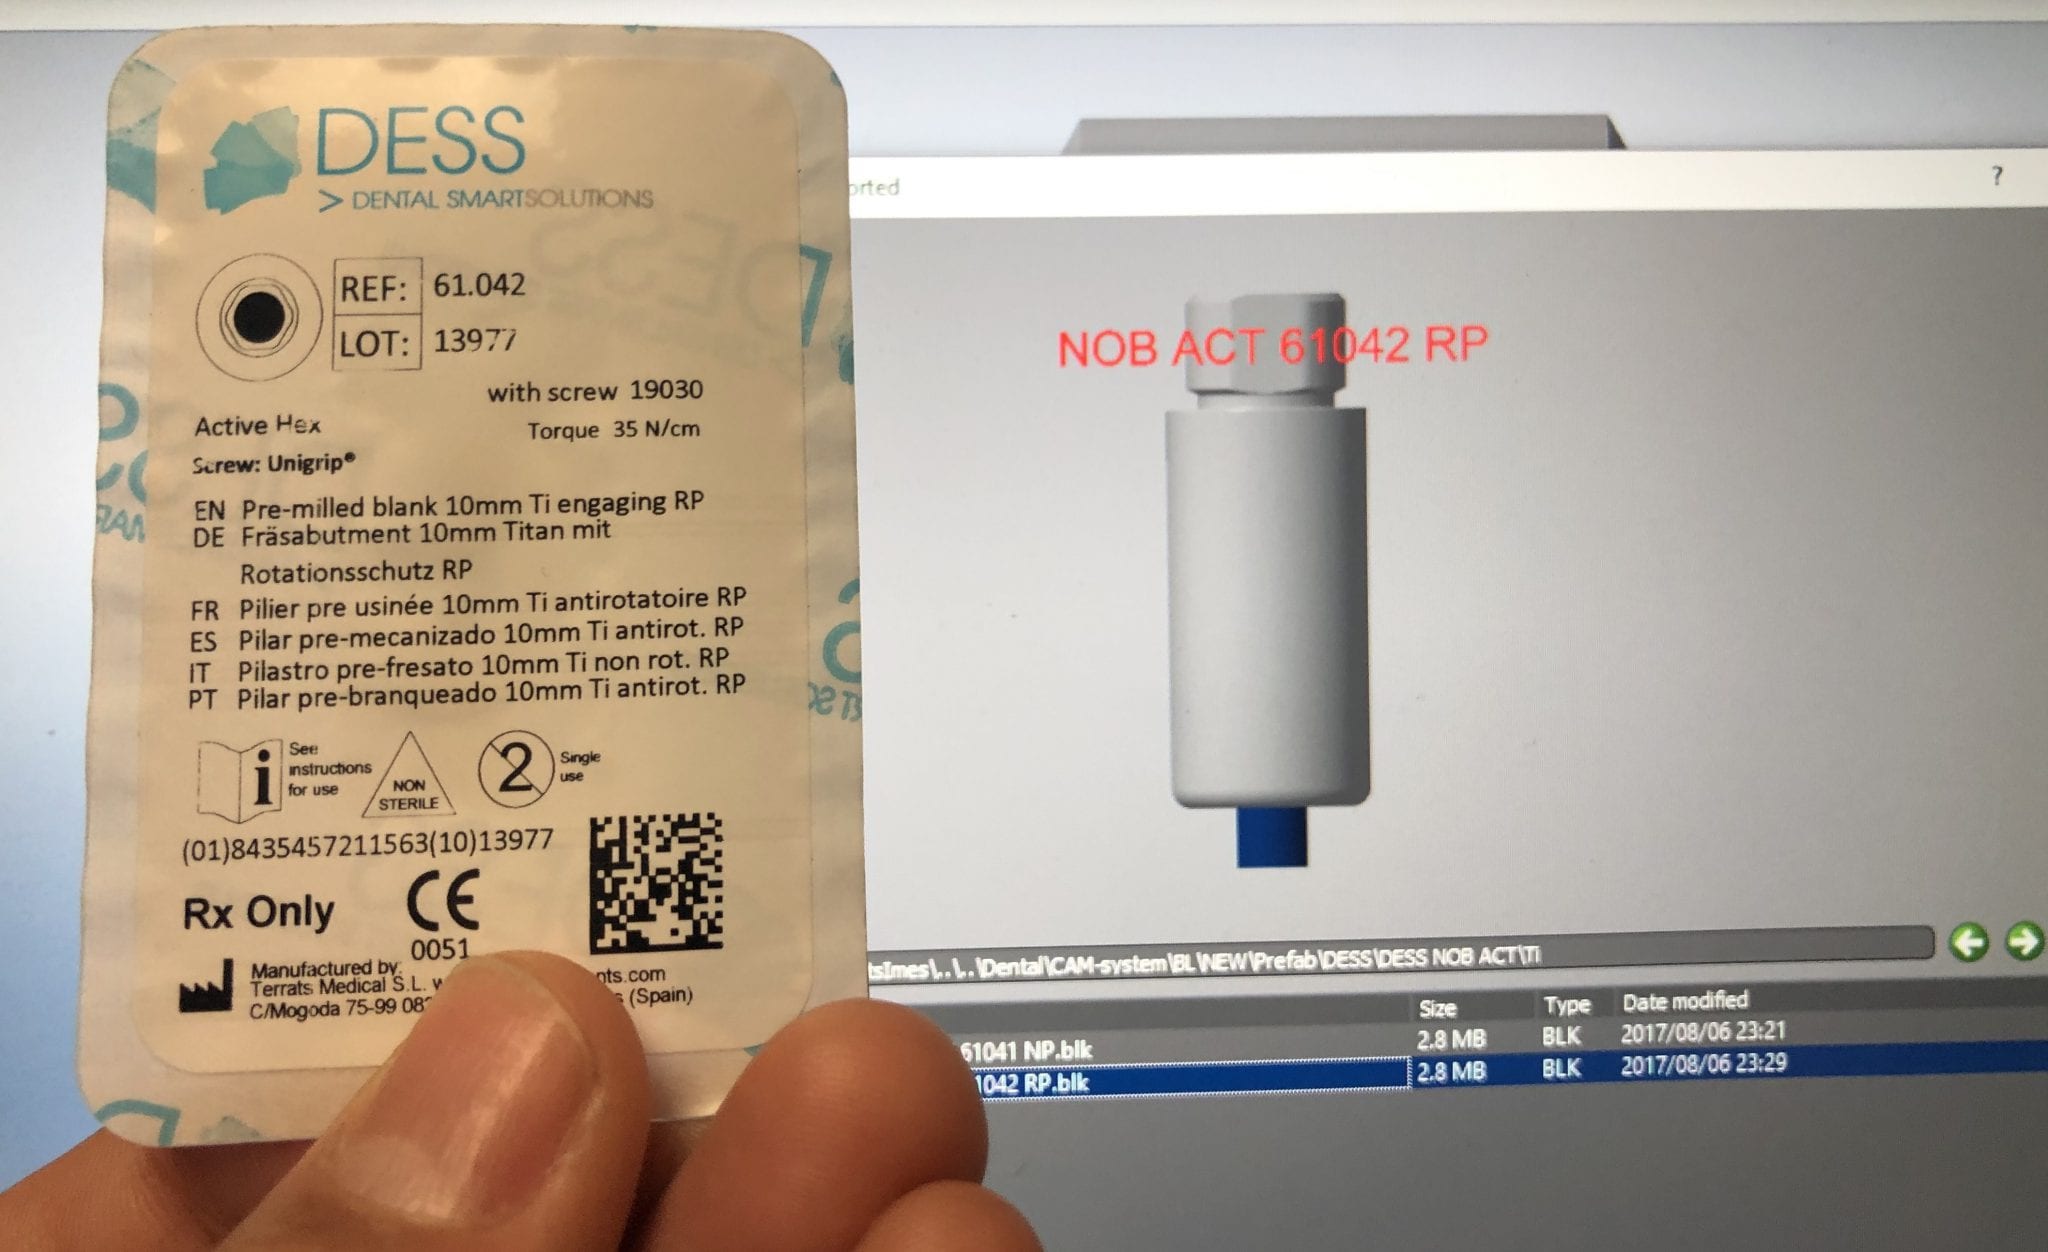
There are so many implant and component libraries in cad/cam dentistry which can lead to a lot of confusion. What we highly recommend is that you visually compare the part numbers that you will be using with the part numbers displayed on the millbox software. One letter or number difference and the mistakes will have a profound impact on the bottom line of a dental practice

video
play-rounded-fill

Posted on Leave a comment

Artificial Intelligence in Medit i500 Automatically Identifies Implant Location into Imports into CAD Software

artificial intelligence medit i500 identifies location of your scanbody and automatically launches that information into CAD software

Please, take a seat, you should not be standing while you watch this.

Artificial intelligence by Medit i500 now identifies the location of your scanbody but it also automatically launches all that proper information into CAD software for instant abutment designs. Make sure to watch both videos.  Enjoy.

Medit's i500 Artifical Intelligence Identifies Implant Fixture
play-rounded-fill