


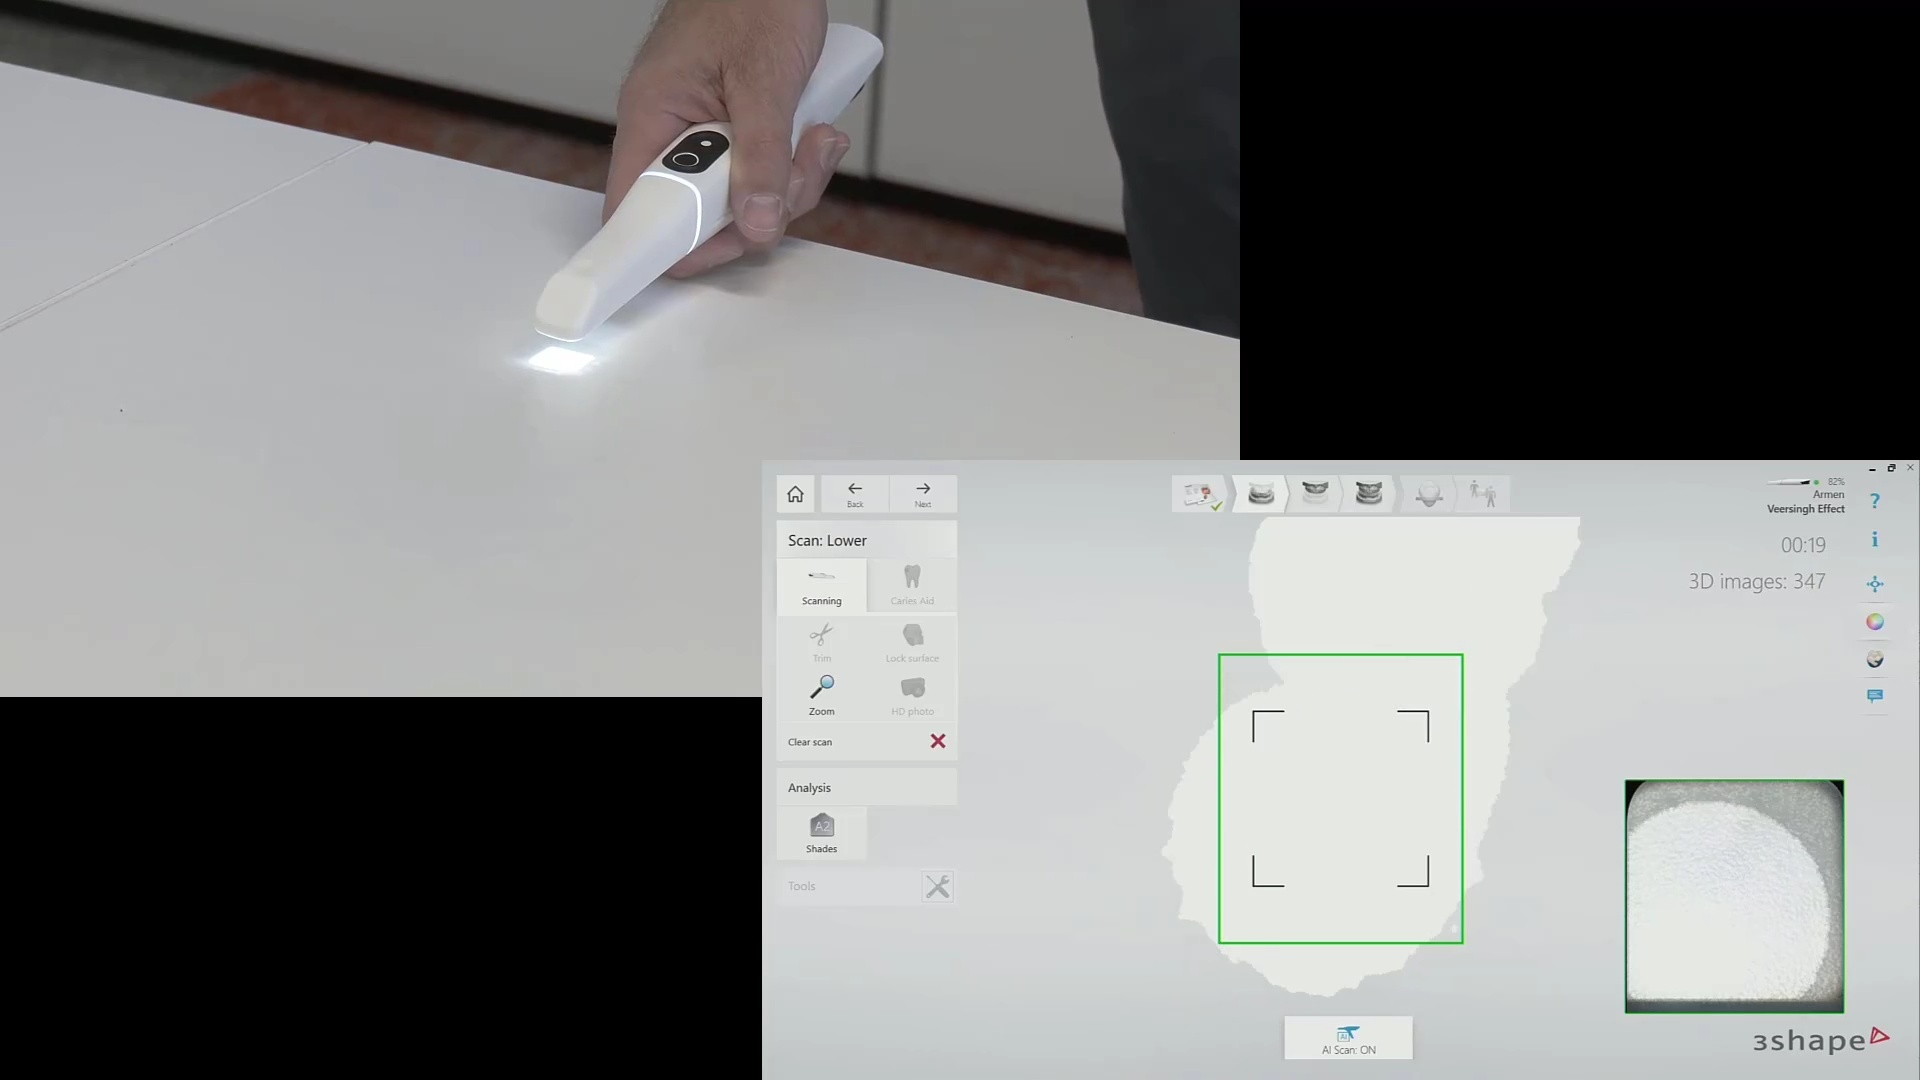
In the world of digital dental scanning, precision and accuracy are paramount. To shed light on the potential pitfalls and challenges faced by dental professionals, Dr. Armen Mirzayan of CAD-Ray has put together an eye-opening video. In this demonstration, Dr. Mirzayan explores the intriguing concept of The “Veersing” Effect and how it can lead to scanning errors when using digital dental scanners. We’ll delve into the video to understand the nuances of these errors, using examples from some of the leading brands we sell, including the Trios 5, Dexis 3800, and Medit 700. Each of these devices possesses its own unique features and capabilities, making them essential tools in modern dentistry.
Understanding Scanning Errors:
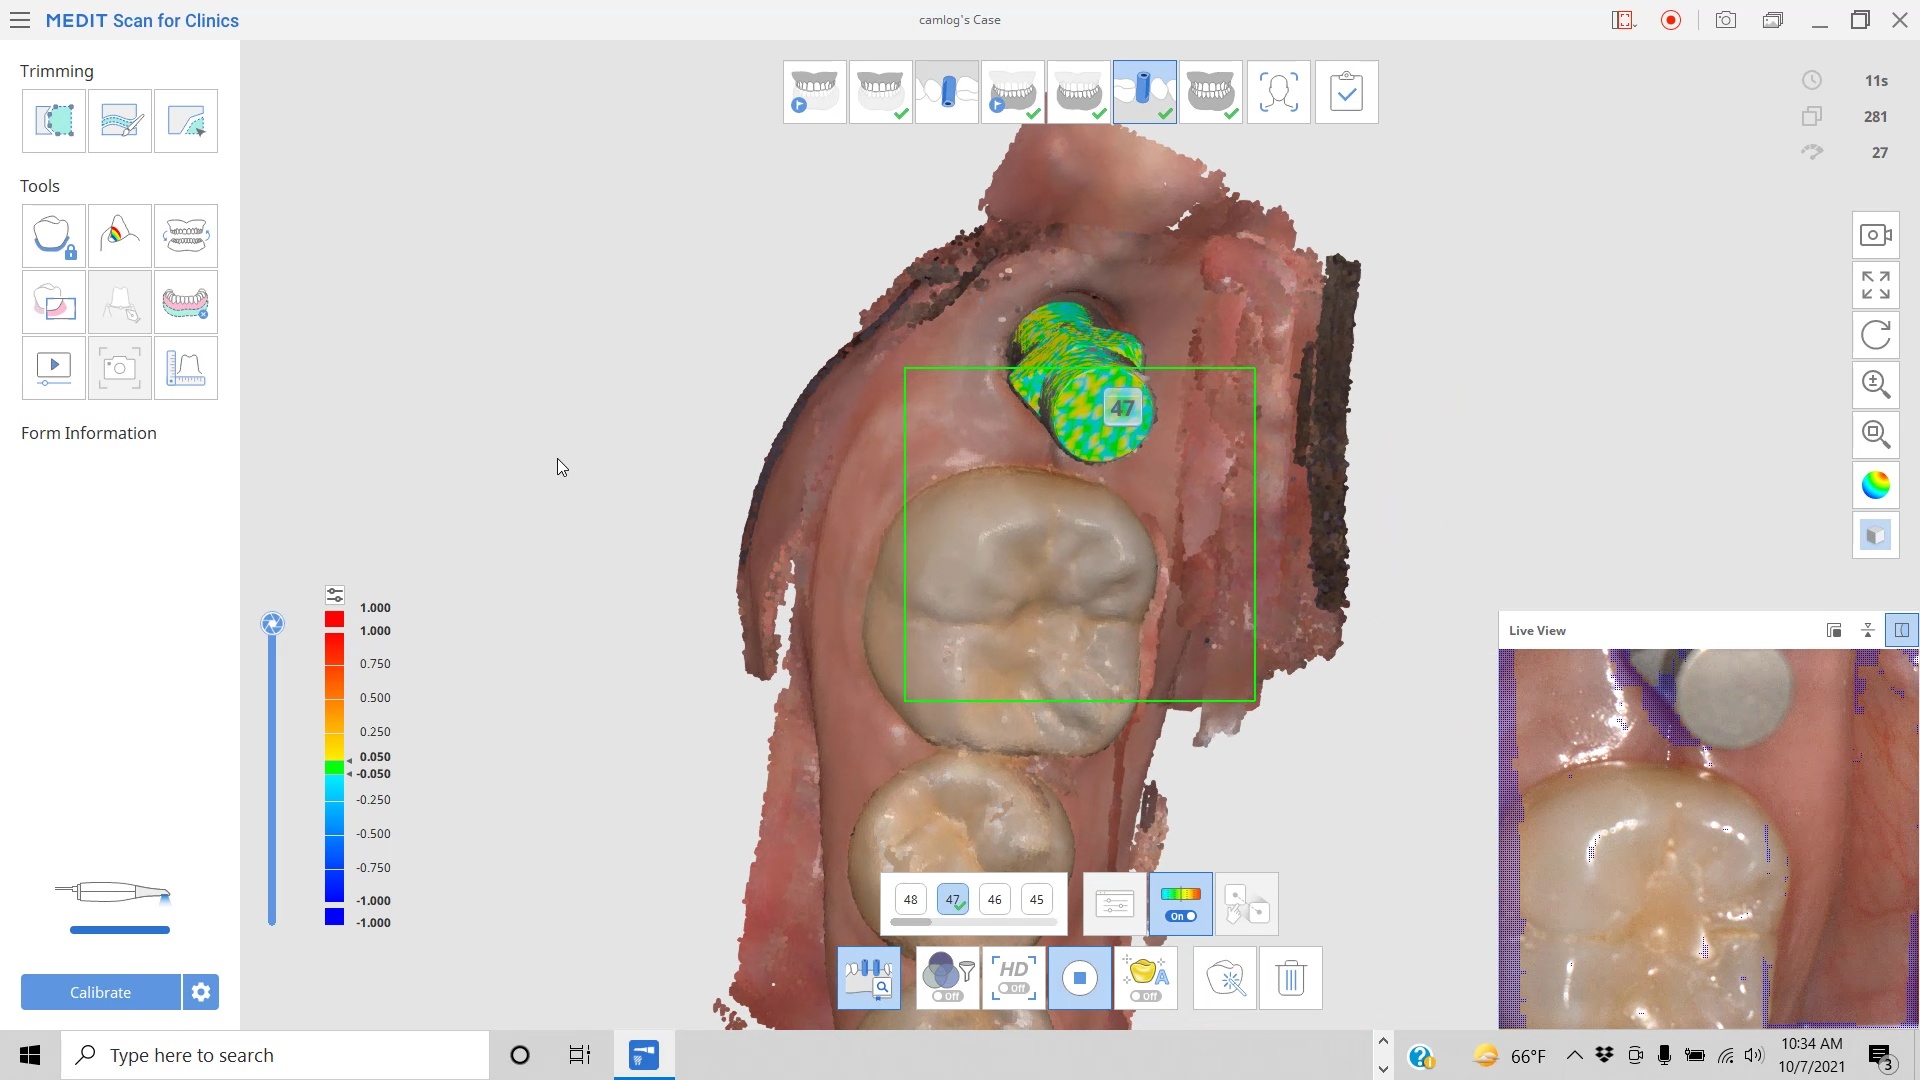
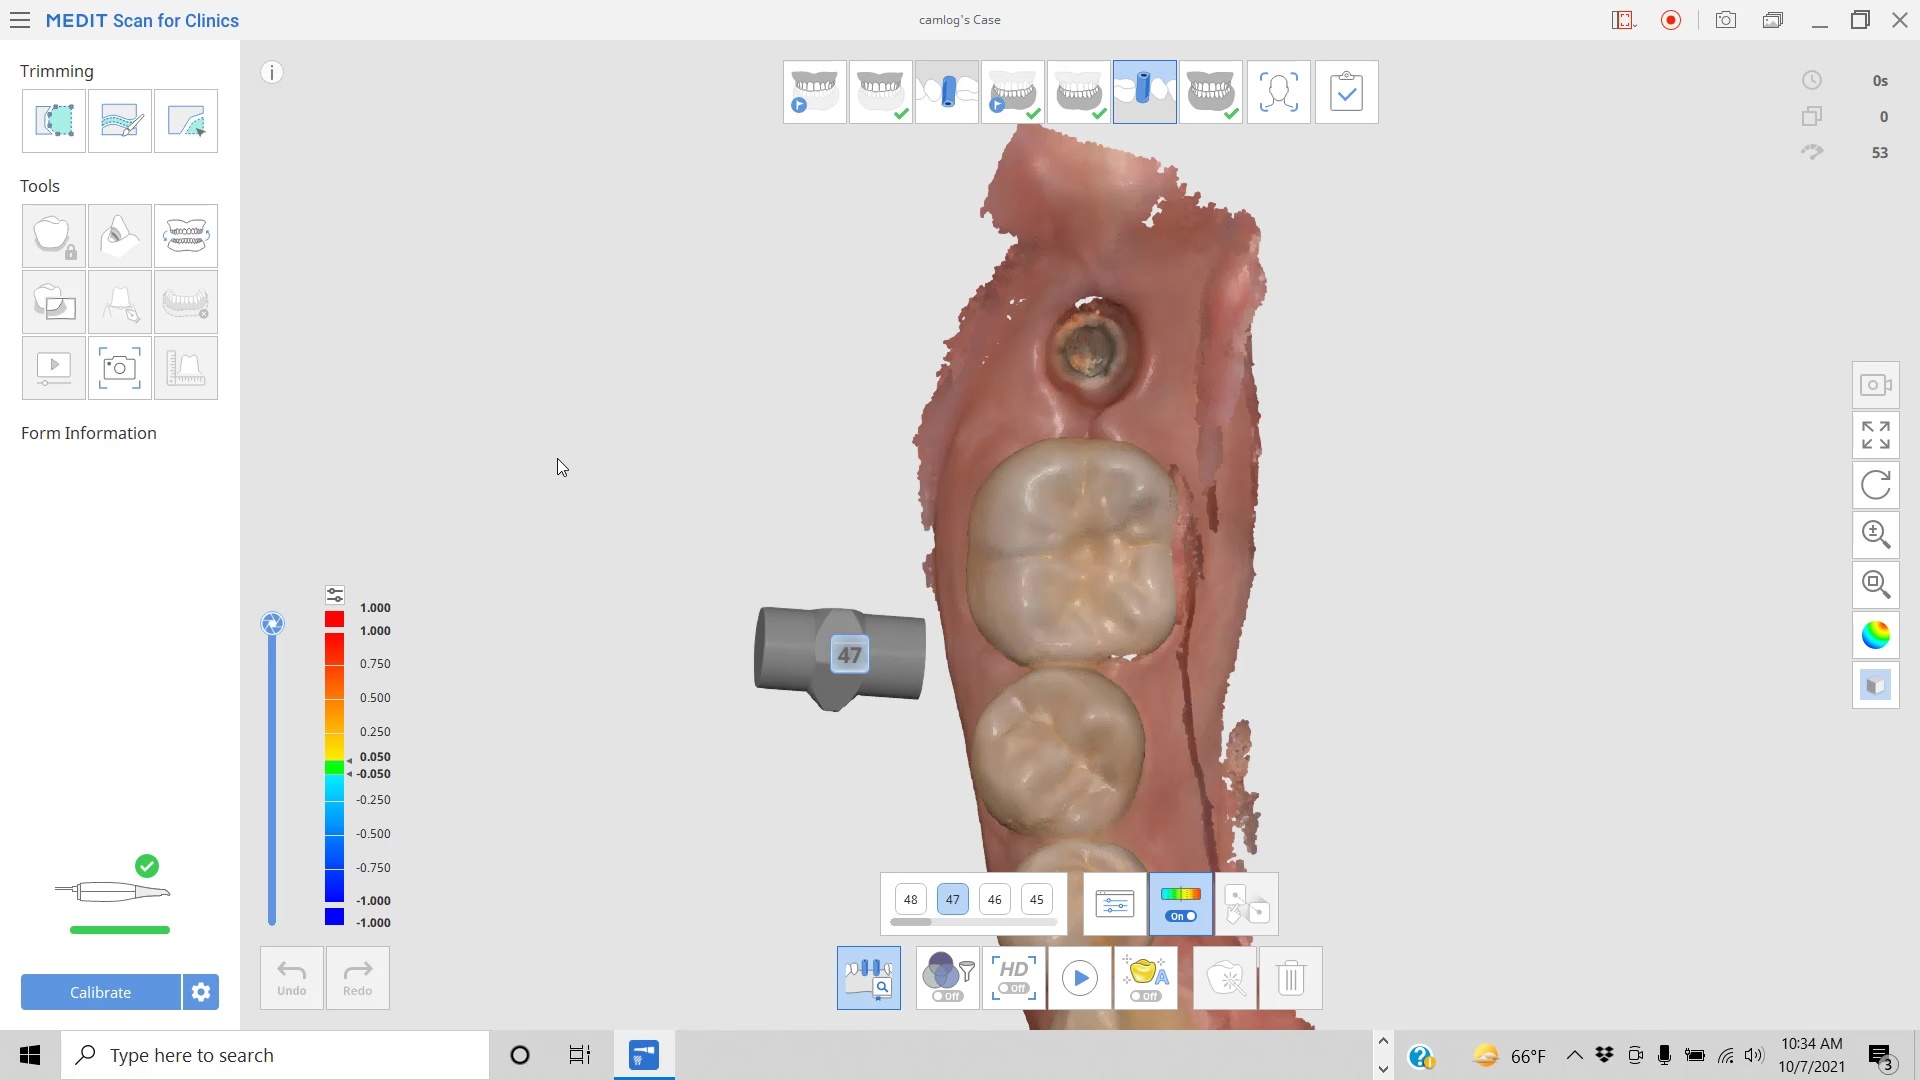
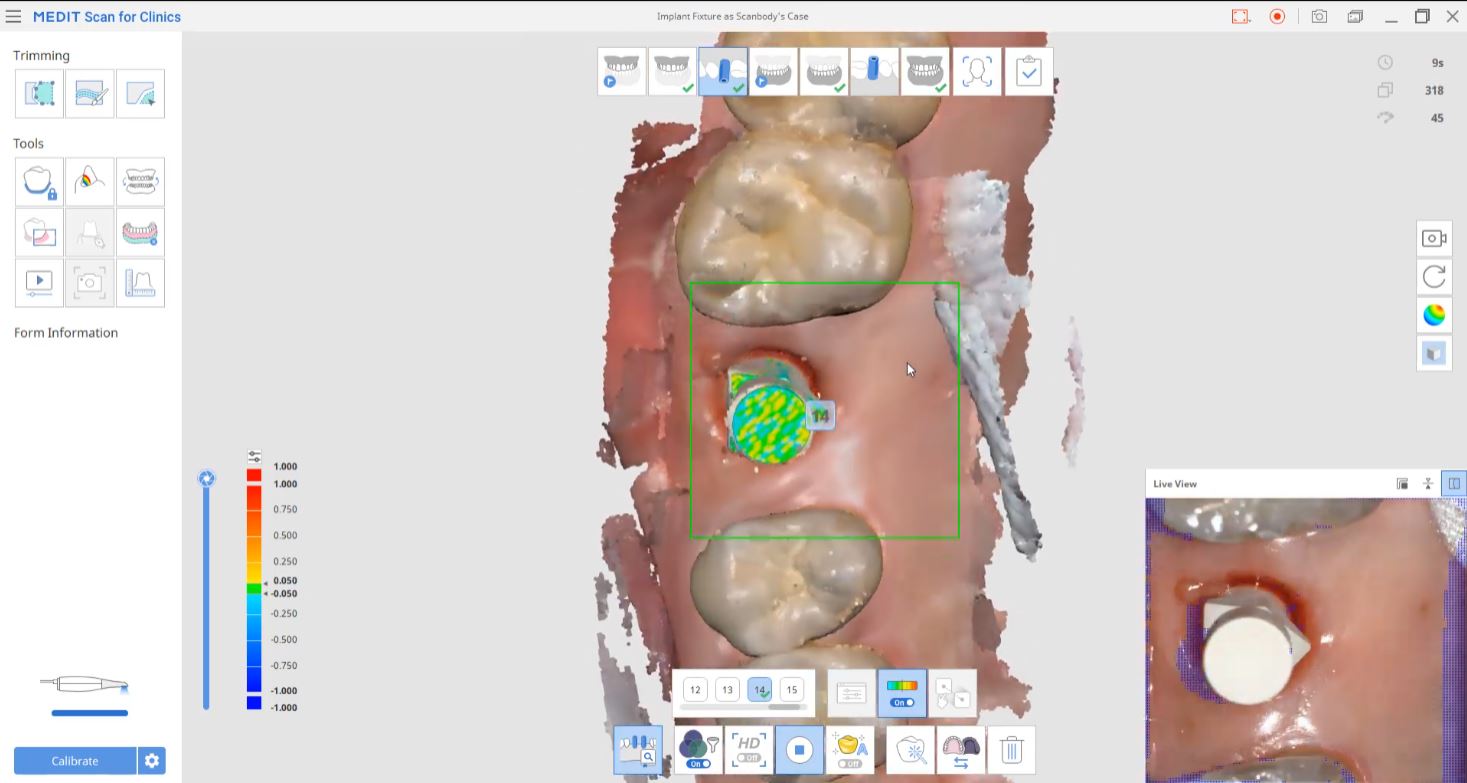
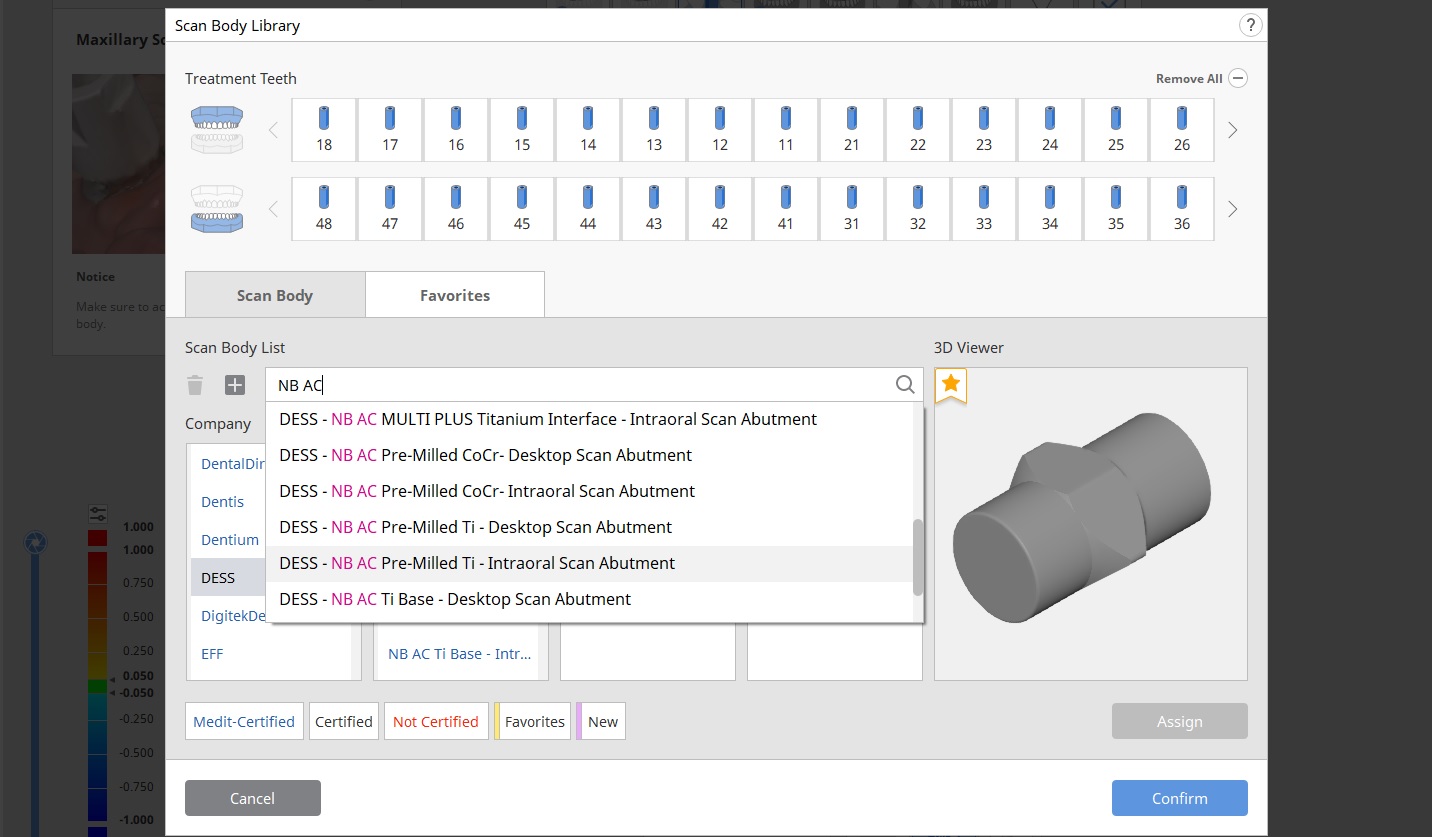
Scanning errors can have significant consequences in the dental industry. From inaccurate digital models to flawed treatment planning, these errors can compromise patient care and results. In Dr. Mirzayan’s video, we uncover the ‘Veersing’ phenomenon and its relevance to scanning errors. “Veersing” is essentially the involuntary loss of awareness of a digital scanner, causing it to not recognize its position and create errant or double images.
Additional Note: It’s essential to understand that in dentate cases, the properties of enamel can introduce errors. These errors arise from refraction, reflection, and light transmission through enamel. The asymmetric tooth morphologies can help your scanner stay on track. In edentulous cases, we face a different set of challenges related to the symmetric anatomy of the object being scanned, making it easy for the software to plot data points where they don’t belong.
Handheld vs. Desktop Scanners:
One of the video’s key takeaways is the difference between handheld and desktop dental scanners. Handheld scanners, like the ones we’ve featured, capture images and stitch them together to create digital models. Desktop scanners, on the other hand, take multiple views of a stationary object (also, with a wider field of view), resulting in higher accuracy and less room for errors. Understanding this distinction is vital in avoiding ‘Veersing’ and other scanning errors.
Examples of Scanning Errors:
Dr. Mirzayan demonstrates the potential for scanning errors with real-world examples from the video. These examples provide a visual insight into how ‘Veersing’ can affect the accuracy of digital models created with these scanners.
Preventing Scanning Errors:
To prevent ‘Veersing’ and other scanning errors, proper scanner positioning is crucial. Maximizing the field of view is key, as it allows for more accurate data capture. Additionally, considering the virtues of desktop scanners, which inherently provide multiple views of stationary objects, is another important step toward achieving precision.
Importance of Accuracy in Digital Dentistry:
The overarching message of Dr. Mirzayan’s video is clear – accuracy in digital dental scanning is non-negotiable. Avoiding scanning errors is a cornerstone in treatment planning, leading to better patient outcomes and more precise dental work, and steps can be taken to reduce the potential for those errors.
Conclusion:
In a world where dental technology is constantly evolving, understanding and preventing scanning errors are paramount. Dr. Armen Mirzayan’s video is a valuable resource that highlights the nuances of ‘Veersing’ and scanning errors, providing insights for professionals to enhance their scanning processes. We invite you to watch the video and embark on a journey to a more accurate and precise dental practice.
Share your thoughts and experiences with us regarding digital dental scanning. If you have any questions or concerns about the scanners mentioned in the video or any other dental technology, don’t hesitate to reach out to CAD-Ray. For more information, please visit our website at www.cad-ray.com and watch Dr. Mirzayan’s video to gain a deeper understanding of ‘Veersing’ and the importance of avoiding scanning errors.