


The Icam4d captures very accurate digital impressions of your implant locations in an edentulous jaw. For many people, Intra-oral scanner (IOS) and even analog impressions can introduce errors and they do not skip the verification jig. There are many reasons why the IOS can introduce errors, but the most important concept to realize is that you cannot measure the accuracy of your scan while you are scanning live. You have three choices to verify this: one is to quickly design and print or manufacture a verification jig and try an seat it to verify accuracy, the other is to actually scan multiple times as if they are different patients and then merge the models and compare them and if they match perfectly, you have a reasonable indication that the models are accurate. If they vary, then you have to decipher which is the inaccurate one or continue with a verification jig.
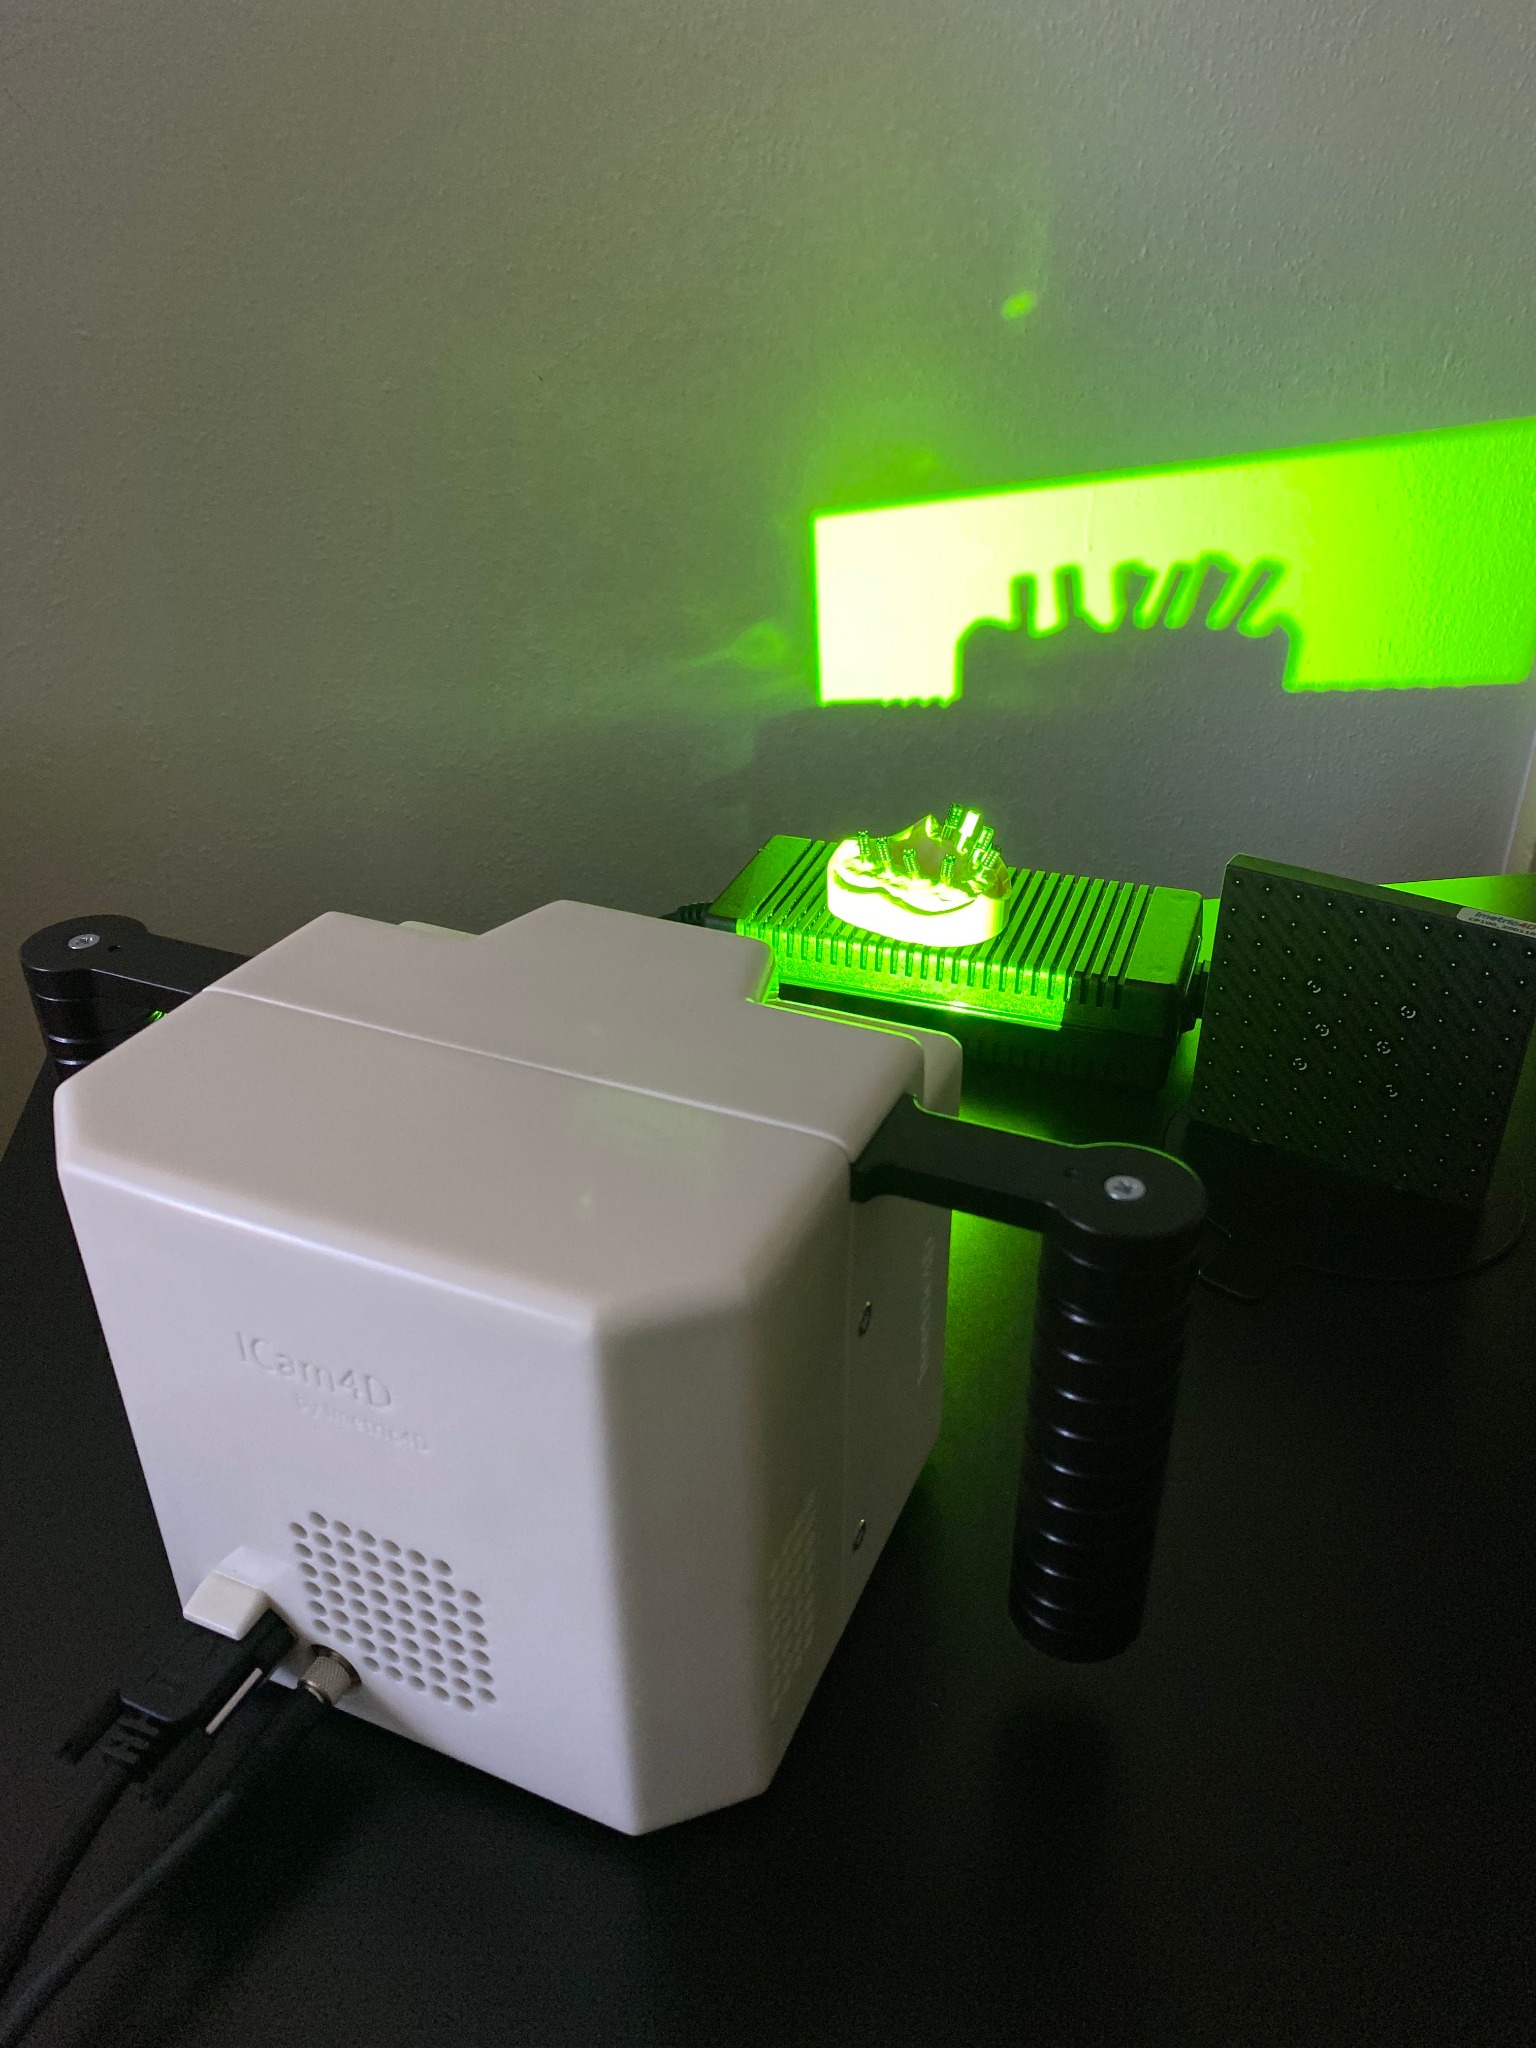
The third way is with photgrammetry which has been proven to be very accurate. Here is how the Icam4D works:
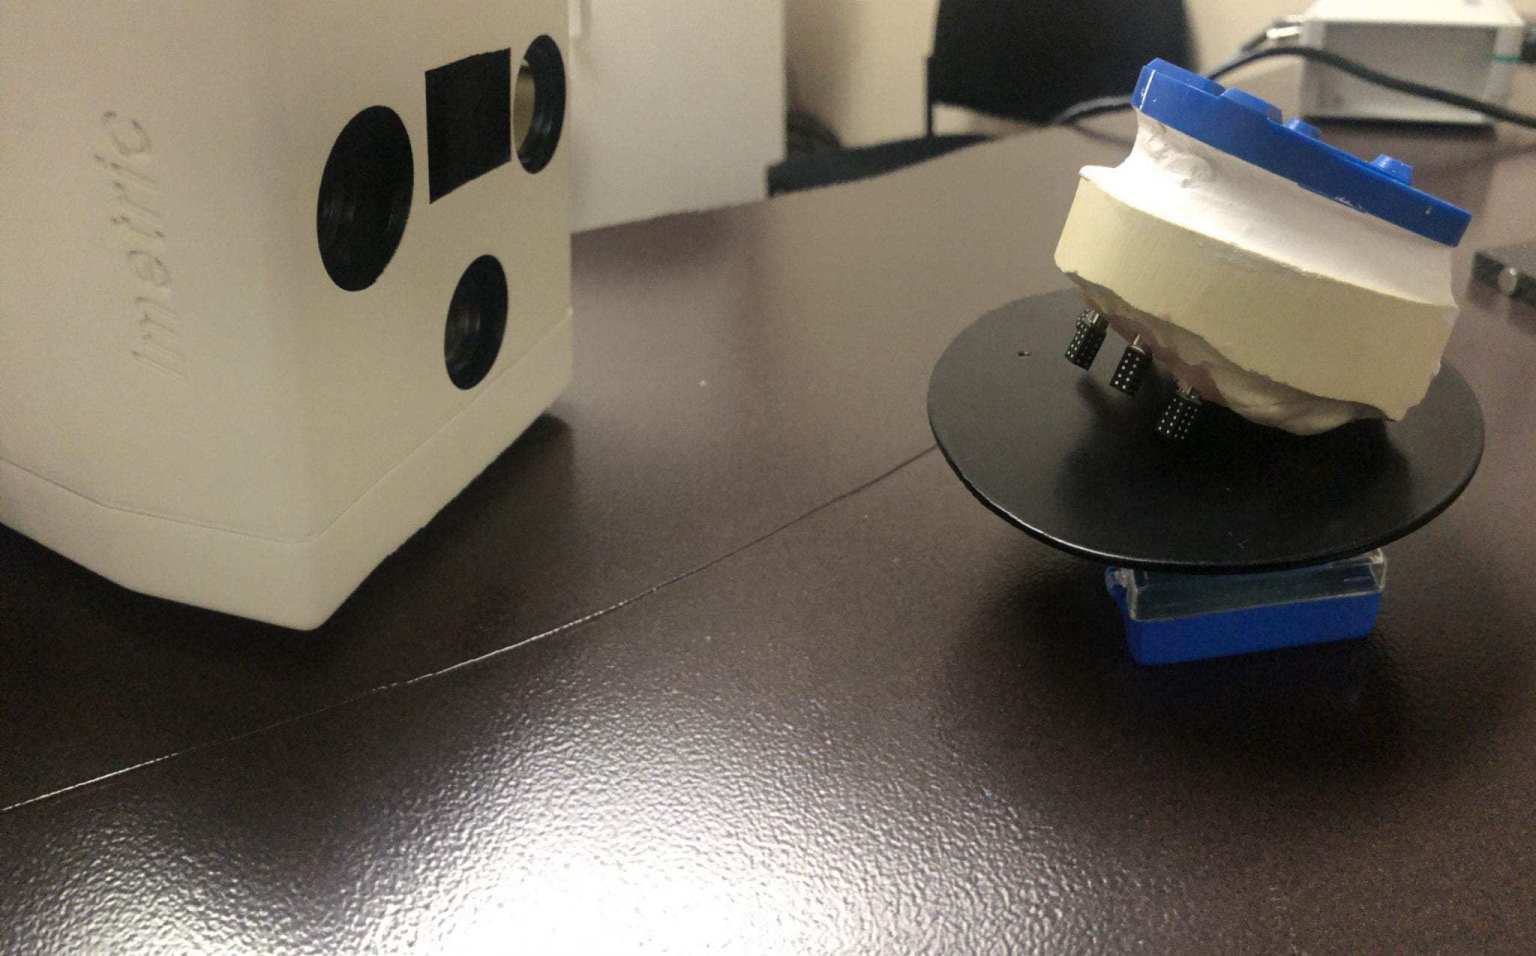
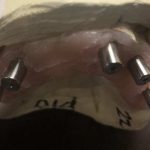
After you place the fixtures, you seat the appropriate Multi-Unit Abutments. Make sure these are seated all the way. You then place the ICAM4D ICamBody (domino shaped objects- they are for each implant interface type, currently a general Multi-Unit RP with a 1.4 mm screw. They are a consumable which costs USD 8.80 per use, USD 3,520 for 8 for 50 uses each). These objects have 4 walls with white circular markers and one of the walls of is missing a dot. It has odd number of dots and that wall should be positioned and face the back of the throat and not be visible to the camera see the camera.
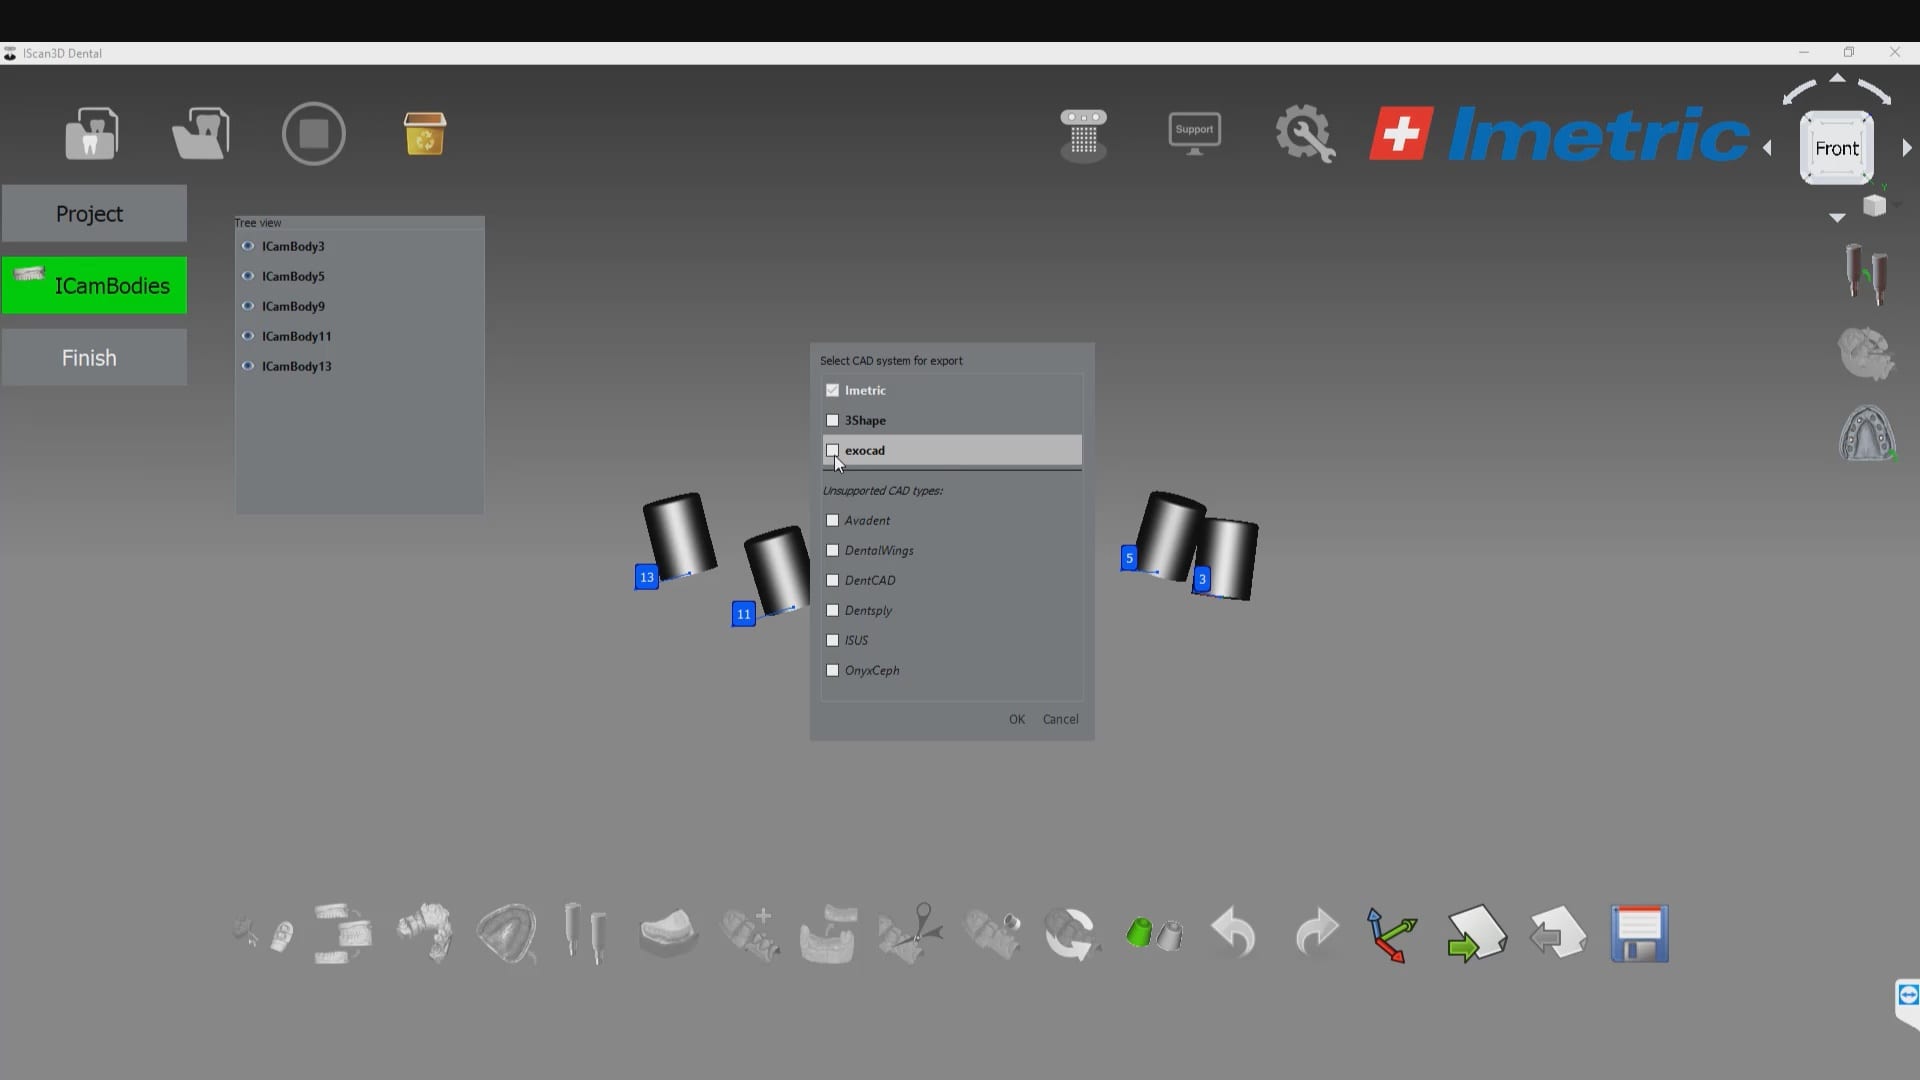
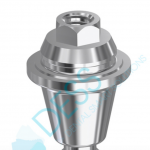
You then calibrate the ICAM4D which takes a few seconds and then you scan the ICamBody in the mouth. These domino flags are identified with the technology and then an stl file is exported that has all the coordinates of the implant locations. It is important to understand that the you can export the stl for a variety of shapes. They can be in the shape of the MUA itself, different cylindrical shapes called ICamRefs, or as healing cover caps. The most popular ones are either the healing cap or the tall cylinder.
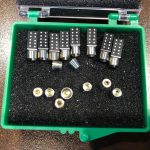
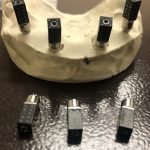
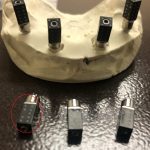
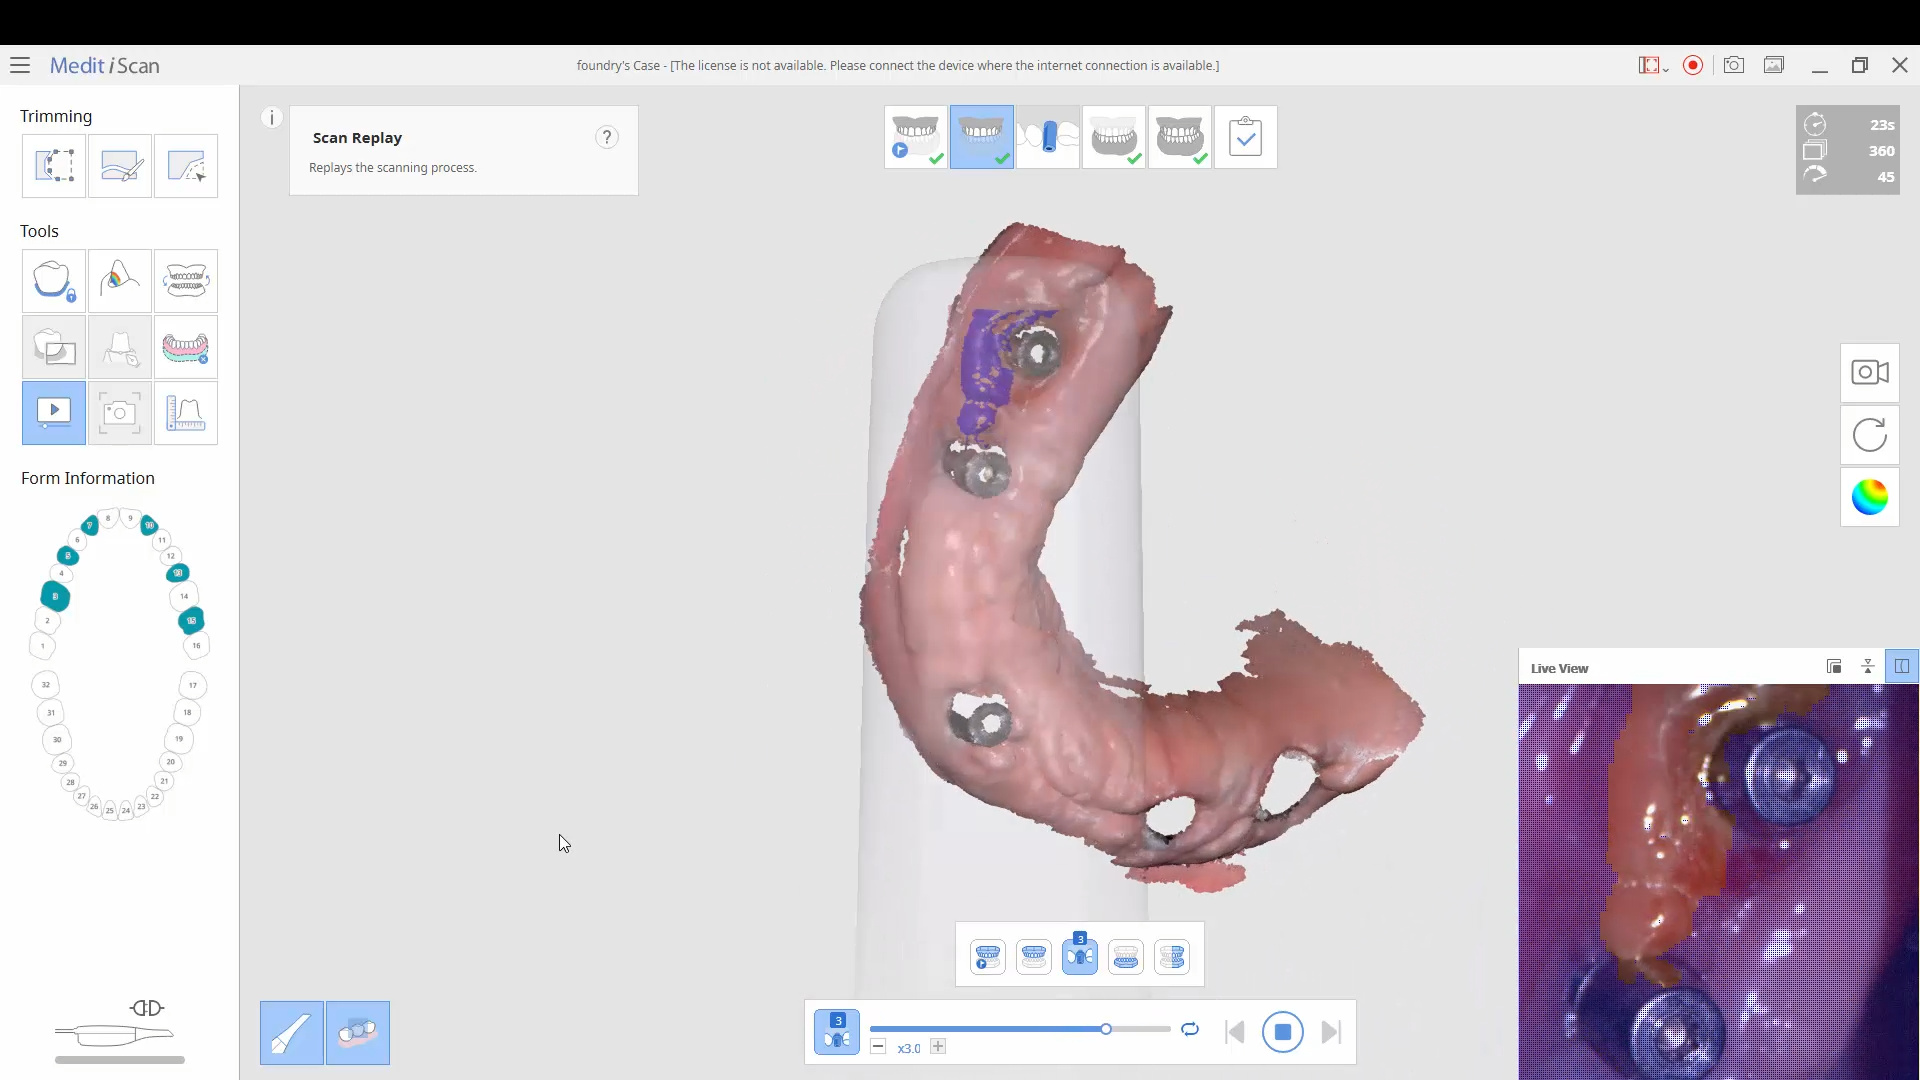
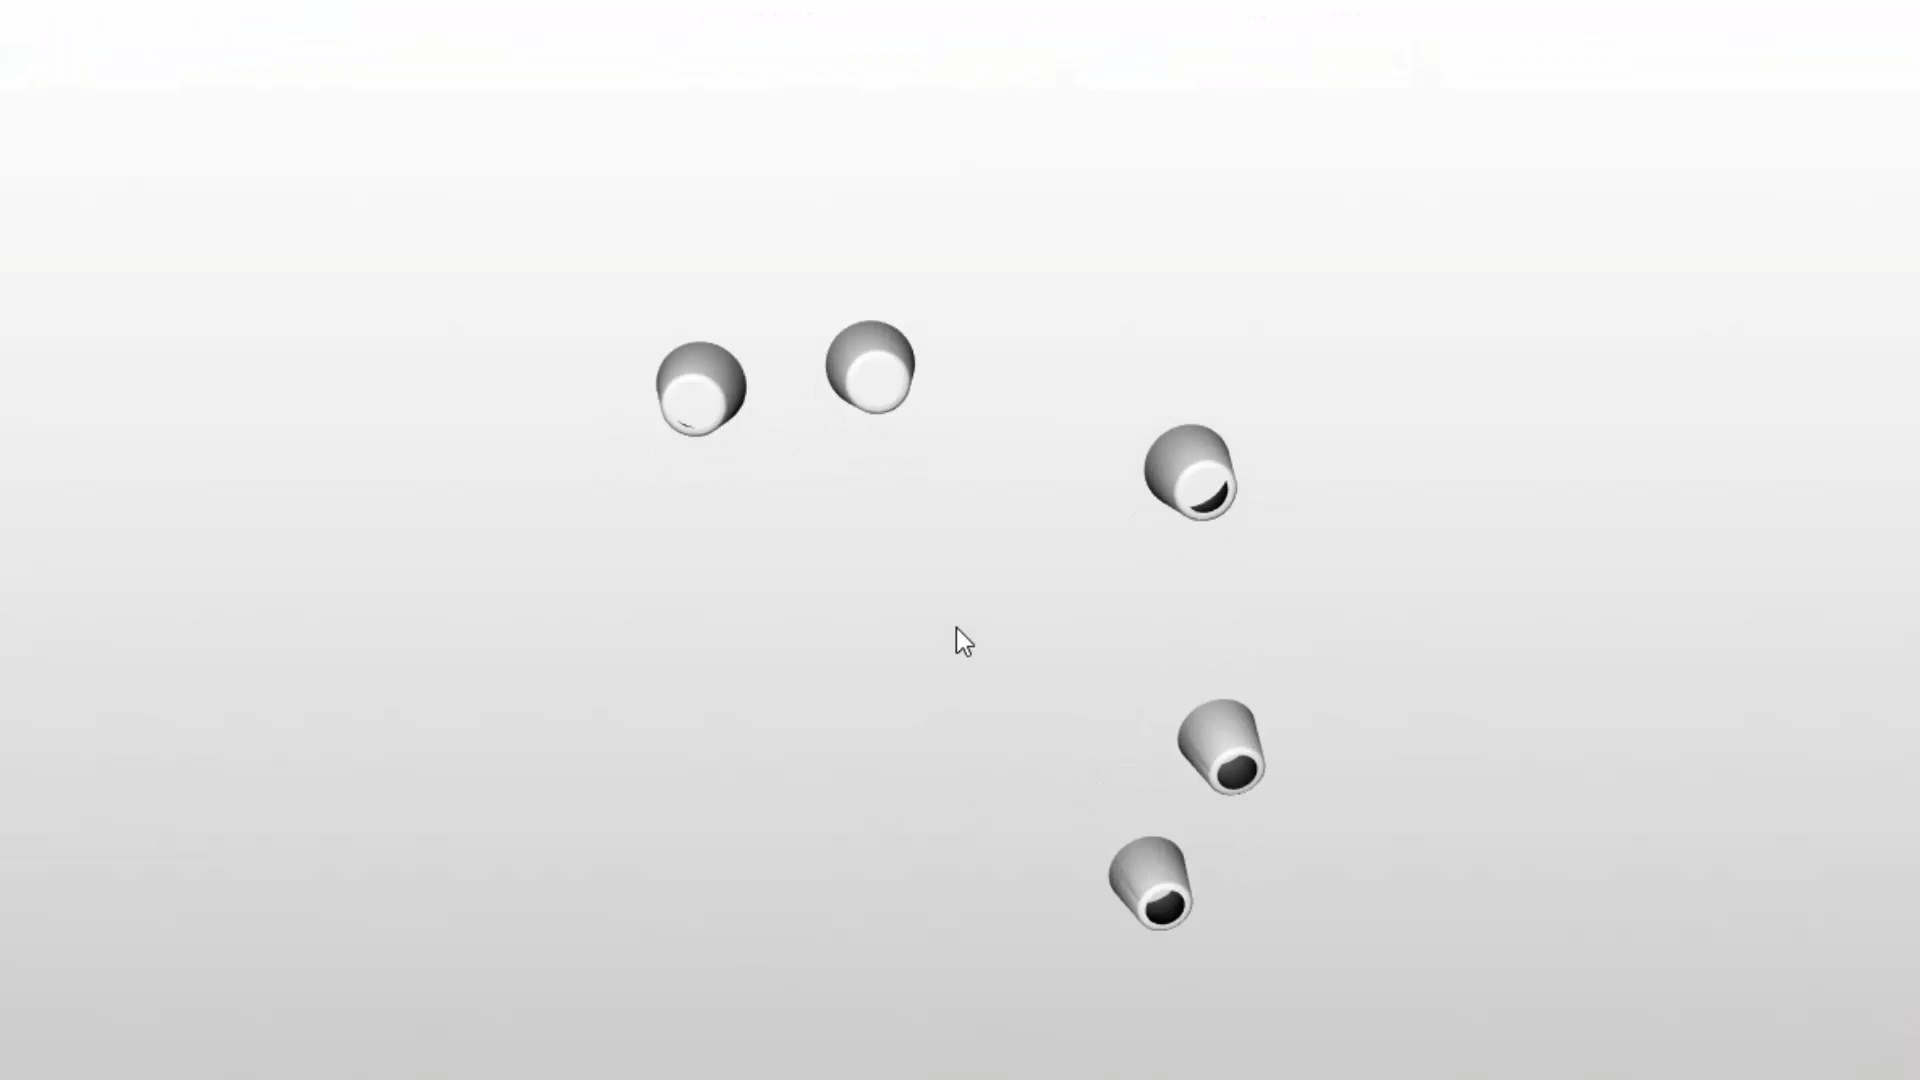
Photogrammetry Scan of the ICamBody, after calibration, and the corresponding IcamRef output files:
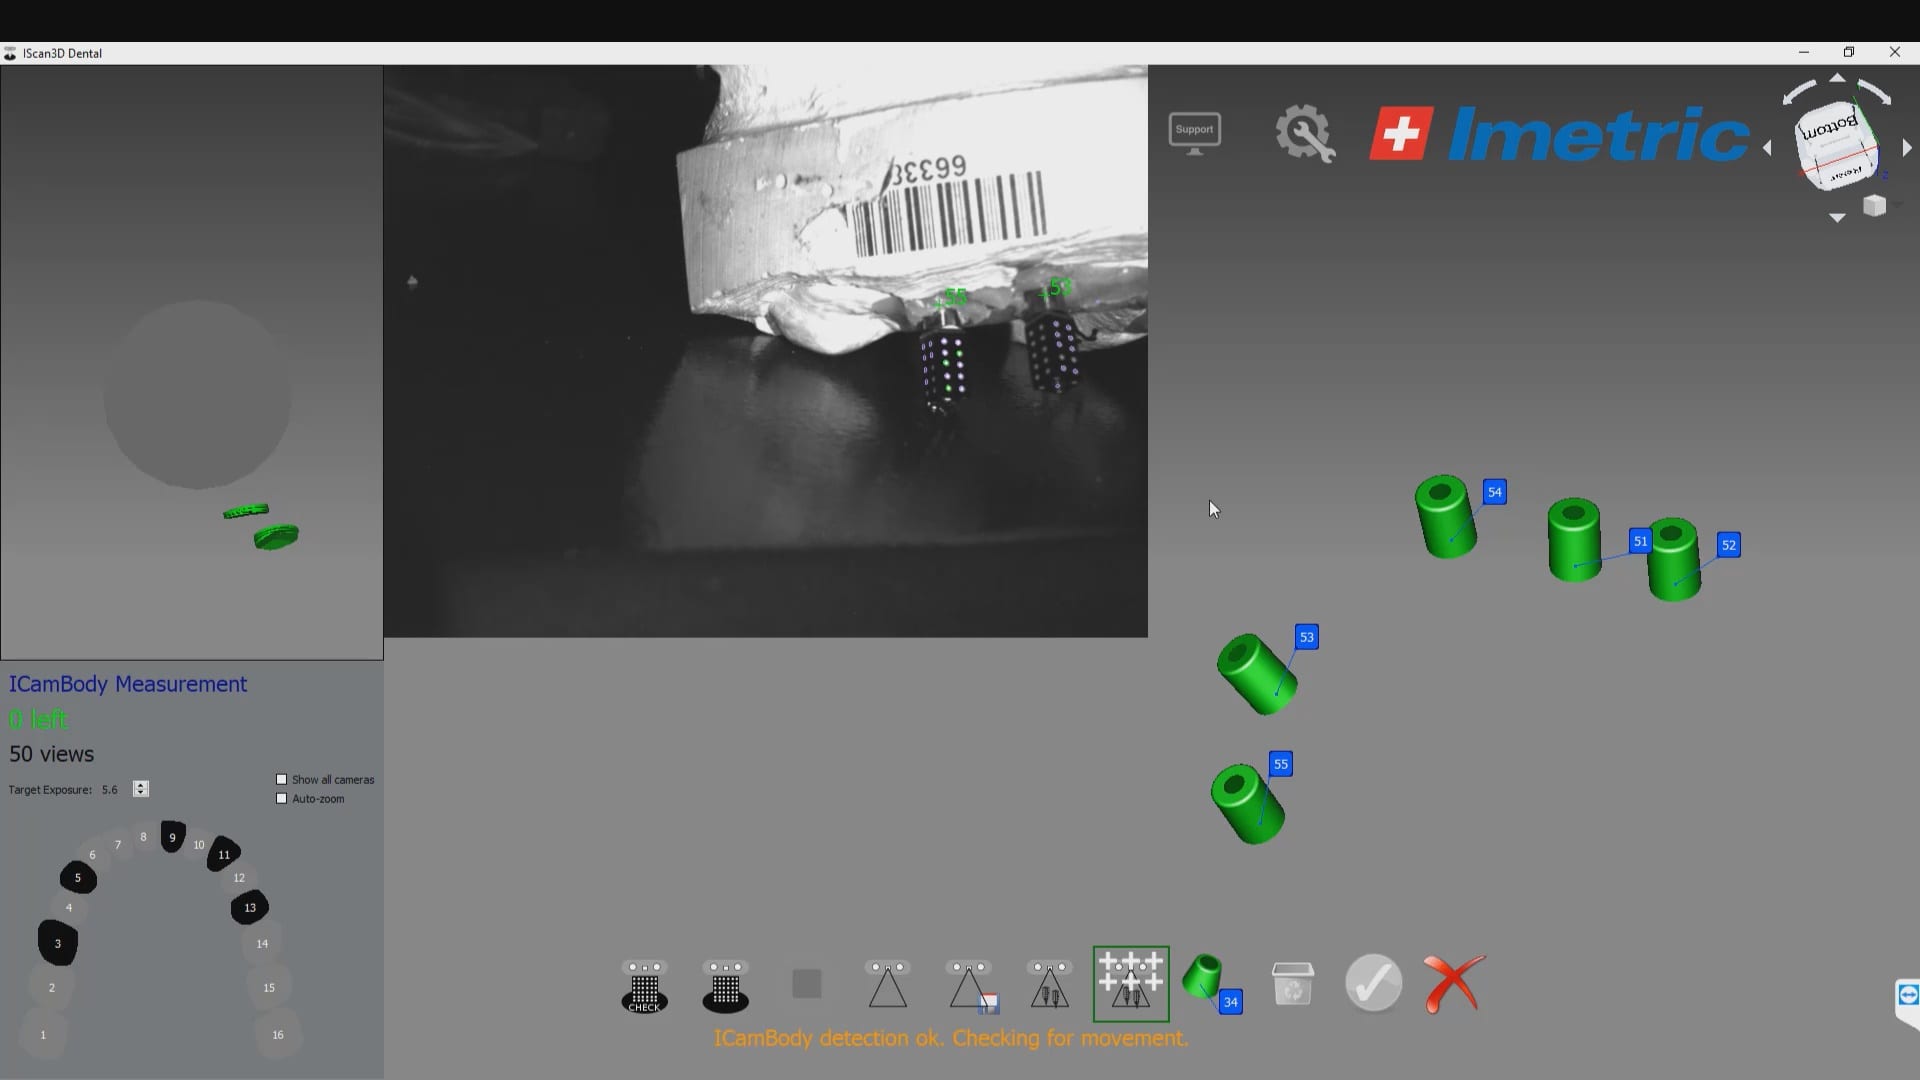
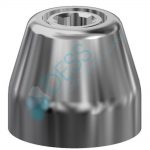
All of these objects can serve as ICamRefs
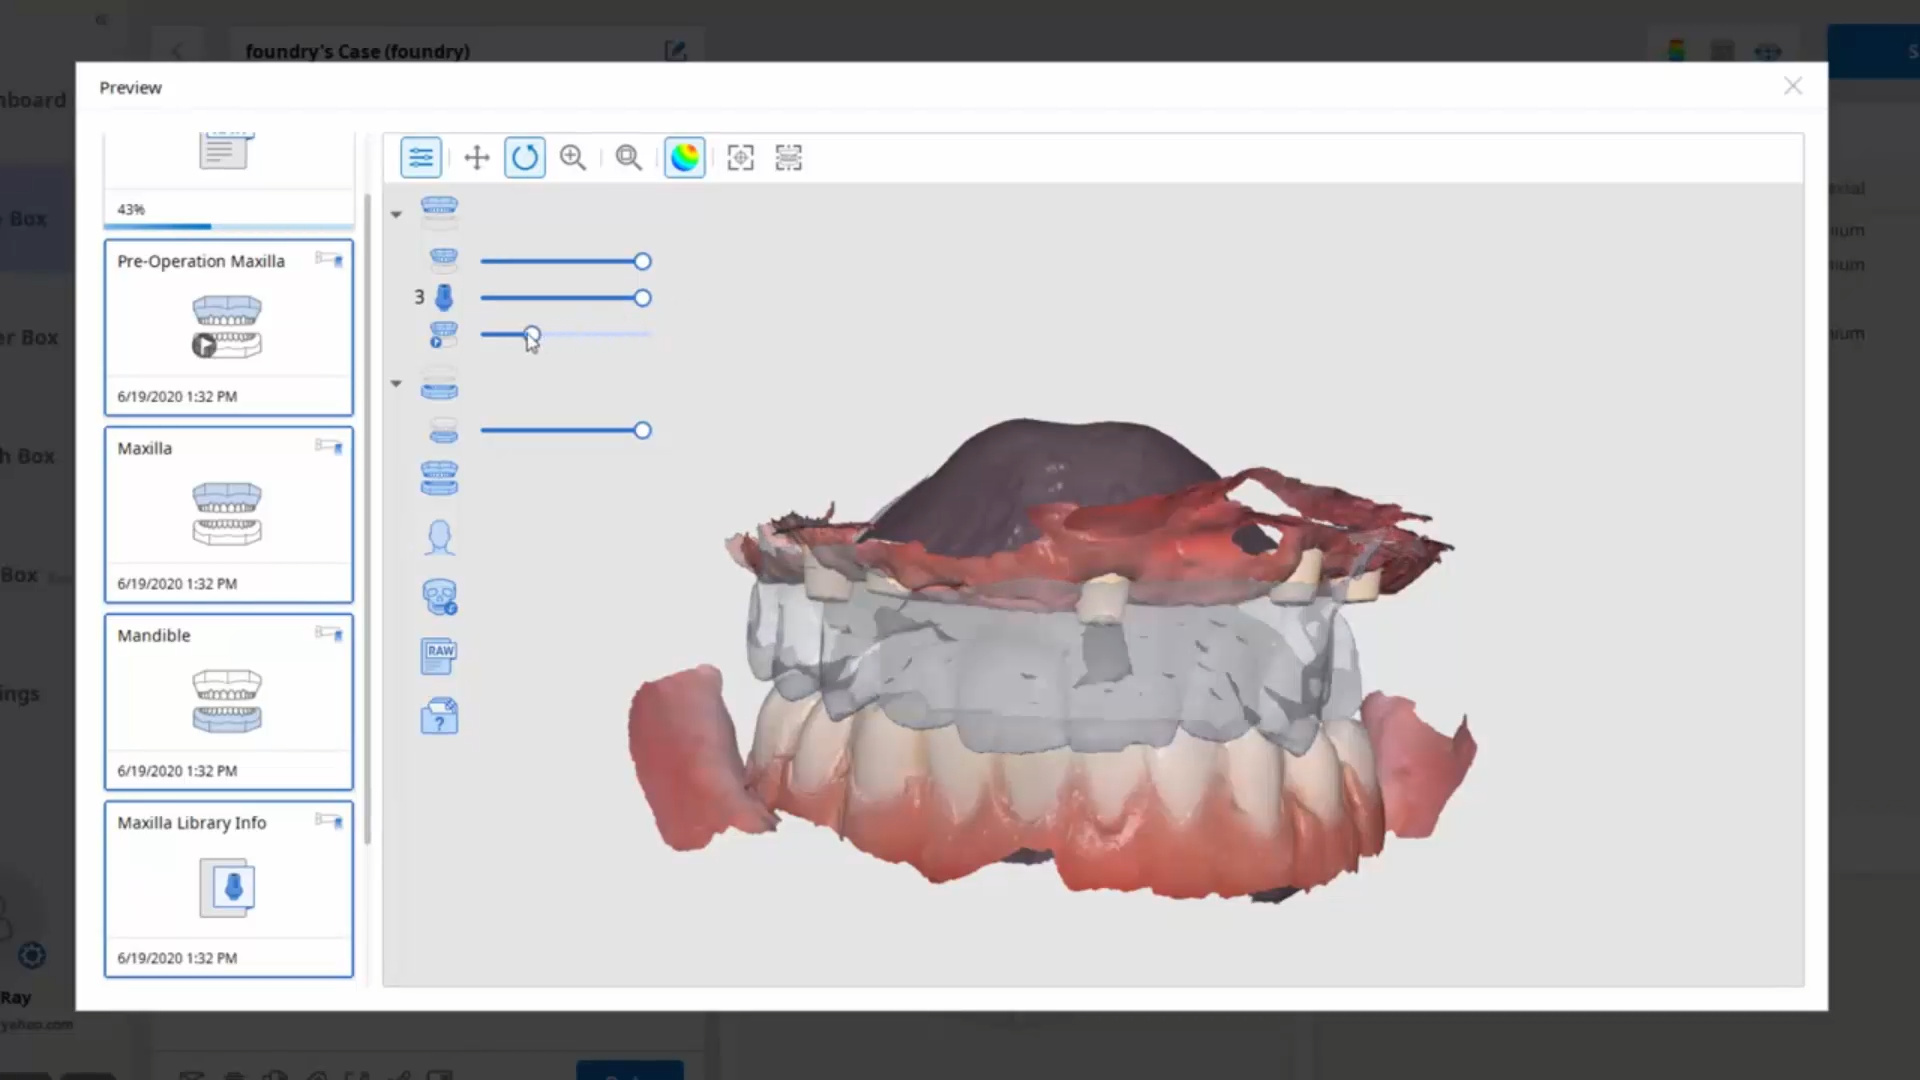
Keep in mind that these objects referred to as ICamRefs are used in design software are used to merge the ICam scan data with intra-oral scan data that you use to capture the soft tissue, the vertical dimension, the tooth positions, etc… The photogrammetry device does NOT capture any of this information and it works in conjunction with other scanners to aid in case design.
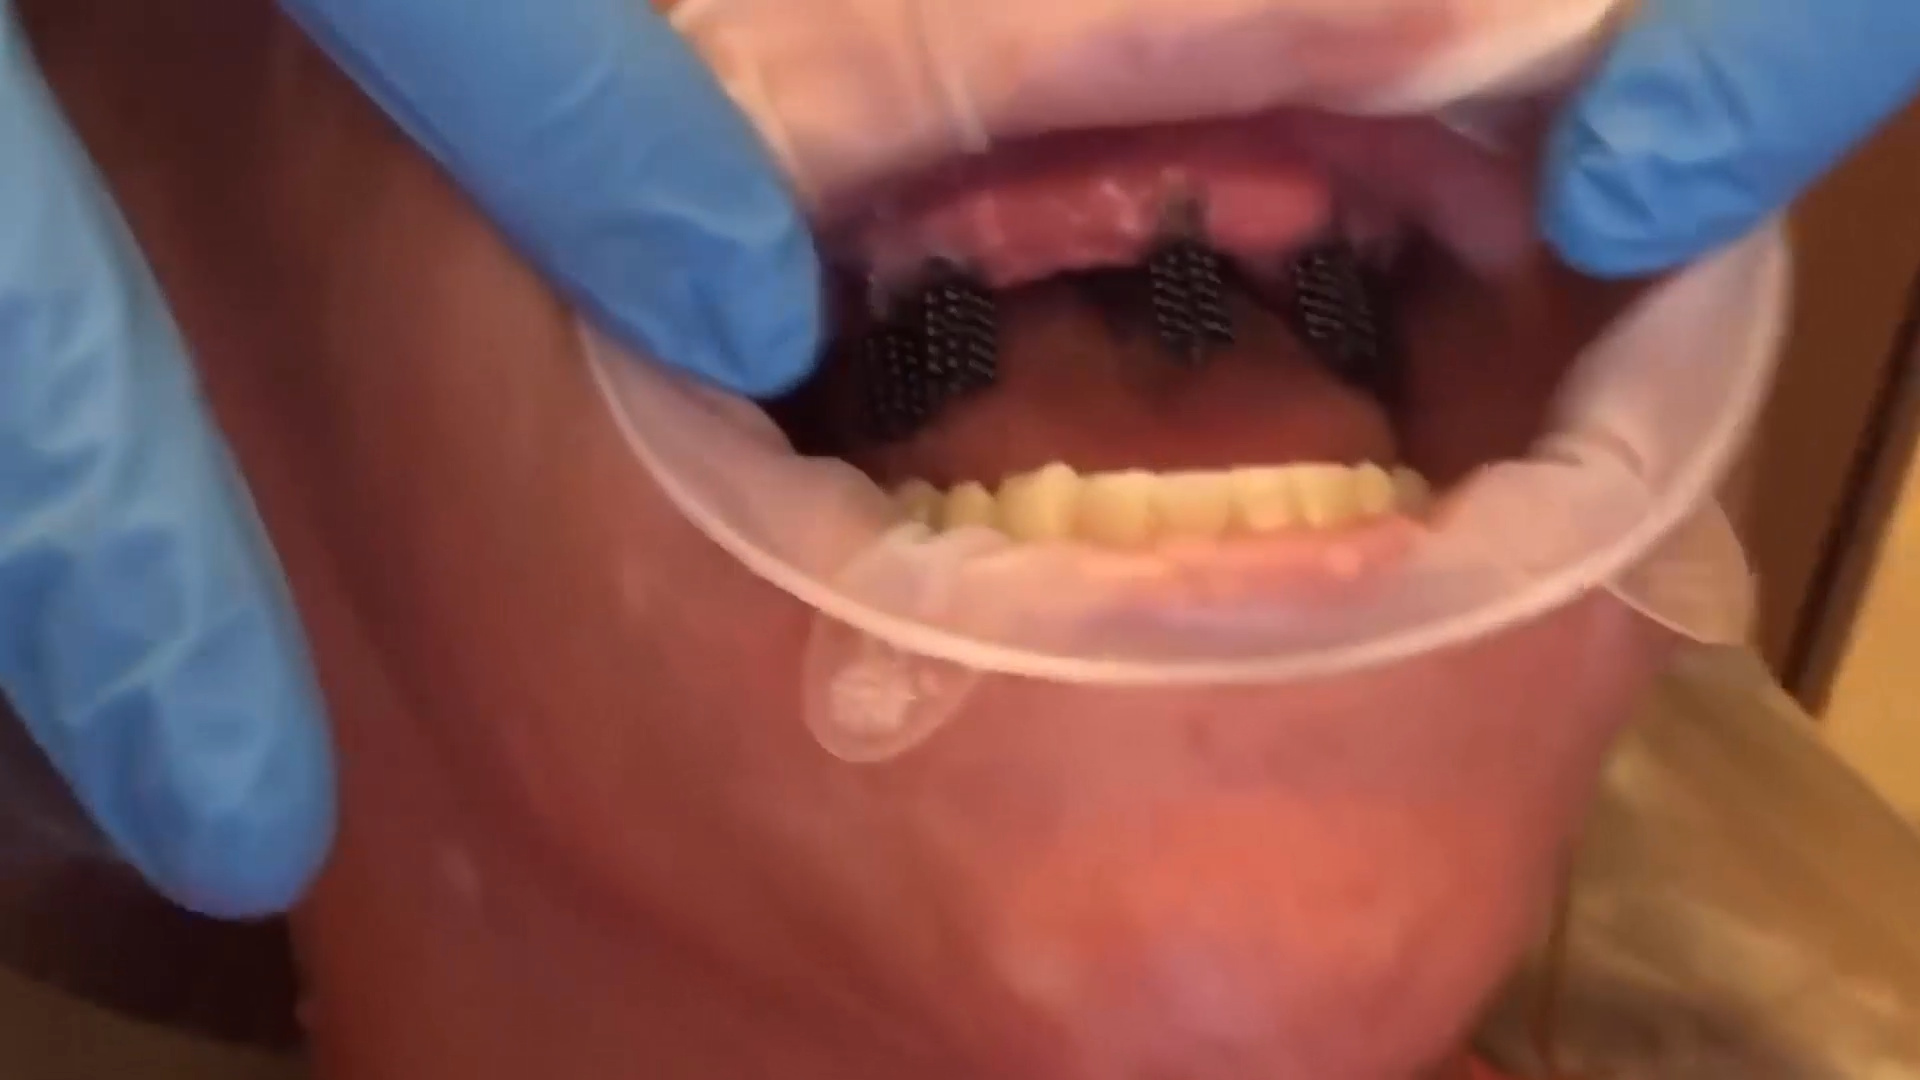
Here is the whole process in action clinically:
Advanced users will skip outputting files in the traditional form and process the MUA’s or even Tibases. They then take advantage of a specific scanner, the Medit i500 to image the MUA or the Tibase directly in the mouth and identify them by using the Artificial Intelligent Implant Supra-structure Identification System , bypassing dozens of steps along the process. Here is a preview of how that works and for more sample cases, please visit the blogs section for this category
