


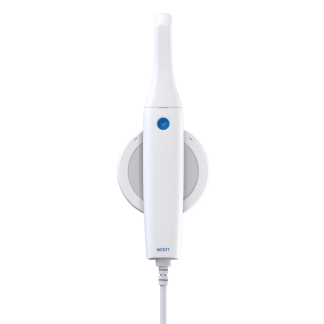
First, you have to decide if digital dentistry is right for you. If the following short video doesn’t convince you, then you are probably not ready for intraoral scanning. It is the single greatest advantage of digital vs conventional impressions; you do not have to retake an impression if you didn’t capture the margins the first, you just correct the area that needs attention. Also you can protect previously captured areas so you don’t introduce any new errors. If this doesn’t motivate you, don’t bother reading the rest. If it does, we’ve cataloged all the advantages the Medit i500 scanner has over all the other scanners in the dental industry
In no particular order, we present the top 100 reasons why you should consider the Medit i500 over all other scanners:
The Color Extraction Filter
The highlight of the most recent software release this sophisticated feature allows you to ignore certain colors while scanning. This can be as simple as using a blue colored glove to retract the lips while scanning or used in a manner to block light traveling through translucent material and/or being affected by shinny surfaces. There is a lot of detail here and you can learn more by visiting this post.
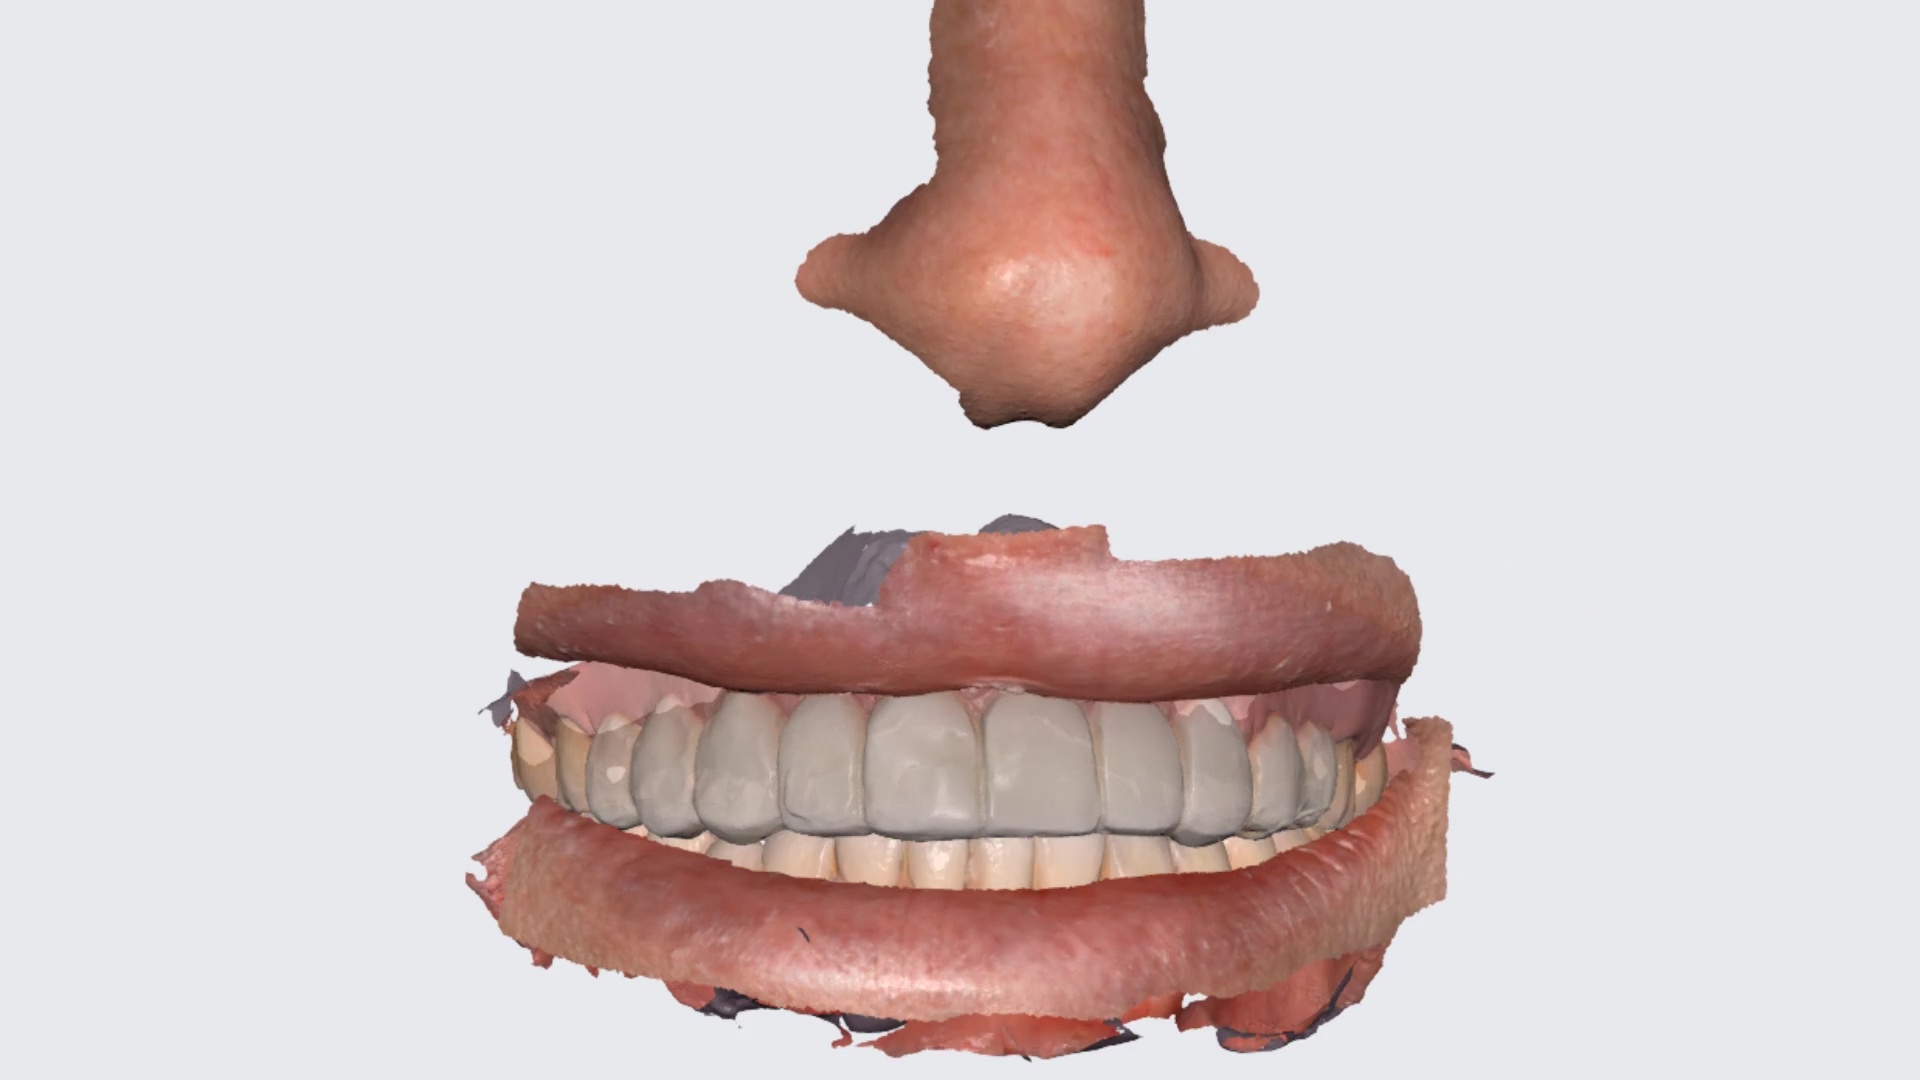
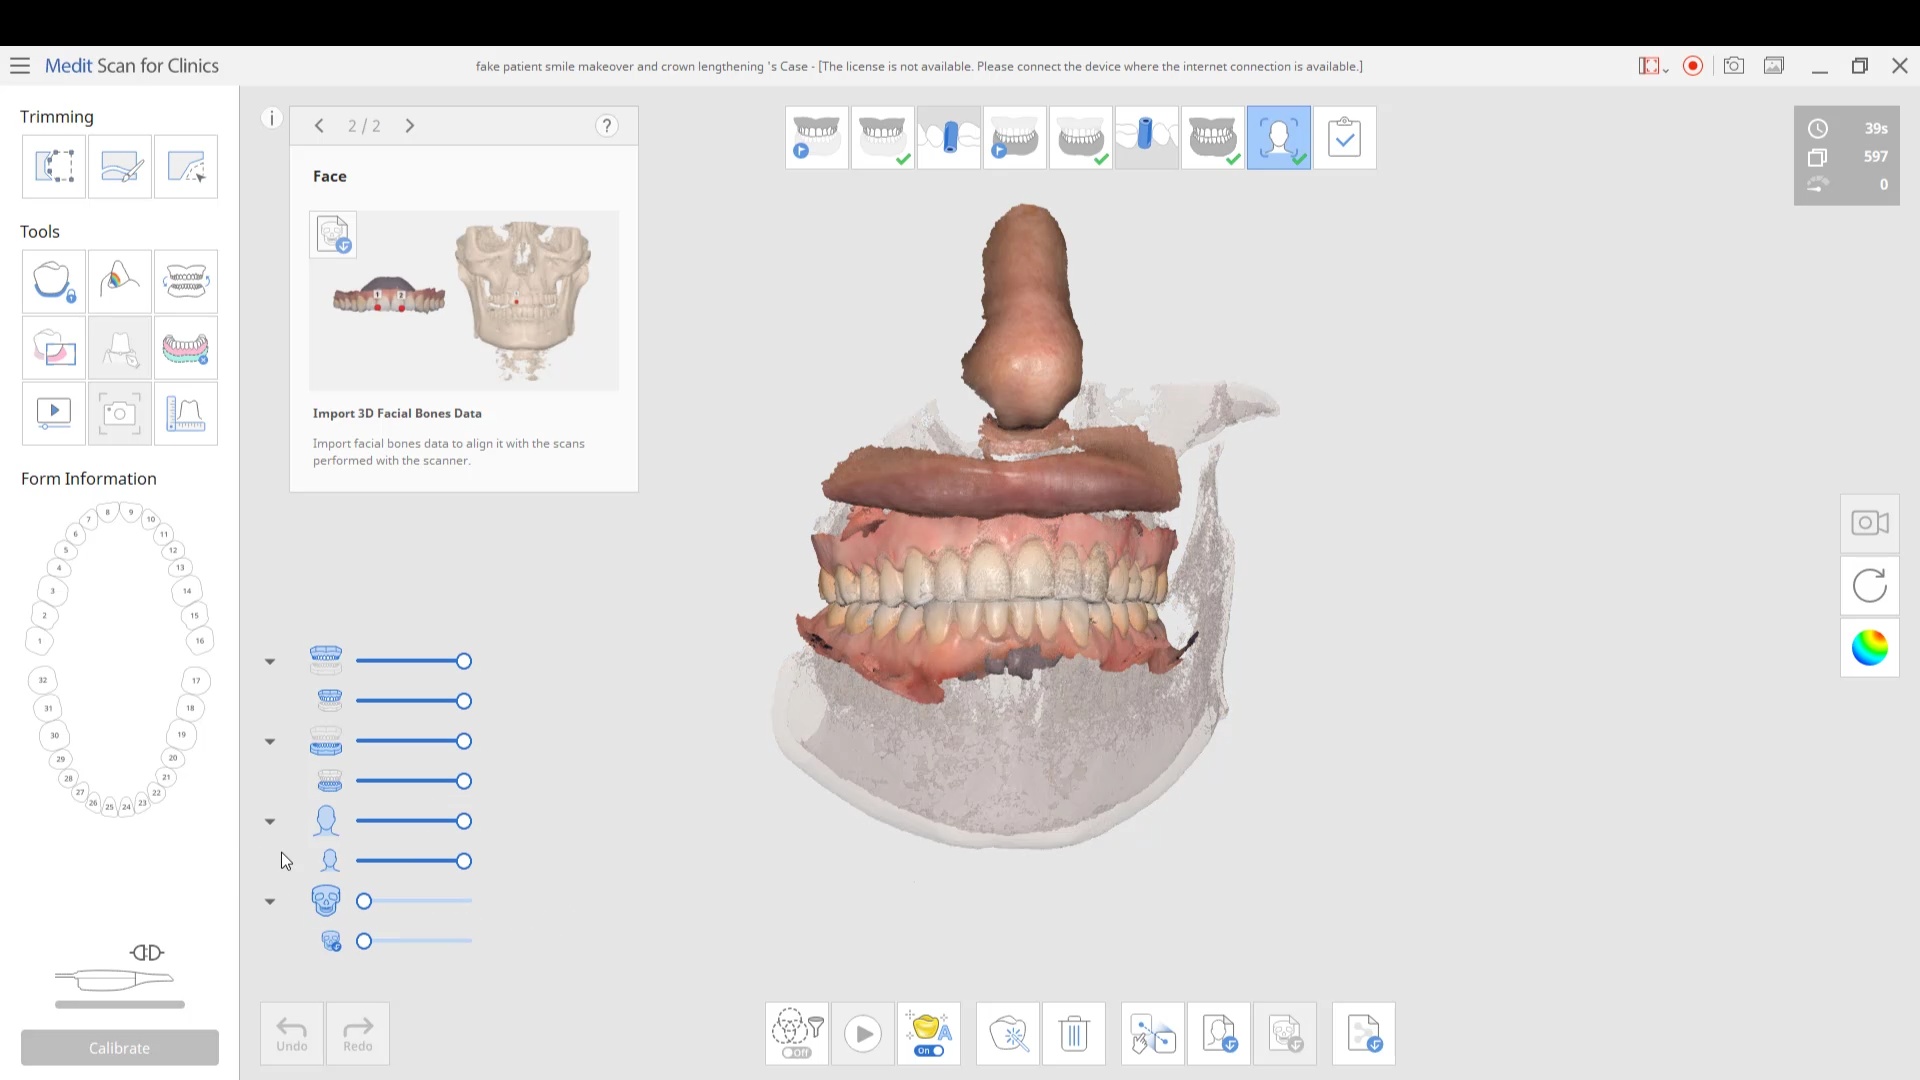
Face Scan feature
This can be used to capture the lips and the nose and allows you to line it up with the upper jaw and lower in 3D so that you can assess the midline and tooth positions for final designs
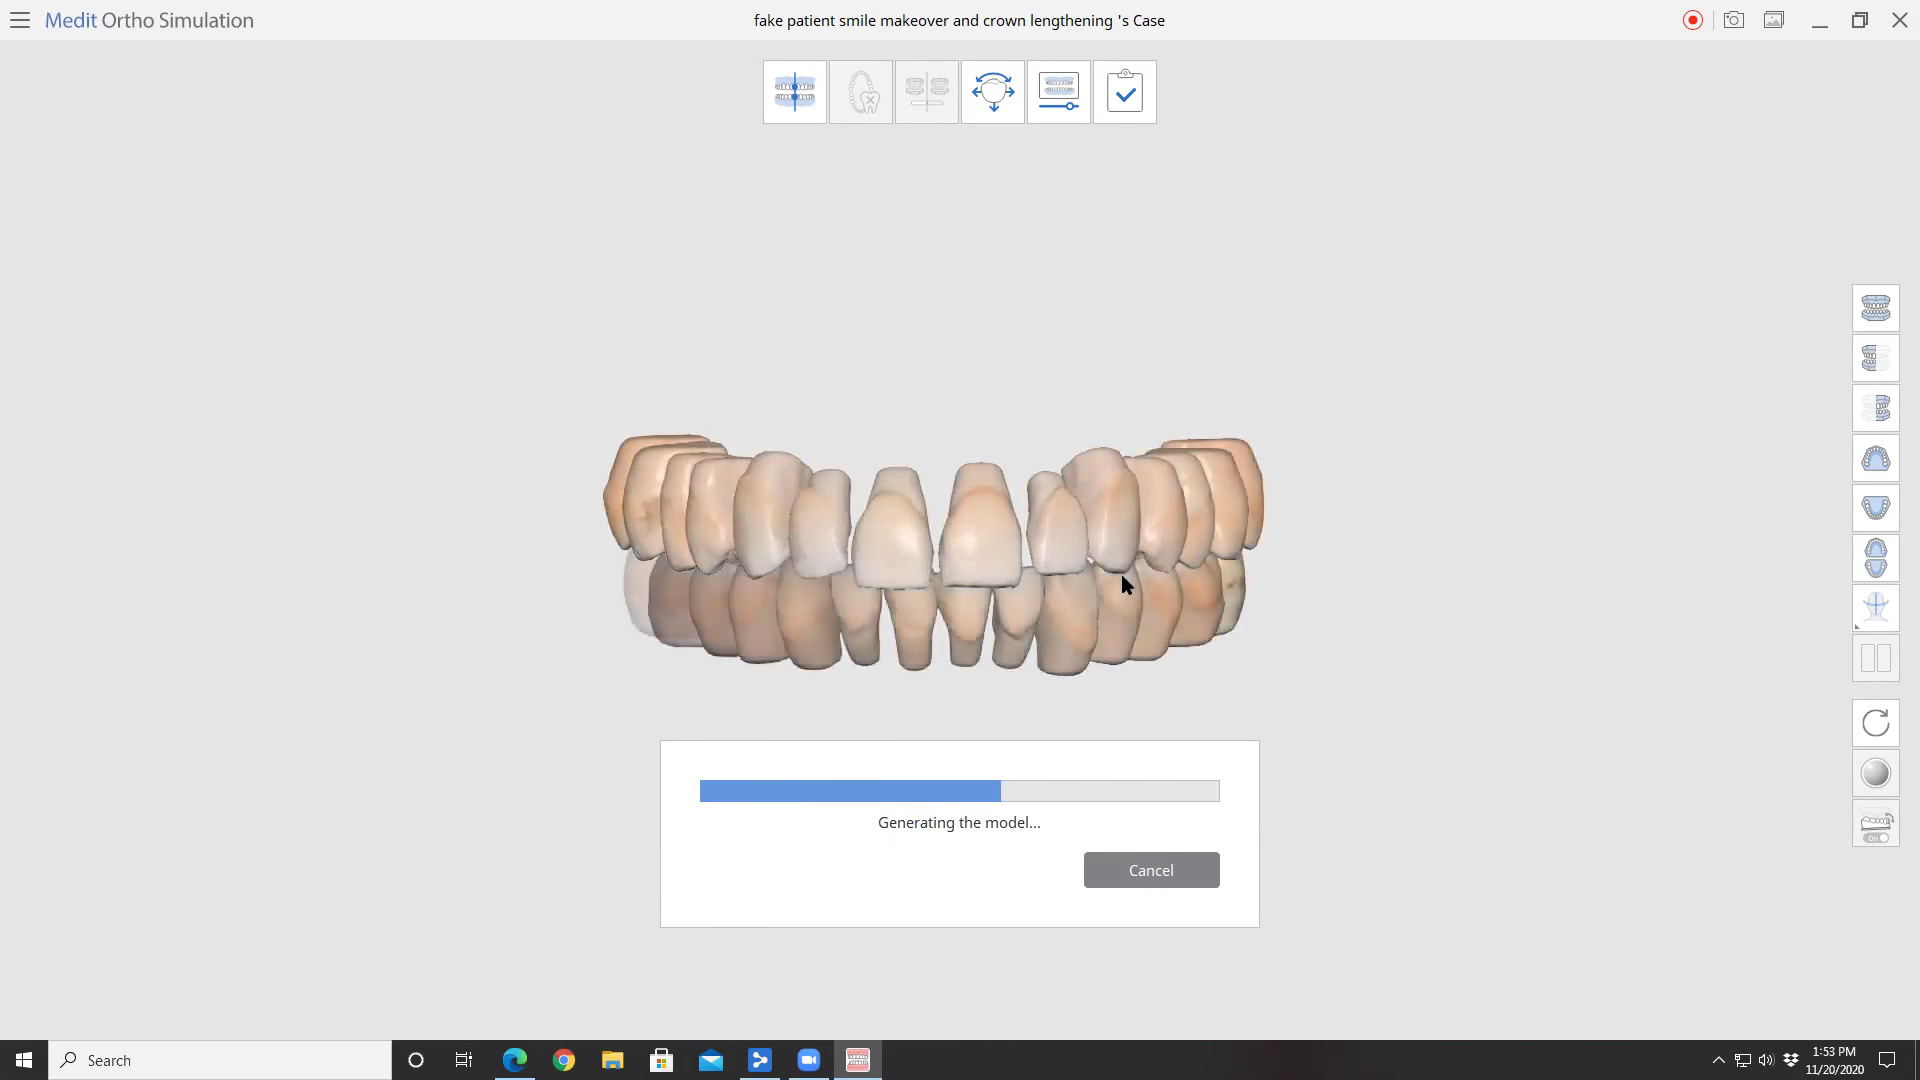
Orthodontic Simulation
This is from a webinar conducted on November 20 and it discusses the import of models and a preview of how to use the compare feature and the Ortho Simulation Software
Start at 1:02 Minute Mark
Smile Design and Compare Apps
The following videos will feature how to utilized the compare feature and how to import and export cases to share with others for advanced users
Adding live Scans to existing 3D Models
We can add live scans to 3D models rendered by any other device. These models can be imported and then the camera can be activated to add scans to the that model that is either an STL, OBJ, or PLY file. Not other sanner has this feature. Watch this video here and click here to learn more…
Routine Full Arch Imaging in Under One Minute
We recently had a contest at CAD-Ray where our users where encouraged posting self scans of an entire arch in under a minute so potential users can appreciate what to expect once they purchase the Medit i500.
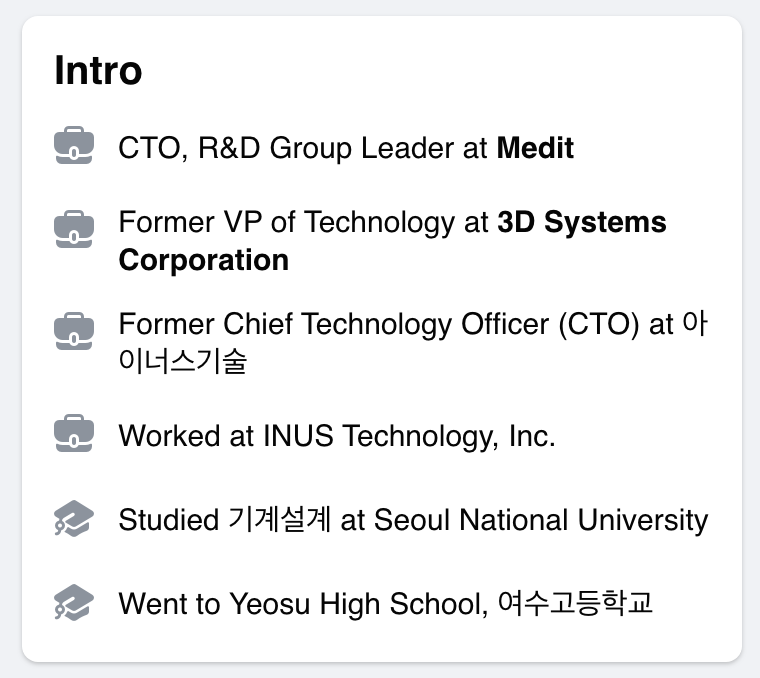
Michael lee and his development team at Medit are a top reason to consider the Medit i500. We have been in Dental CAD/CAM for almost 2 decades and we have never seen progress in software or hardware at the pace that they introduce them at.
We see feature requests readily incorporated into the platform which can take other companies decades to possibly accomplish.
They’ve made the scanner the leading IOS in dentistry and deserve a lot of credit for driving patient care to a higher level.
Digitally Ditch the Margins
Continuing with the color extraction filter feature, a new use has come to fruition that will allow you to digitally ditch your dies making it even easier to find your margins.
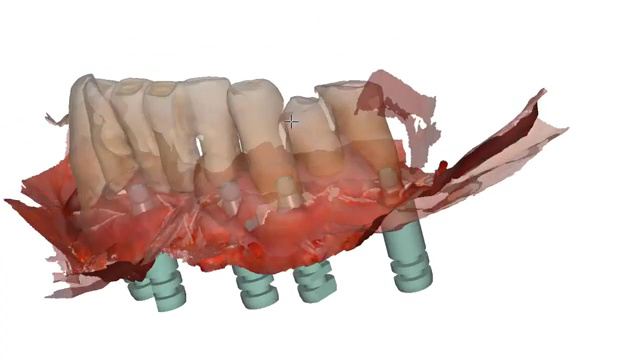
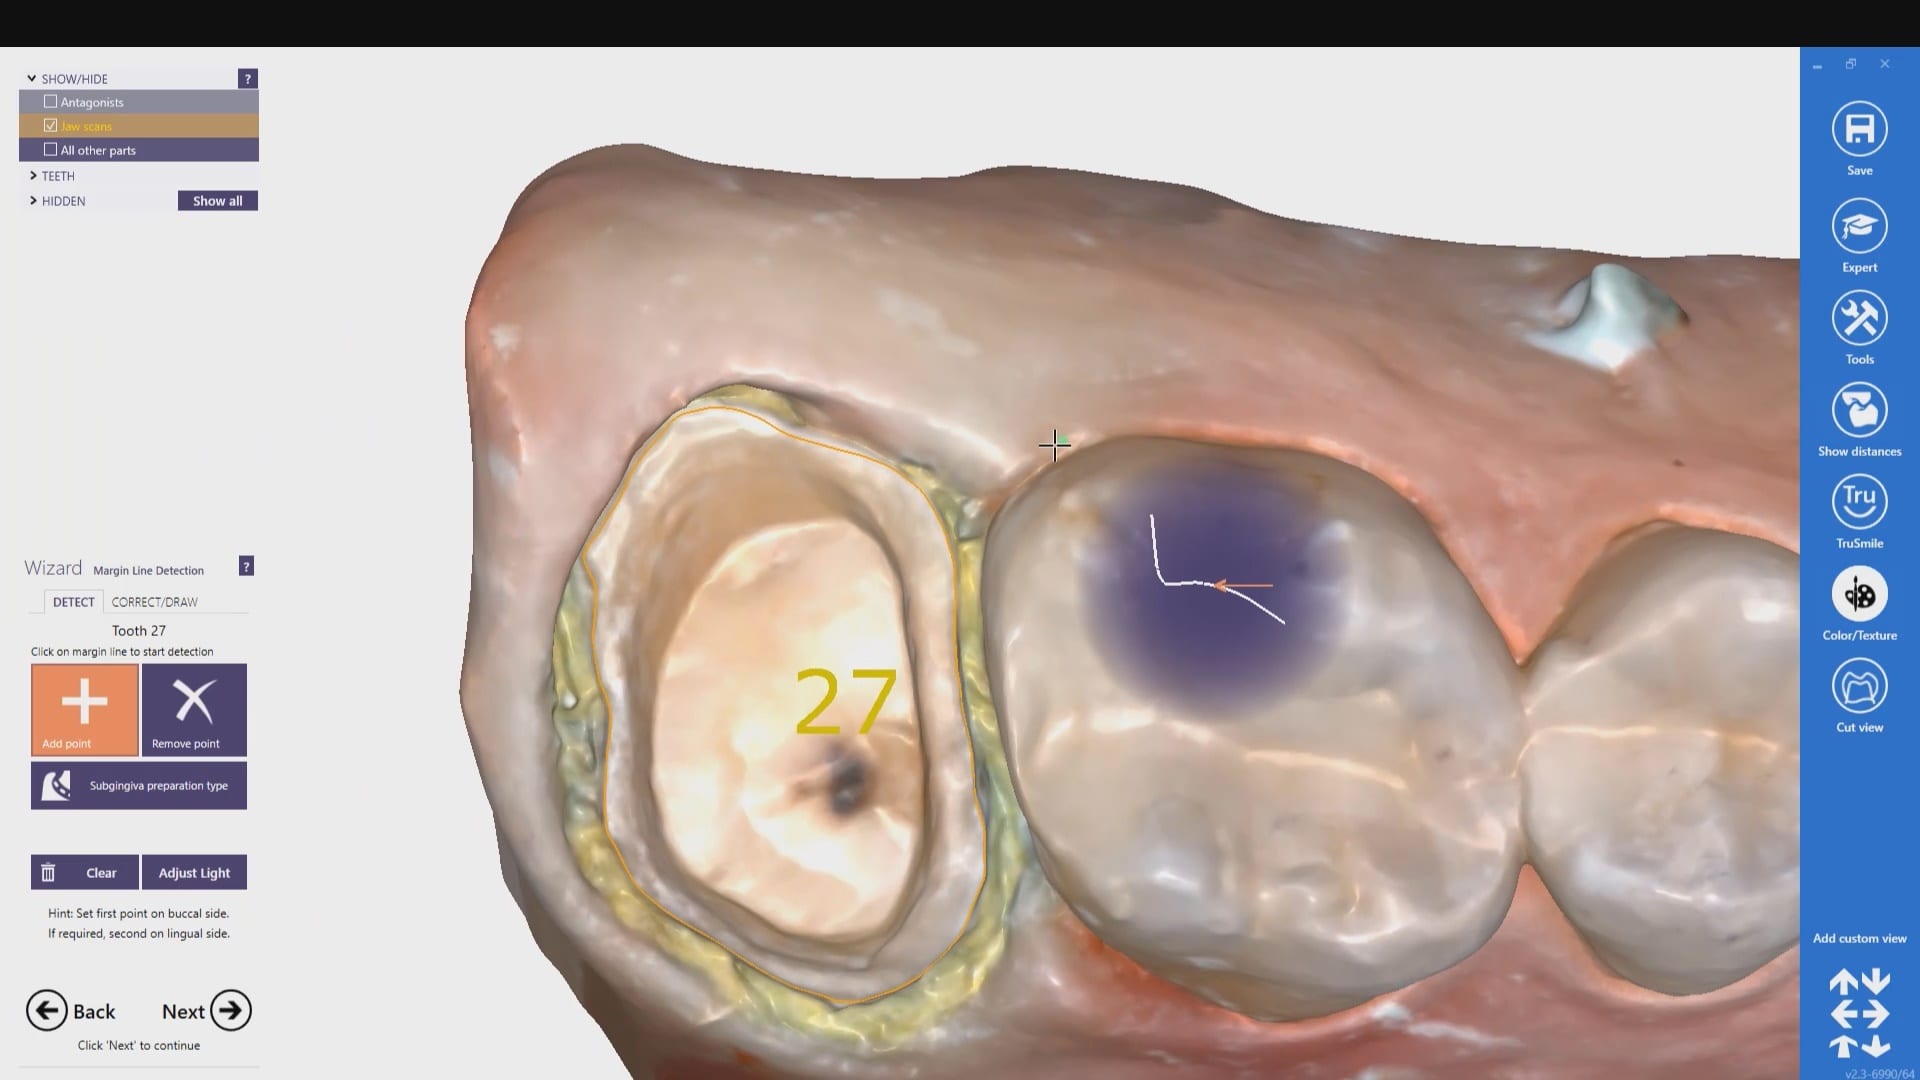
Instant Implant Suprastructure Identification System
The following videos demonstrate how the Medit i500 has artificial intelligence that can readily identify a dental implant scanbody, a direct abutment, or even an impression abutment (read more…)
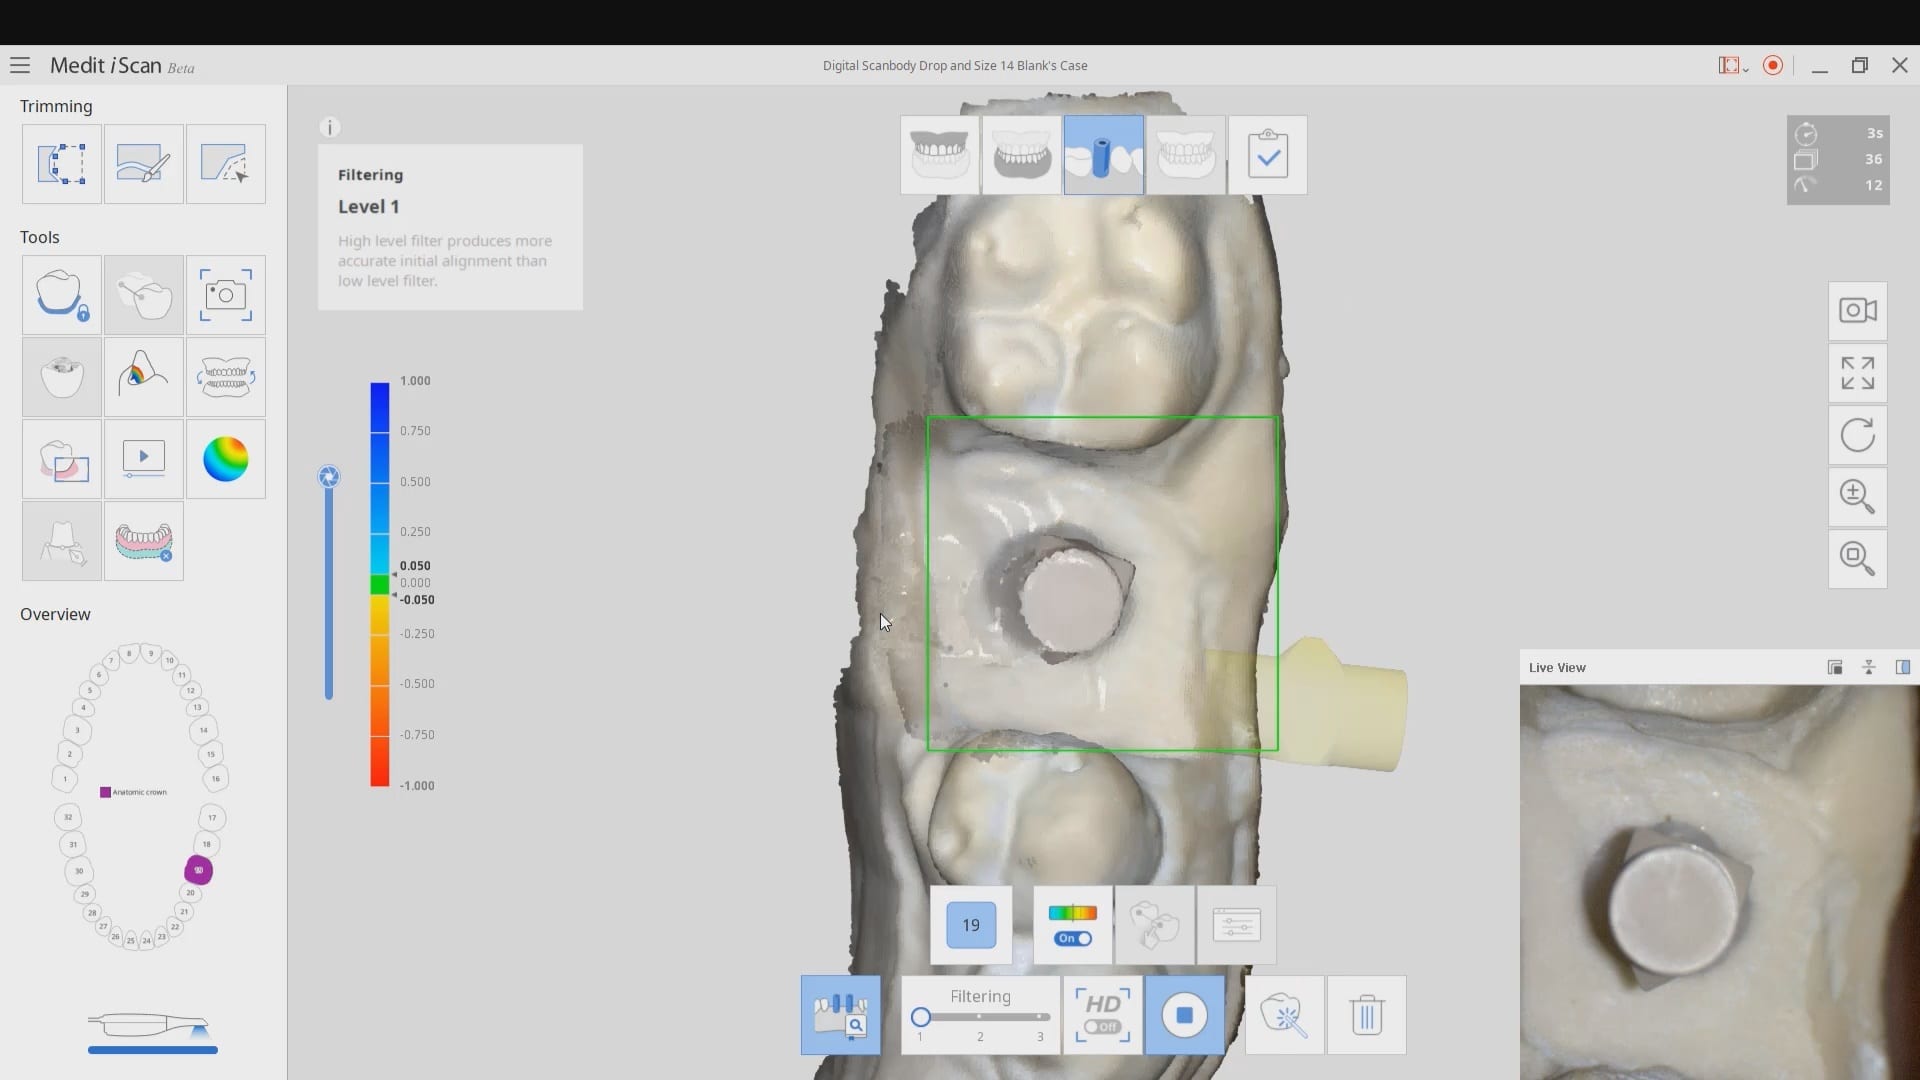

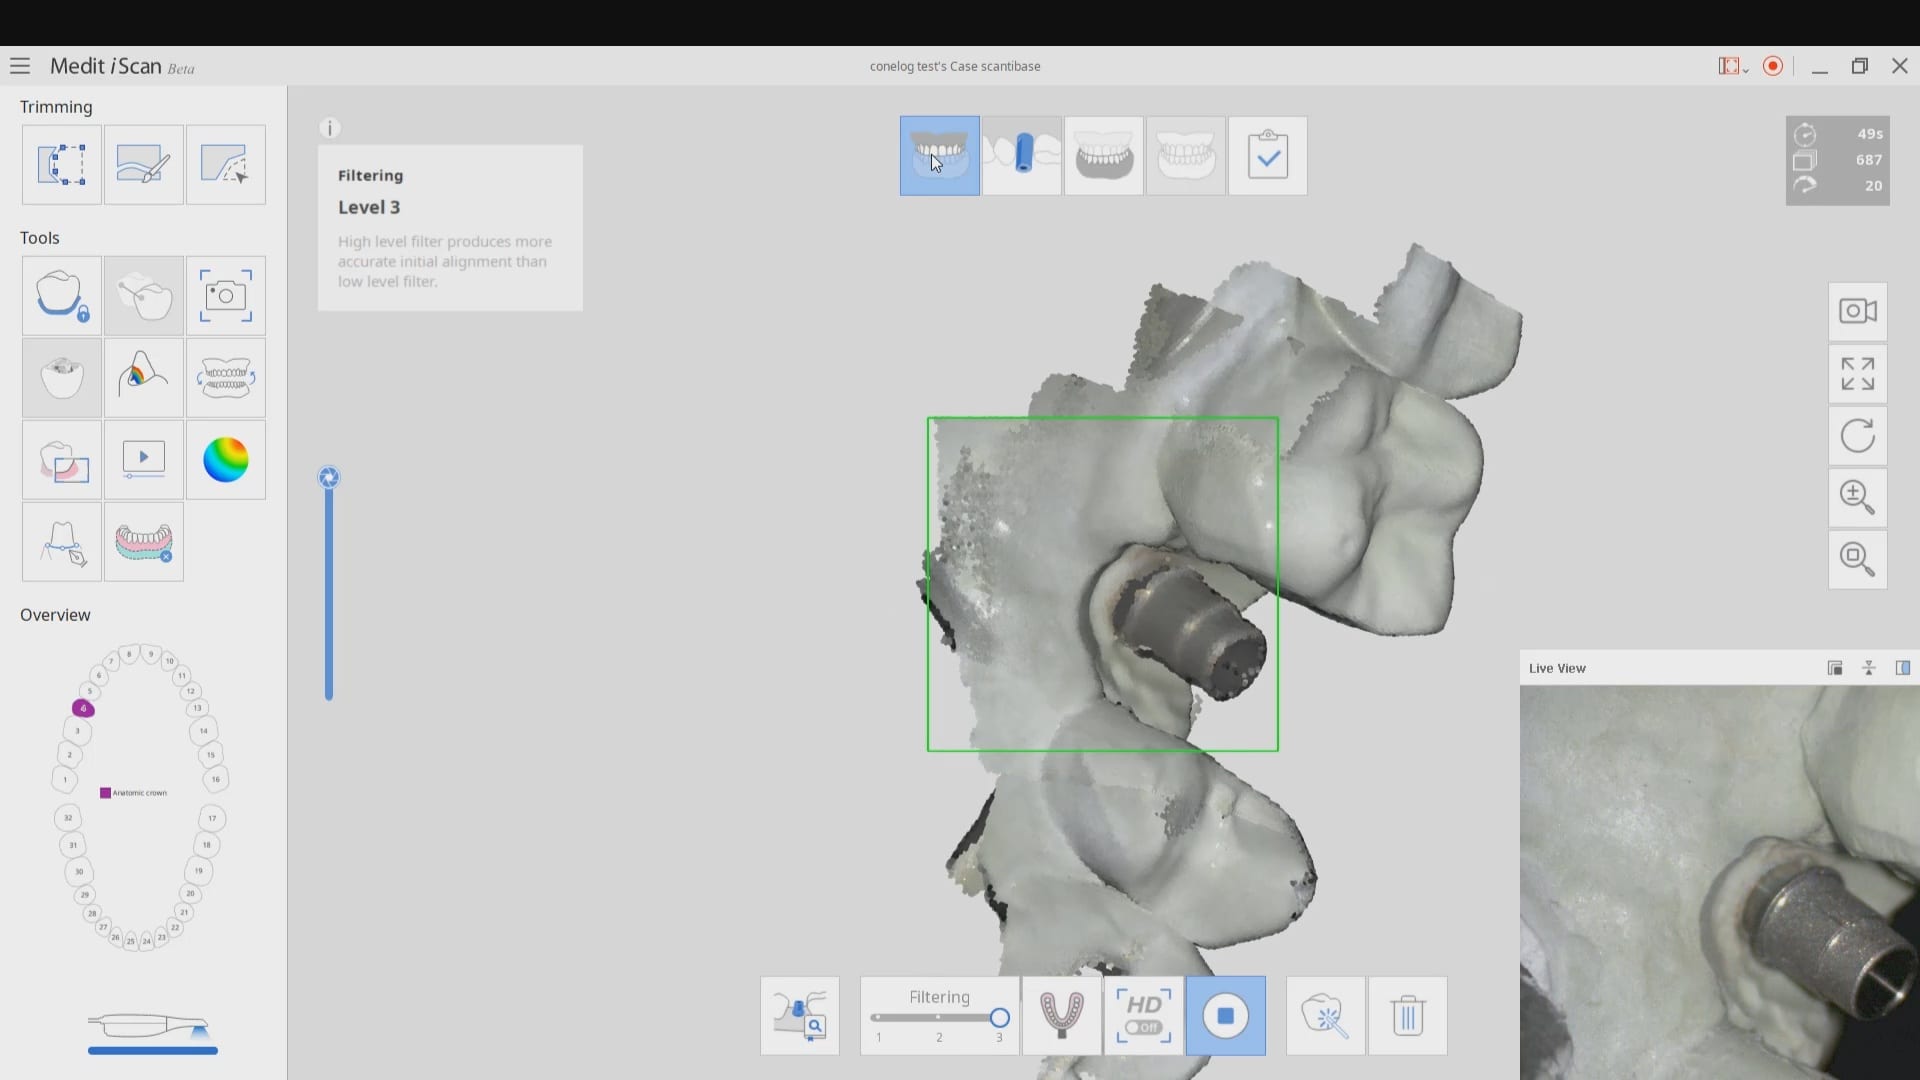
Now see it live in action clinically! The software can identify the scanbody and you don’t have to worry about the pool of blood at the connection and being able to capture the whole scanbody
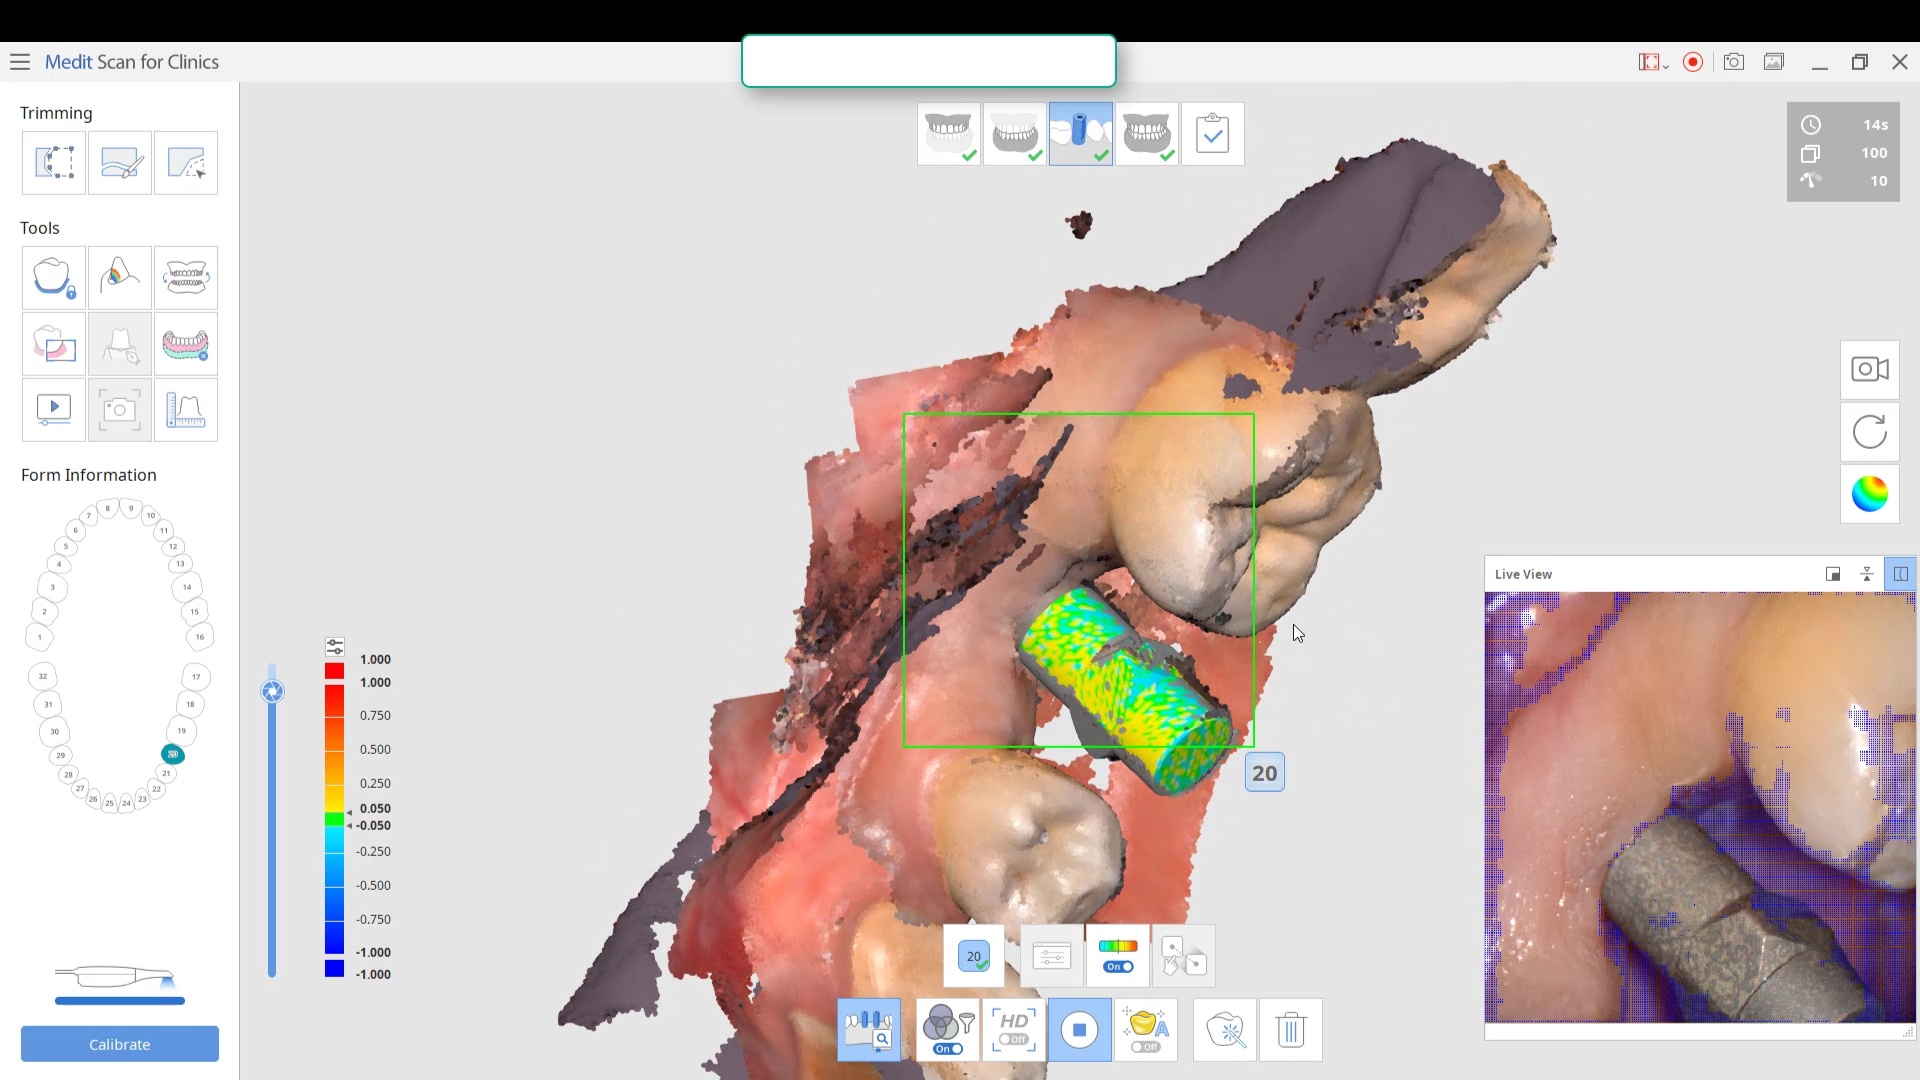
Scan Metal and Highly Reflective Surfaces with Relative Ease
Intra-Oral scanners like the Medit i500 have a projector that hits the object with light, then two cameras, set at different angles, pick up 20-30 picture frames per second (live video). When the light hits the reflective surface and bounces back and floods the cameras, the scanner then has to deal with this blind spot. All you have to do is angle the scanner in a manner so that you deflect the light reflection into another direction and that object becomes easier to scan. This video demonstrates how easy it can be to scan shiny metal surfaces
Impression Scanning and Mixing Intra-0ral Scans with Physical impressions
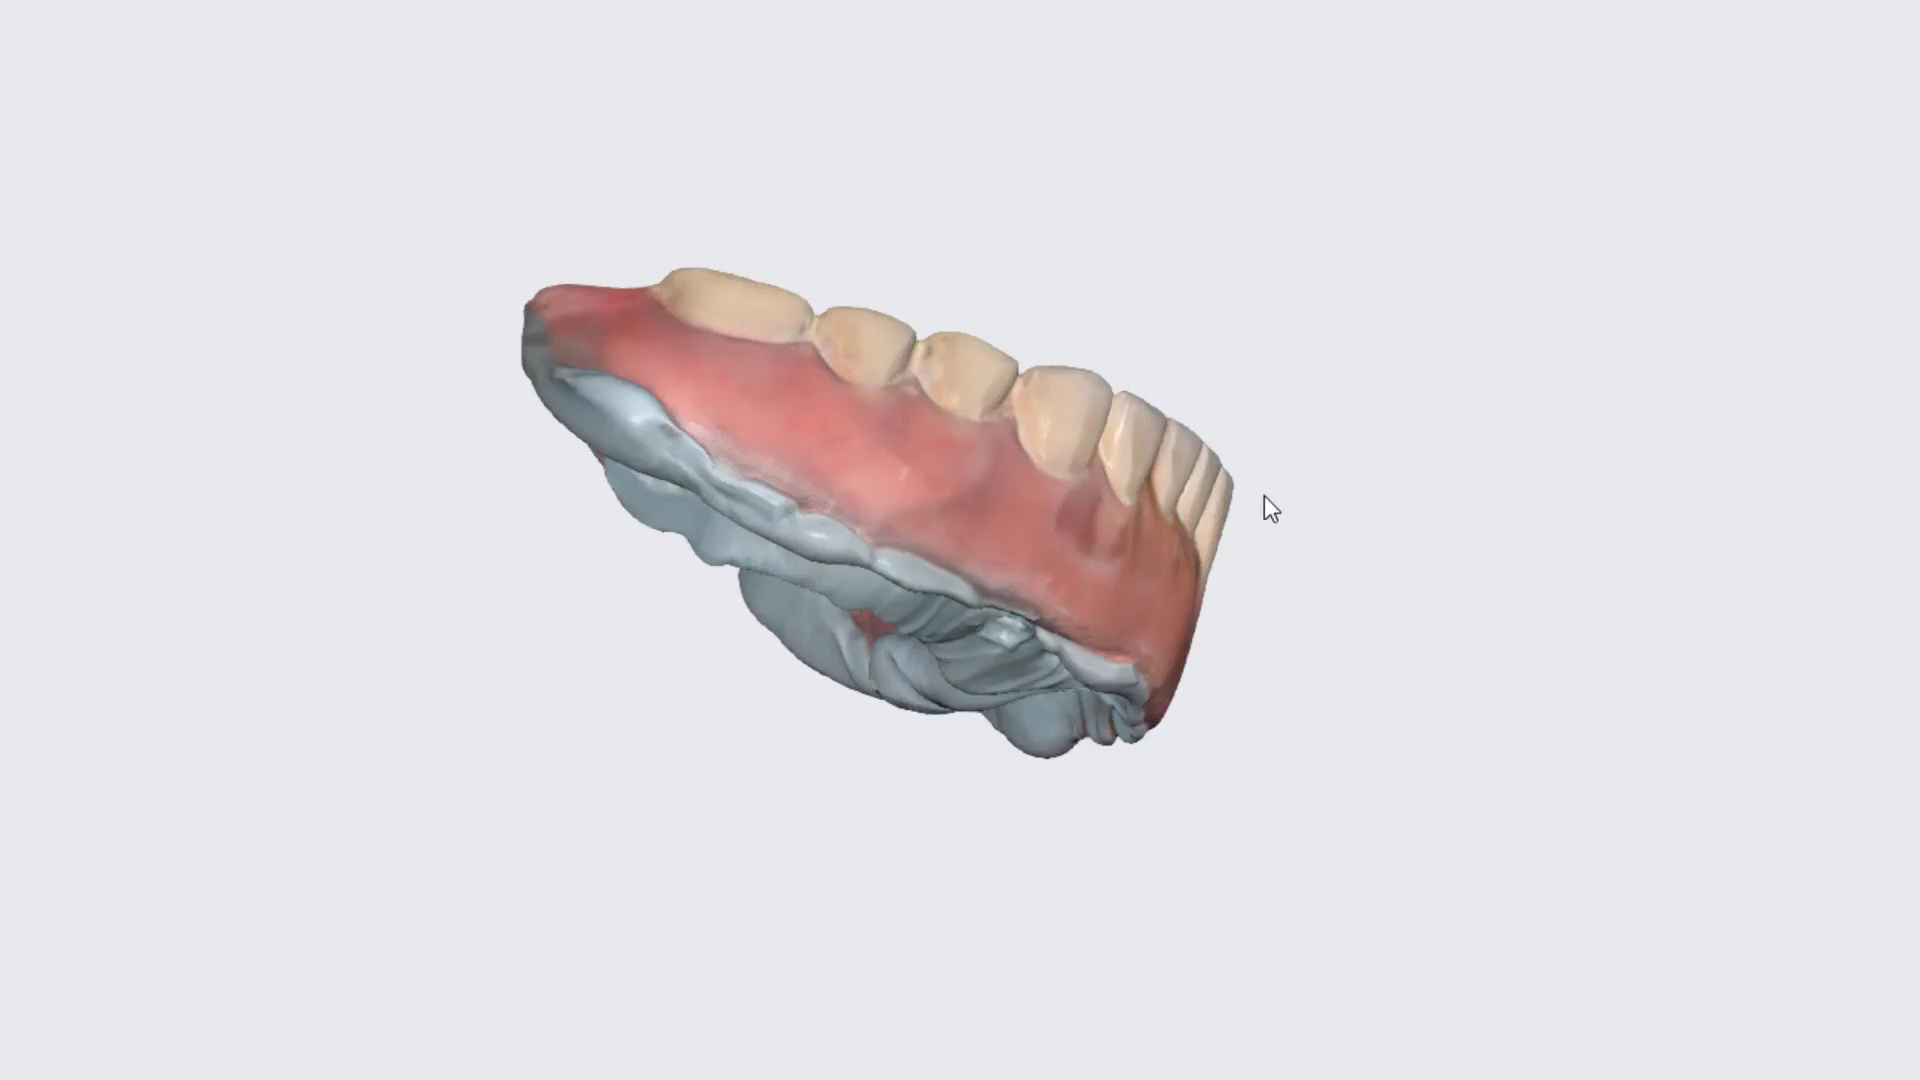
New users and team members can scan and edentulous ridge by invert scanning a physical impression. A very popular question is how to scan an edentulous ridge. Most people do not understand that beyond the edentulous scan, you must capture more information so you mount it against the opposing. With impression scanning, this is very easy to do.
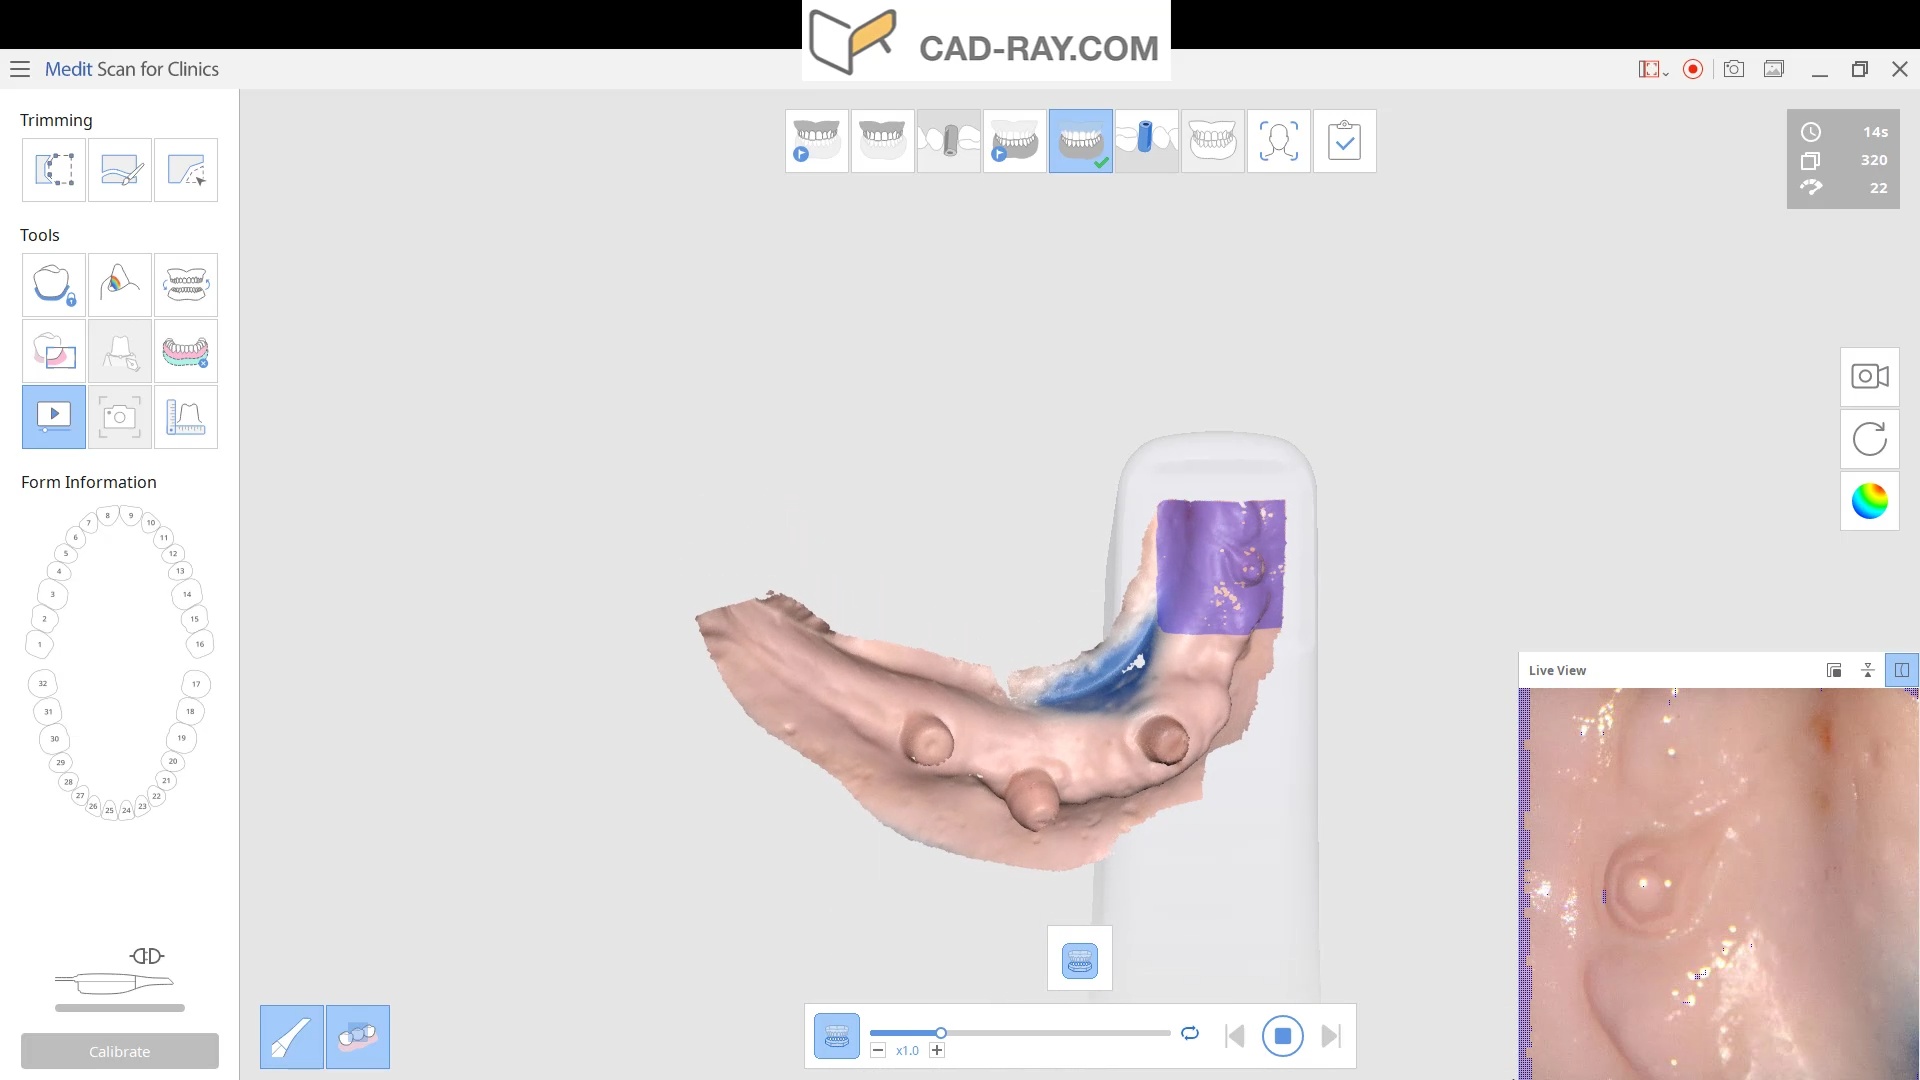

Now, if you take a 360% scan of a relined prosthesis, it can serve multiple purposes for edentulous cases. See this link about duplicating dentures
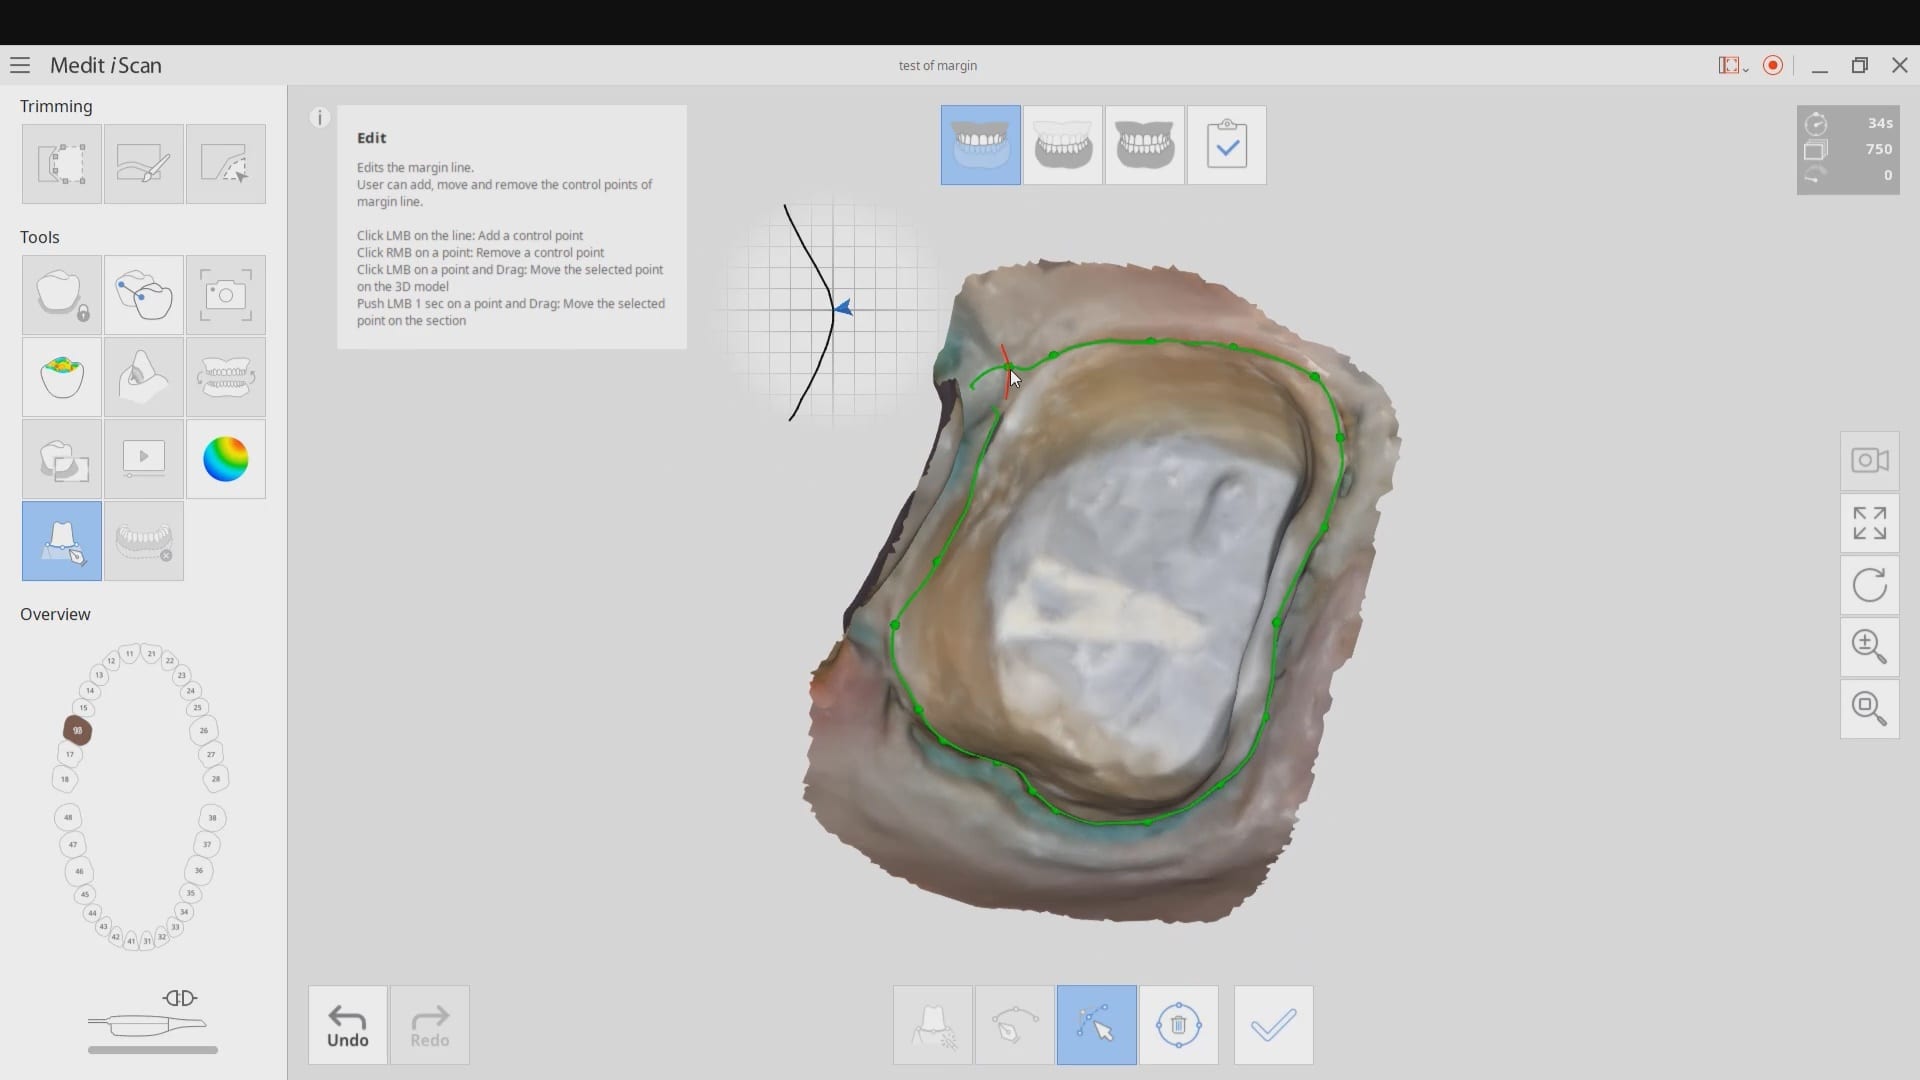
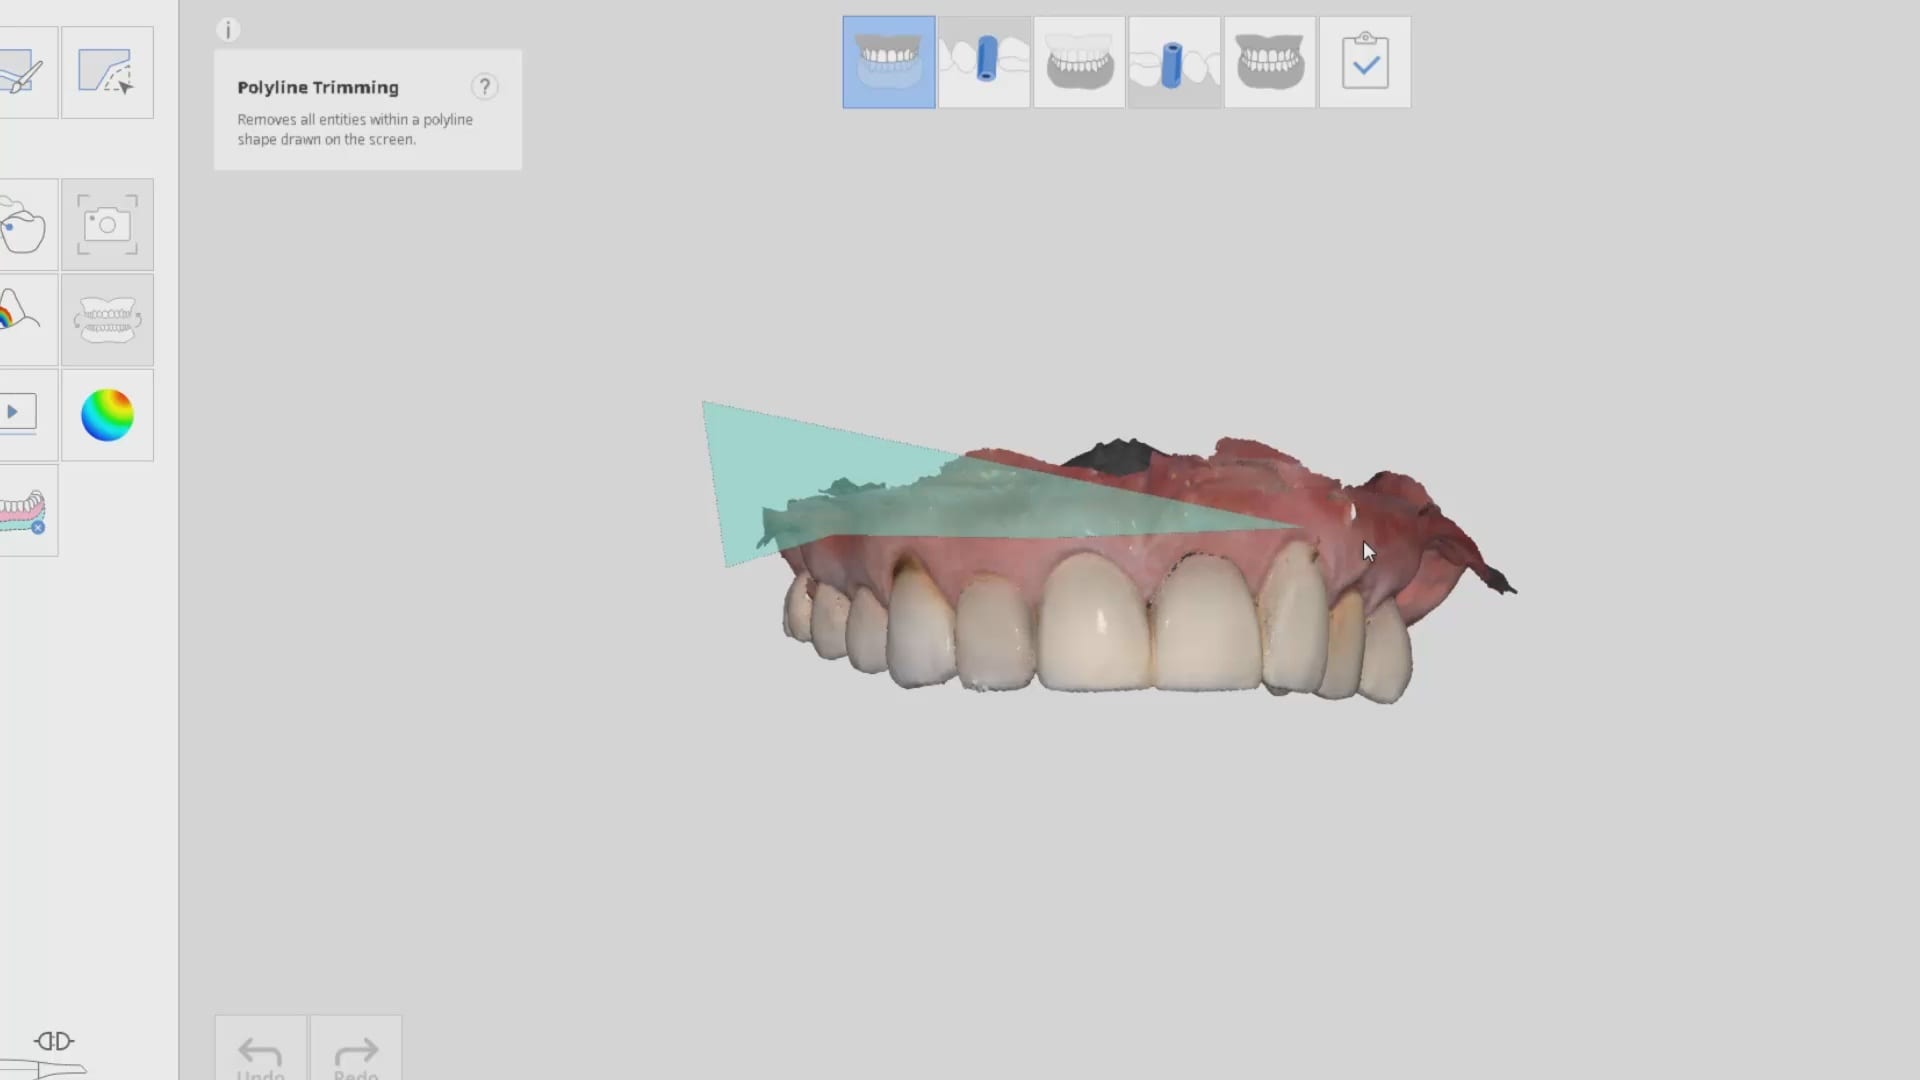
NATIVE MARGIN MARKING
The following videos demonstrate sample cases how you can mark your own margins and submit it to the lab. There is no one better suited to mark the margins than the clinicians which always reduces headaches at delivery.
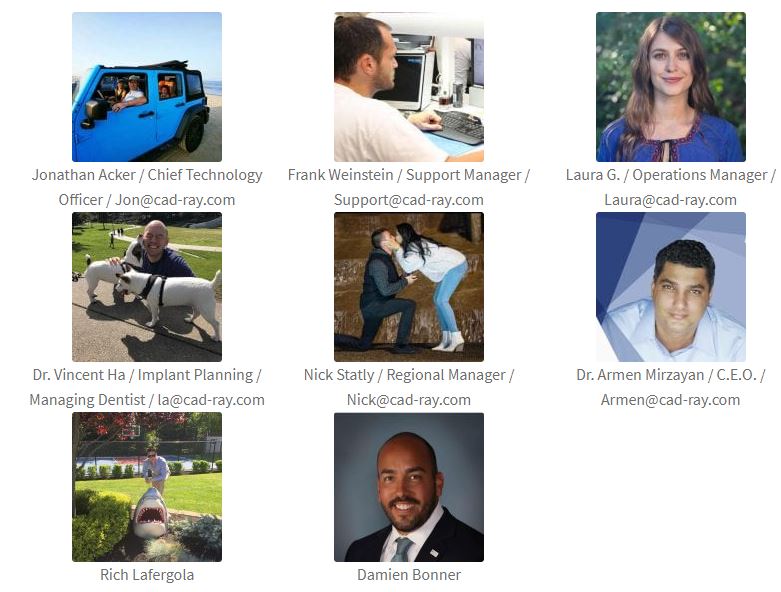
Who we are
Meet our team at cad-ray.com who are committed to your success
DENTAL MODEL PROCESSING FOR IMMEDIATE PRINTING
The following videos demonstrate the unique “model closing” features of the Medit i500 software. This is essential for immediately printing models without unnecessary edits in third party software (read more…)
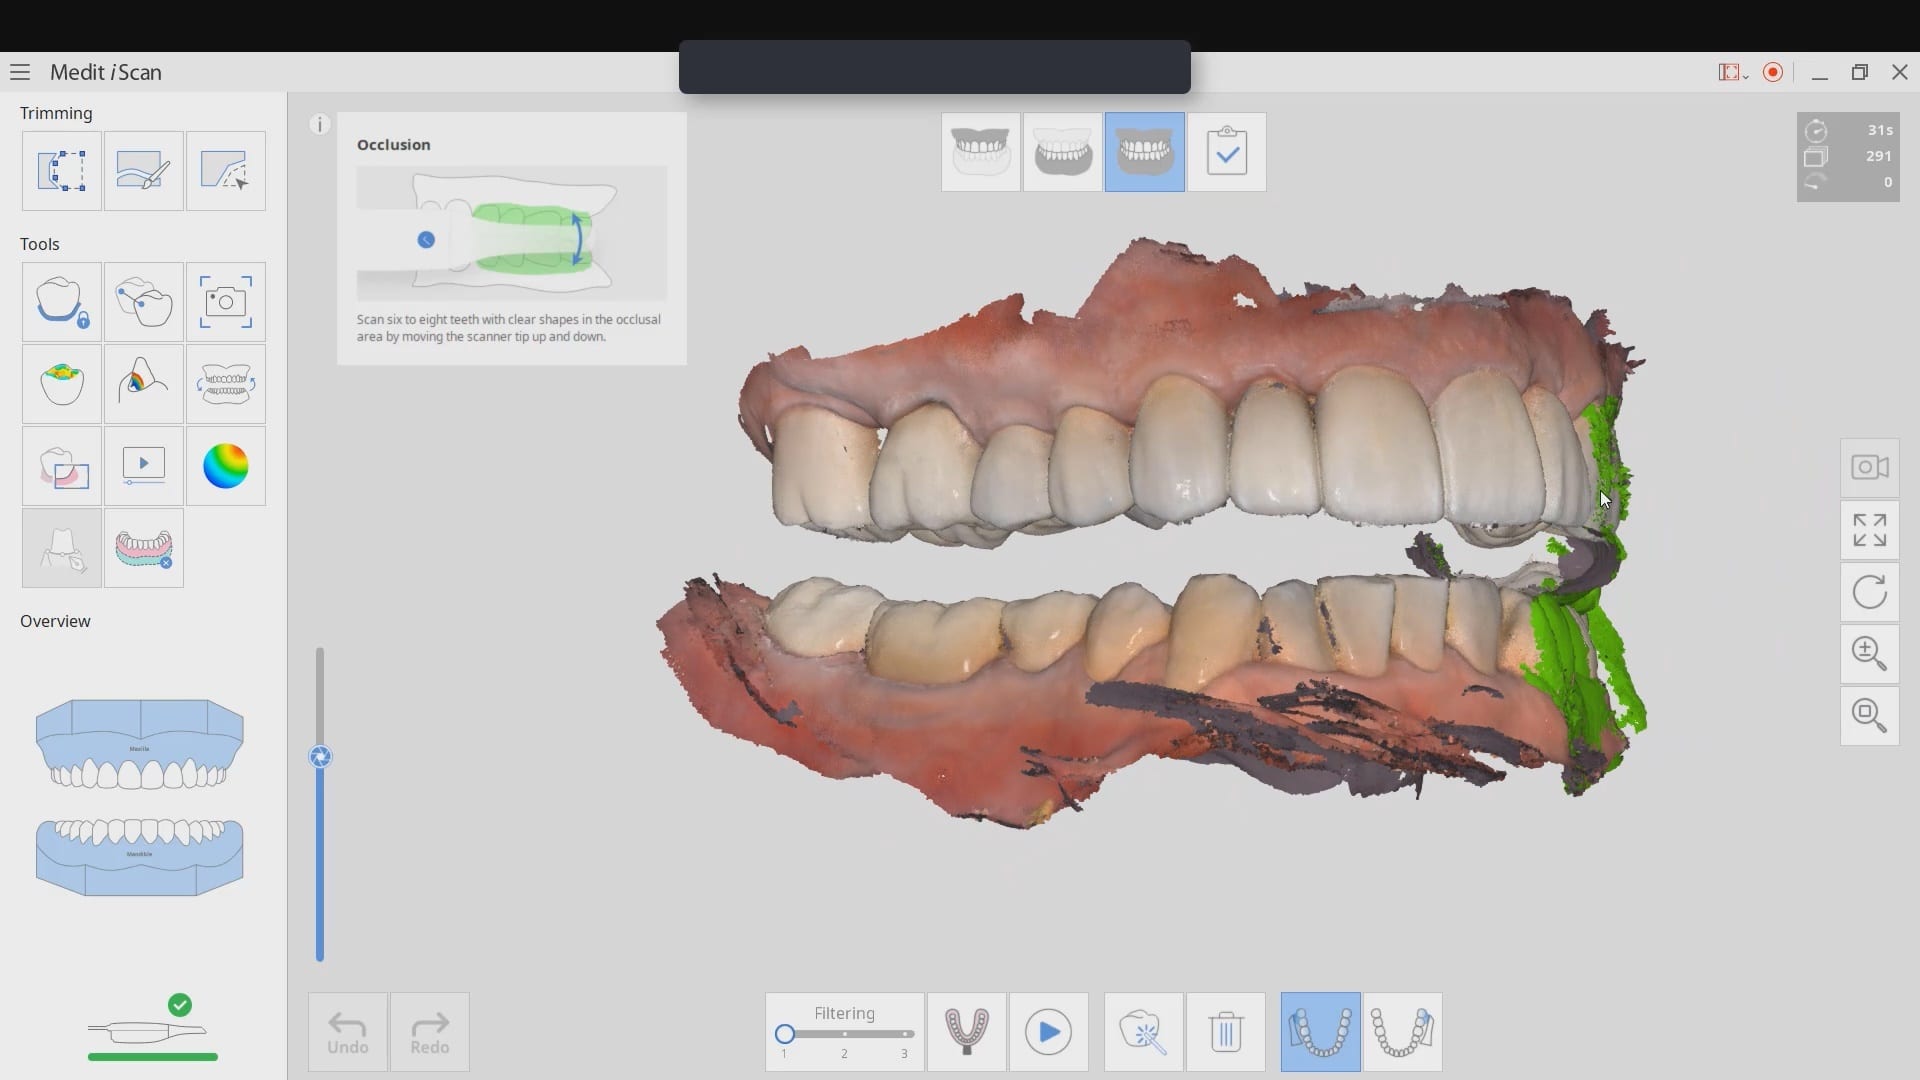
OCCLUSION AND BUCCAL BITES ARE RELIABLE IN THE MEDIT I500 INTRA-ORAL SCANNER
The following videos demonstrate how dual buccal bite captures can help a dentist to properly mount cases for aligners, occlusal guards, sleep apnea appliances (read more…)
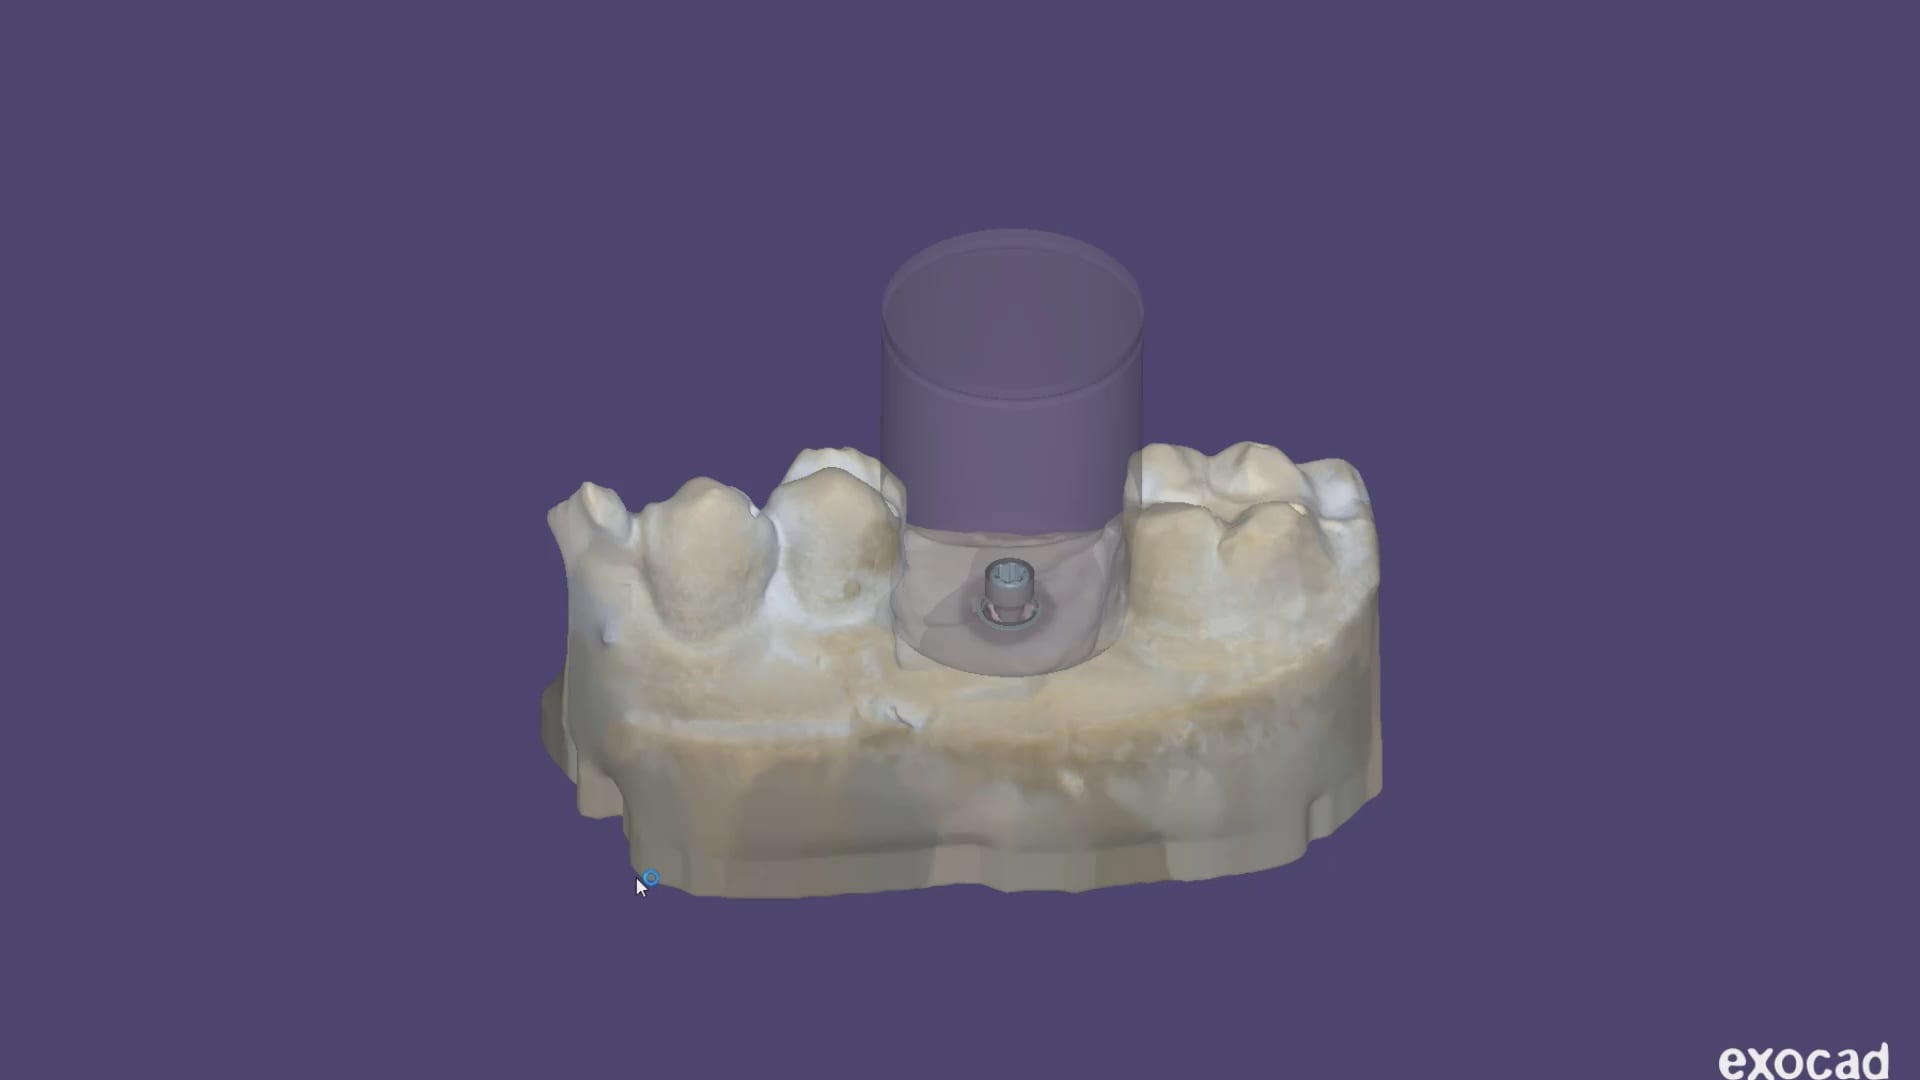
Full Arch Implants and Integration with Photogrammetry
Posted by Armen Mirzayan on Saturday, December 5, 2020
Case Talk
Easily communicate with your lab and/or specialist to collaborate on cases.
-
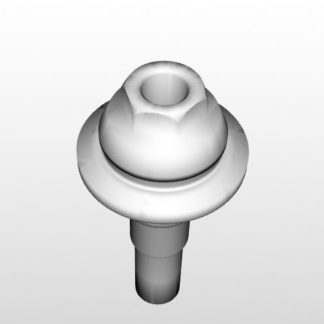
Multi-Unit Abutments by DESS
$0.00 – $100.00 View products -
Download DESS MUA STL’s
$0.00 Add to cart -
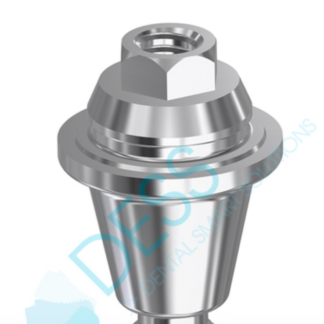
Multiunit abutment 30º 3.5 platform 4,5mm (Int. Hex USA) – Internal Hex ®, Zimmer ®, Biohorizons ®, MIS®, etc. Connection
$88.00 Add to cart -
Multiunit abutment 30º 3.5 platform 3,5mm (Int. Hex USA) – Internal Hex ®, Zimmer ®, Biohorizons ®, MIS®, etc. Connection
$88.00 Add to cart
Take Your Medit Scans to ANY Printer or Milling Machine
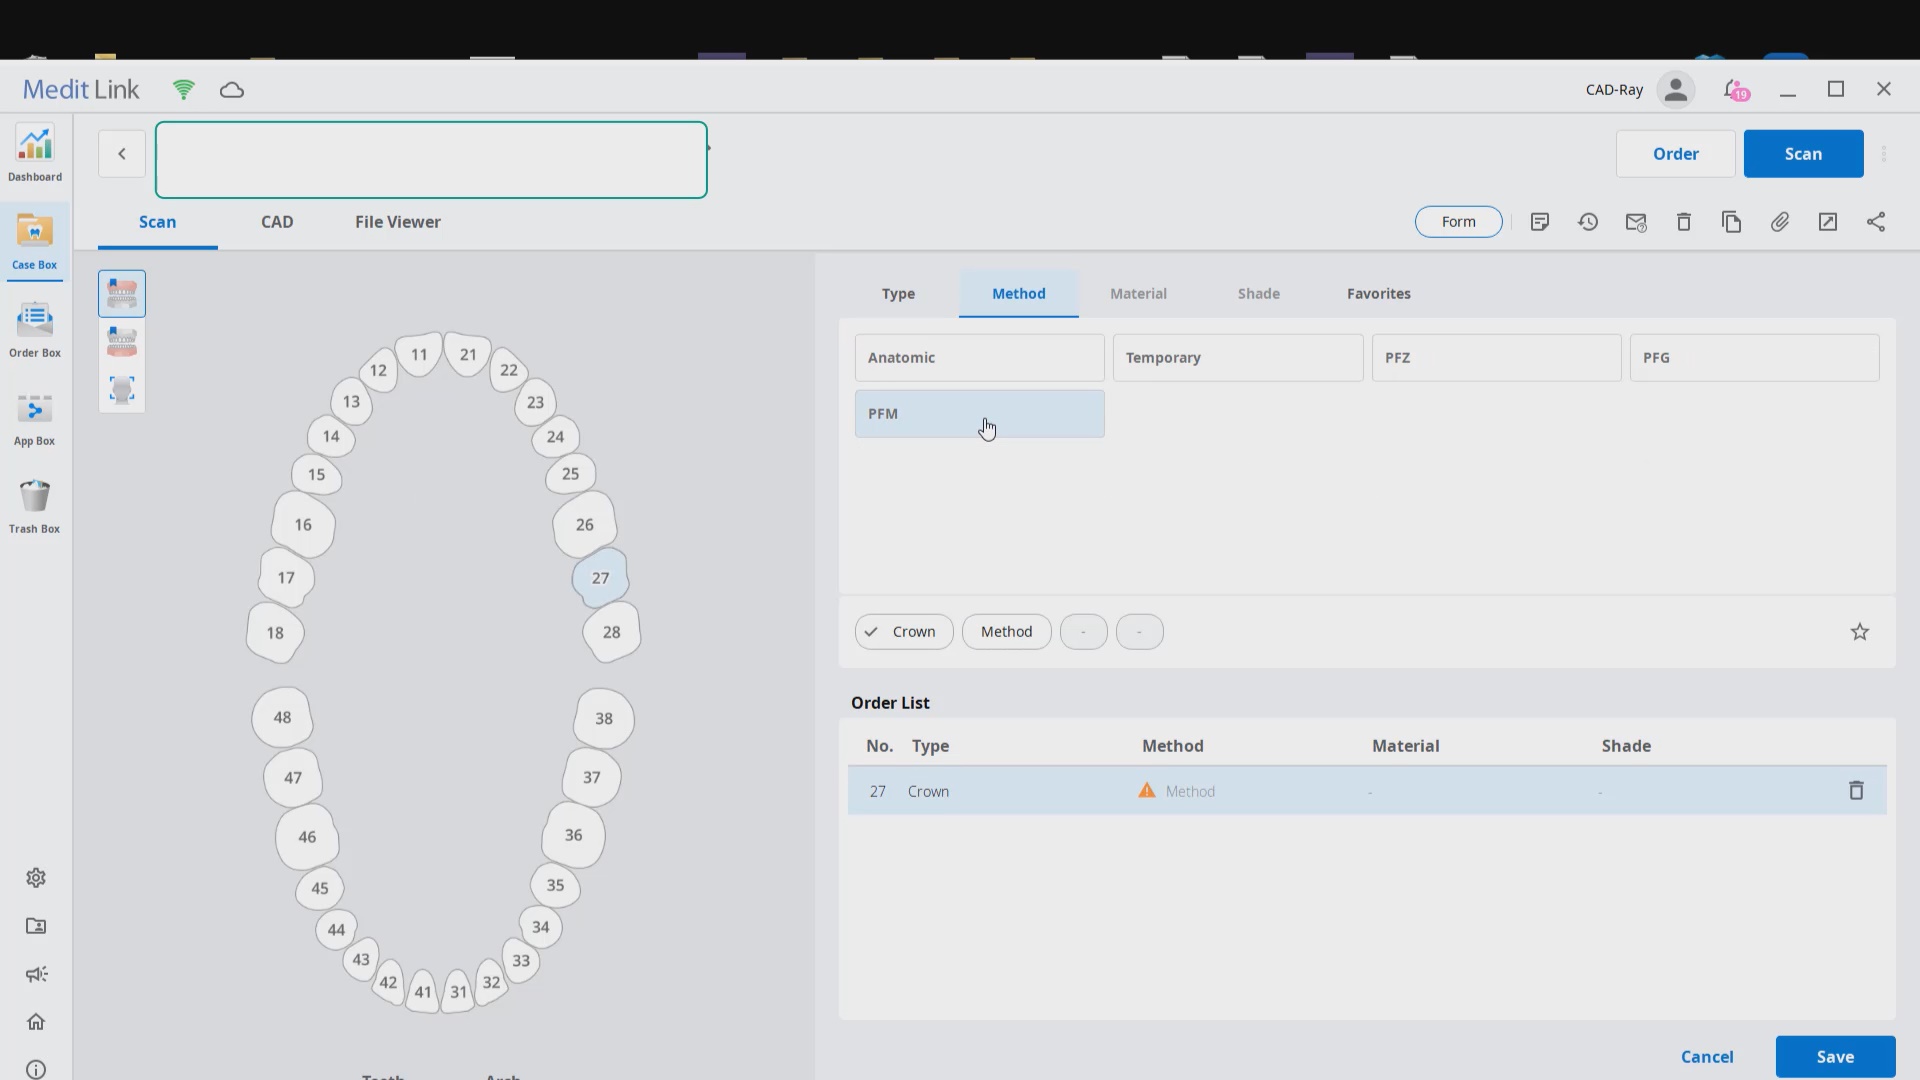
Case set up: here we enter the patients name and a simple tab appears where we chose the material and restoration tab. Once you image, you can place an order to the lab or you can advance to the CAD tab:
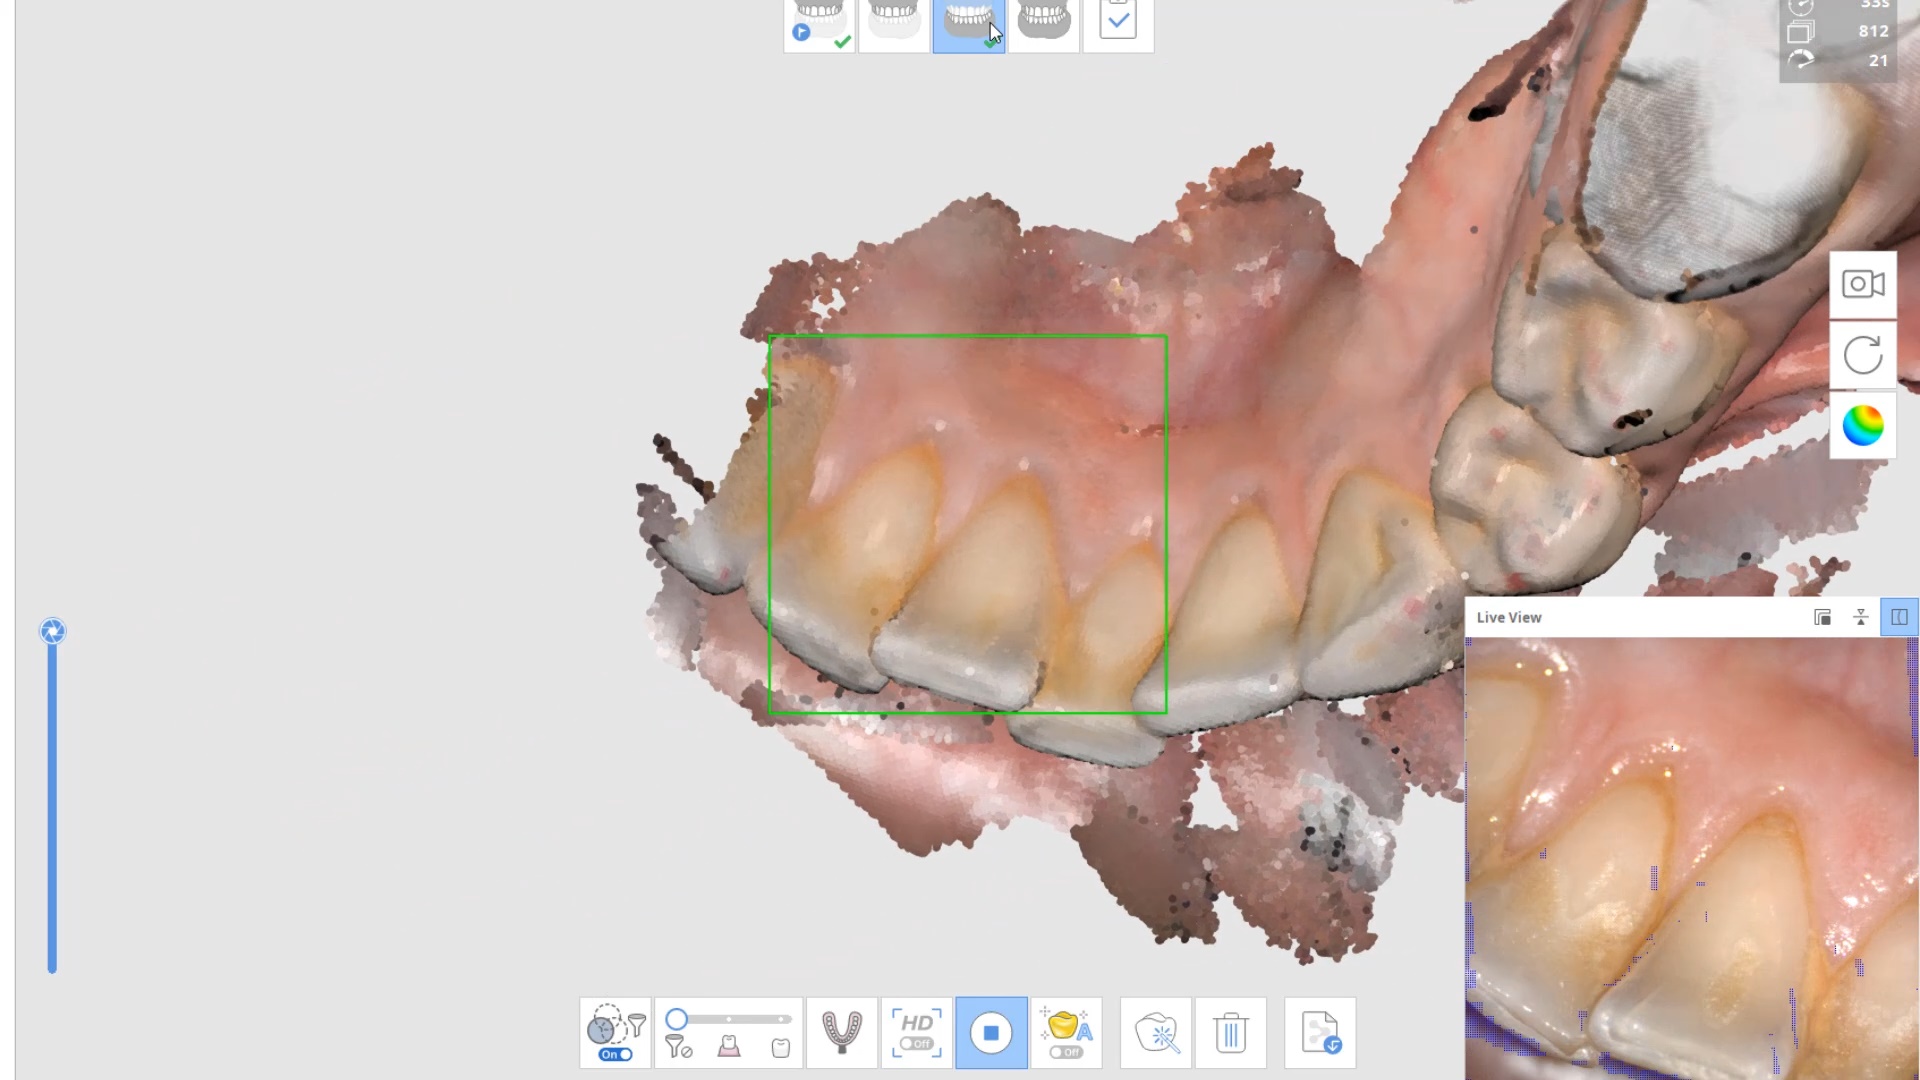
After the Rx has been filled out, you can launch the Medit Scan and image the upper and lower arches. Please note how we tell the camera to avoid the color blue and it ignores the clinicians fingers during imaging. The upper jaw and lower jaw were captured, then the bite registration even before the preparation was finished. This allows the verification of proper reduction and space for the ceramic material
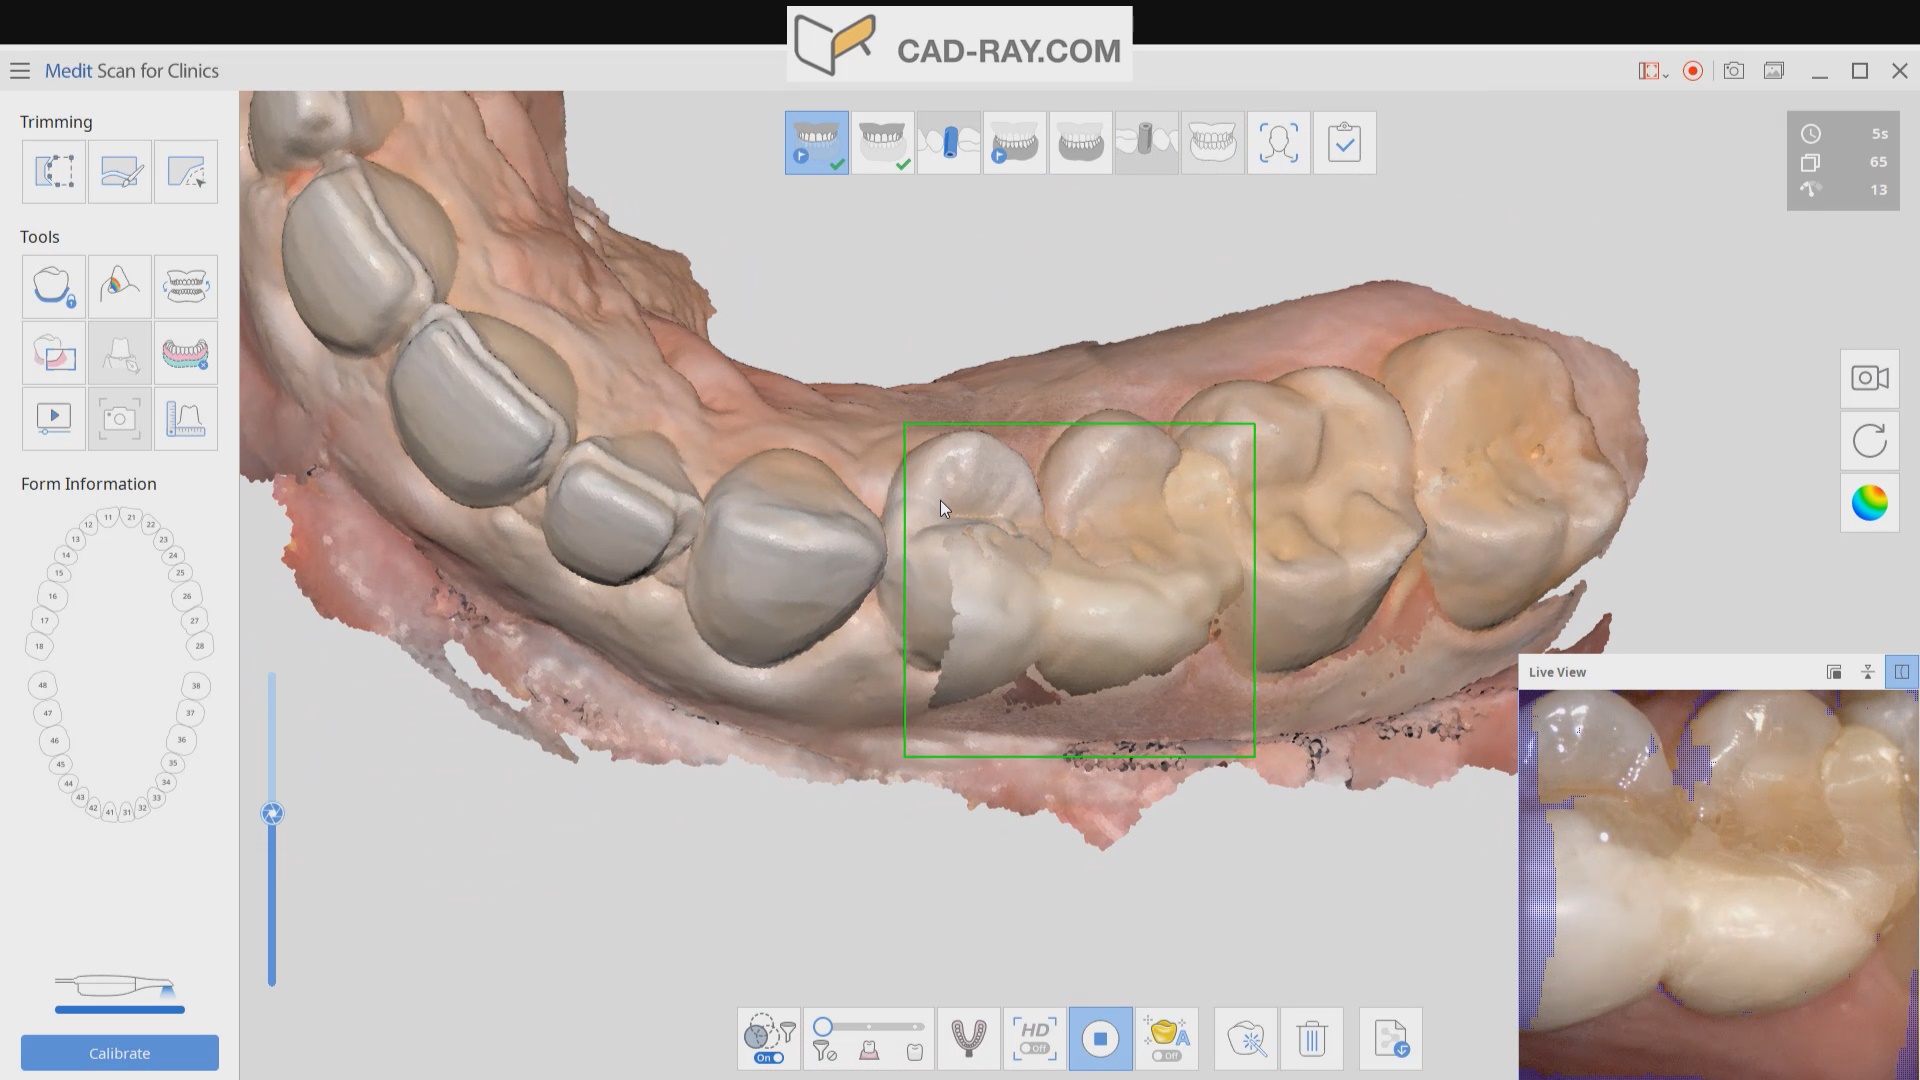
Lower Arch Scan
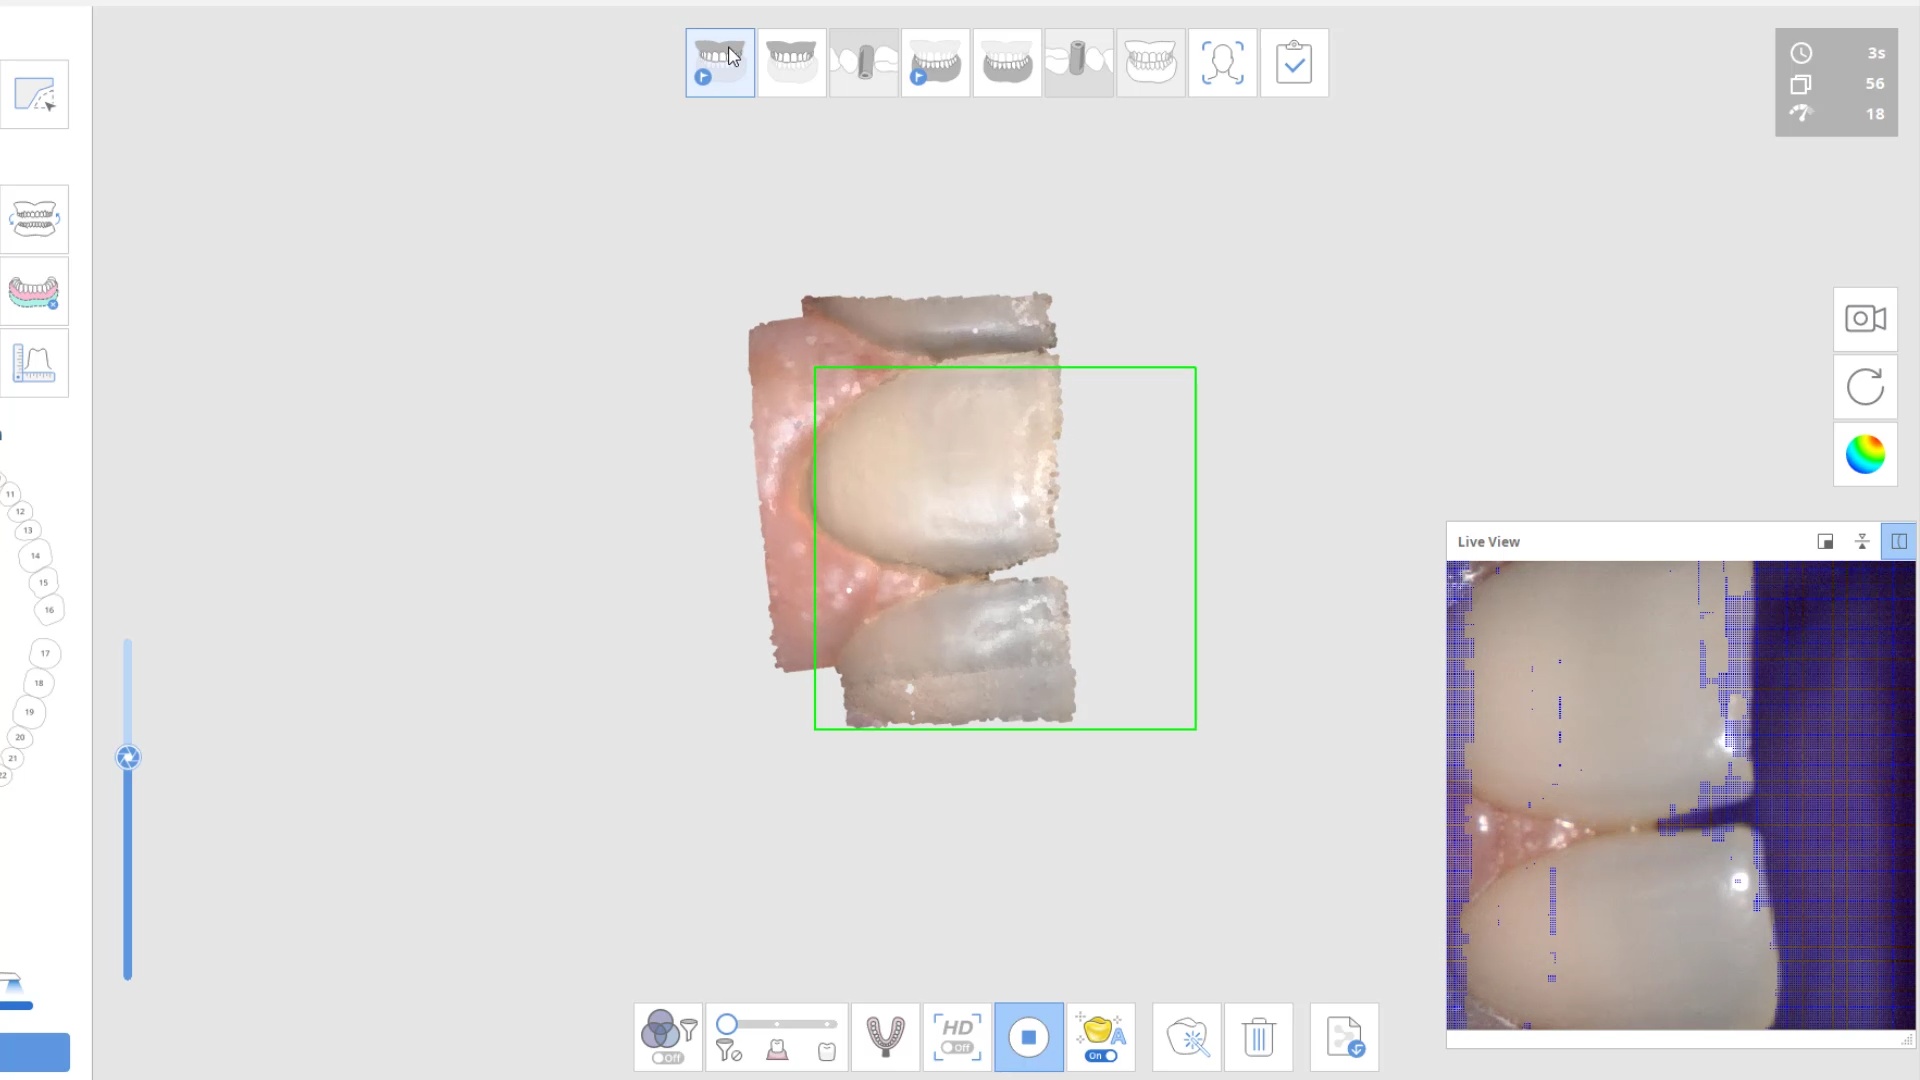
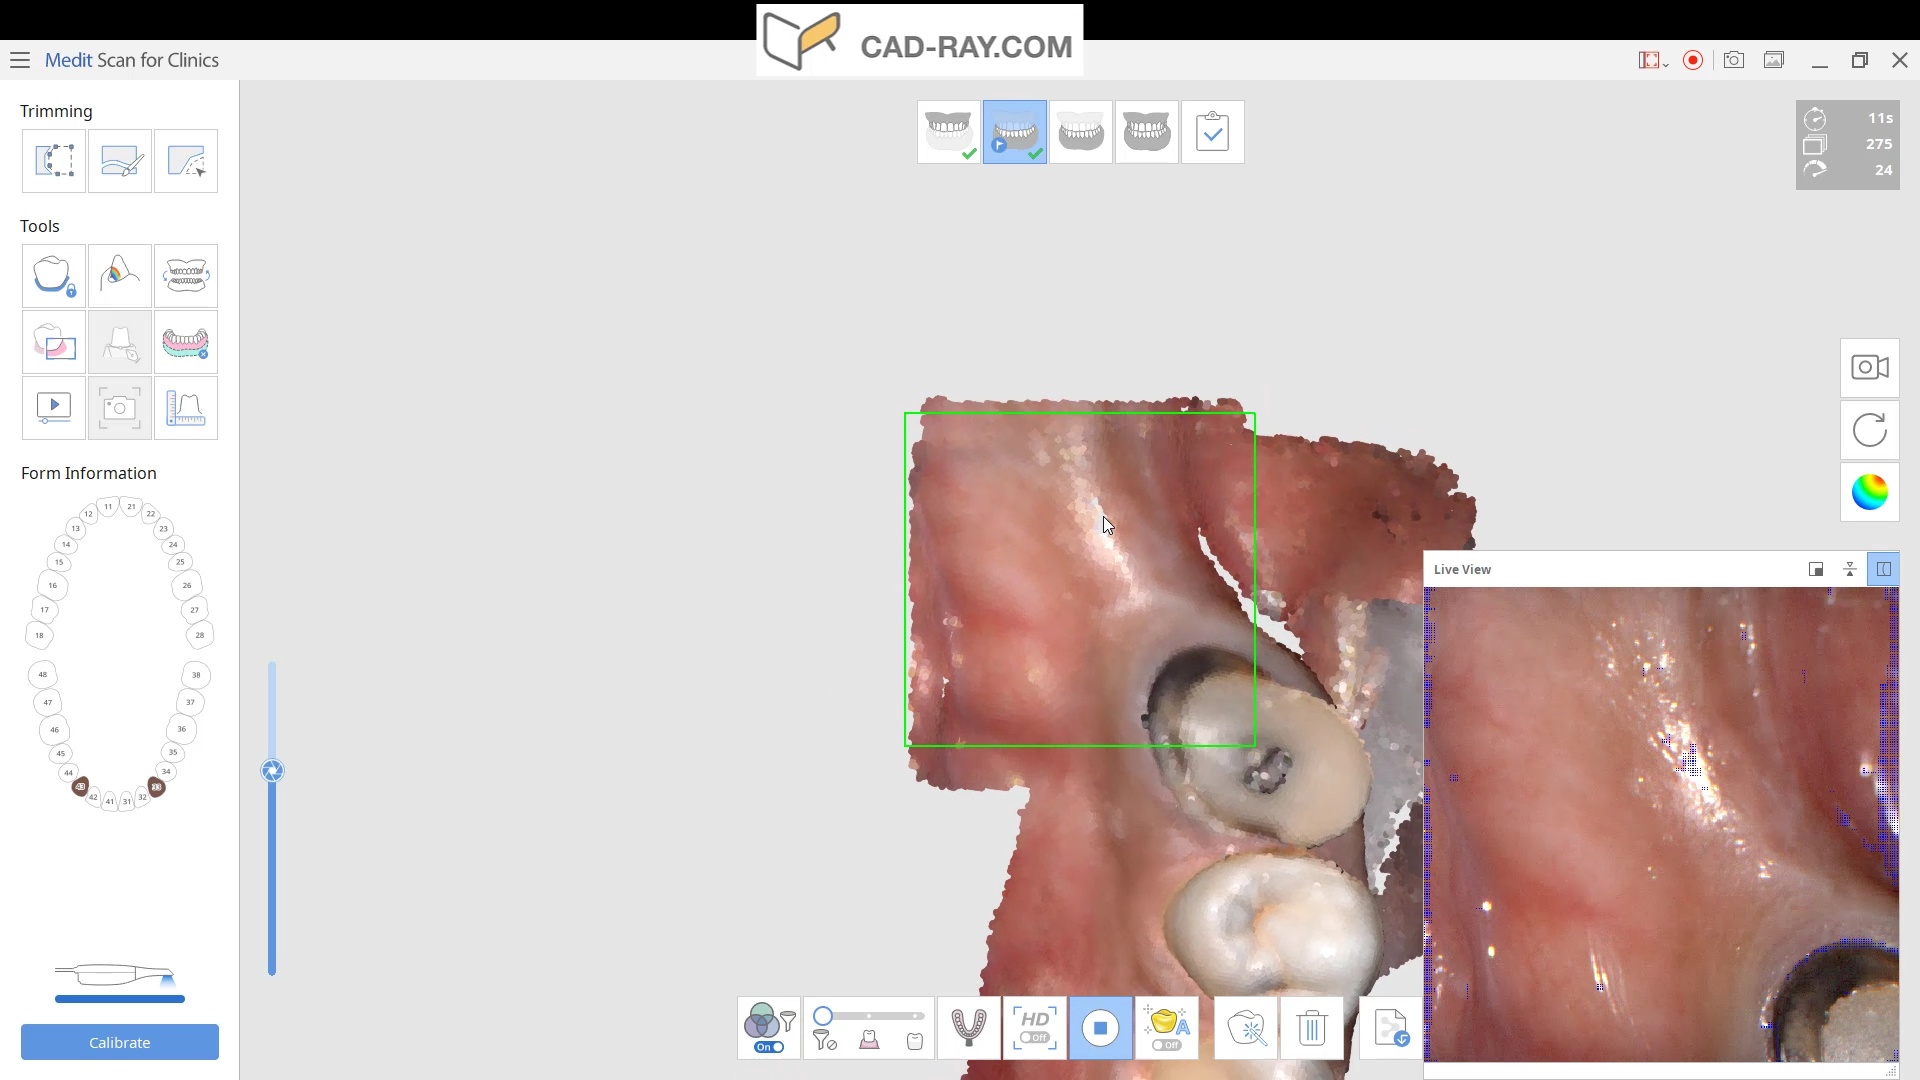
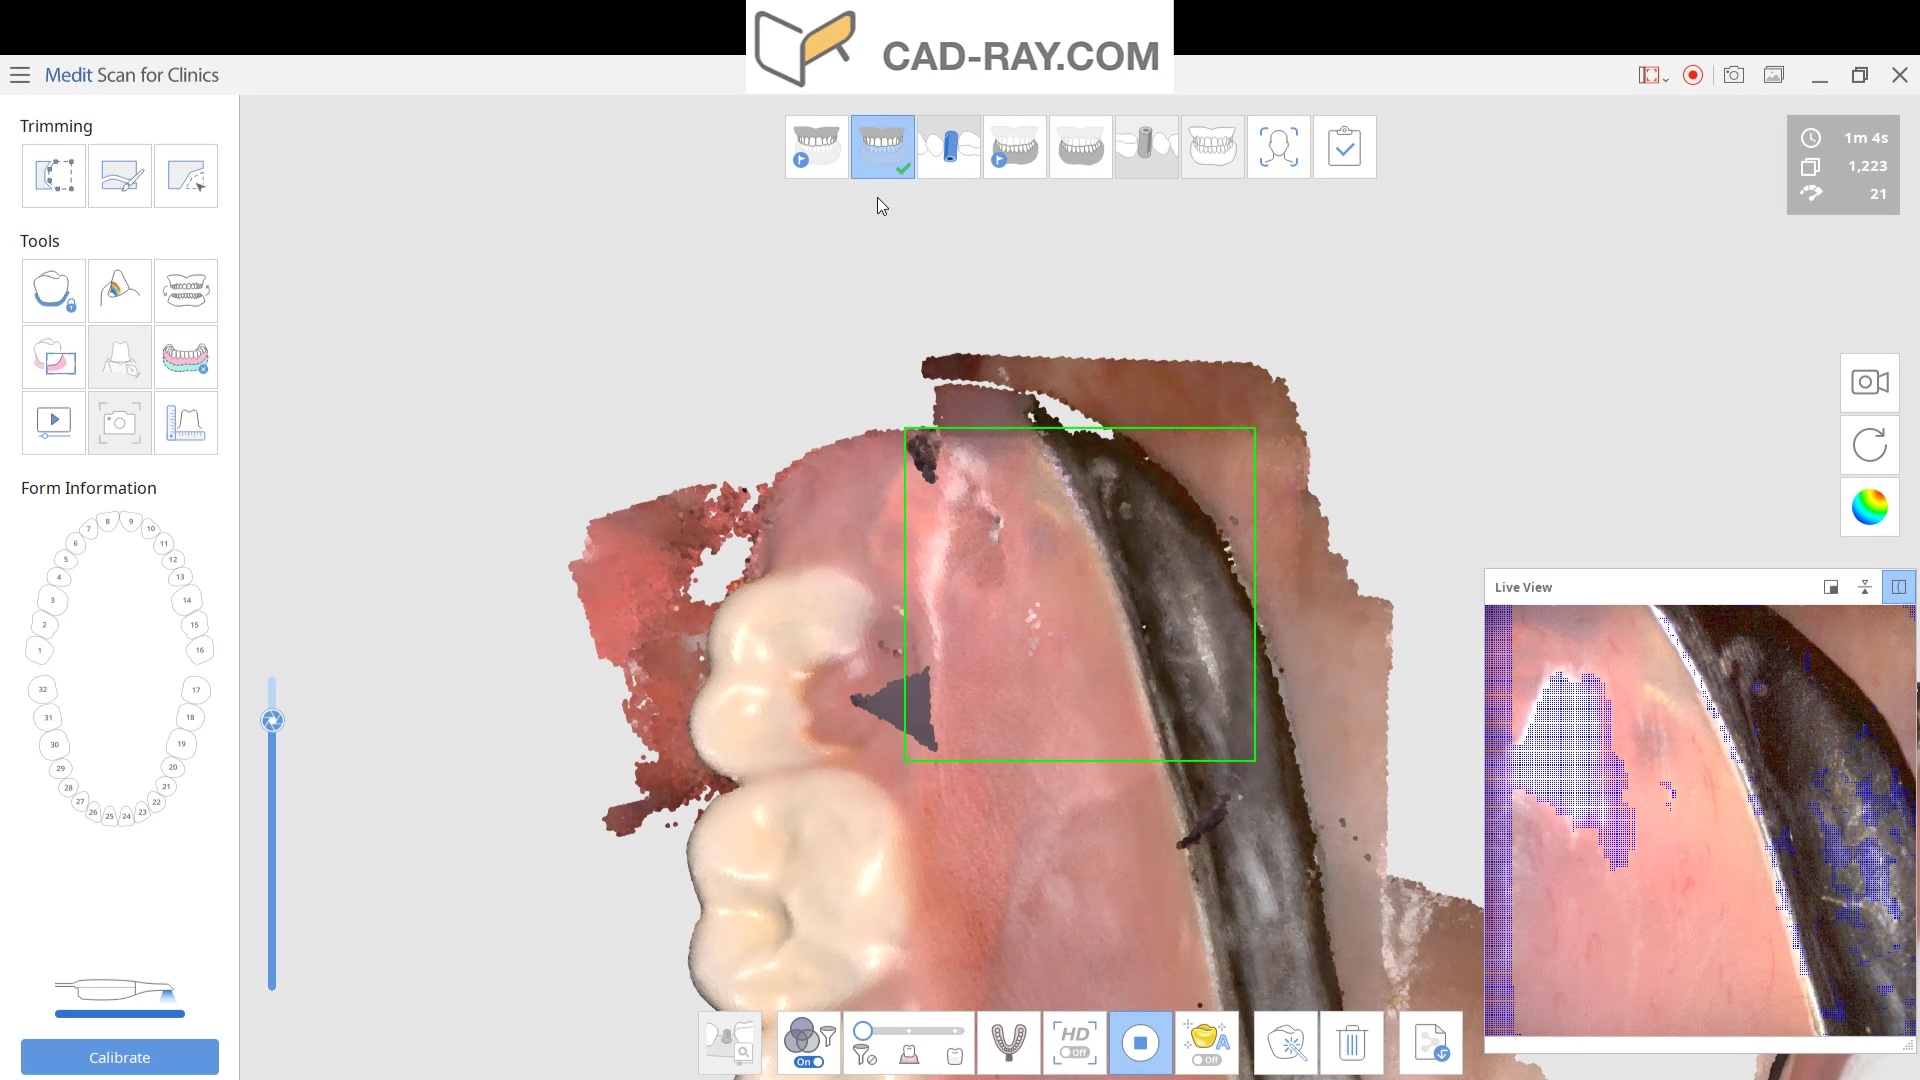
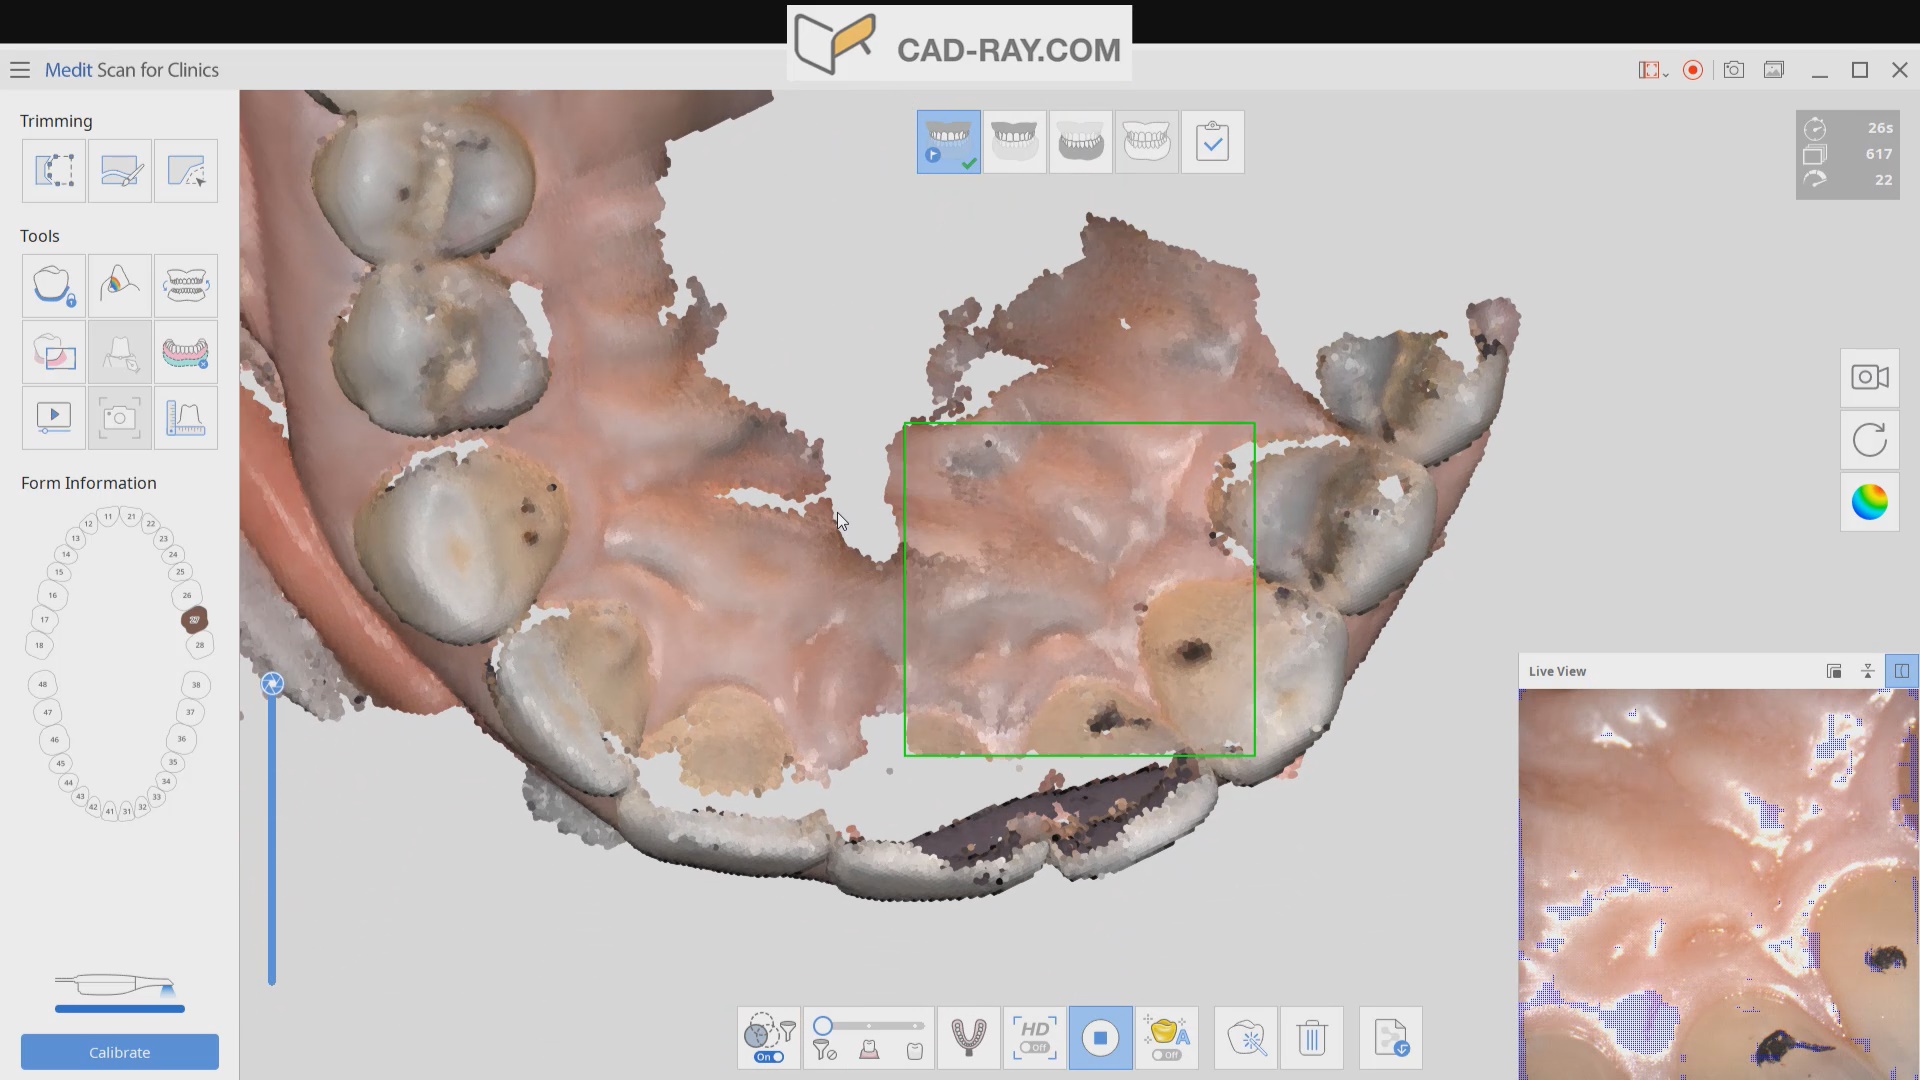
The lower arch is the most difficult area to scan as you frequently have to battle the tongue, saliva, and the lips. The optragate can be of great help but notice how we use the color filter to hide the blue gloves while we advance the camera. It is a great aid in facilitating the capture of the lower arch
Upper Arch Scan
The same principle is applied to the upper arch. Notice that the software does not care if you start with the upper or lower arch. Here, you can visualize how the blue glove was used to displace the cheek and capture the pre-op condition of the upper second molar. The rest of the arch was easily imaged. It is not necessary to capture full arch impressions and this was done just for demonstration purposes. For a single unit case, generally imaging distal from the canine is adequate.
Checking the reduction and aquiiring the bite registration
We recommend that you capture the bite before you finish imaging the preparation. This gives you one last chance to verify that you have reduced enough to accommodate material thickness. You can see how we just take regular photos to document the lack of clearance and we continue to adjust the height of the preparation until we achieve the required space. We then activate the imaging process and capture the occlusal relationship between the upper jaw and the lower jaw
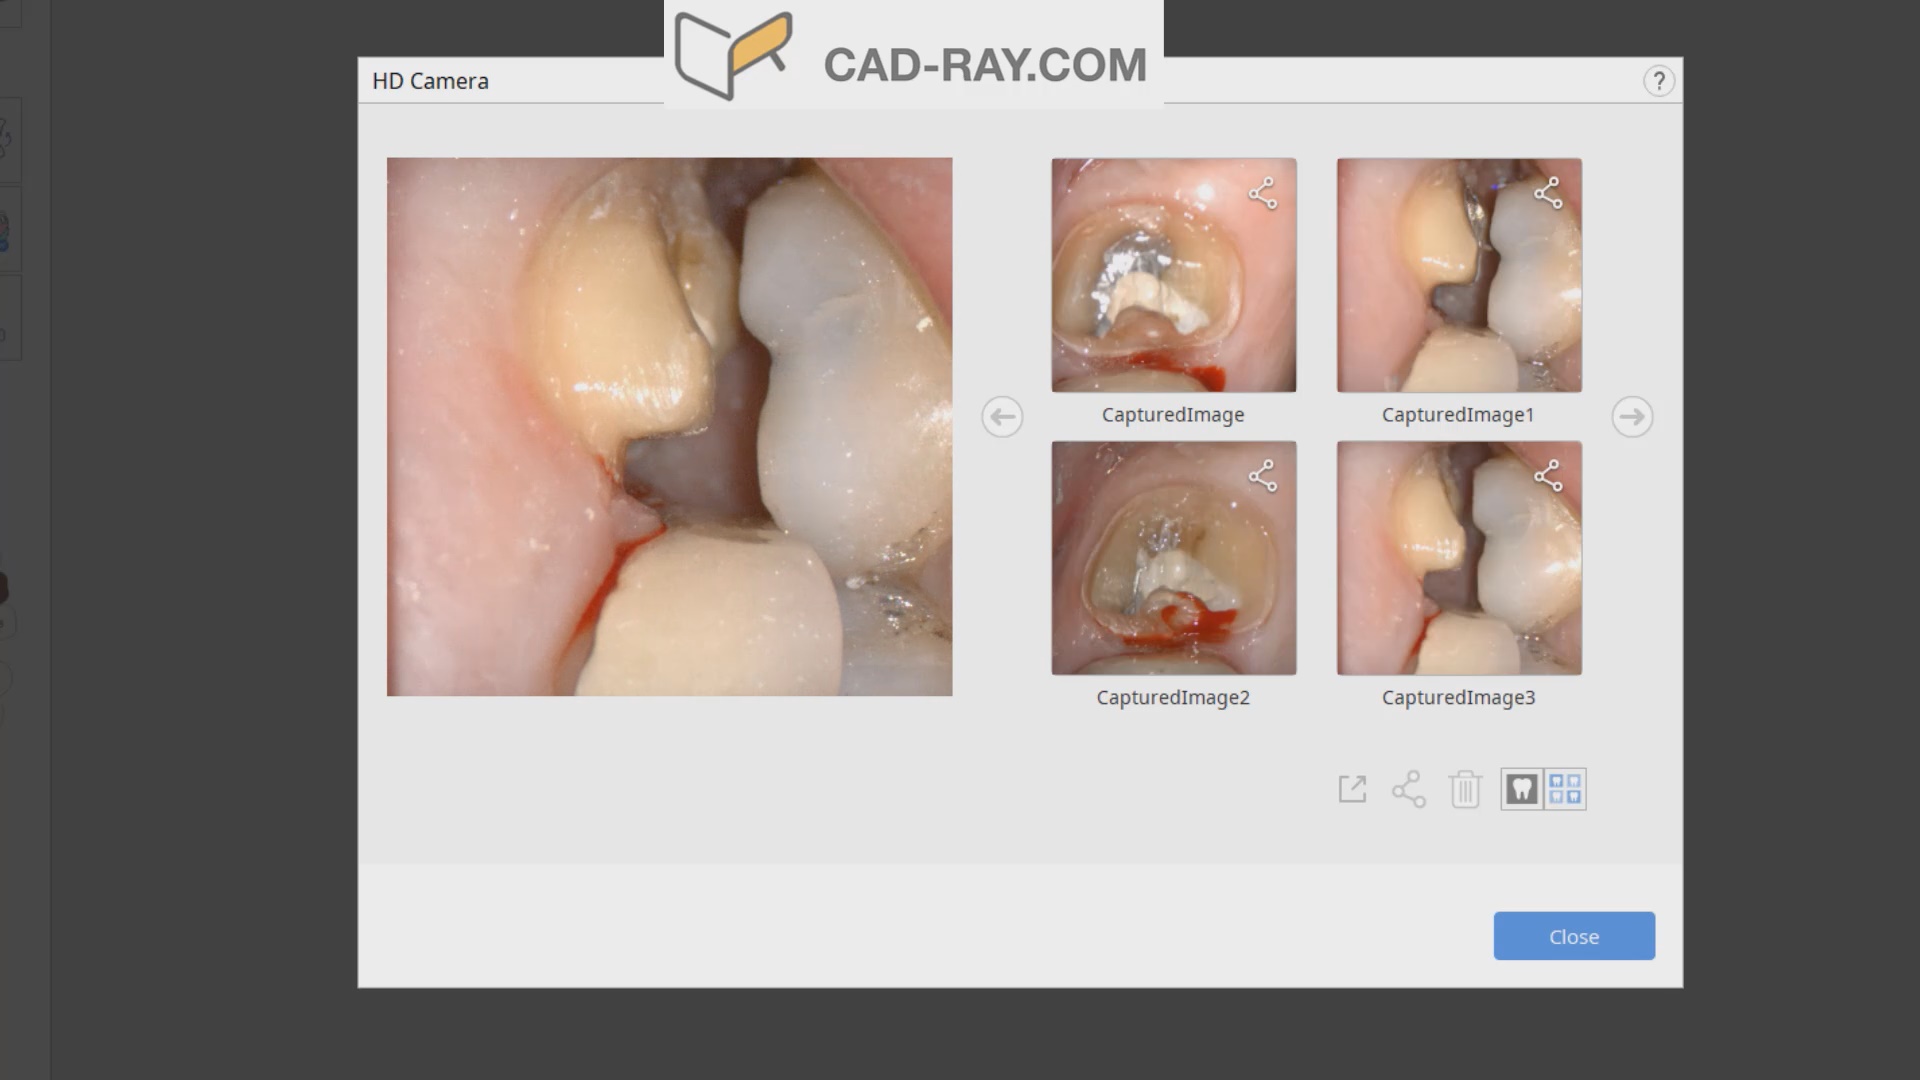
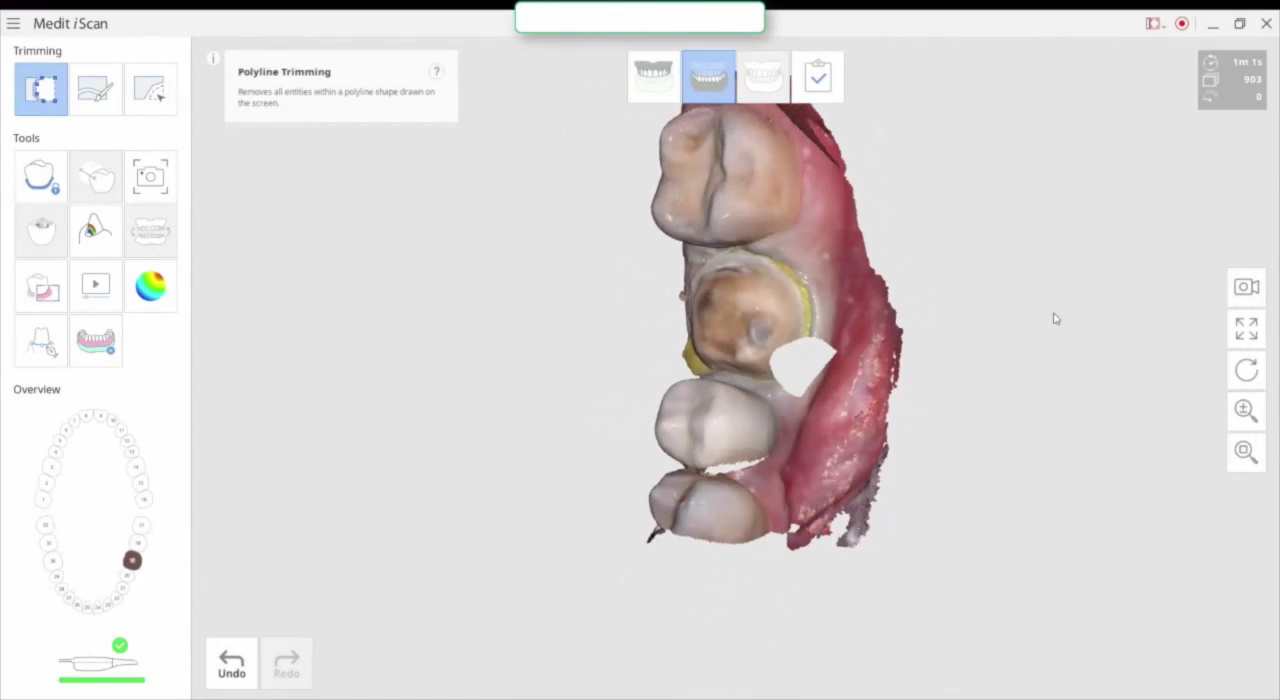
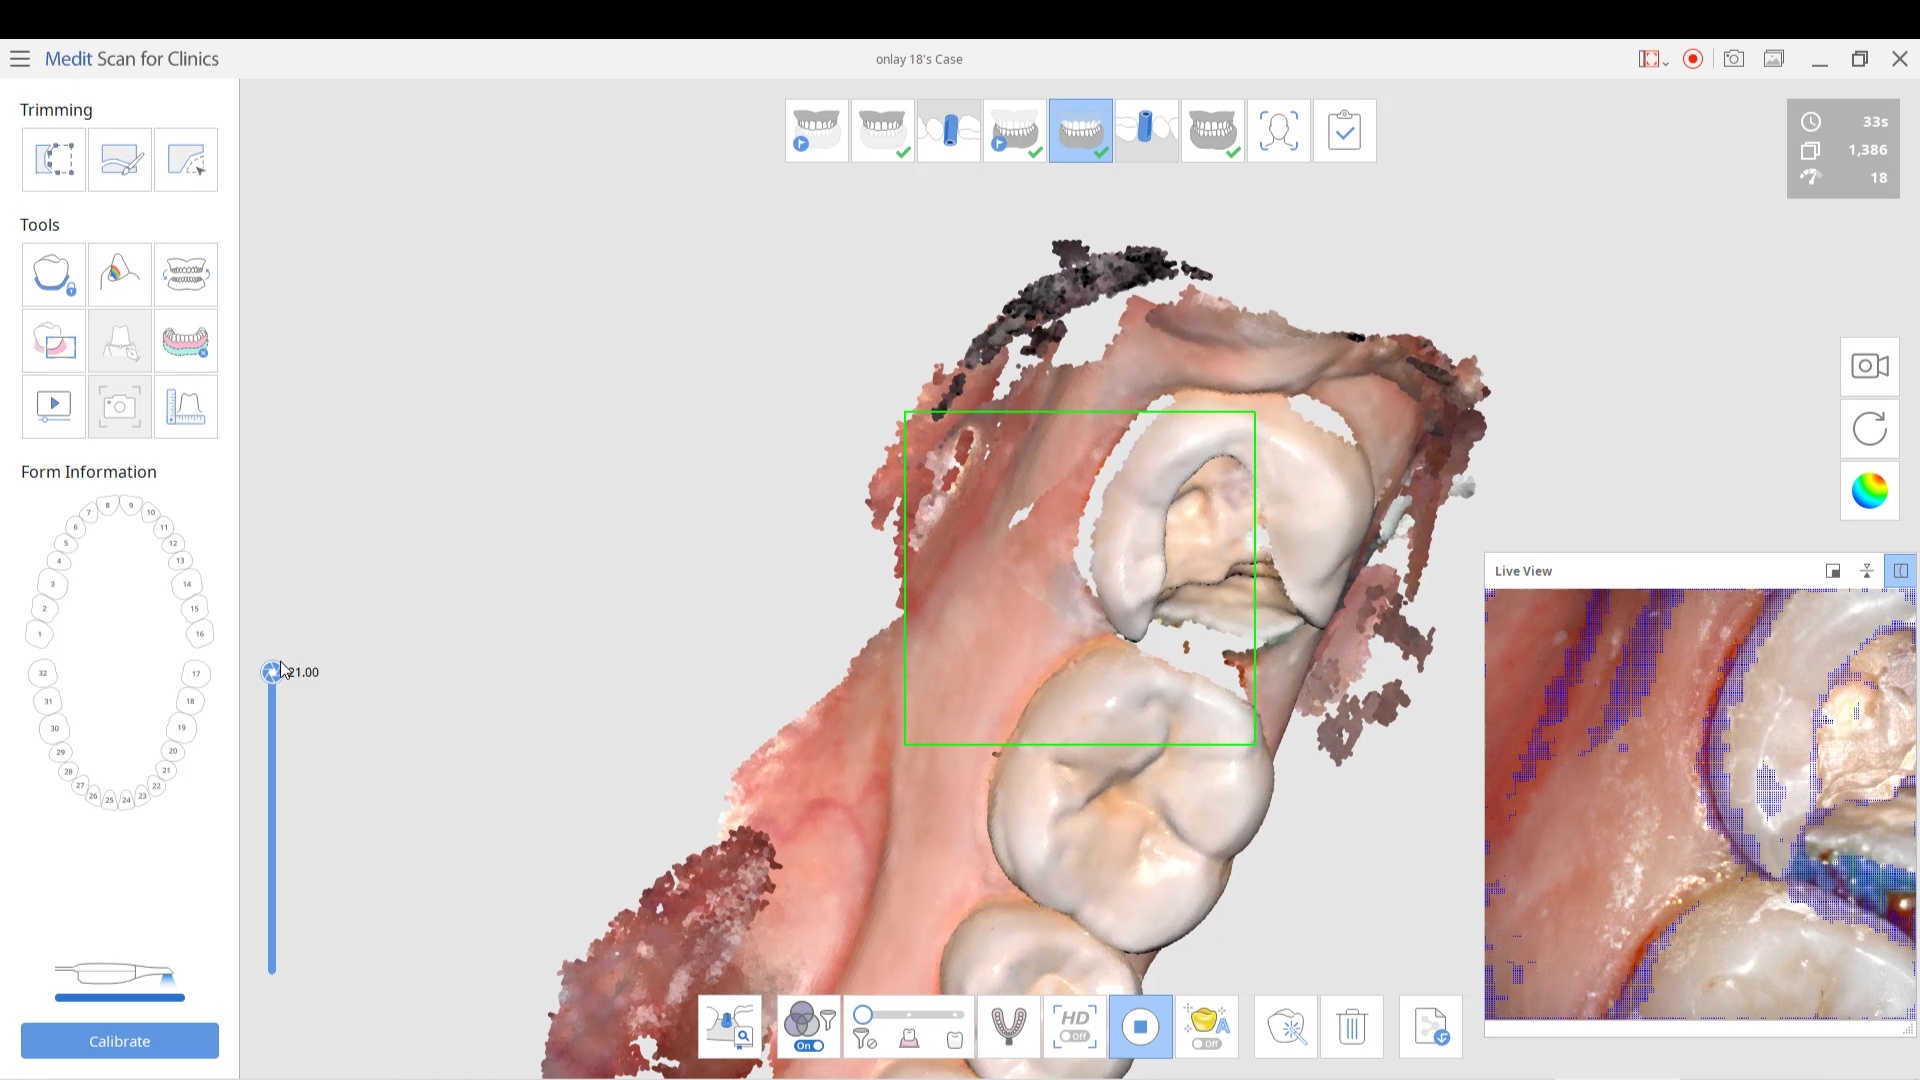
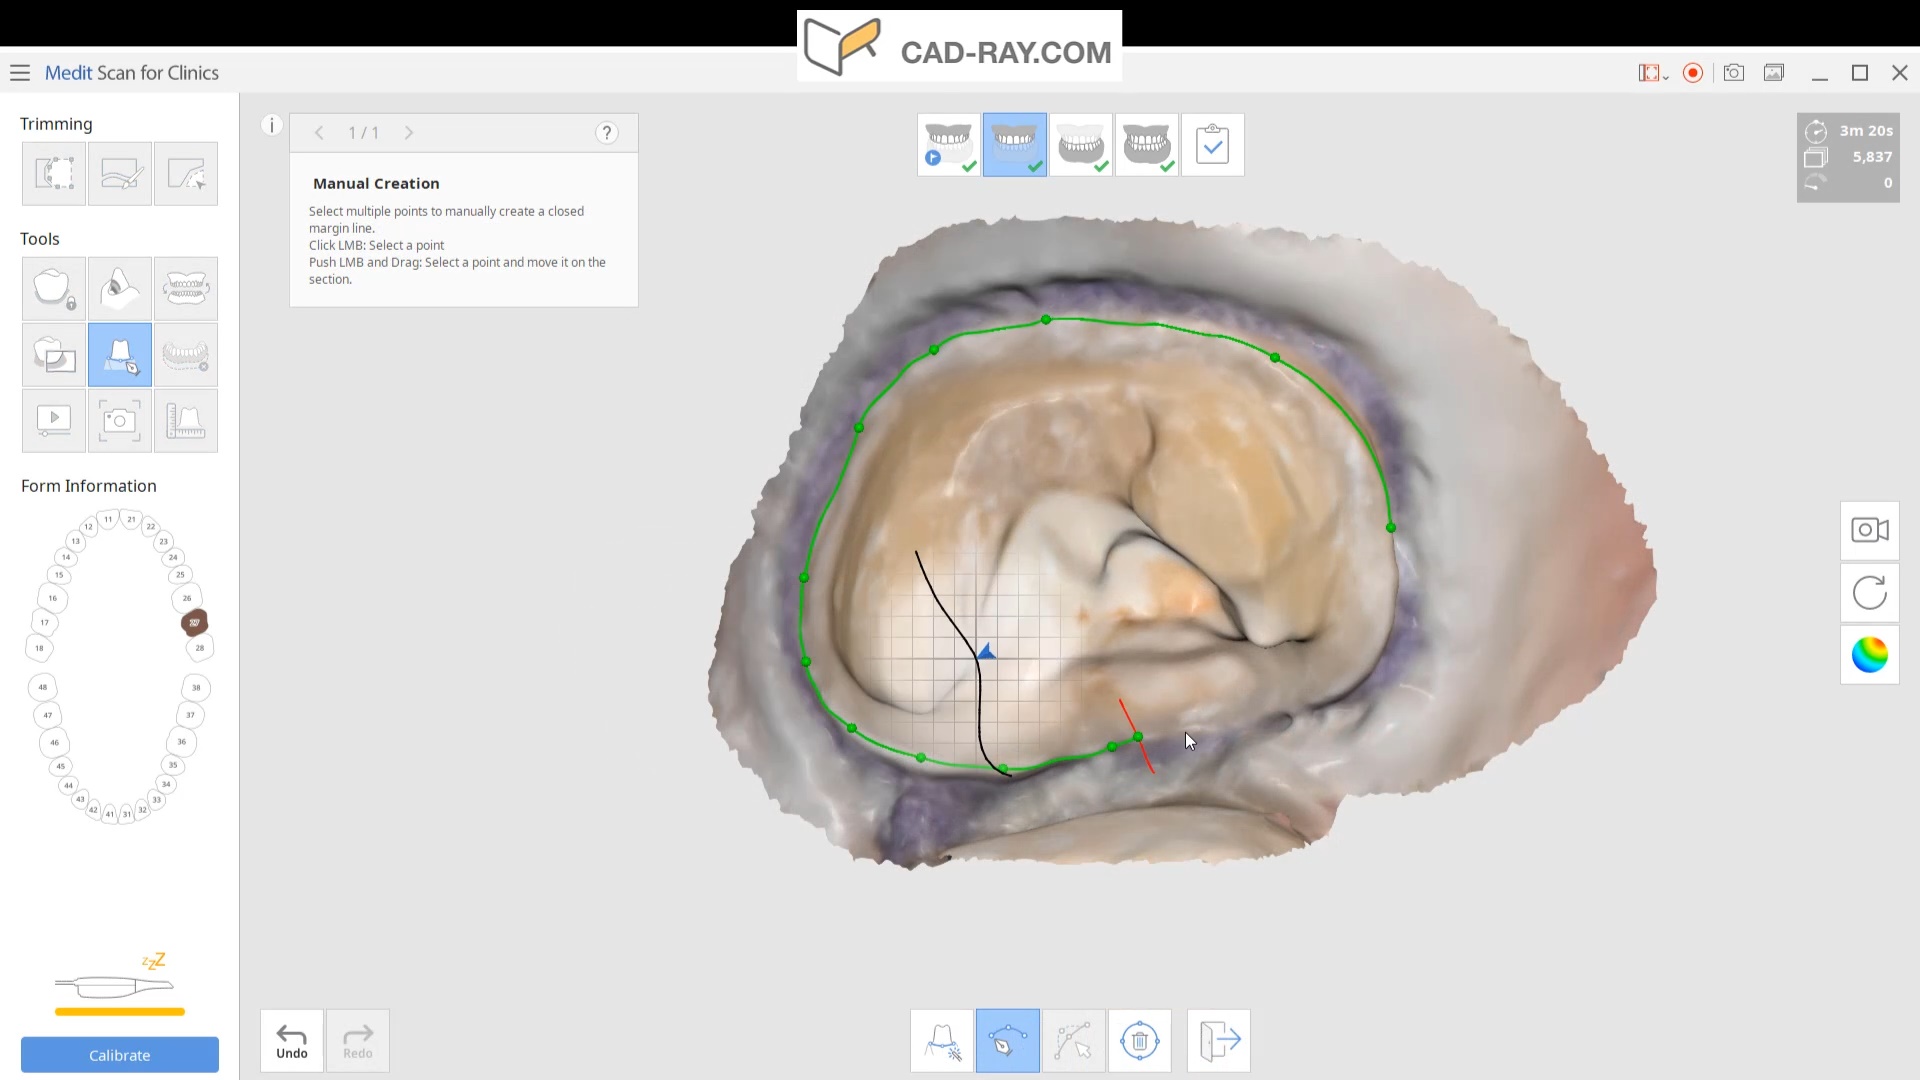
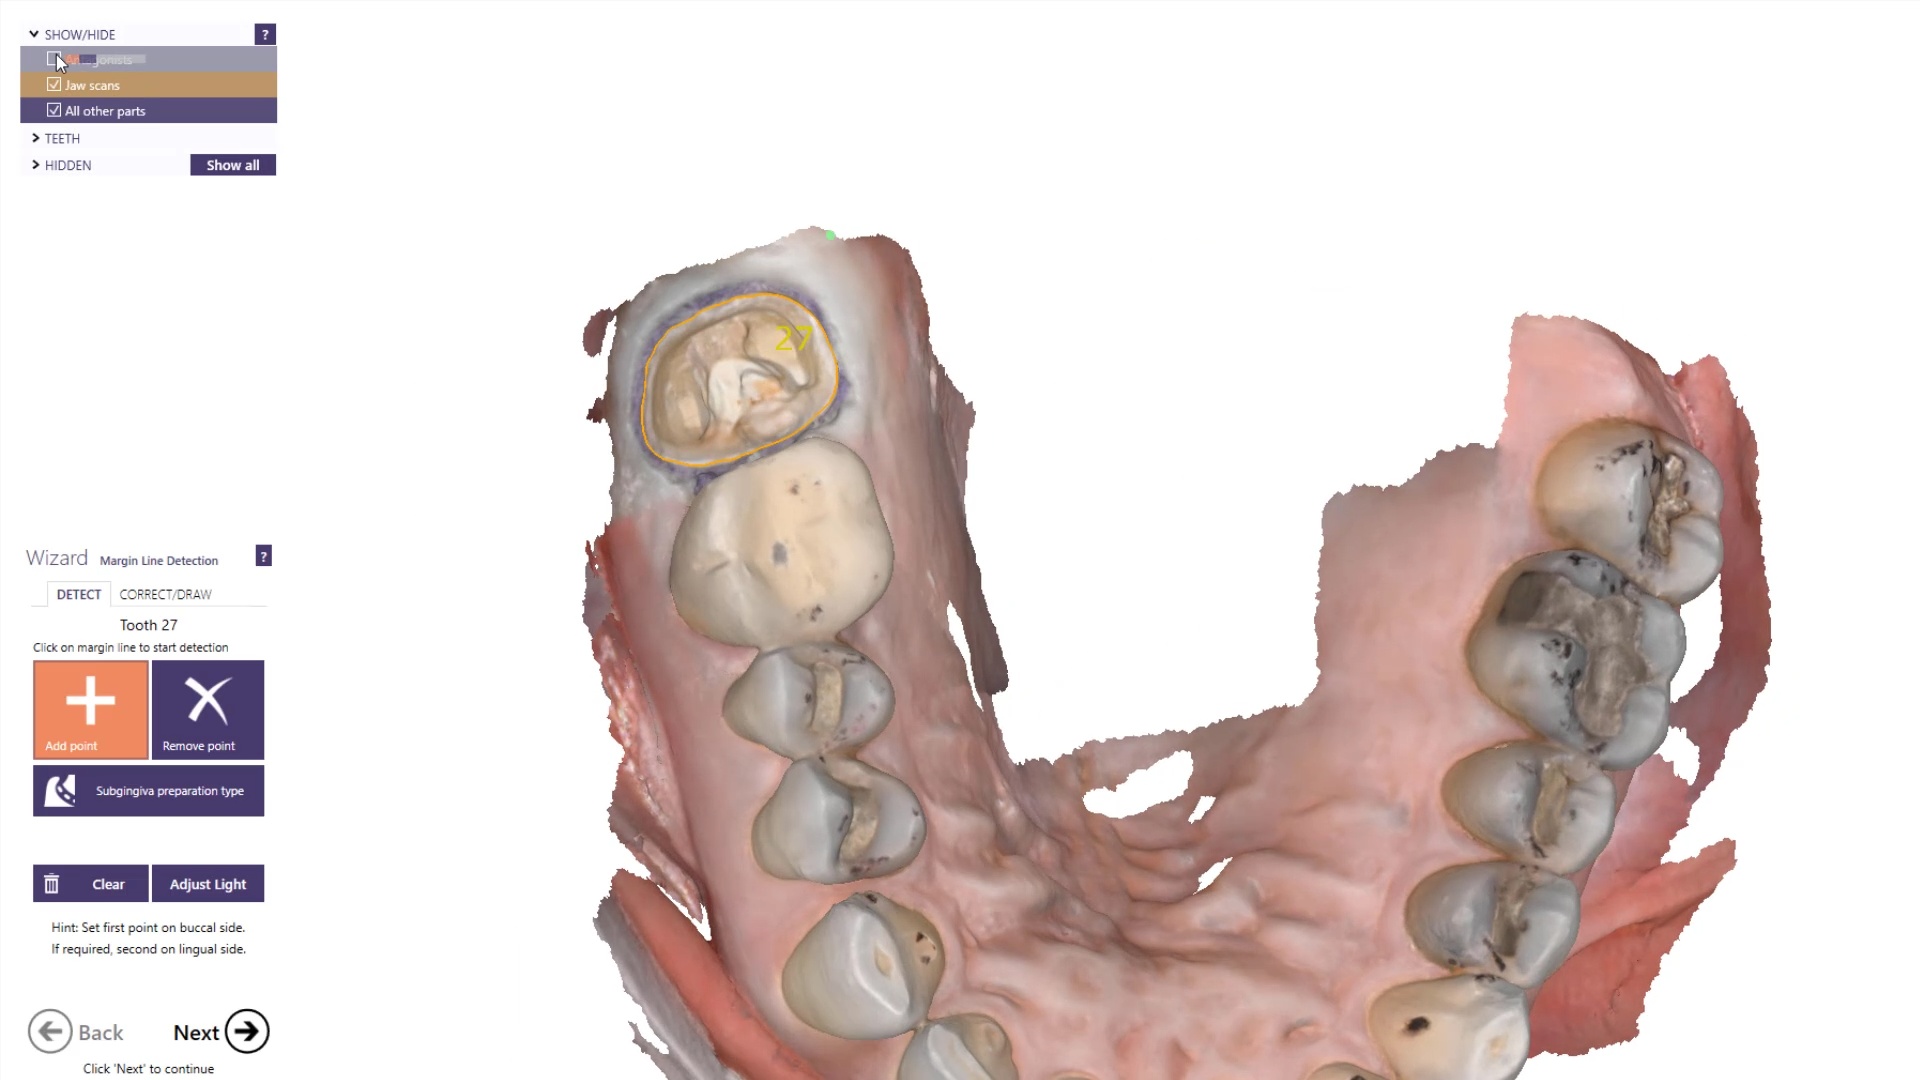
Image the preparation and place margin in native MeditScan Software that transfers to CAD Software
The preop condition is then transferred to the arch model and the tooth in question is cropped out. The rest of the arch is protected so no extra data is added unnecessarily to the equation. This protect feature is used for demonstration purposes and is subsequently removed. The prep in question is then highlighted and the local area is processed and the margins are placed. This margin line can be sent to the lab or it can be automatically carried to the design software
Launch CAD Software
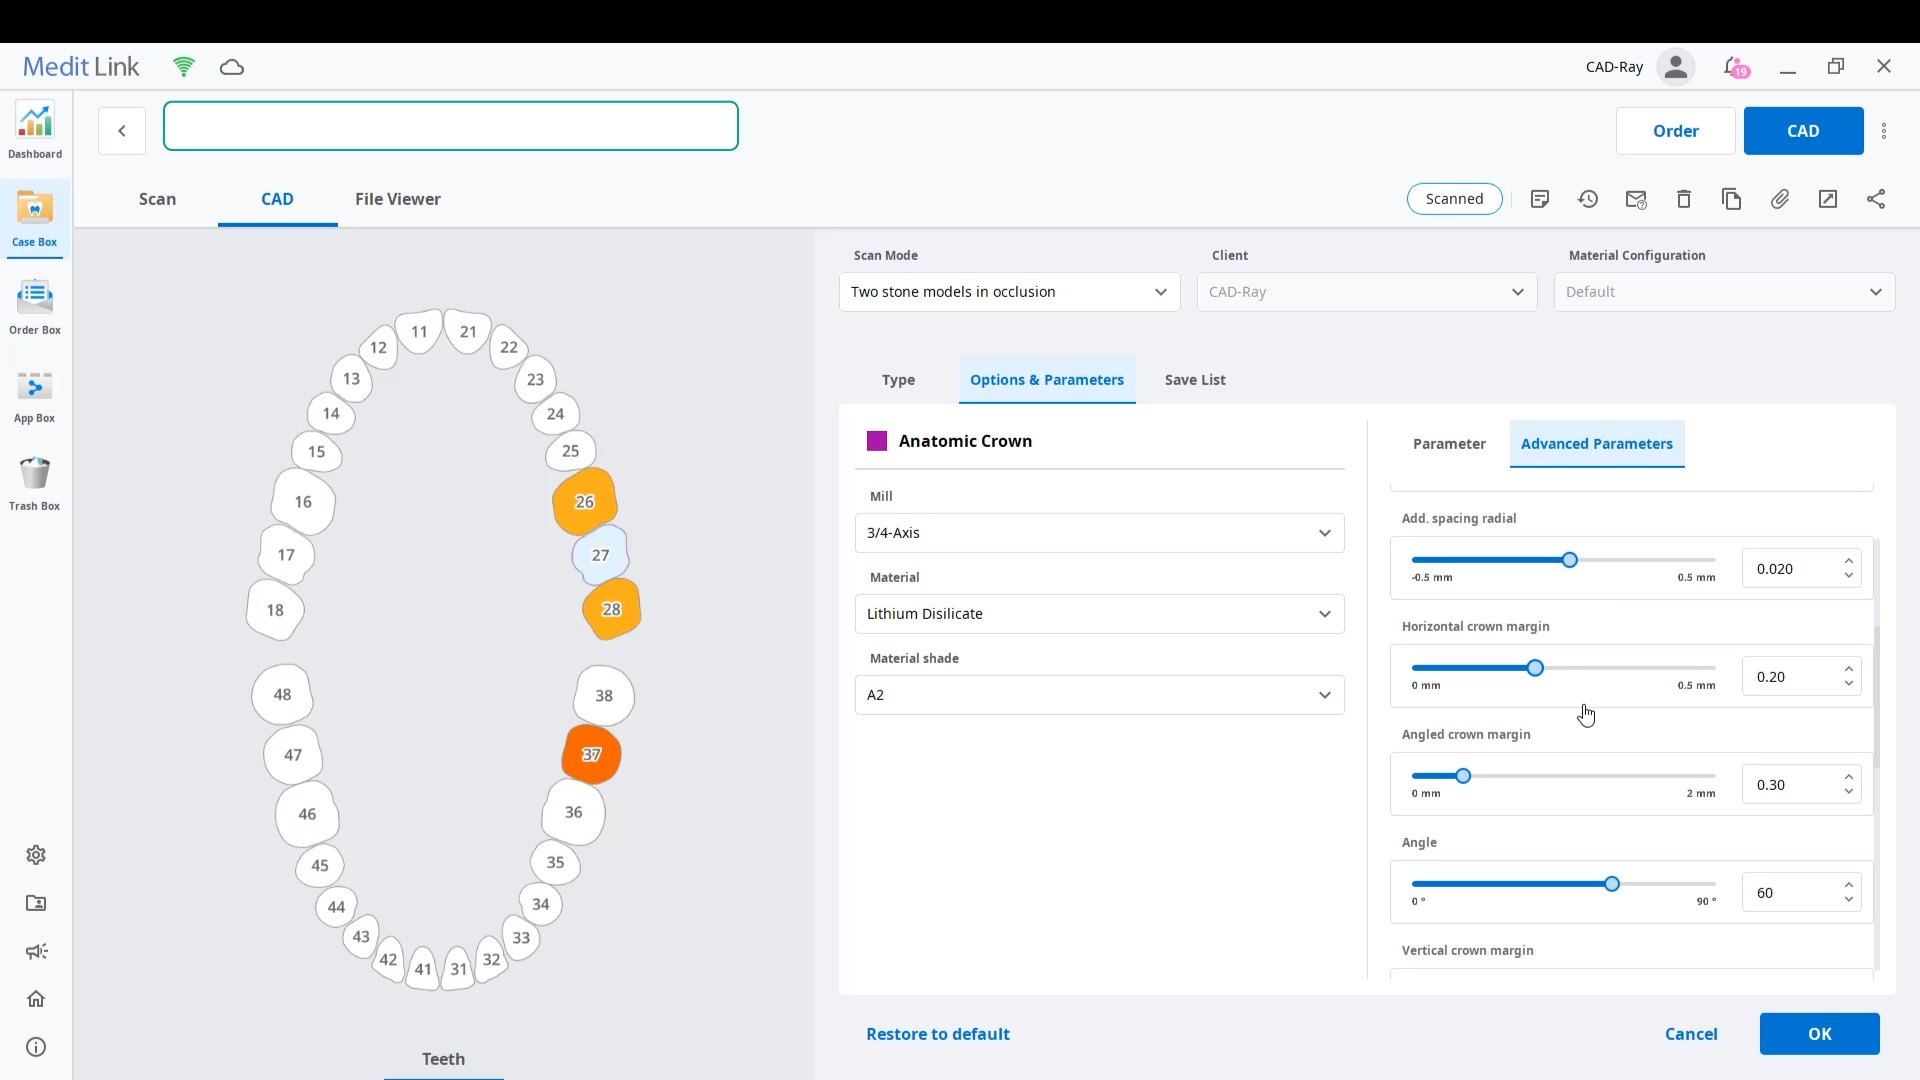
The Meditlink software allow you to launch a variety of CAD programs that include 3shape, exocad, cerec, etc… Here we launch exocad which automatically imports and aligns the models and marks the margins. The restoration is then designed to completion.
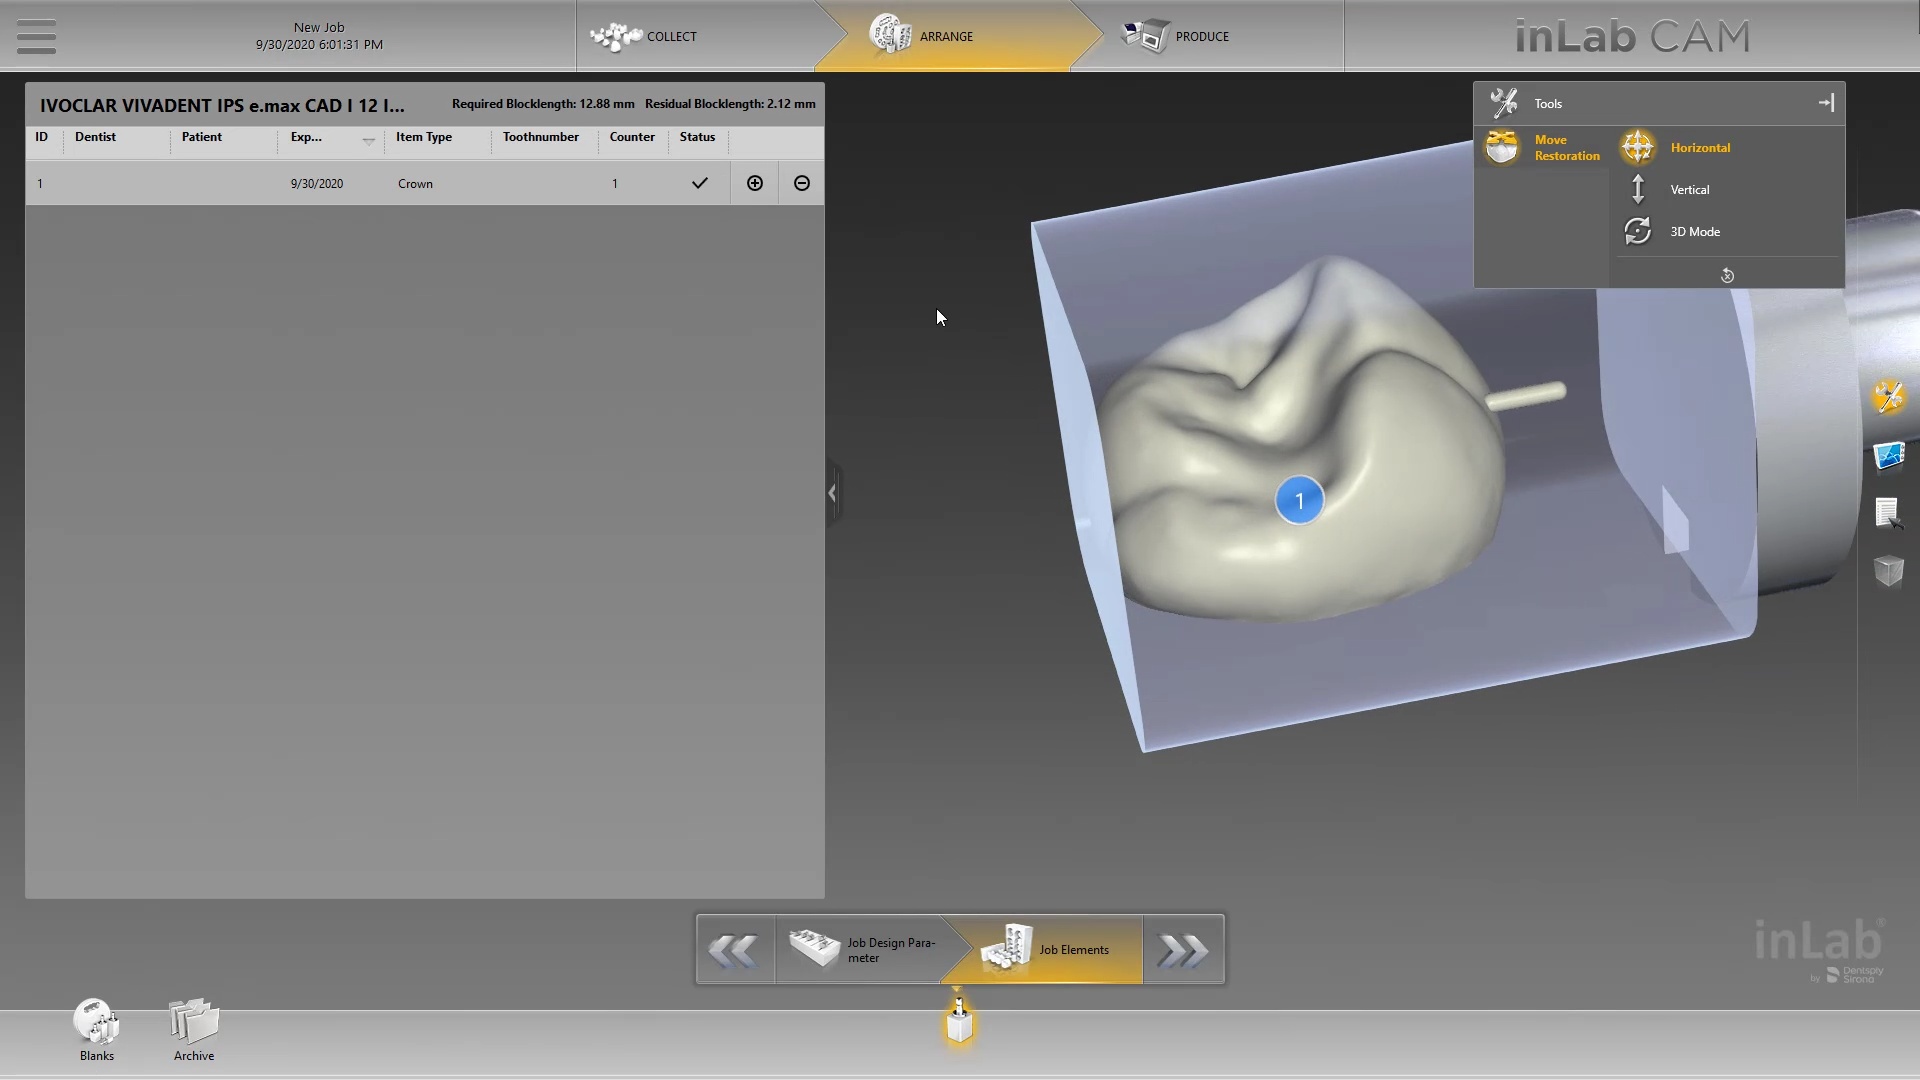
Design of restoration
The CAD software allows you or the lab to alter the marked margins if necessary. The restoration is aligned in the arch for and the contacts are adapted to the adjacents and the oppising
You can take the designed restoration to ANY milling machine or printer
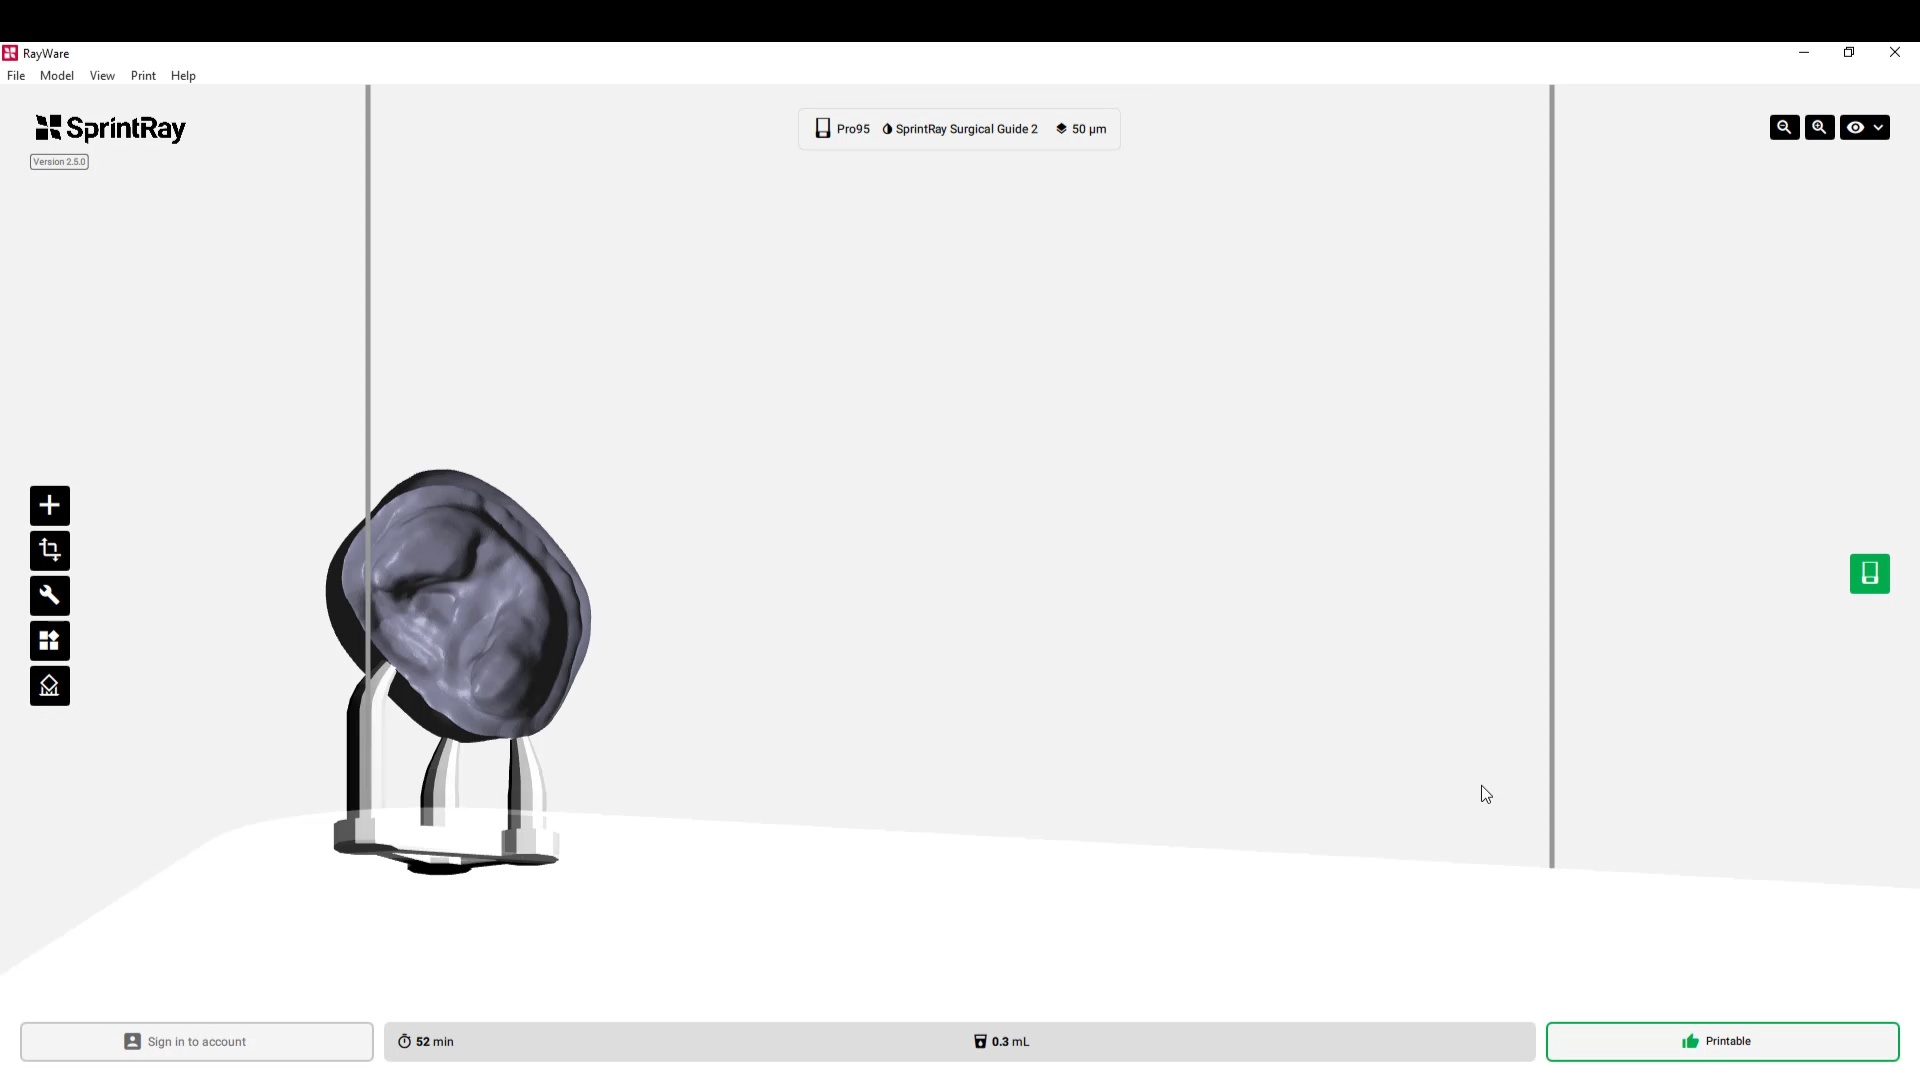
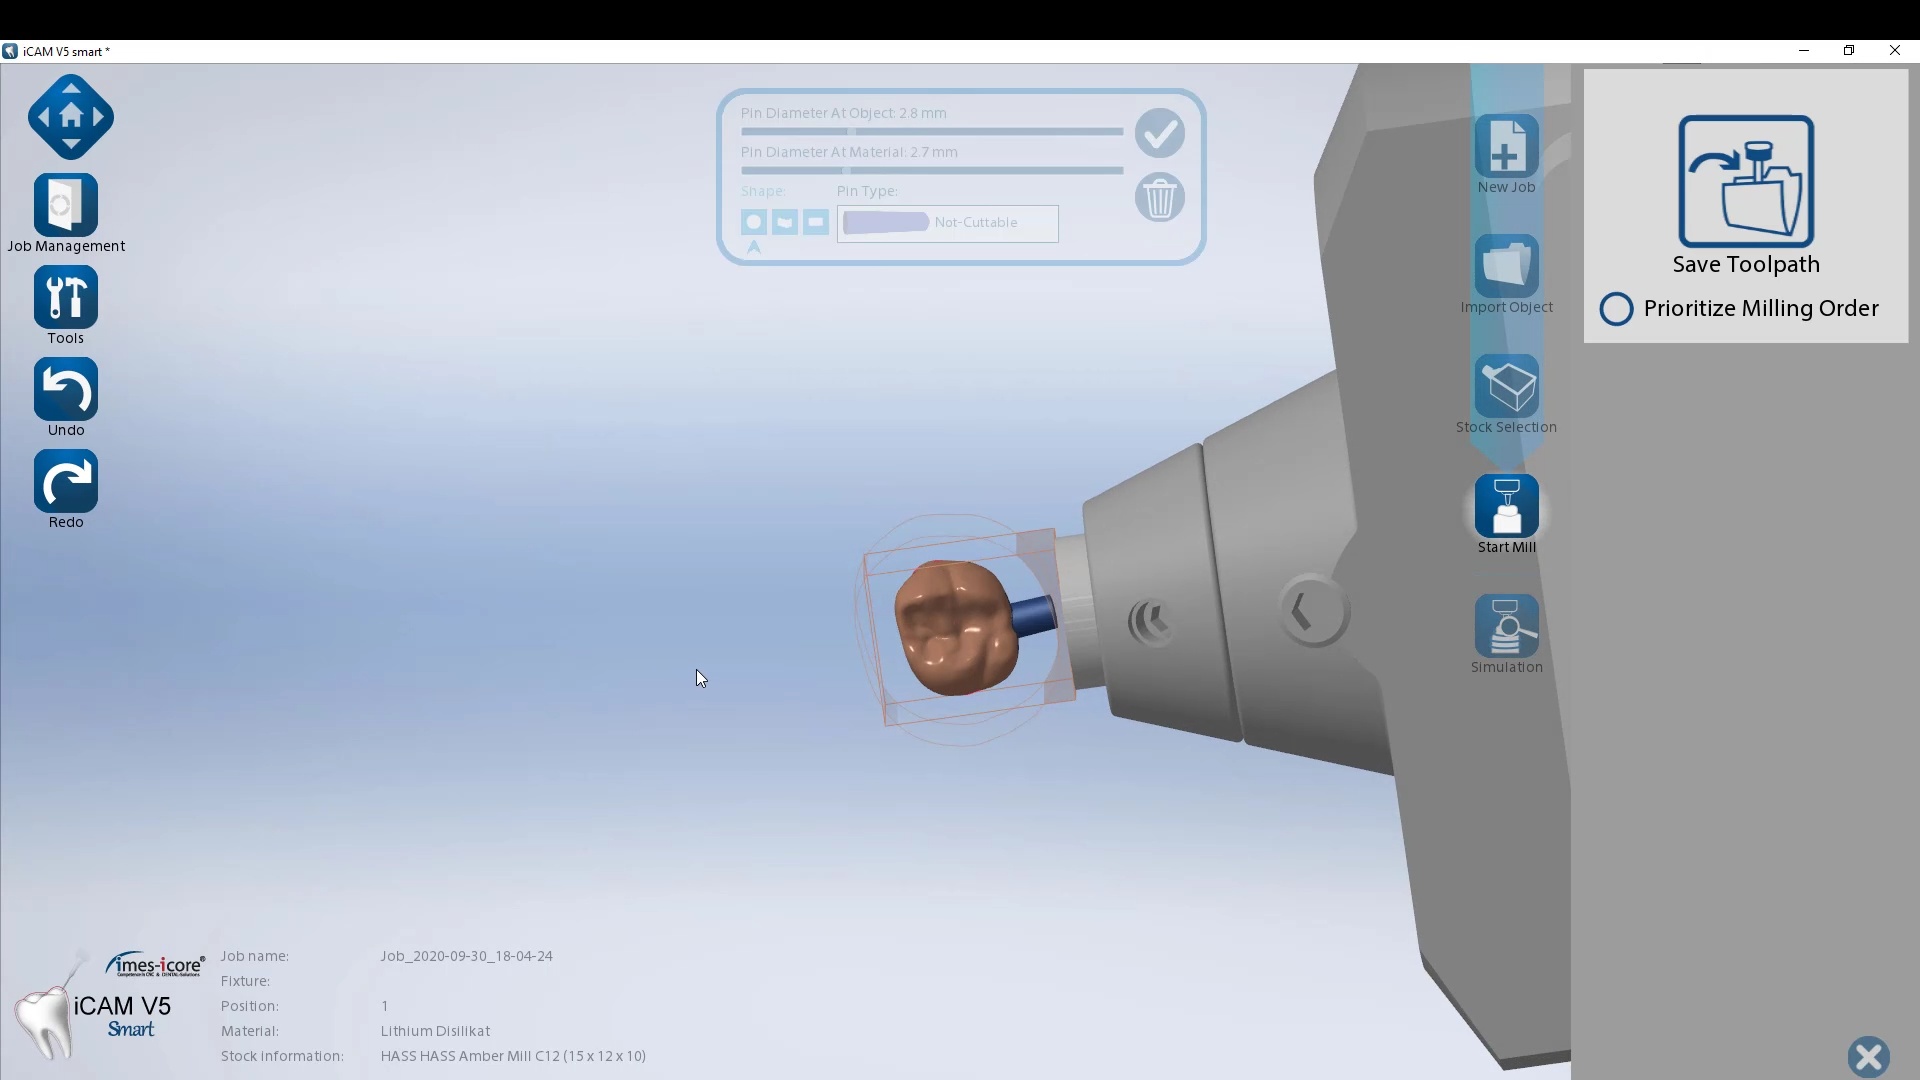
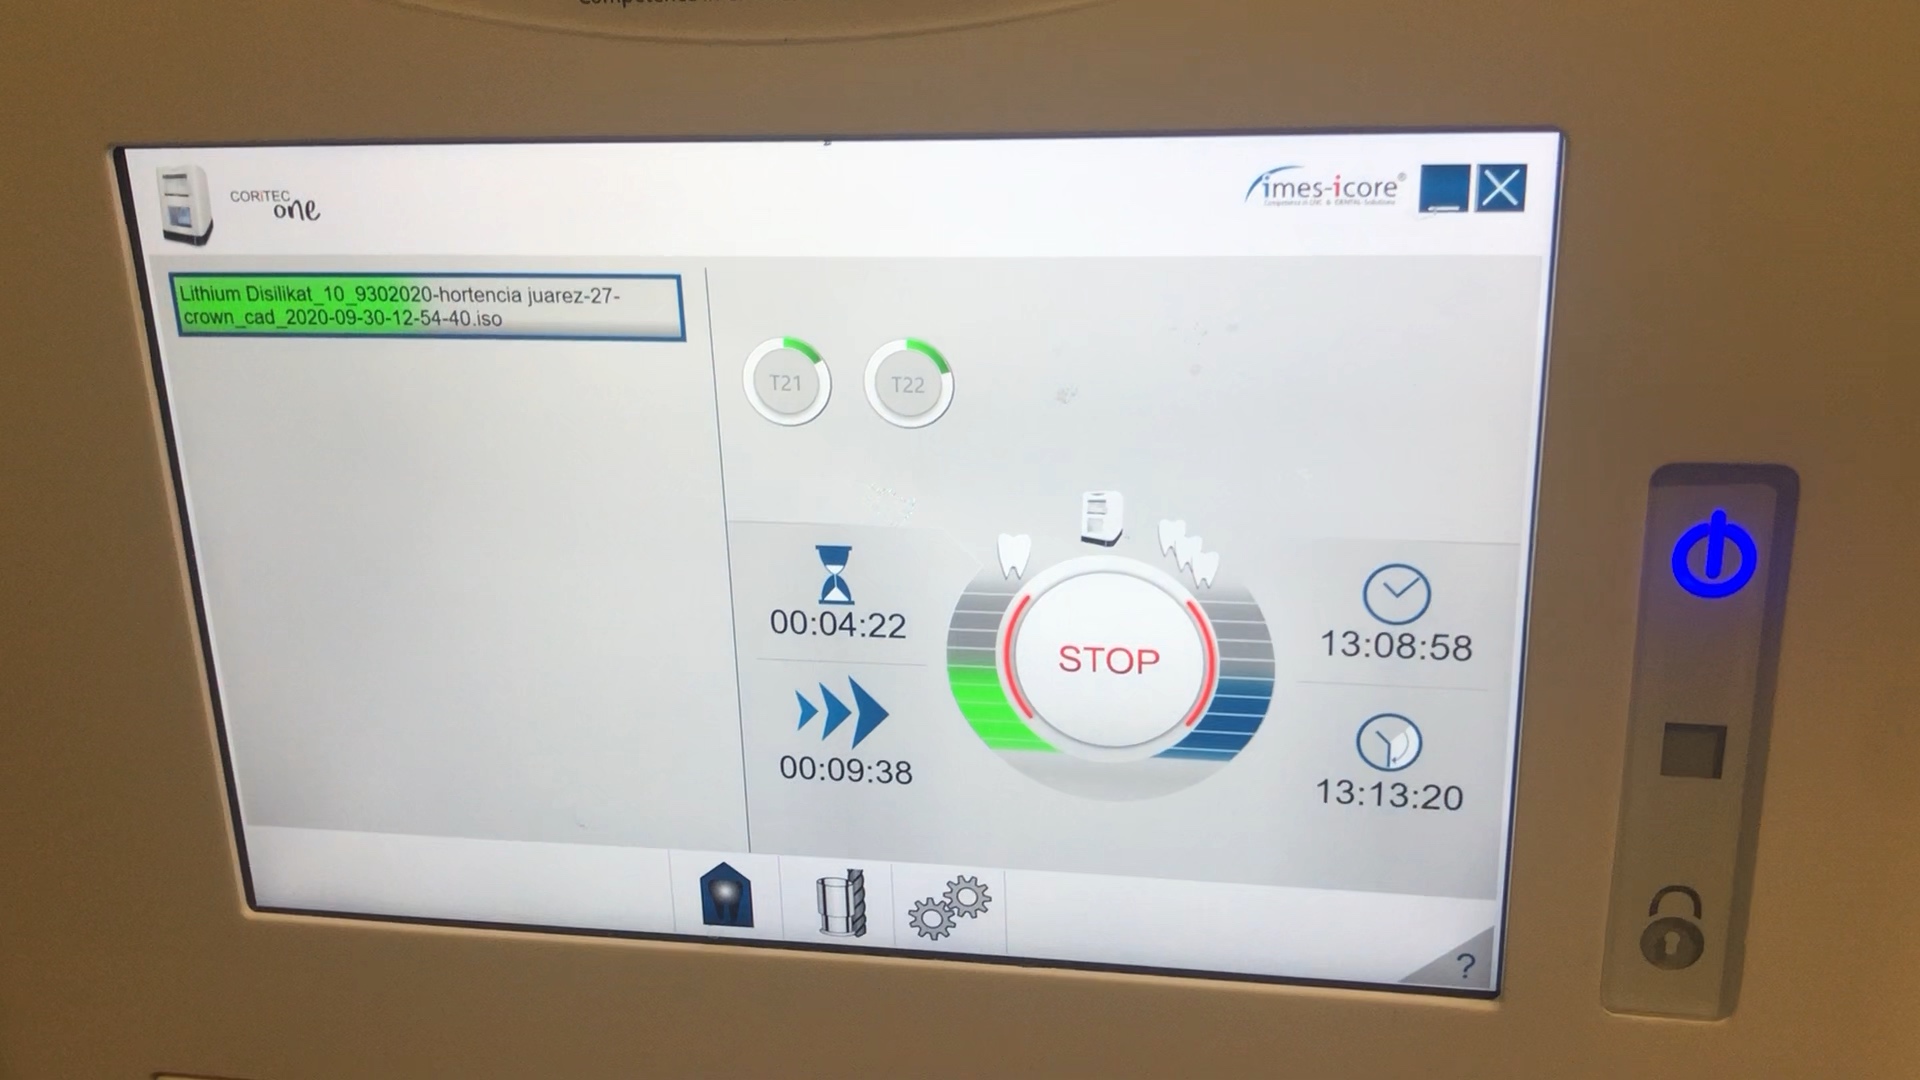
Milling of Lithium Disilicate with Imes Icore Coritec One
The final restoration design can be exported as an stl and taken to a variety of mills or printers. Here we designed it millbox and milled with the coritec One. The material used was Amber Mill and it was crystalized and seated
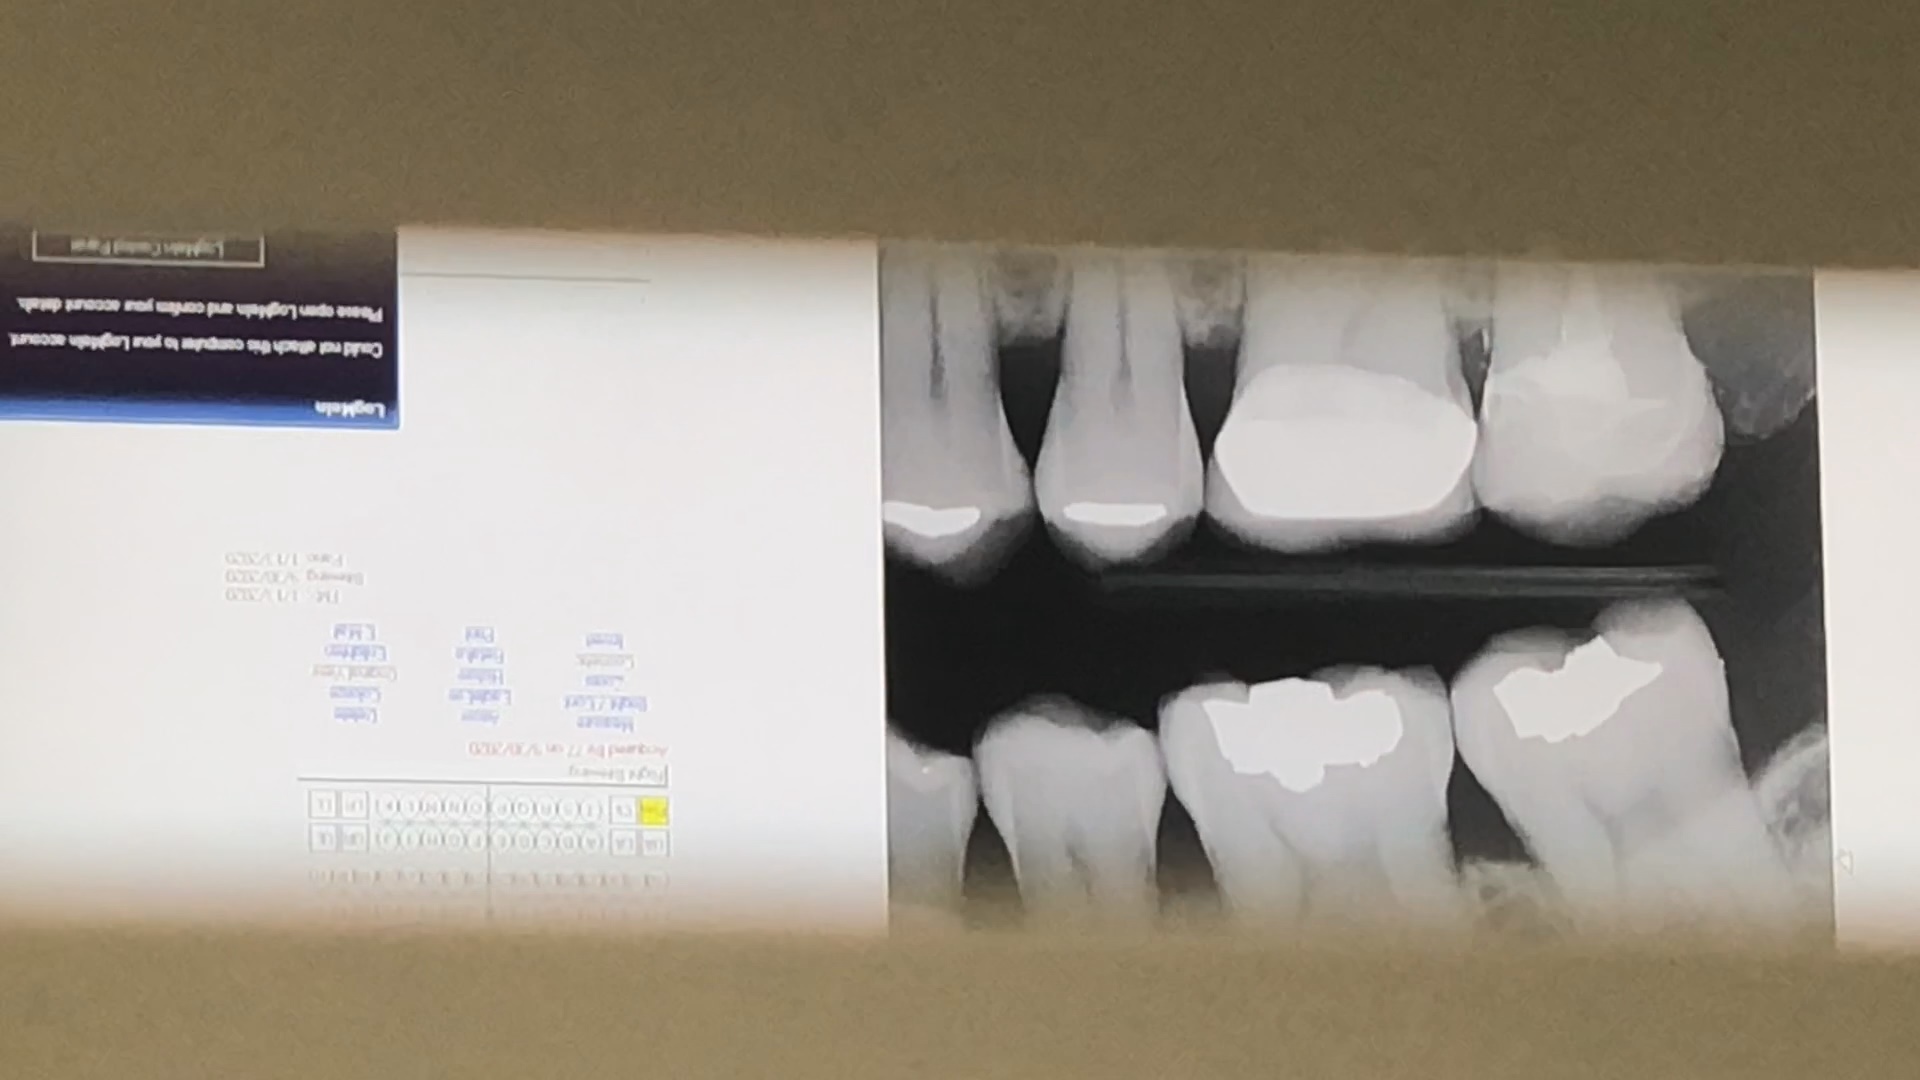
Post-op X-ray
Final X-ray was taken to verify the fit and to make sure no excess resin was left behind