


For our advanced users, we demonstrate how to plan and manage a two unit molar case so they can deliver multiple chairside restorations in a single visit. There are numerous short-cuts to this treatment protocol and we present them in great detail during our courses. The limiting factor for most doctors is that they have a single milling machine and we show our users how to balance prep and mill time so that they can complete 2 units in less than 90 minutes.
In this case however, we present two restorations that were prepared and delivered at the same time. The sequence of steps are:
- Anesthetize the upper right first and second molar
- While the patient is getting numb, image the arch to be prepped, image the opposing, and image the bite WITHOUT the teeth being prepared
- Reduce the occlusal height of your preparation but do not image them
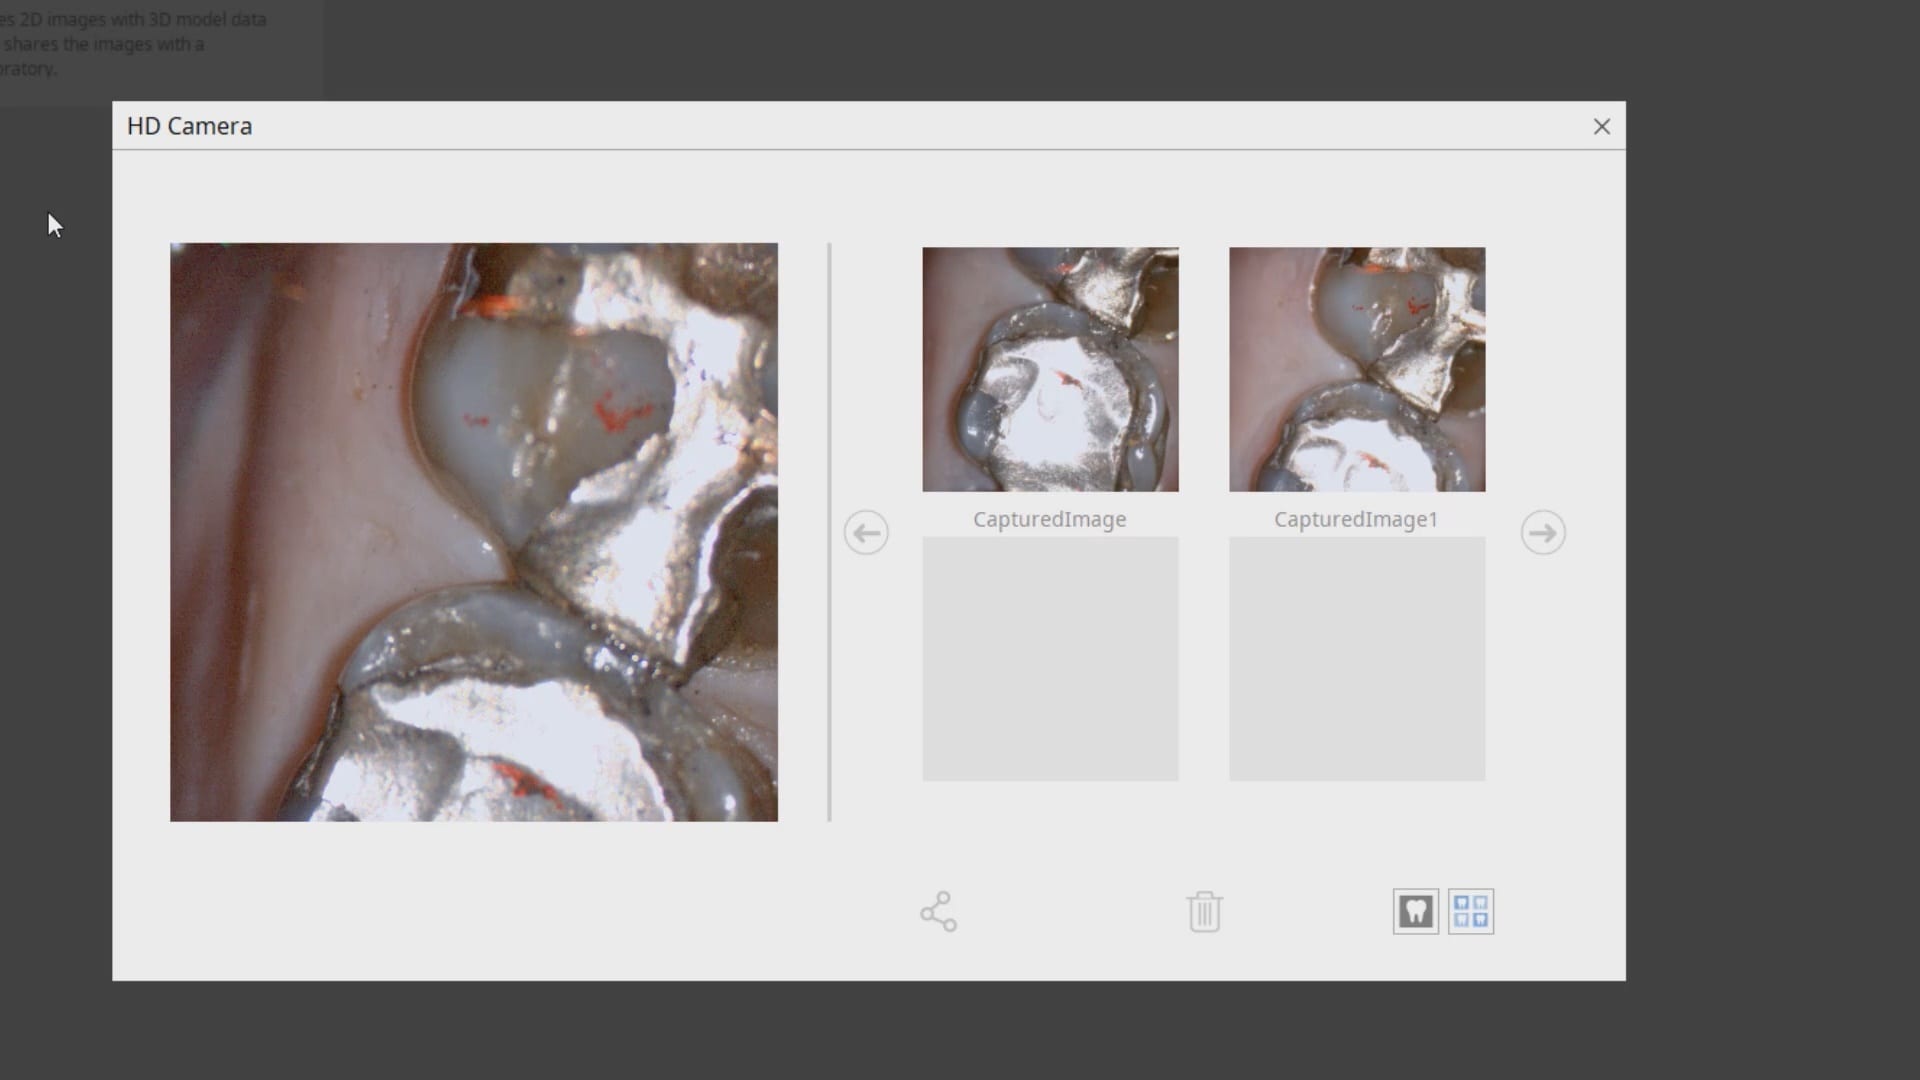
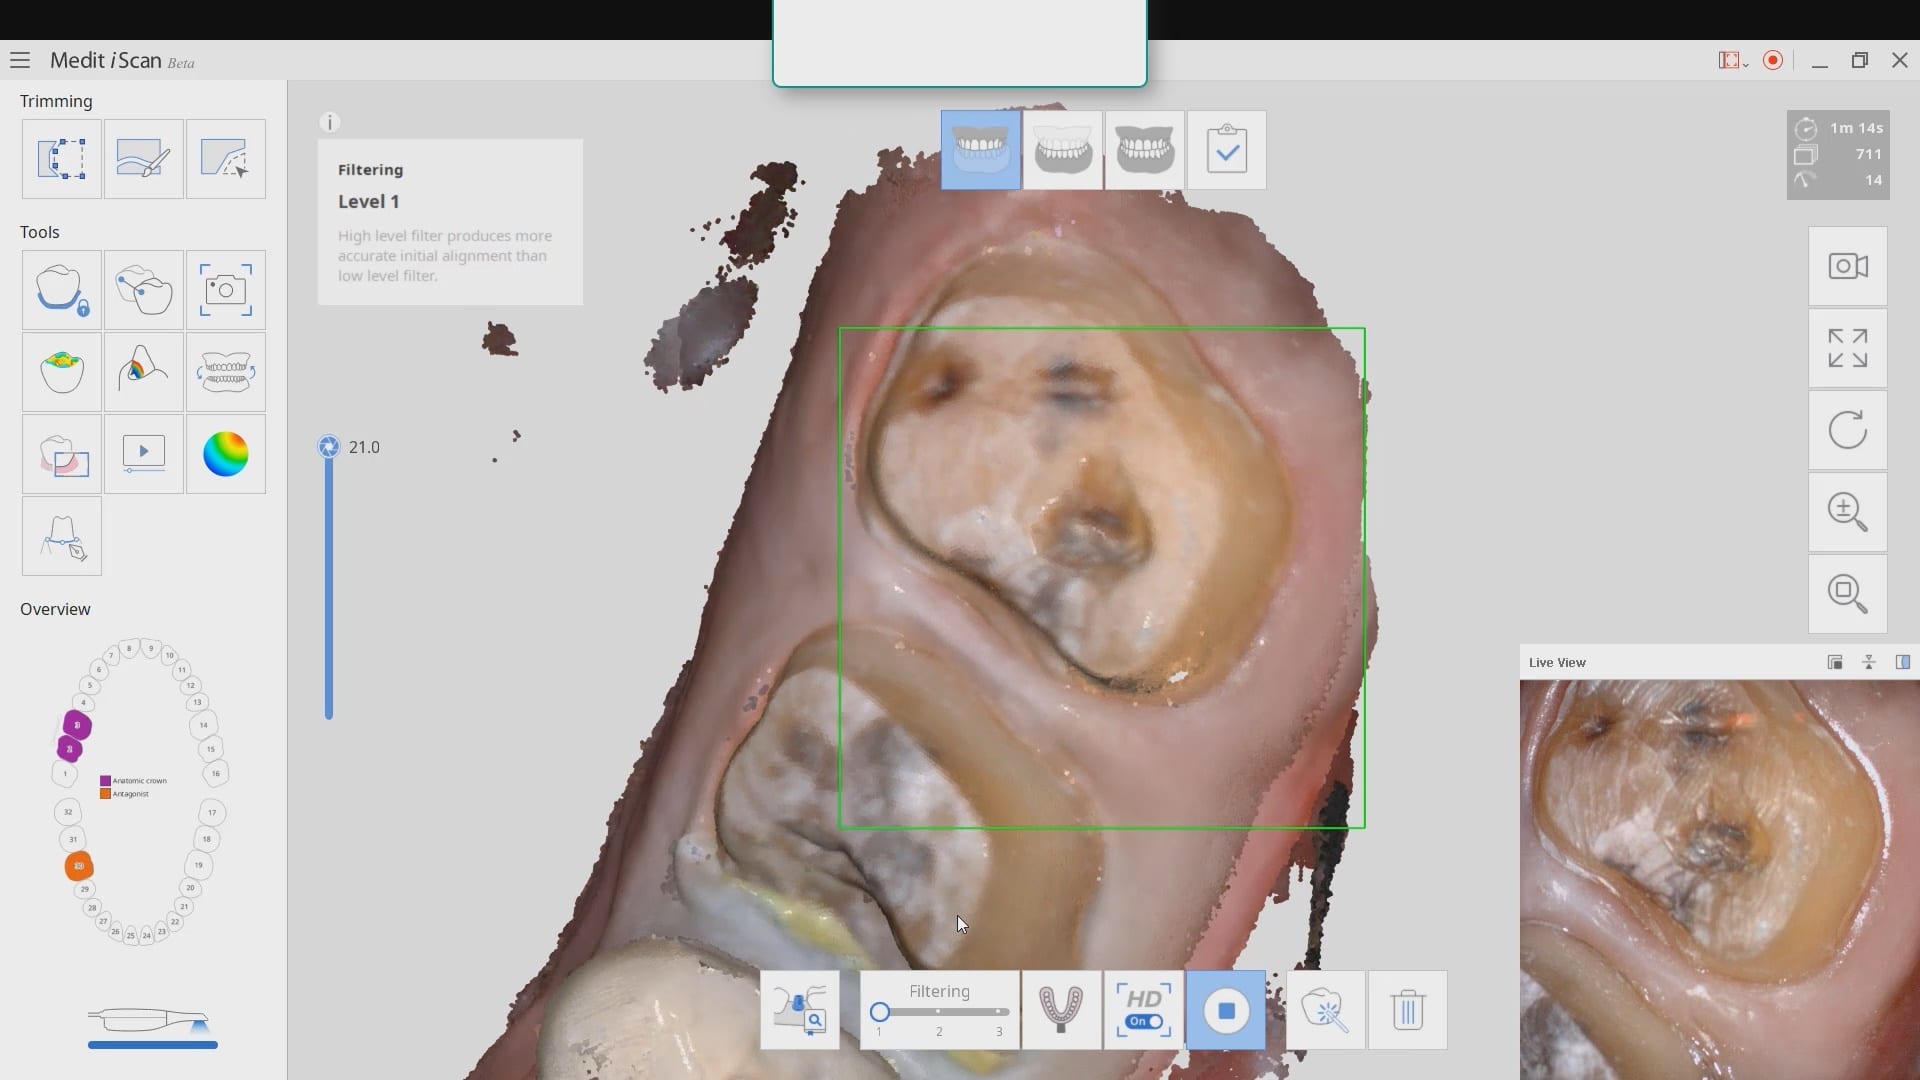
- Check your reduction visually or with the camera function of the Medit i500
- Reduce more tooth structure until you have the proper clearance for material strength
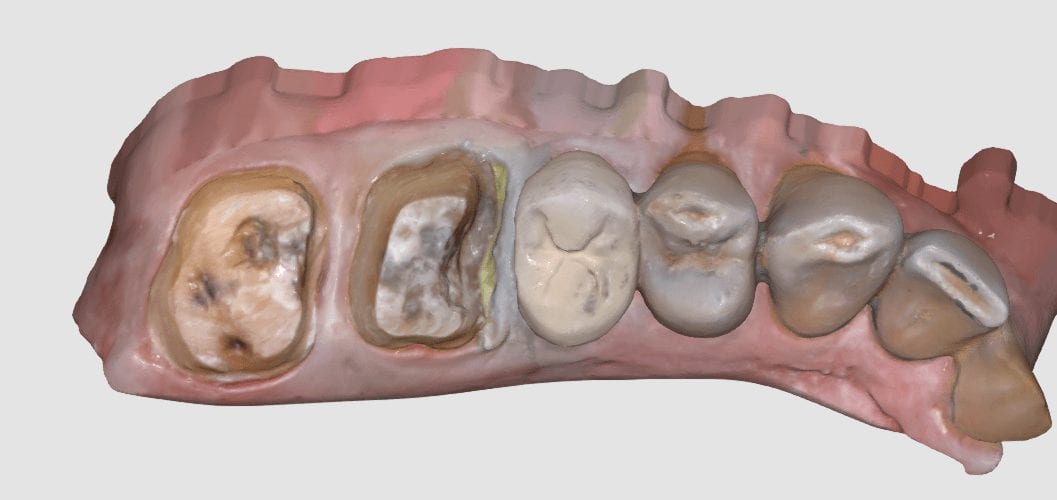
- Finish refining your preparations, displace the tissue, reach hemostasis, and then crop out the area of the model that you have altered
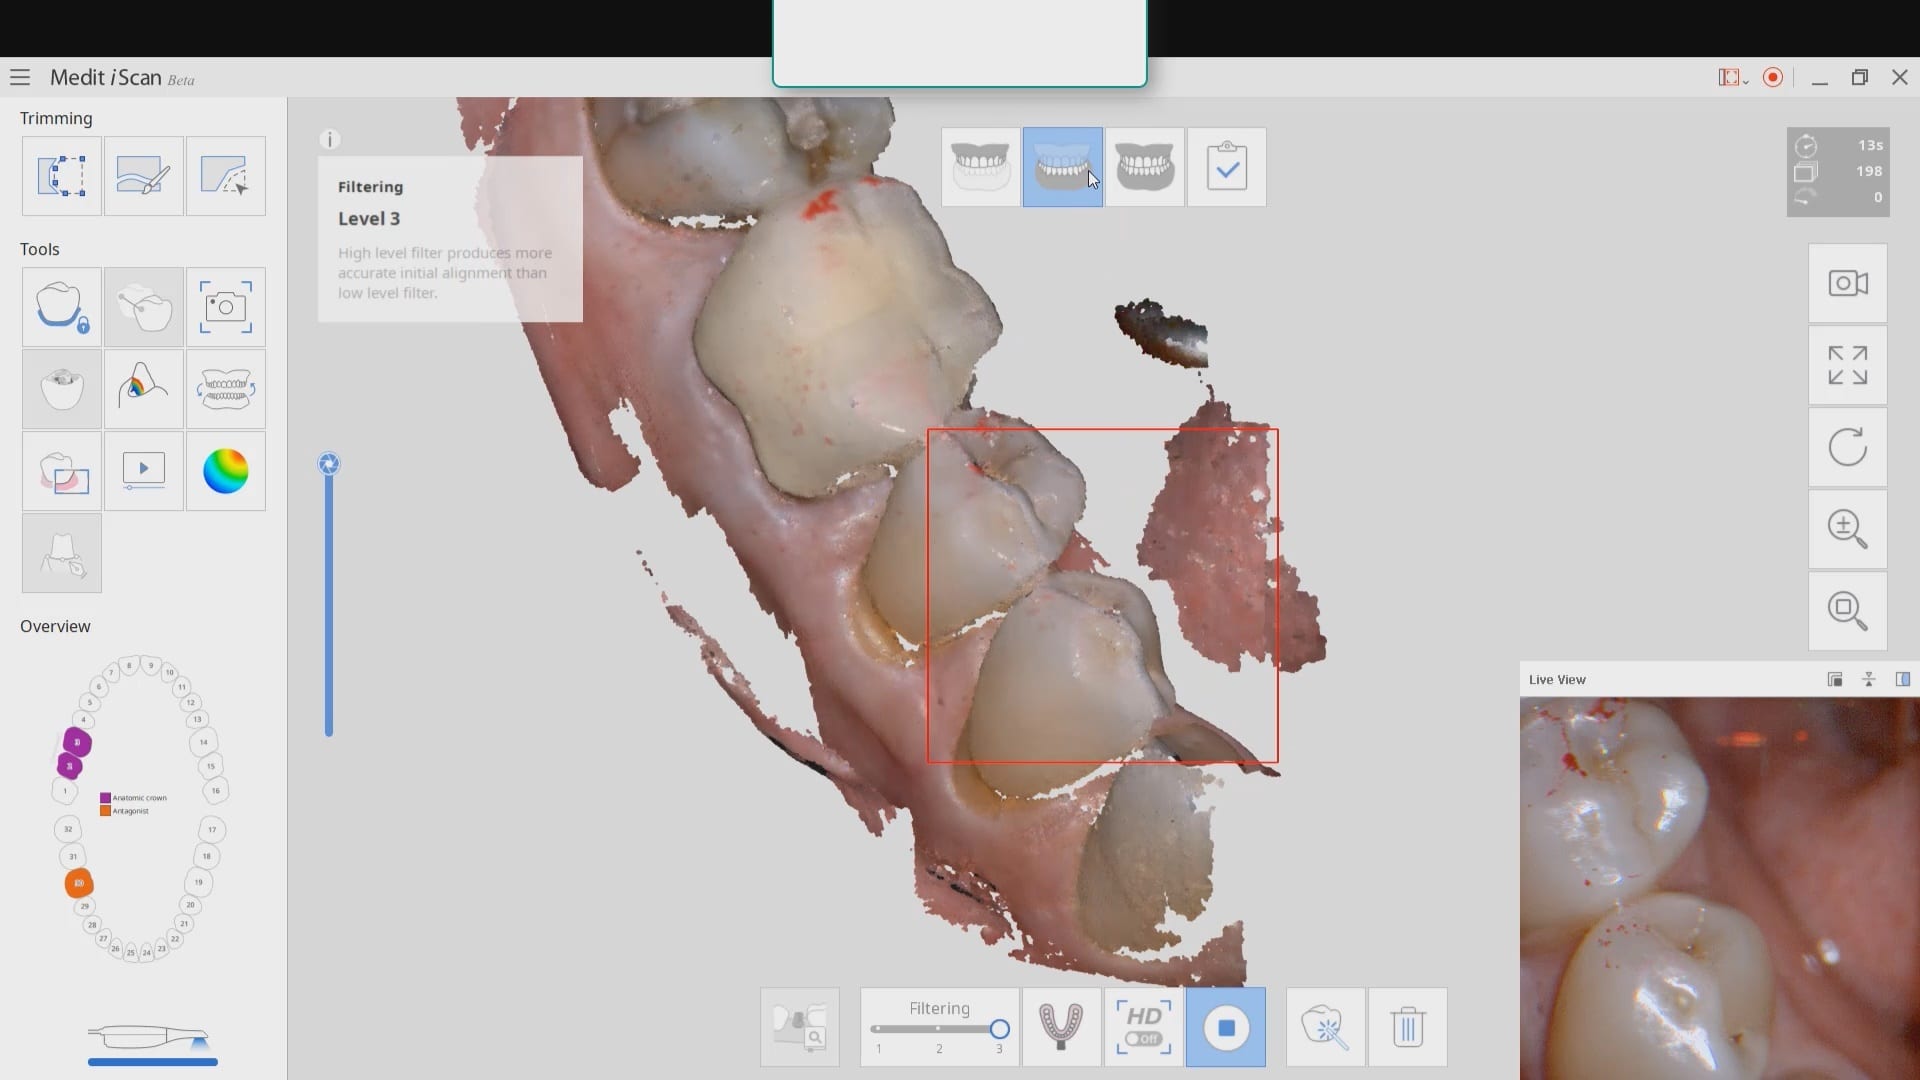
- Image the two preps into that equation. Most people turn on the HD mode for capturing the margins
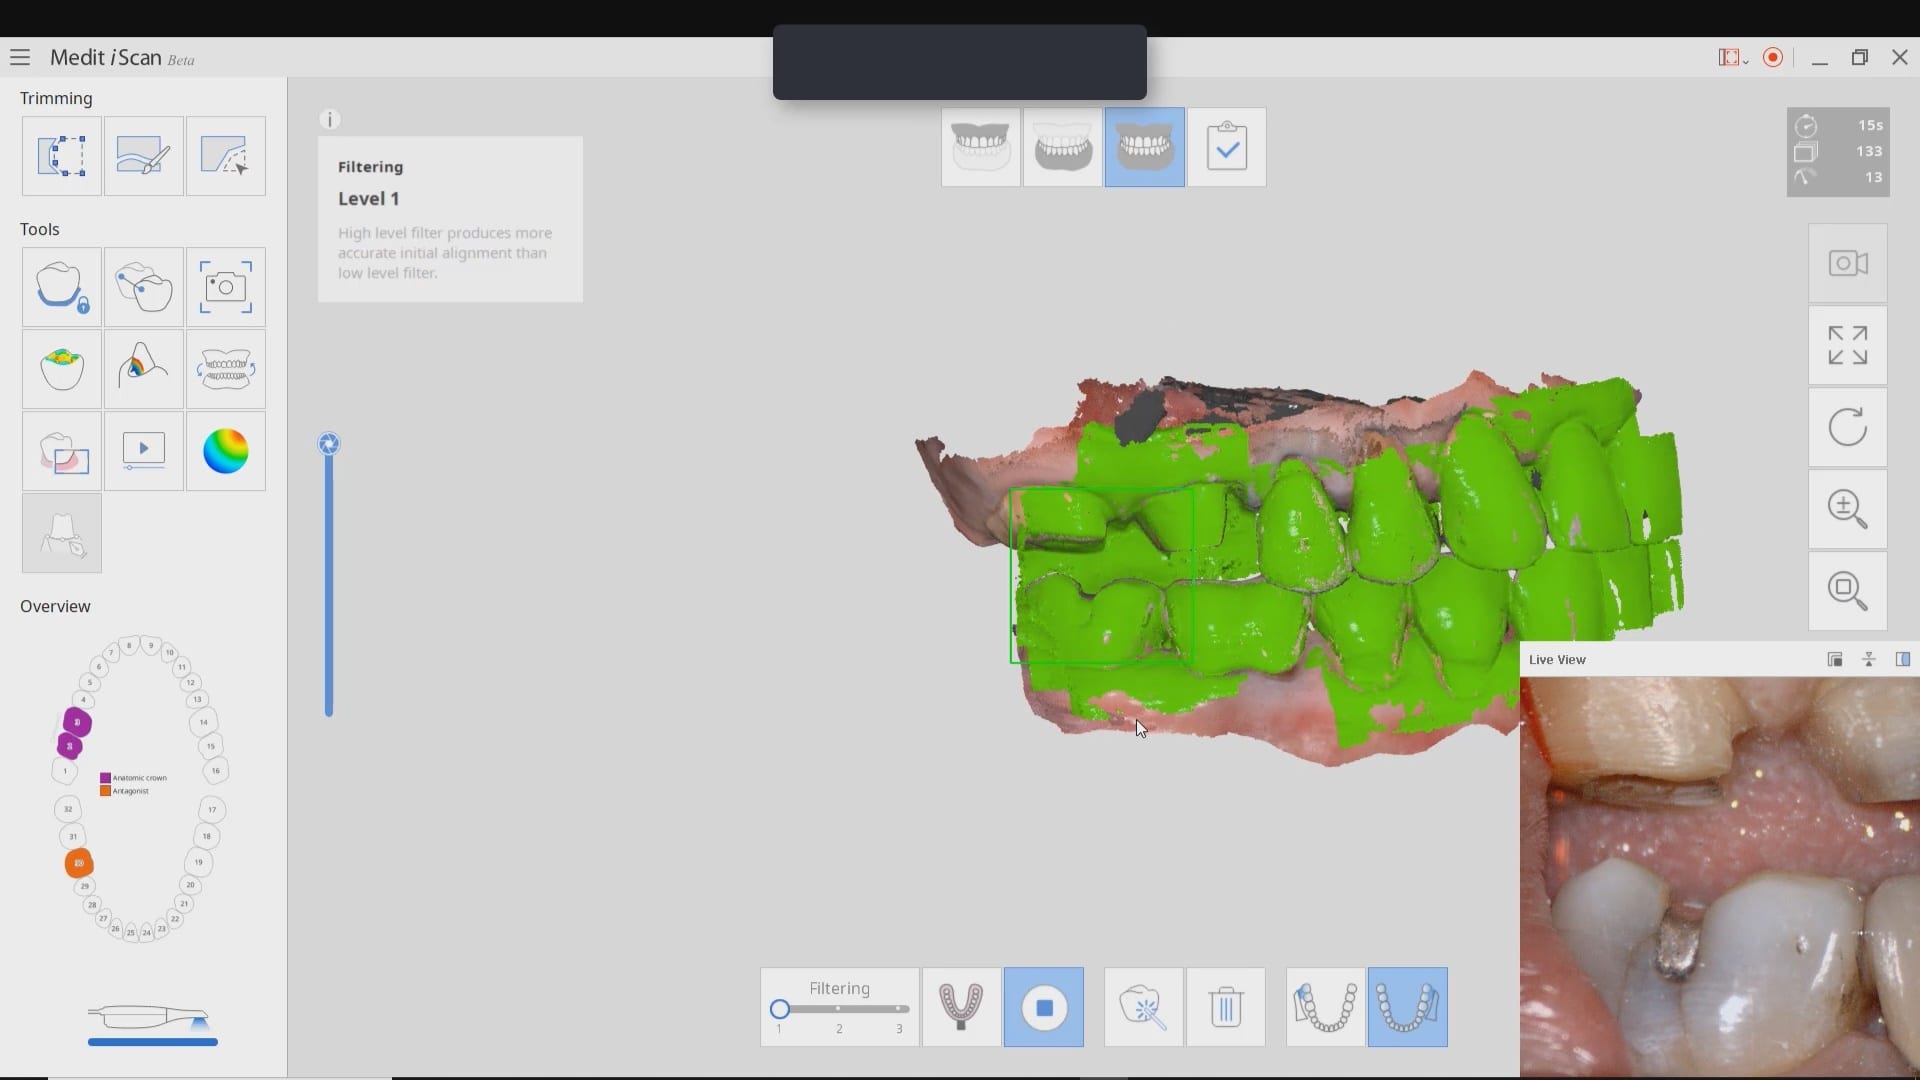
- For distal extension cases, we recommend that you take the second bite. While imaging the second bite (NOT the left vs right bite), if the occlusal model turns green, it is a clear Indication that the vertical has no changed from the pre-op to the prep situation and that you will have minimal post-op adjustments to make. If the second buccal bite does not register in green, it should serve as a warning to you that the vertical dimension has changed
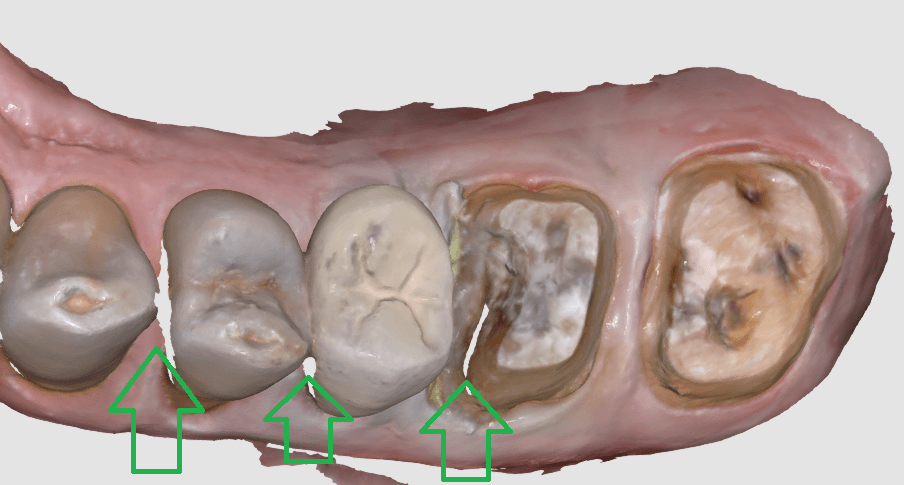
As advanced users, you quickly recognize what areas in the model need to be closed either with imaging or with the “close hole” options during the processing step of the Meditlink software. If you are familiar with exocad or other CAD software programs you can just ignore these areas as they do not have any clinical significance whatsoever.

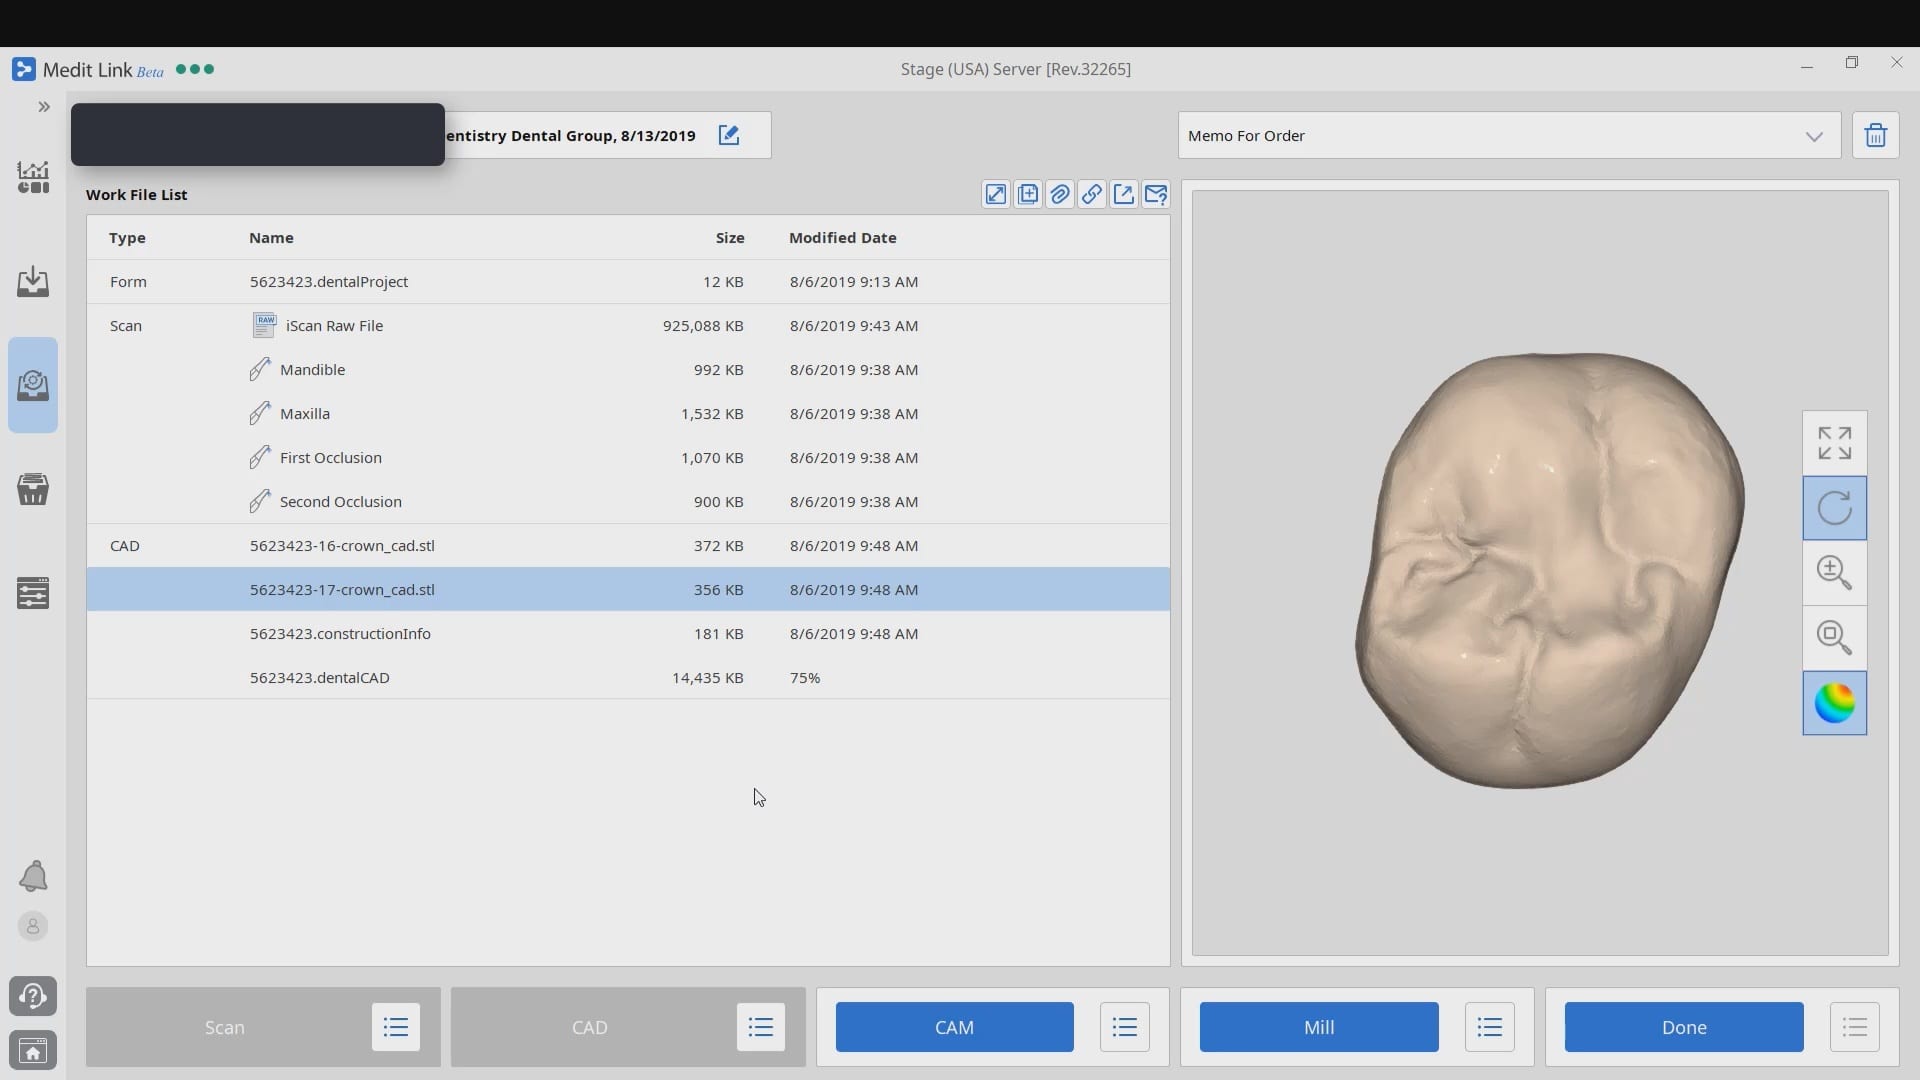
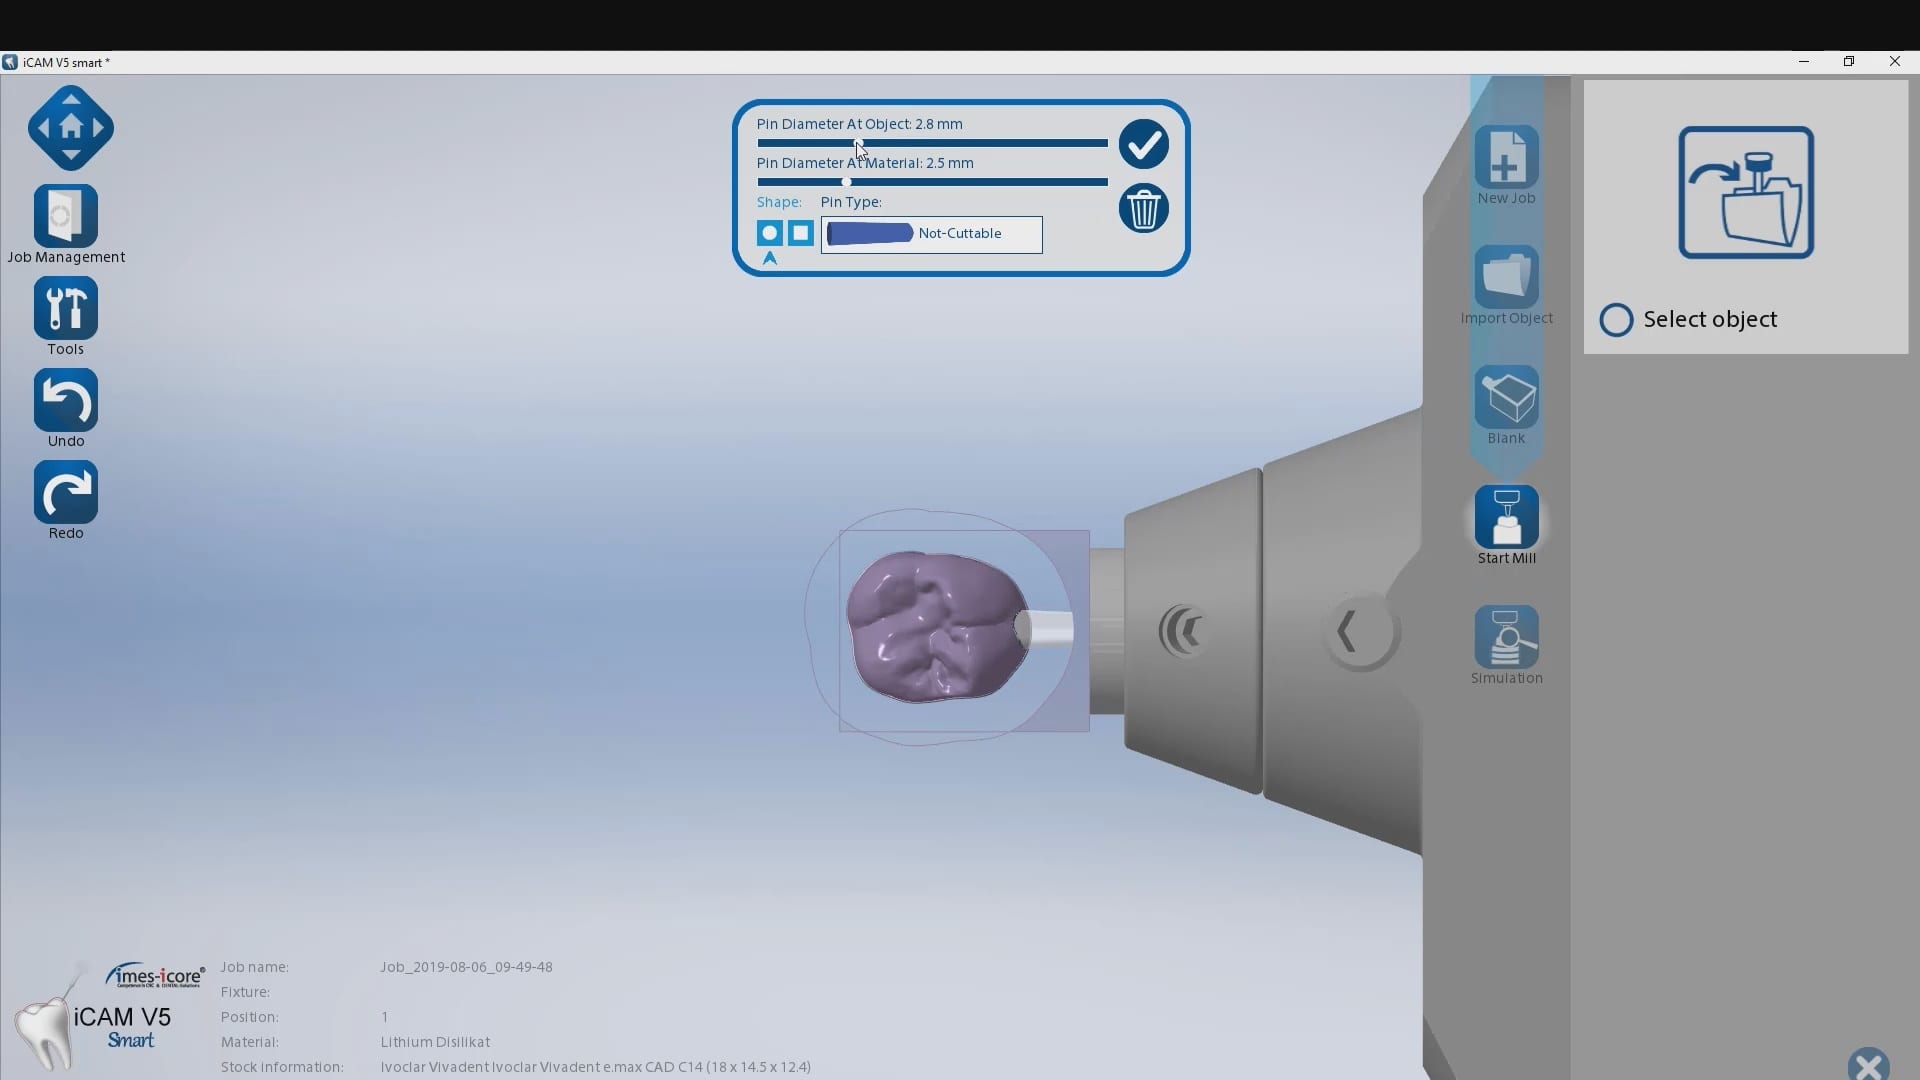
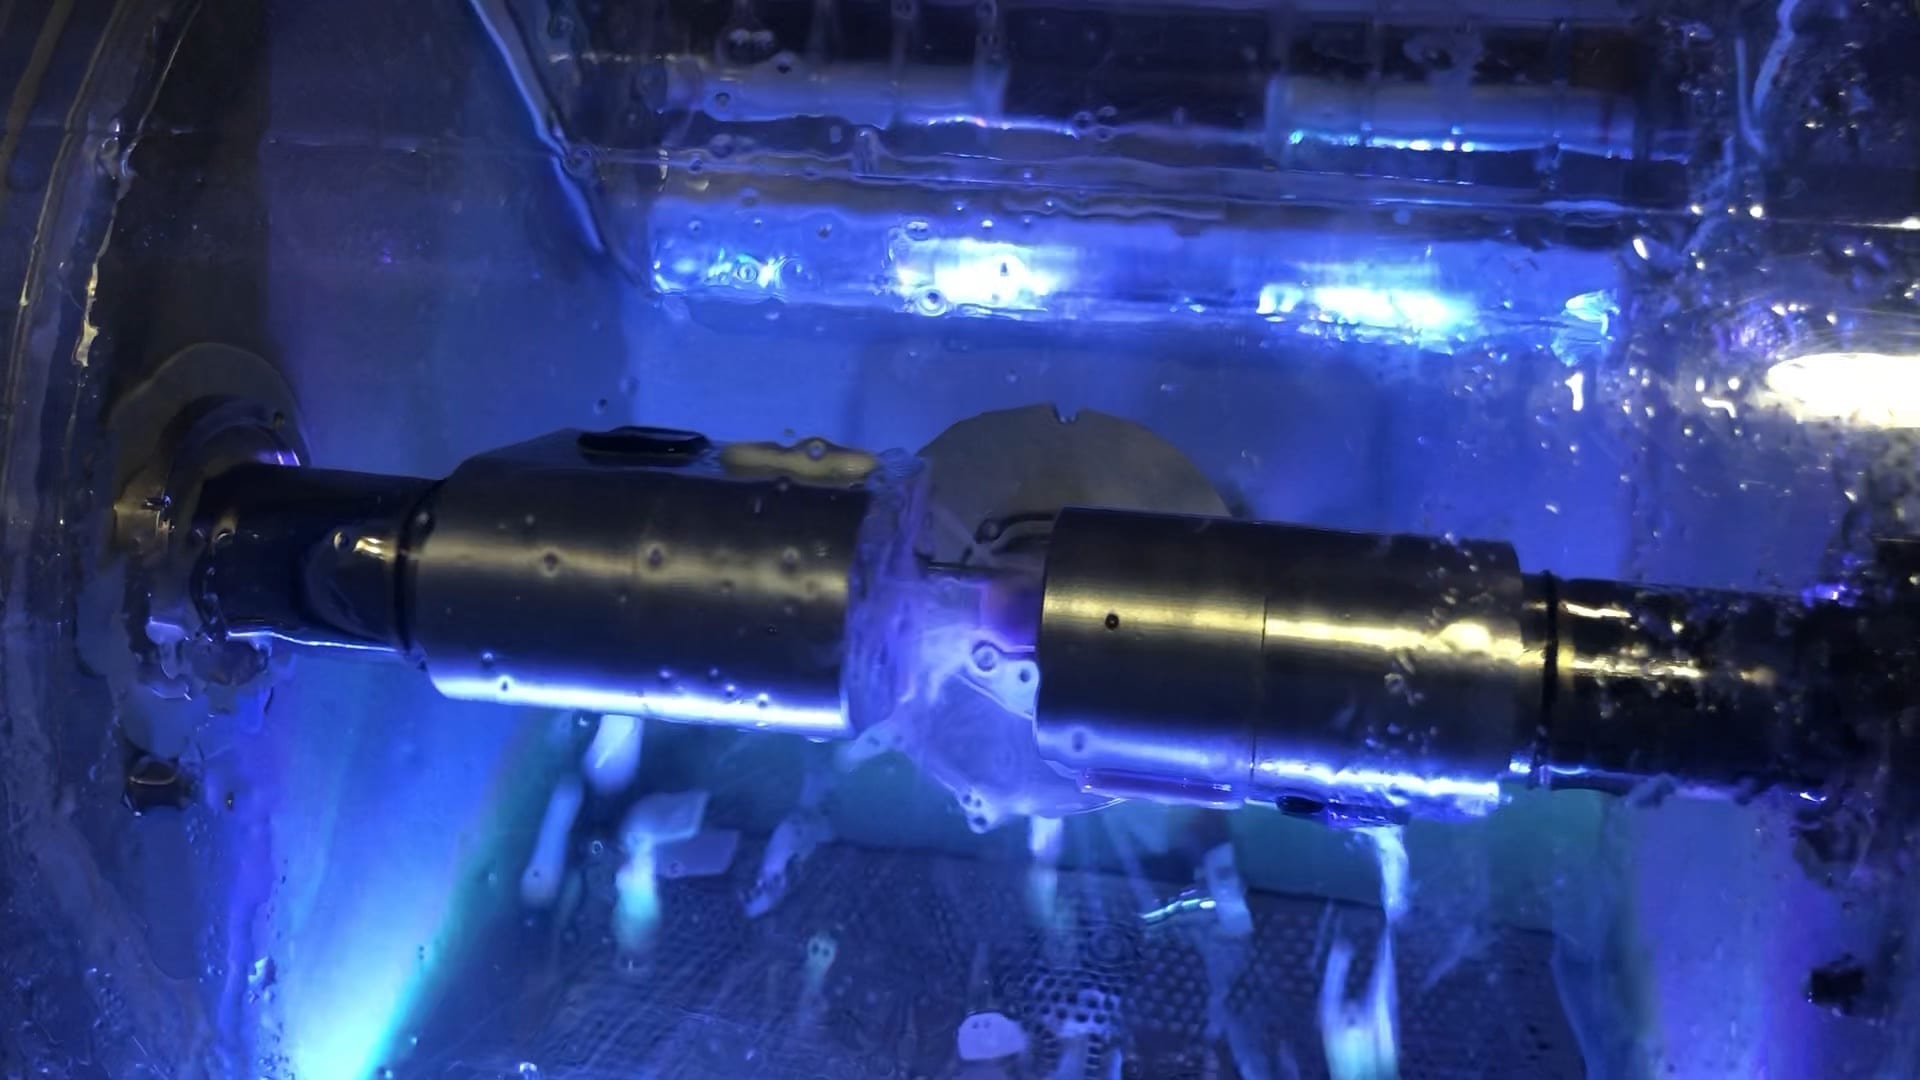
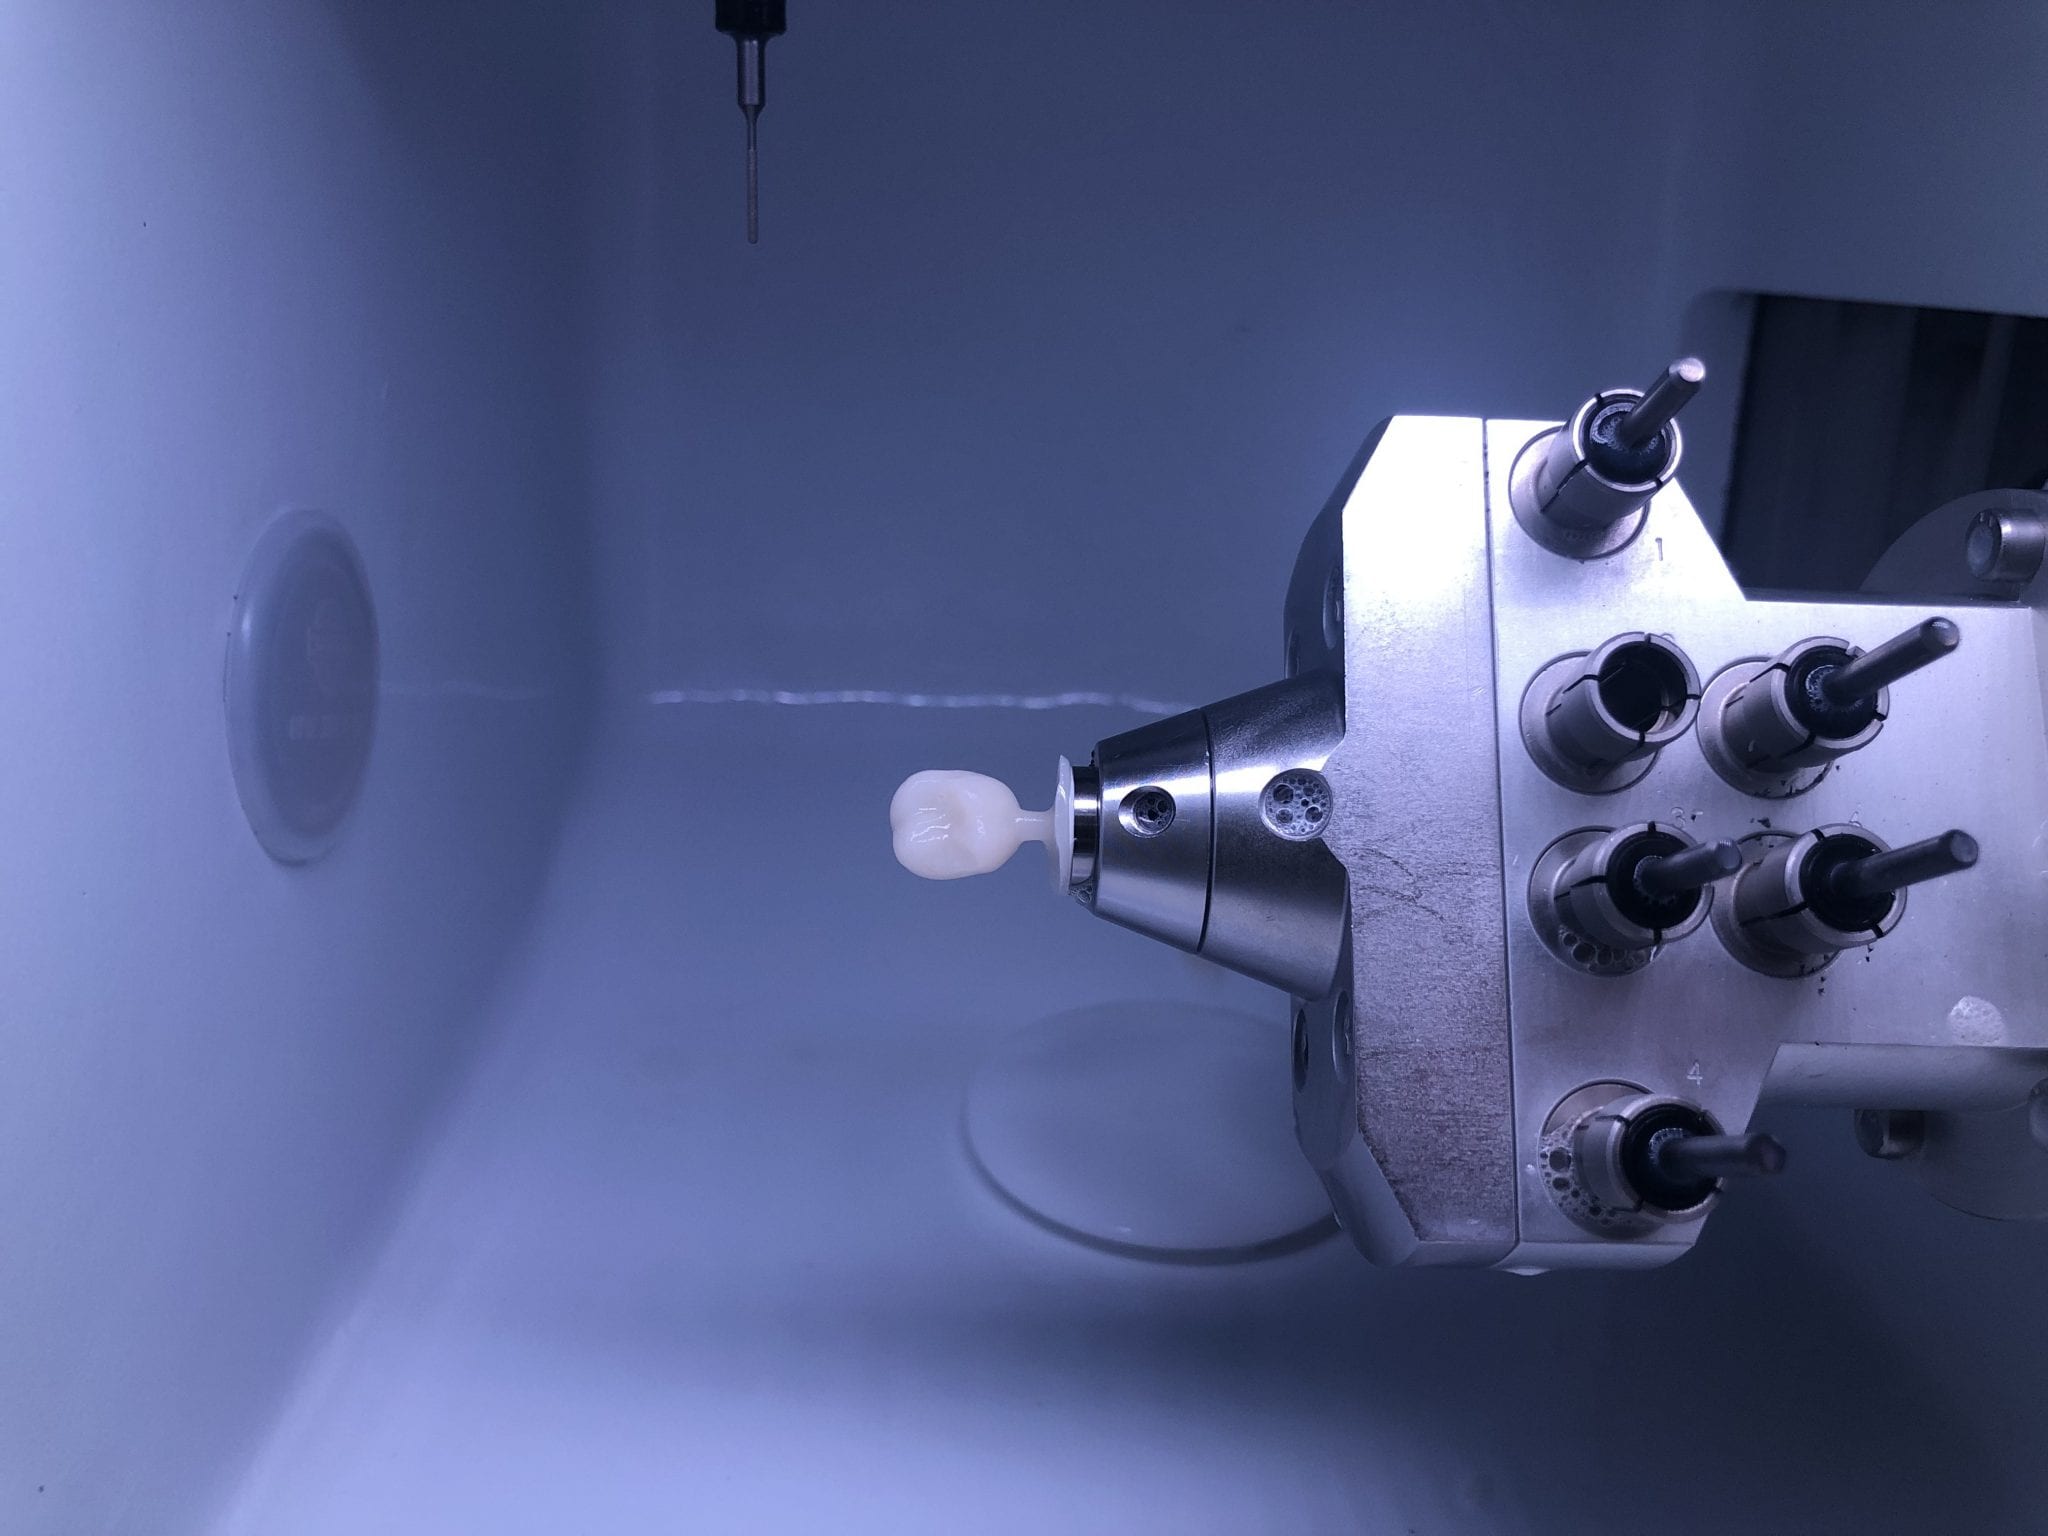
Once the case is designed you can mill them with your milling machine of choice. The testing of materials, fit, and milling machines are a constant at CAD-Ray.com so we milled the first molar with emax material and the MCXL and the second molar, a Celtra Duo material, was milled with the Imes Icore CORiTEC Once
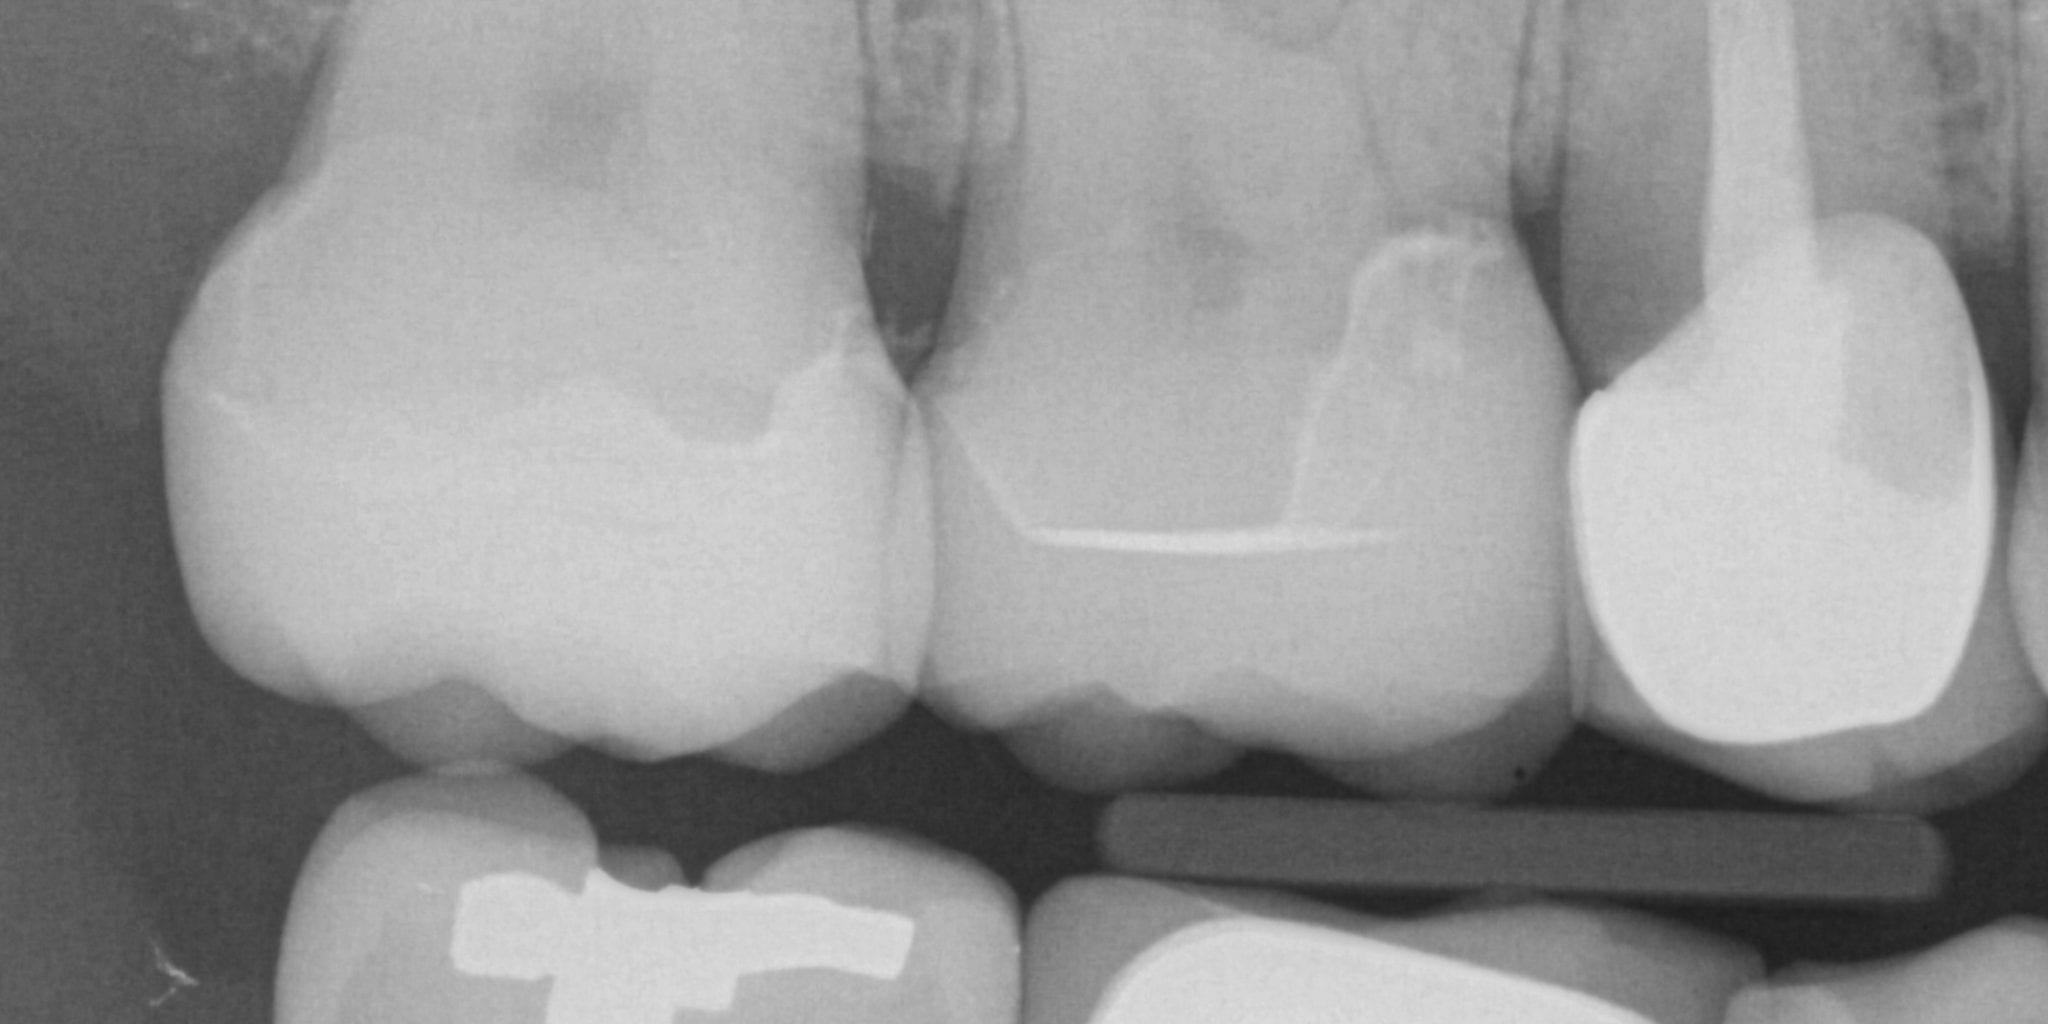
An immediate post-op bitewing X-ray was taken to verify fit and to make sure that there was no excess resin cement left behind in the interproximal area. The premolar mesial to the working field also needs to be replaced and will be in the near future