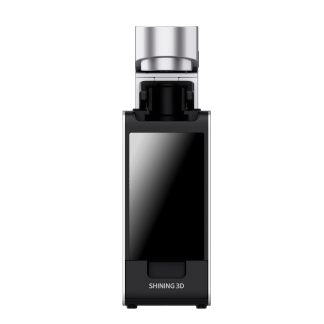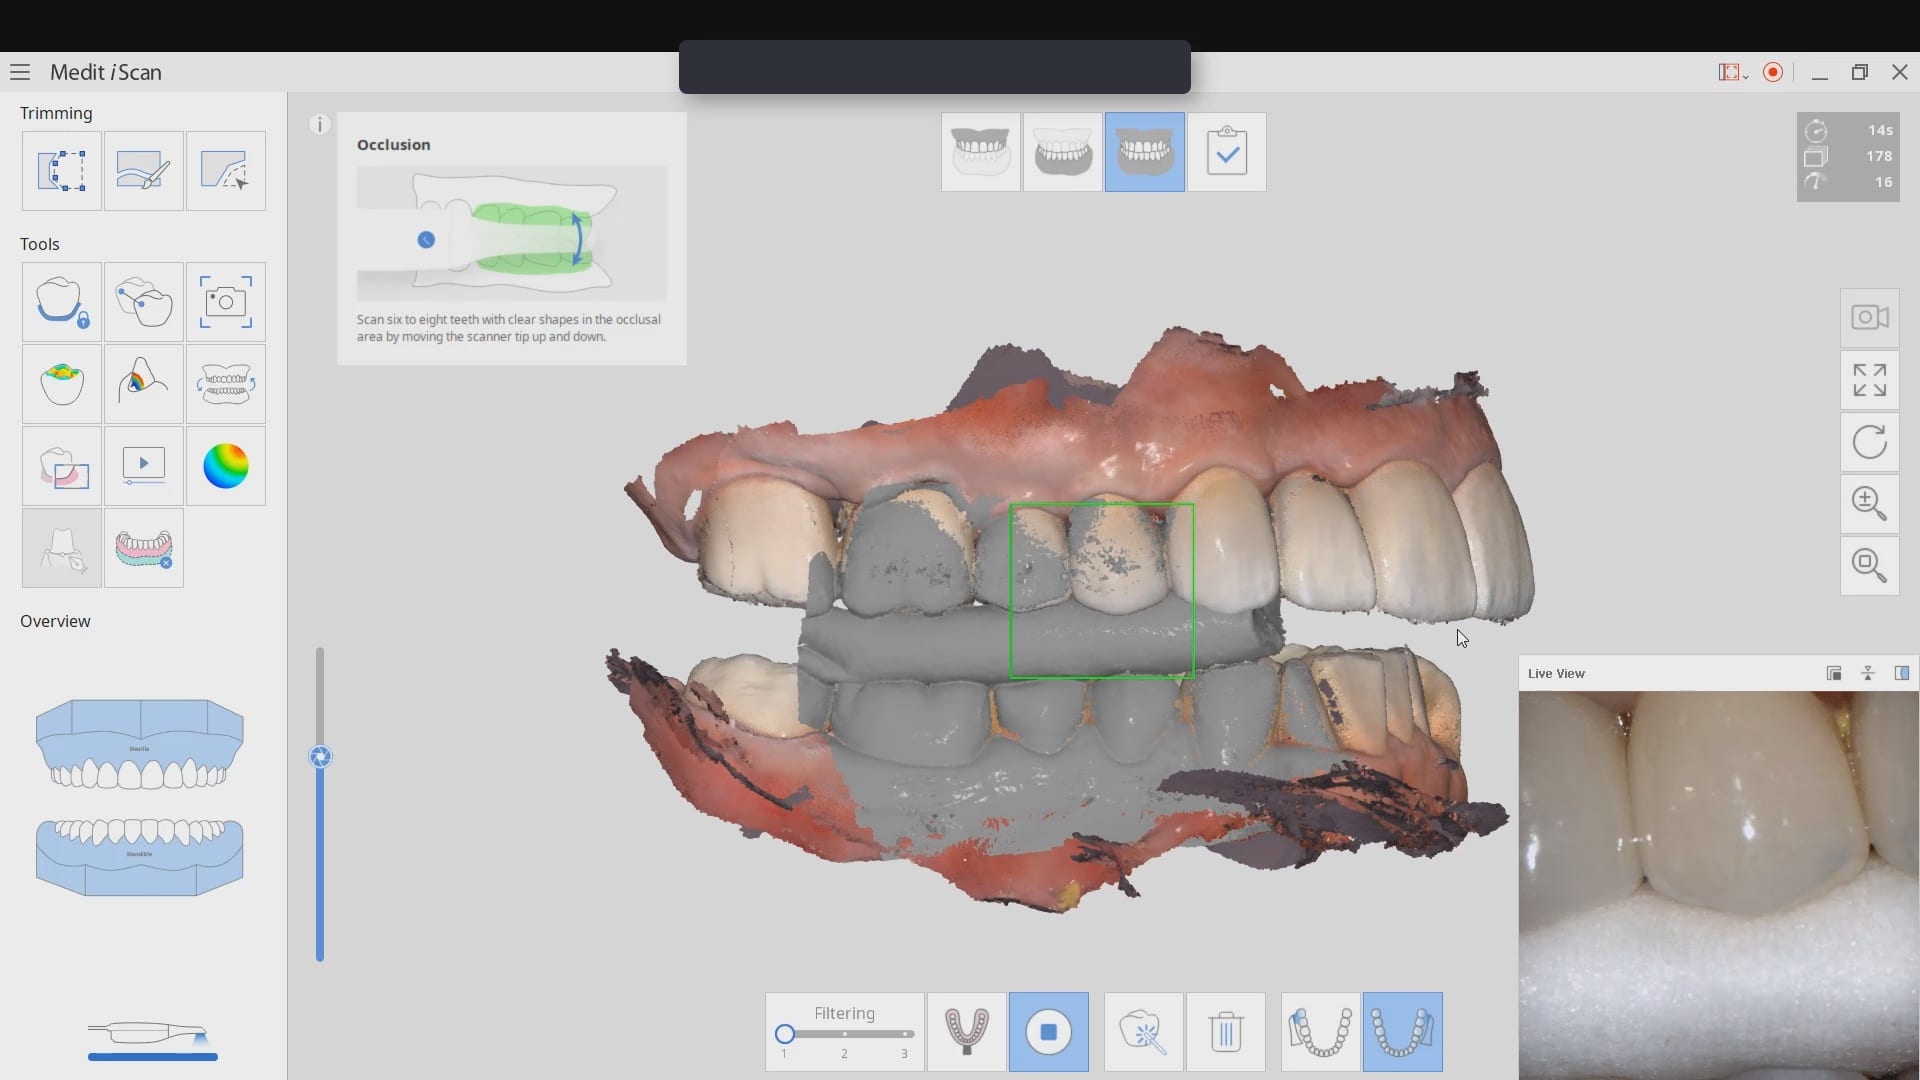


Most Intra-Oral Scanners take time to process the models after you capture them. We highly recommend that you take advantage of the time it takes the patient to get numb. In the first video, you will see how the upper arch, the lower arch, and the buccal bite are taken in real time. There is no editing done and you can see the scan time in the upper left corner. Once you hit save, the software will “clean up” the data and remove artifact and render clean models. As it is saving, you can start your preparation after proper isolation and retraction. Here, the optragate was used in conjunction with the Isolite.
[videopress nAf3CNq6 permalink=”false” hd=”true”]
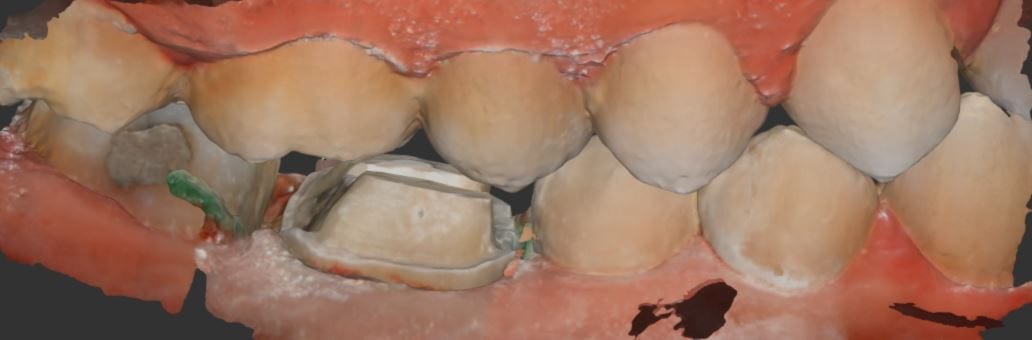
Once the preparation is finished and the tissue is retracted, you can bring the model back to the appropriate scan stage, edit out the area that was modified and the rescan just the area that has been altered. In this video, you can see how just the prepared tooth fills the cropped model. Once finished, when you hit save, there is little processing left for the software to do.
[videopress 40J5lqGx permalink=”false” hd=”true”]