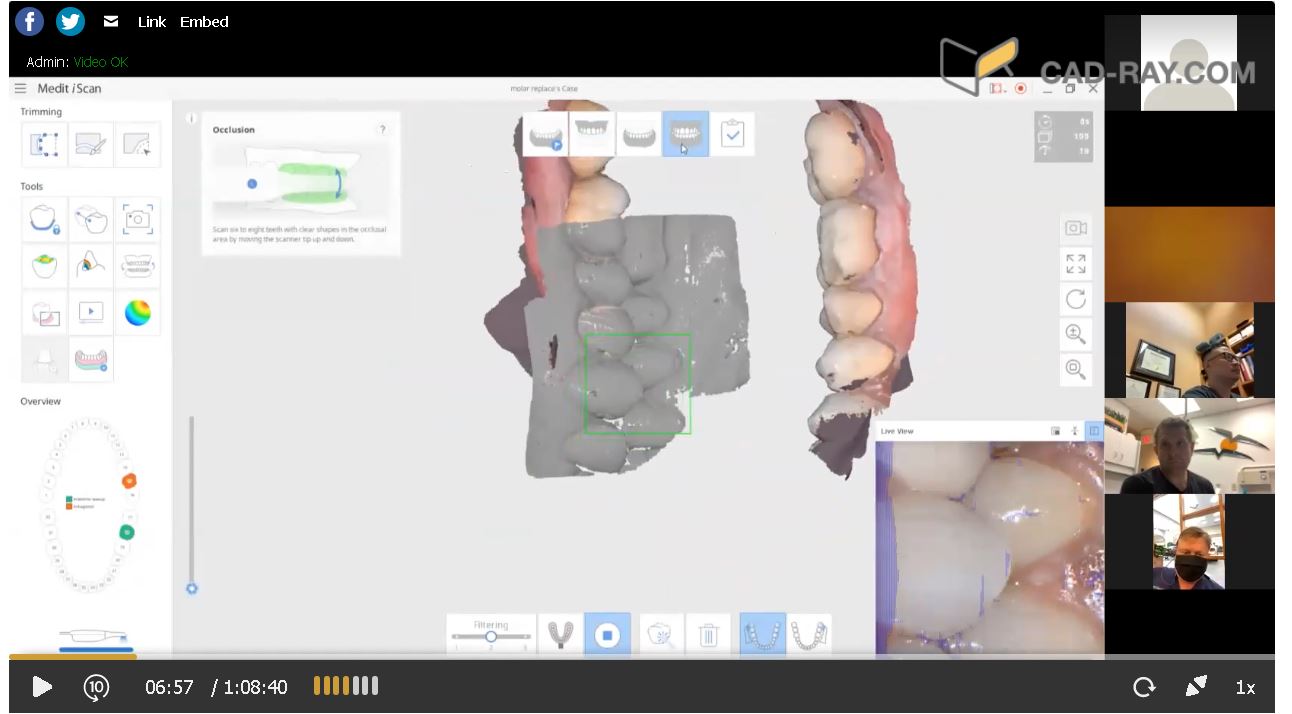
To see this case presented in webinar fashion click on the image and enter the members area for much greater detail and information
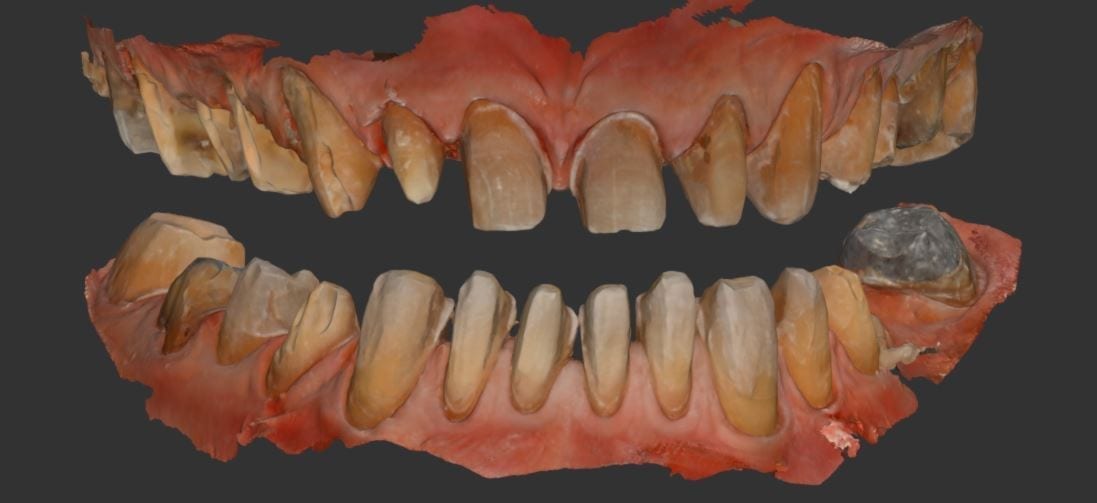
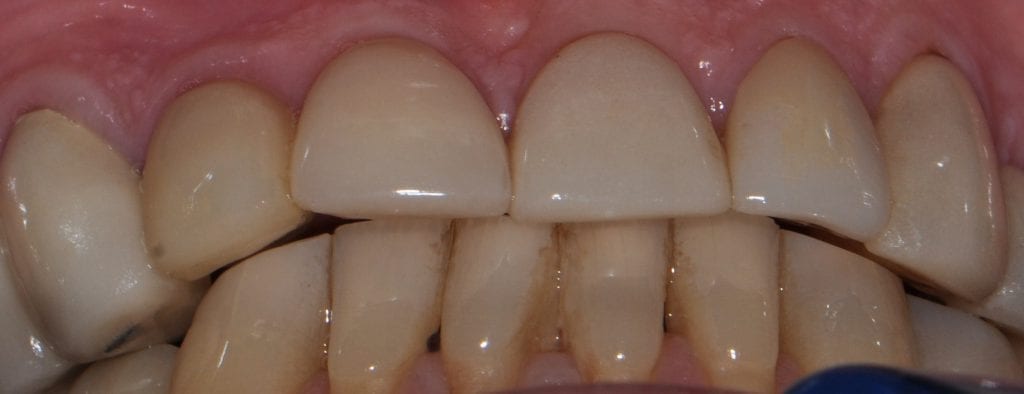
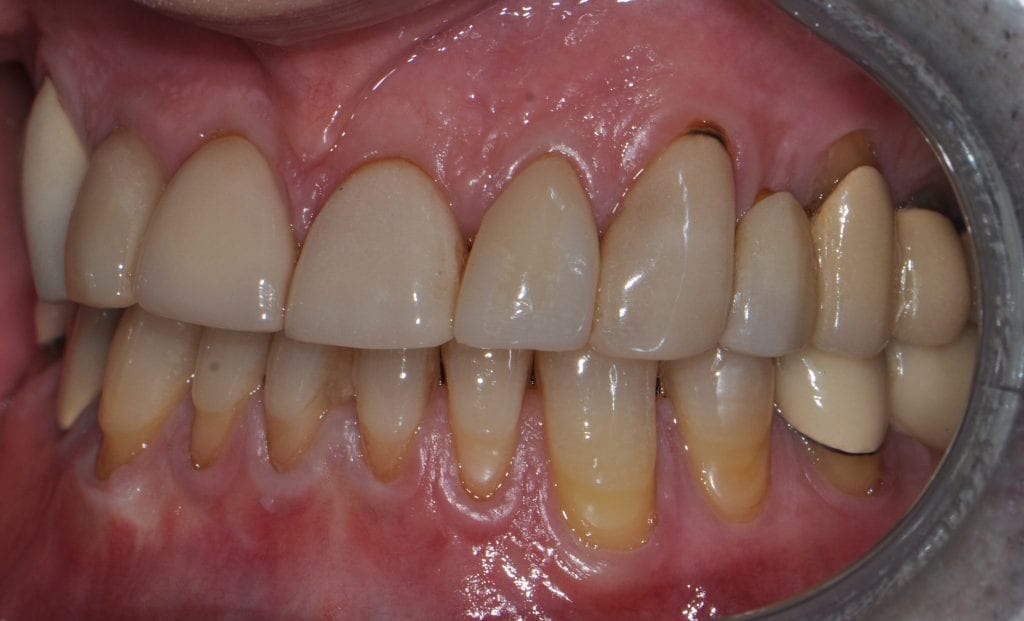
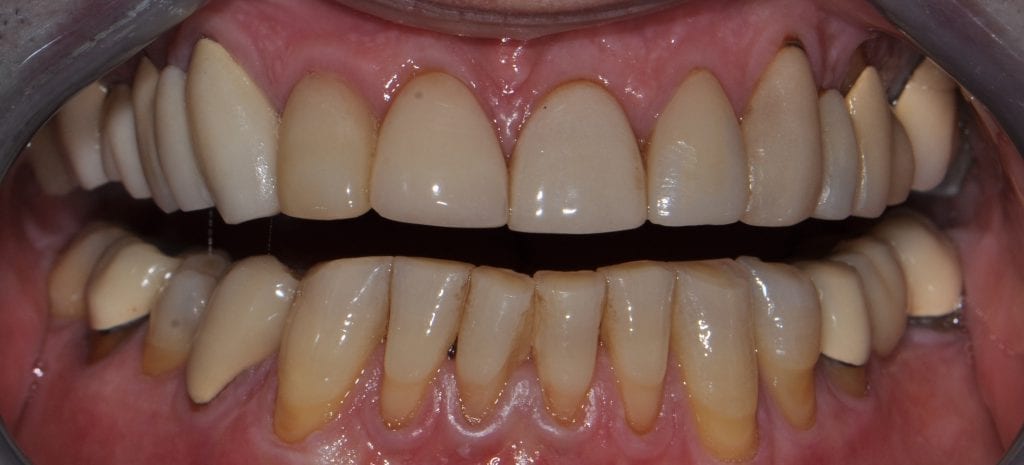
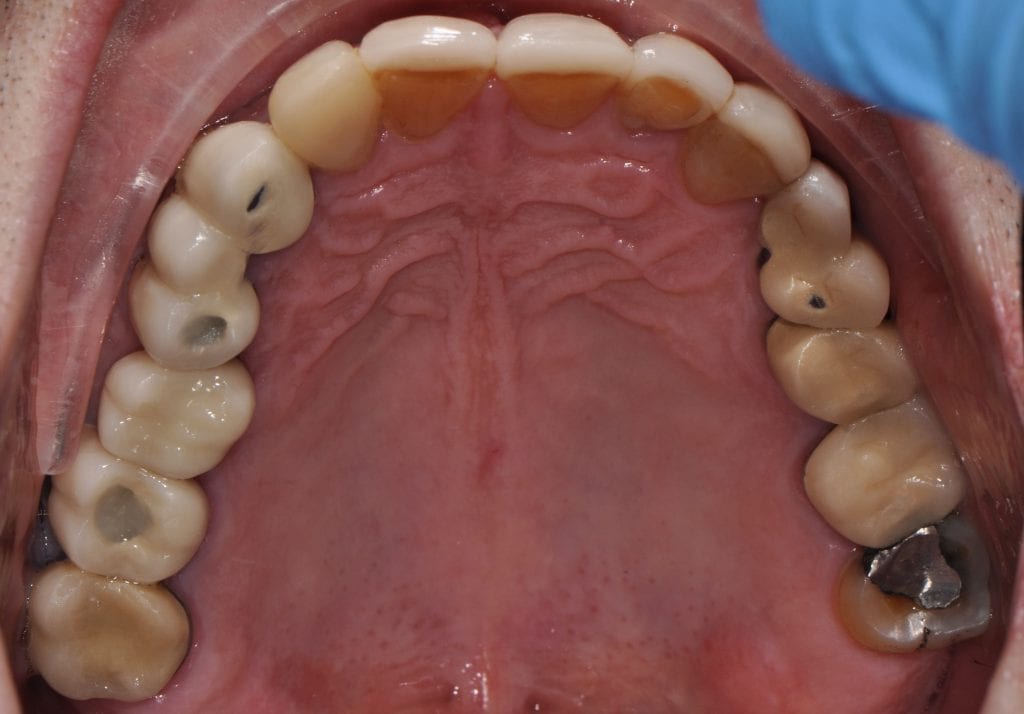
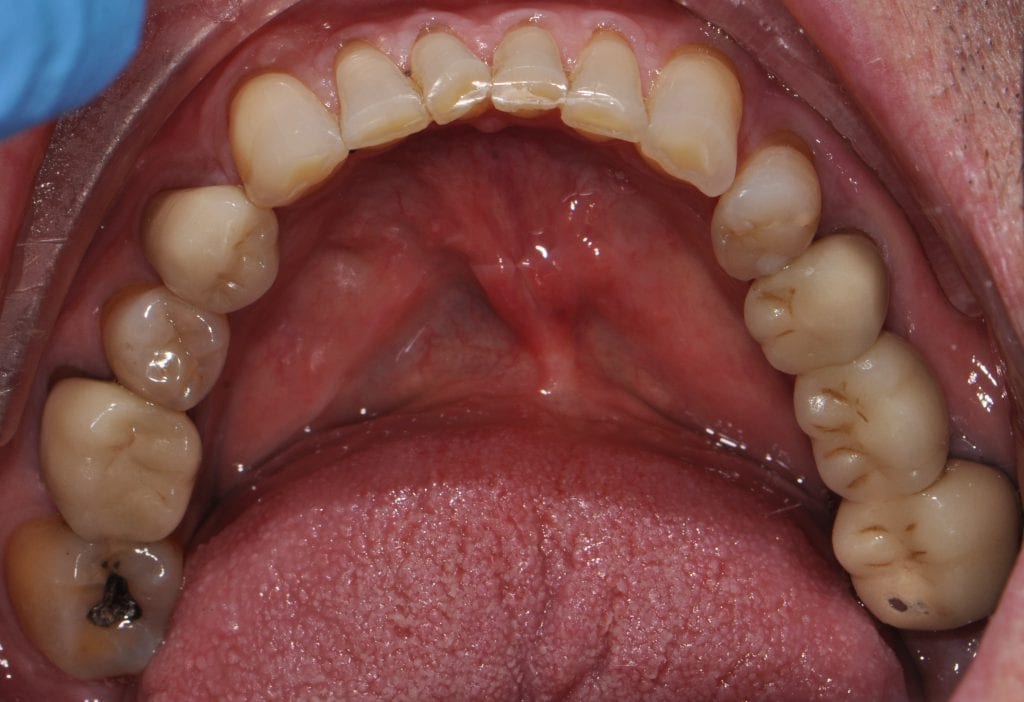
Pre-existing restorations that warranted replacement with an increase in vertical dimension.
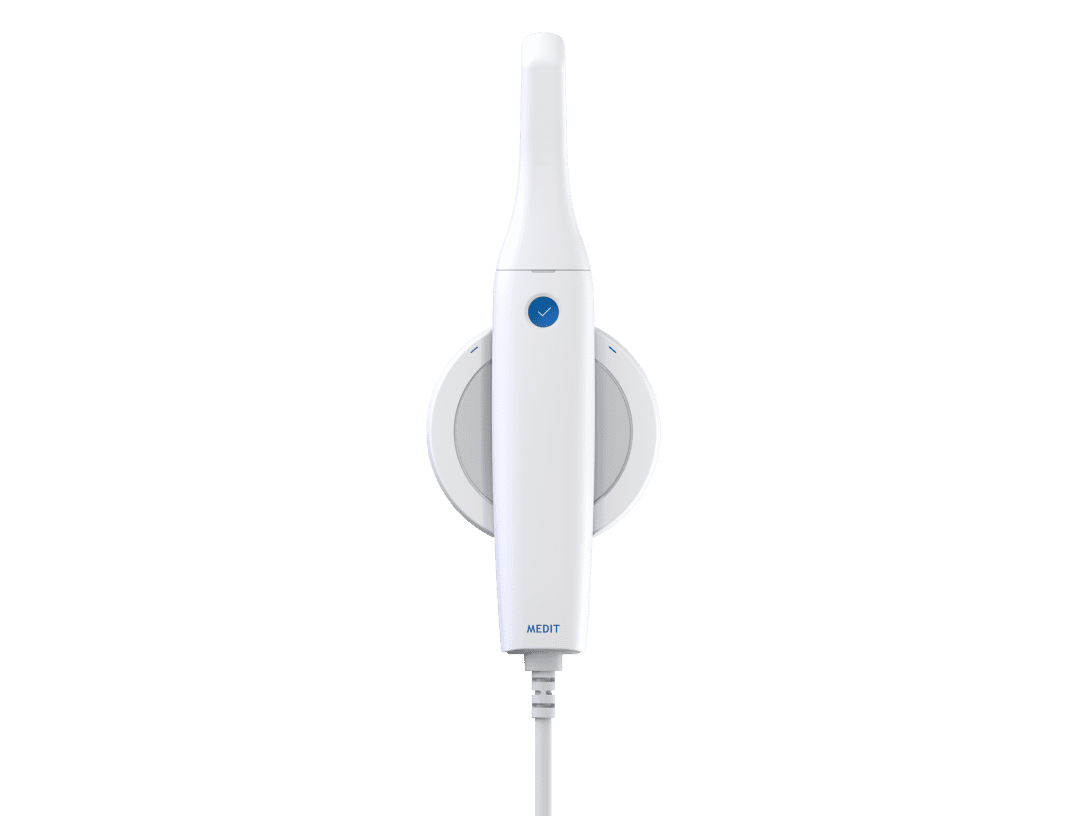
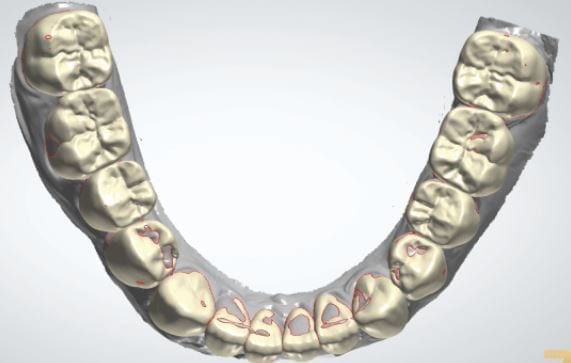
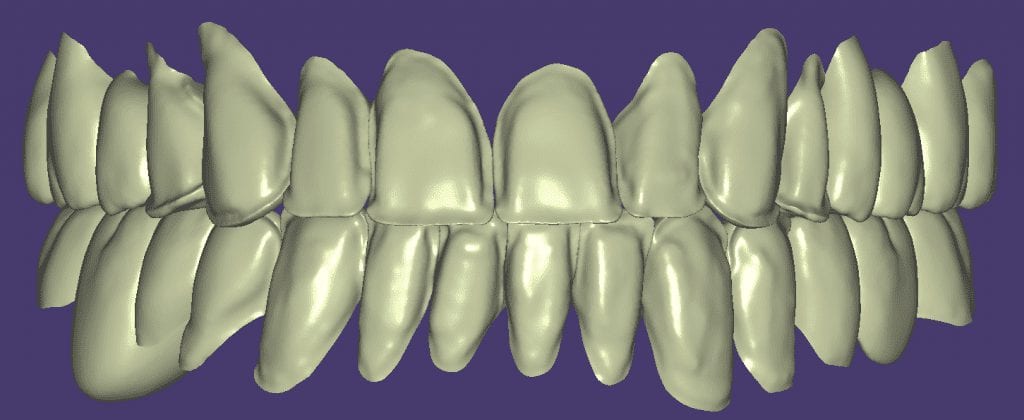
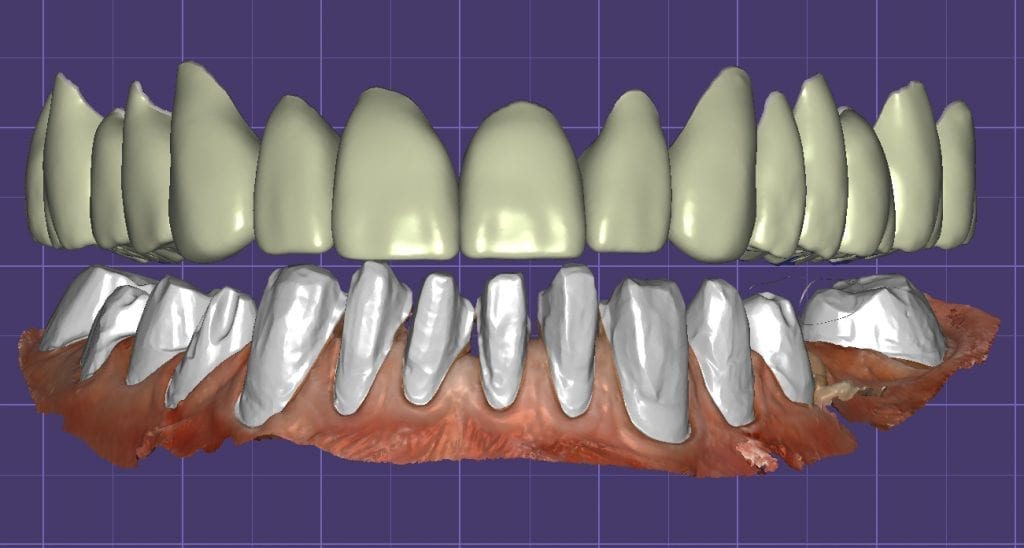
Pre-existing restorations that warranted replacement with an increase in vertical dimension. The upper and lower arch were captured with the medit I500 and articulated together with enough clearance to accommodate new restorations and to restore the patient to an ideal tooth position.
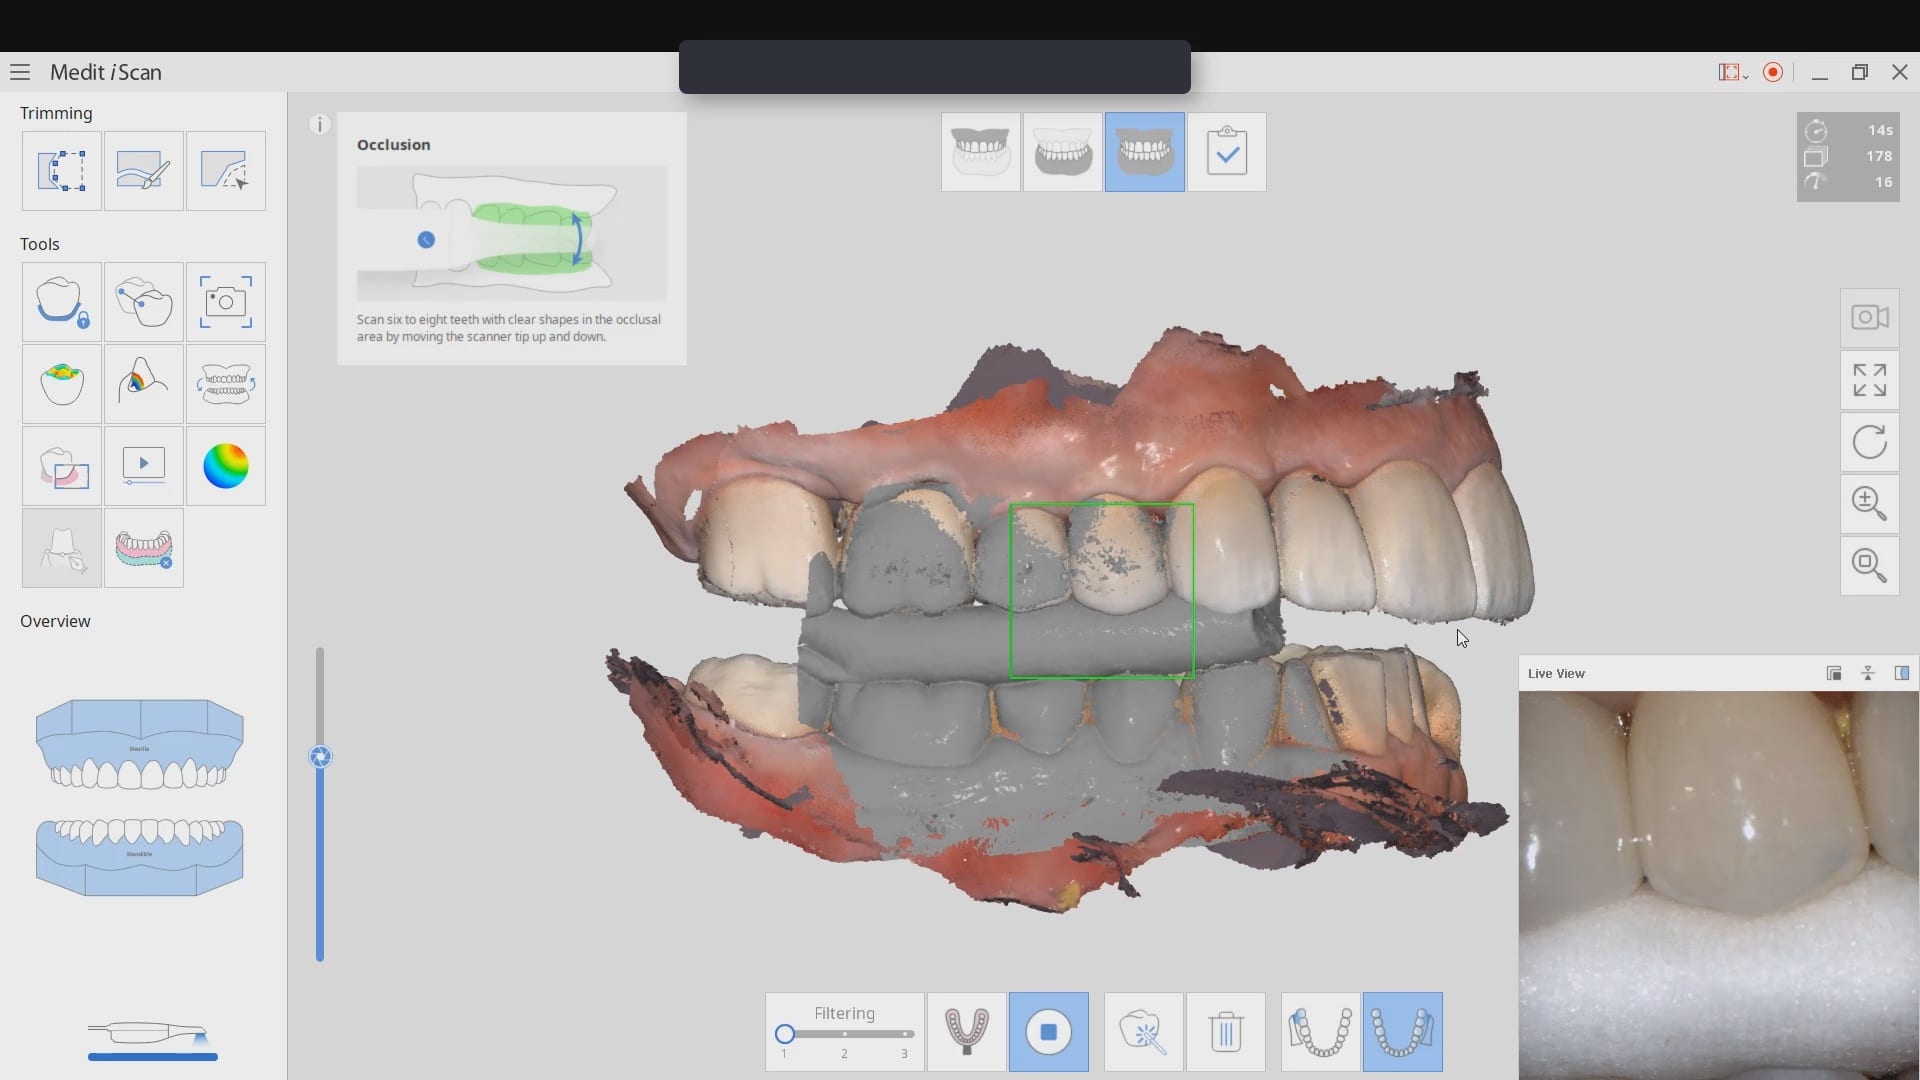
This video shows how the vertical dimension was captured with cotton rolls blocking out the tongue and the dark oro-pharynx, which usually spell trouble for an IOS
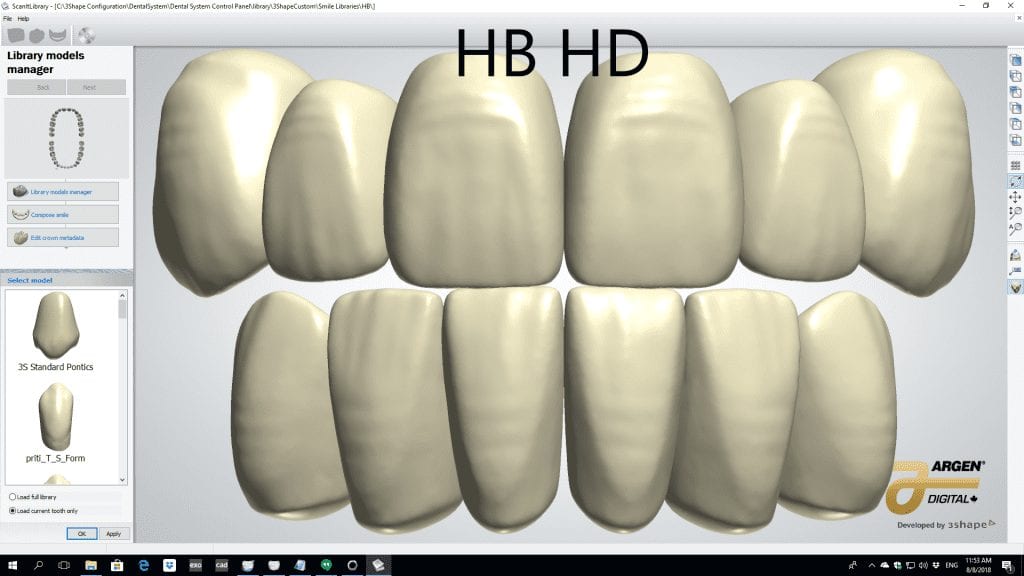
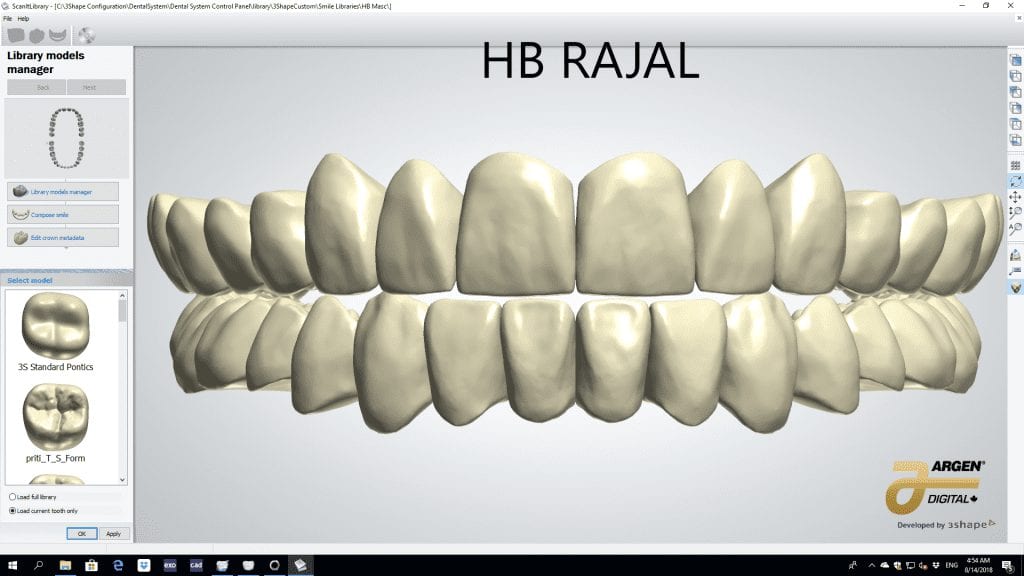
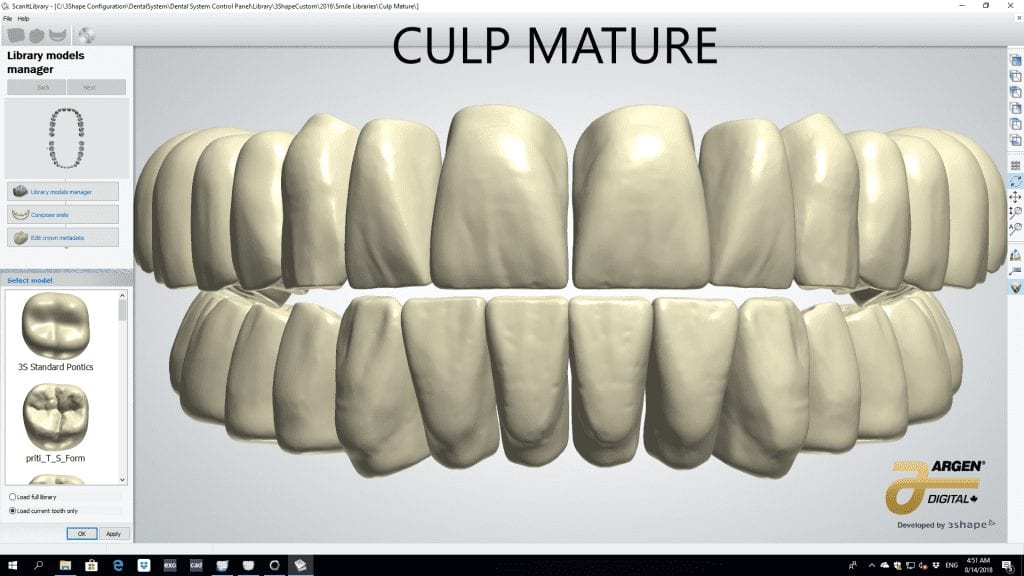
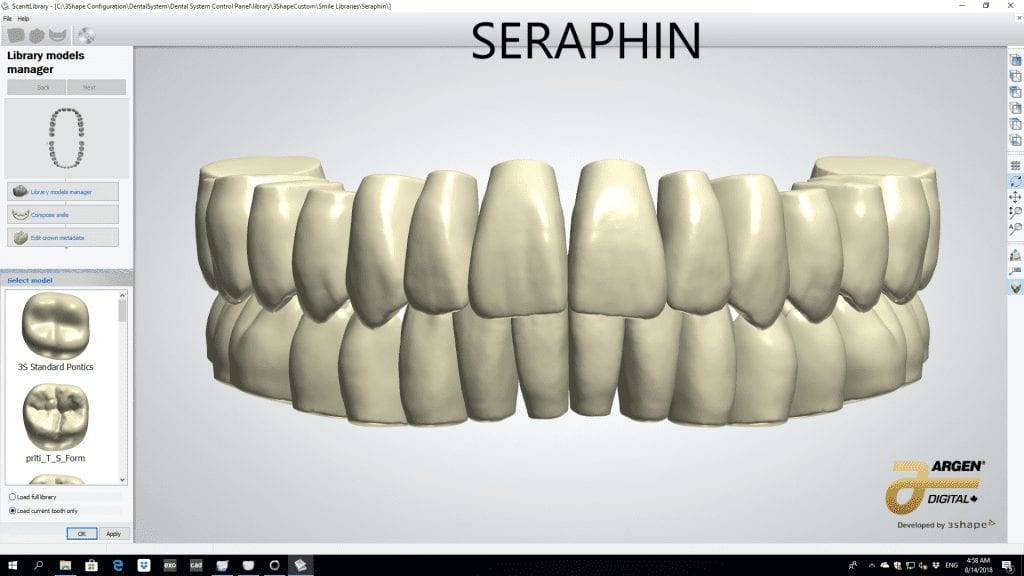
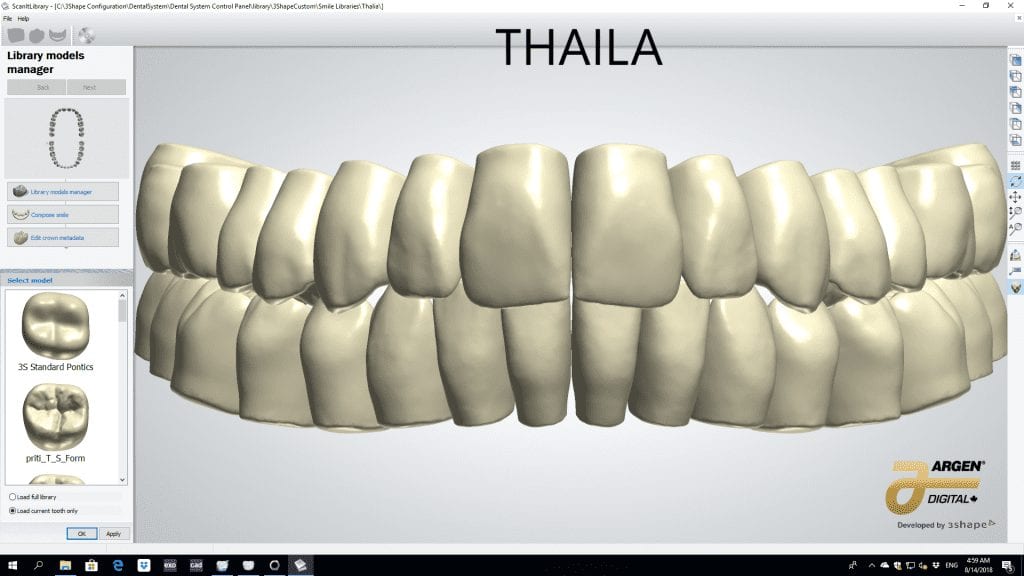
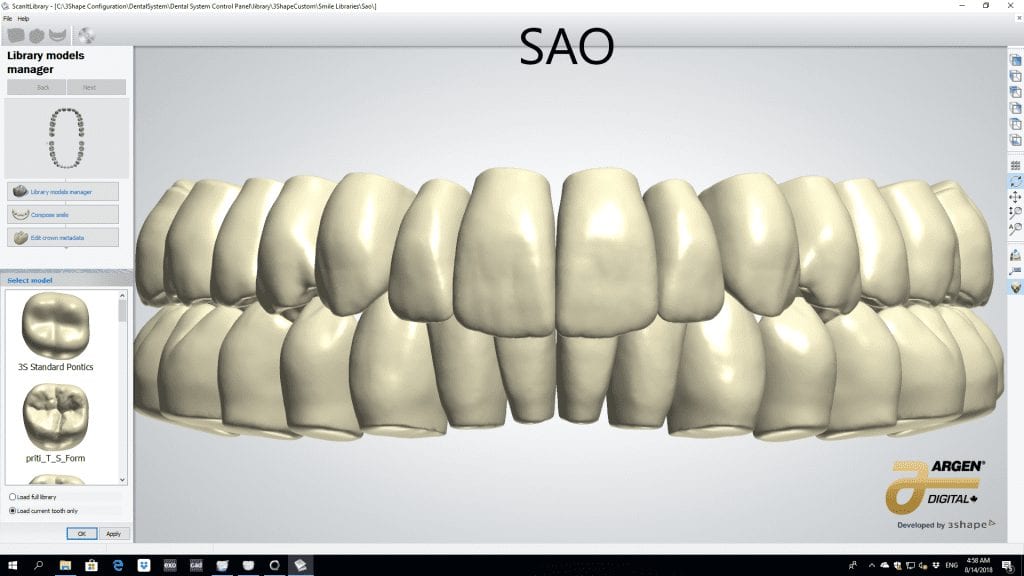
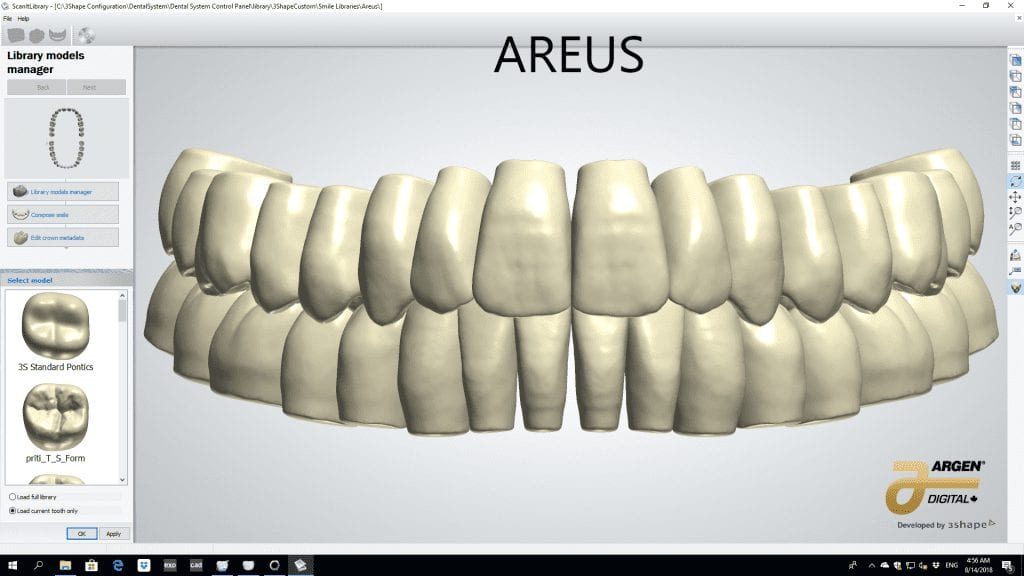
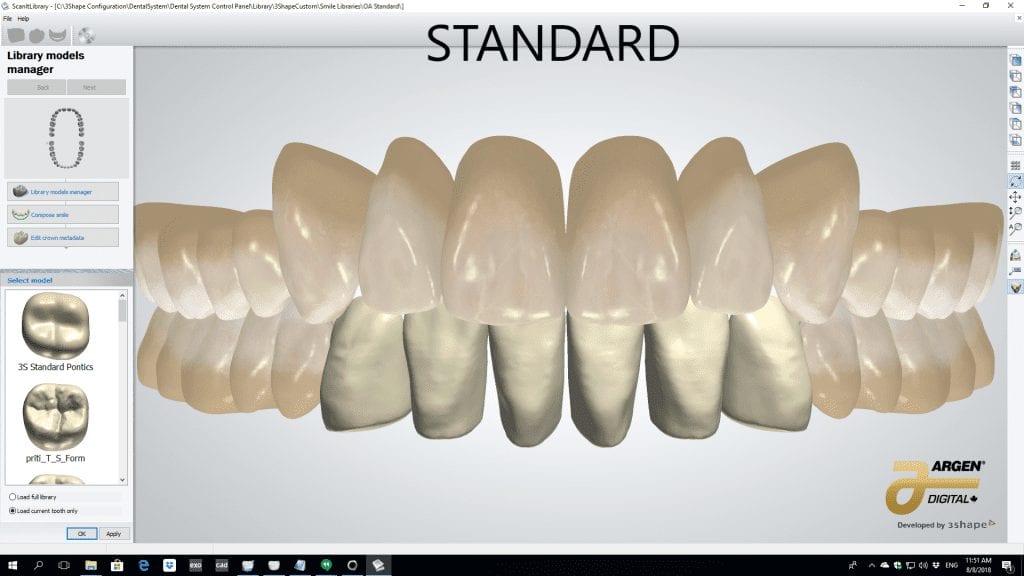
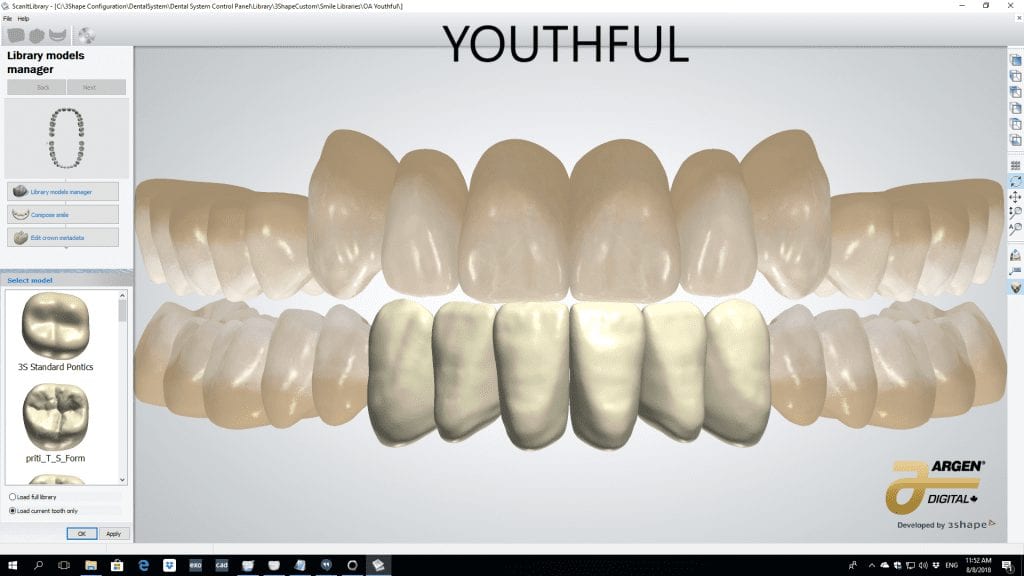
The digital models were then imported into a third party software where a library of tooth morphologies are available for the clinician to choose from.
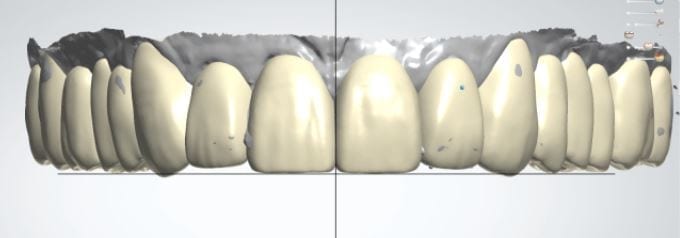
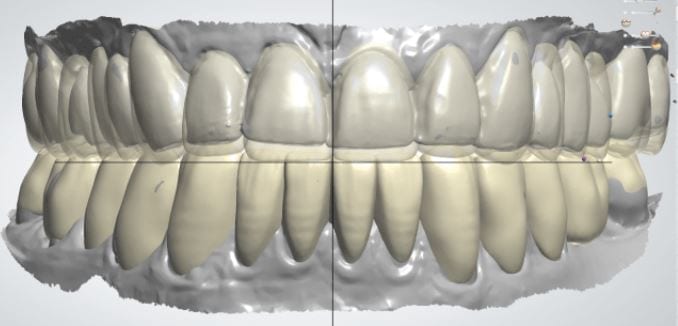
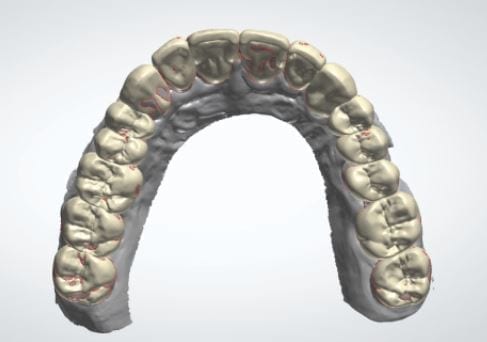
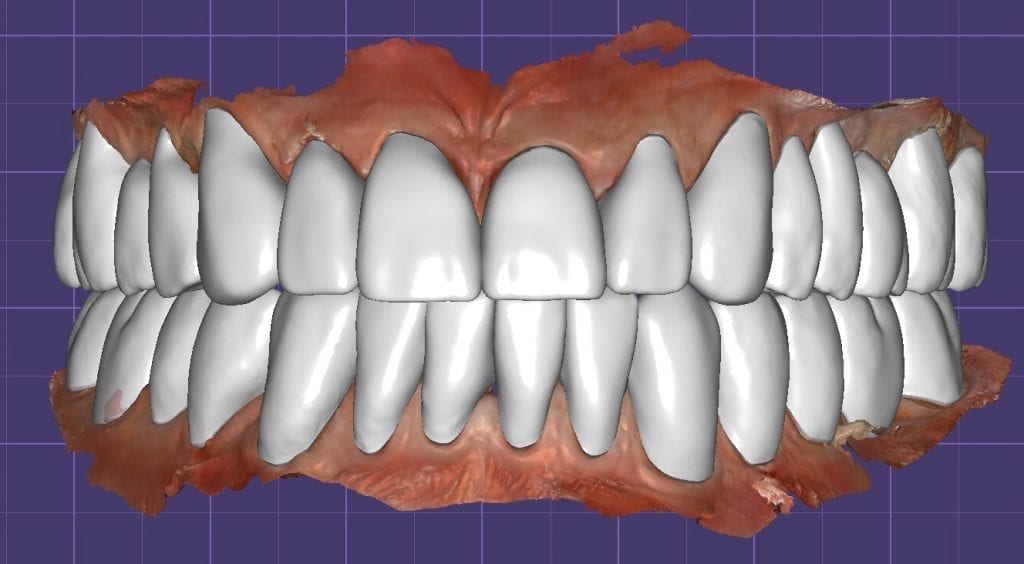
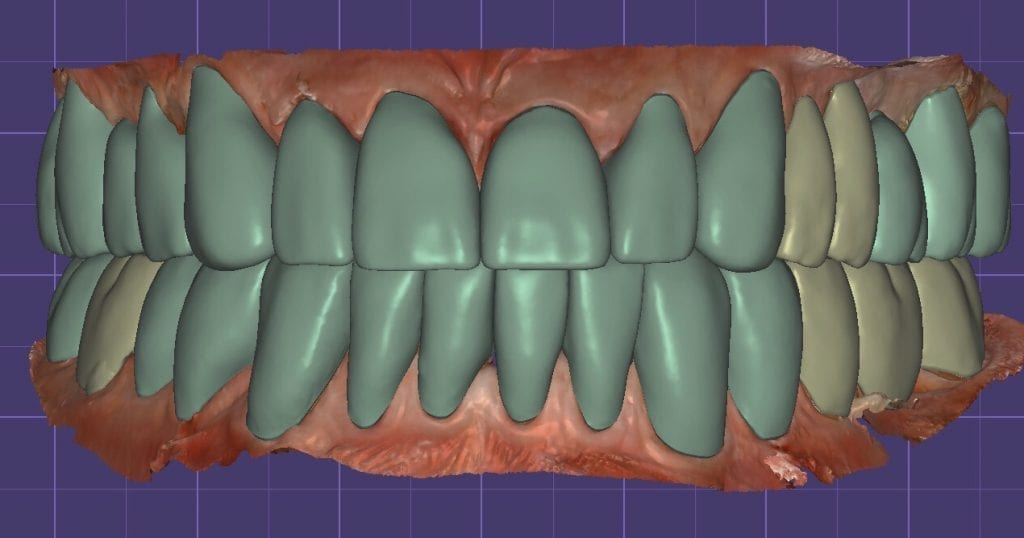
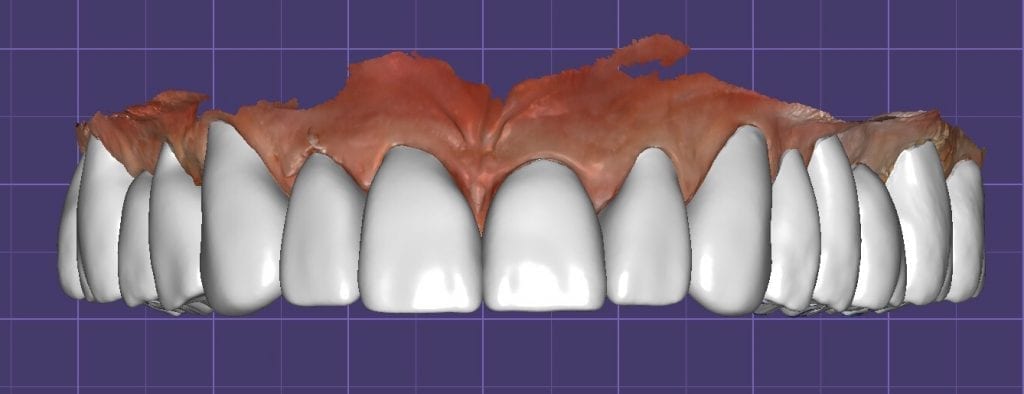
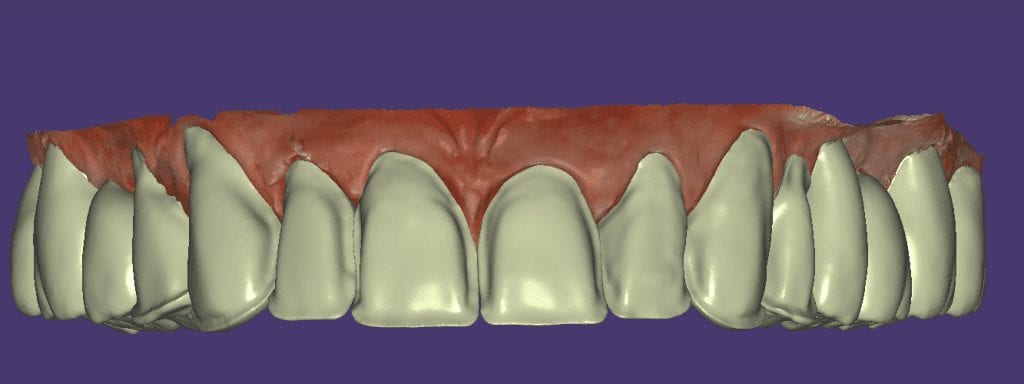
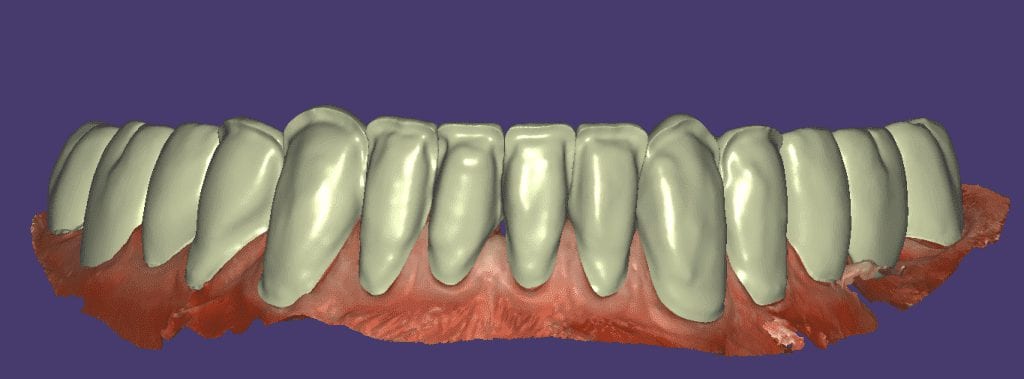
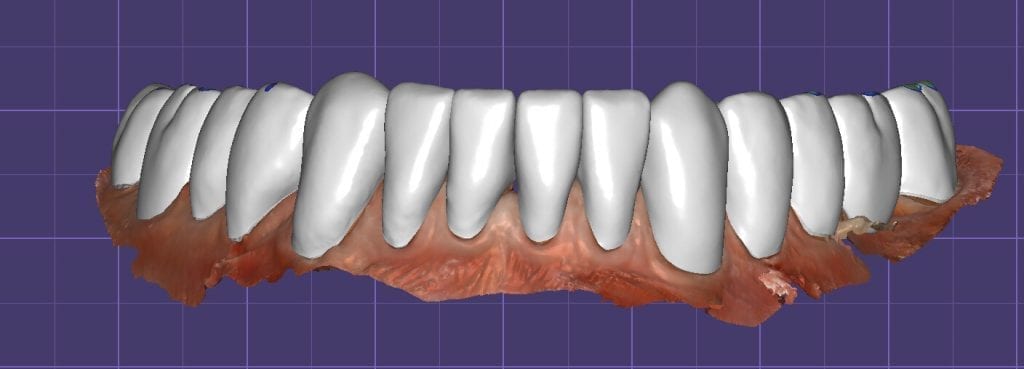
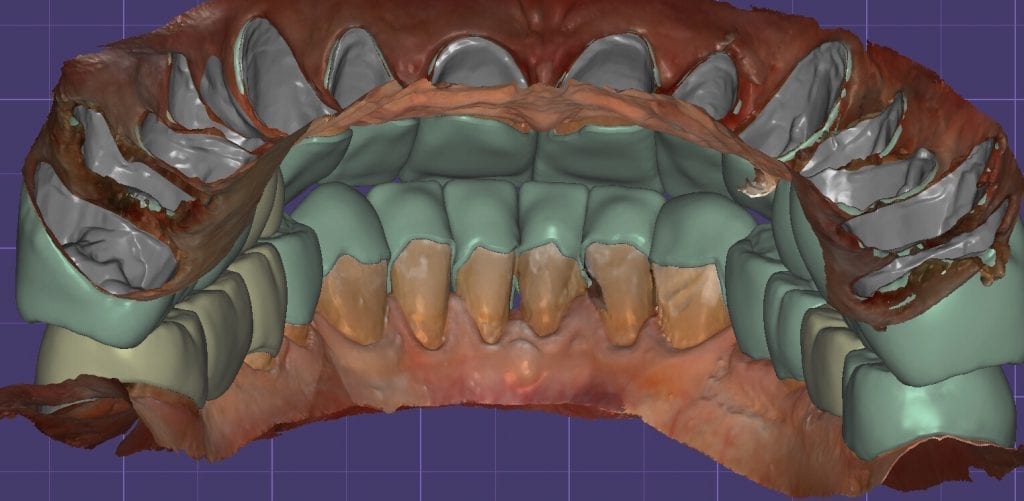
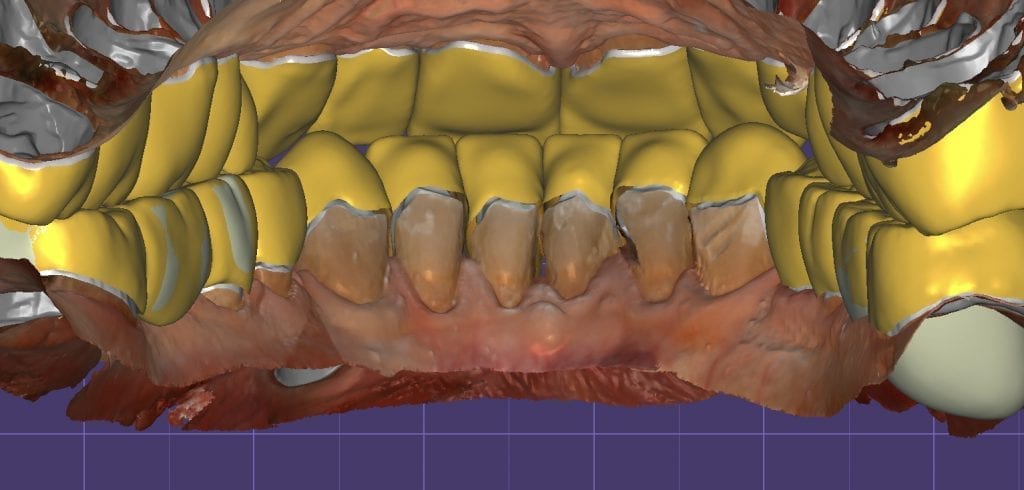
Once the appropriate library is chosen, the digital wax ups are performed. In the subsequent photos you can see the transparent overlay of the wax-ups to the original position of the existing dentition
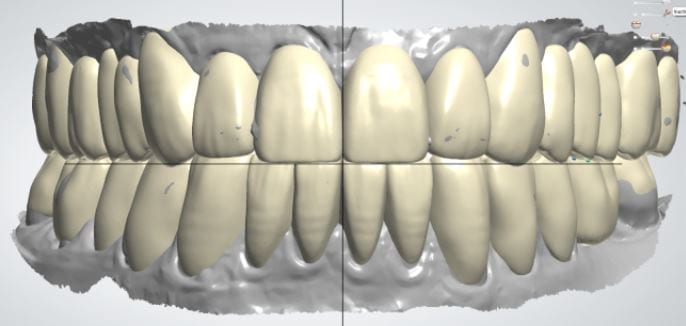
Once the case is designed to the ideal vertical dimension then multiple shells can be fabricated for treatment. The wax up model can be uniformly reduced by .5mmm’s circumferentially and a temporary shell can be designed. Once the teeth are prepared, these shells can be relined and seated onto the preps.
PREP AND TEMPS
How was this done? Watch this video of how the case was imaged over a 4 hour time span in multiple segments
FIRST VERTICAL DIMENSION
The initial vertical dimension was greater than desired and the tooth shape was too bulky in appearance.
ADJUSTED TEMPORARIES AND NEW VERTICAL DIMENSION
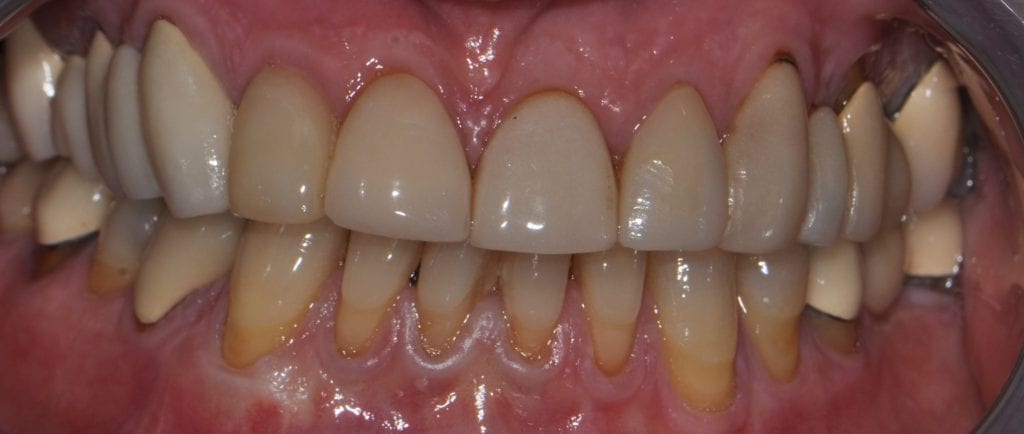
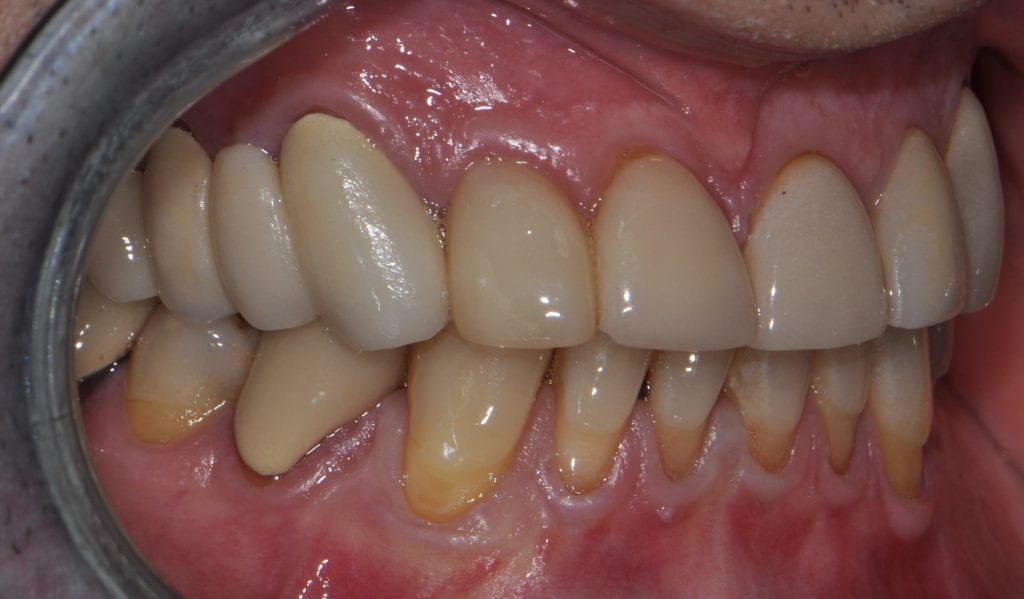
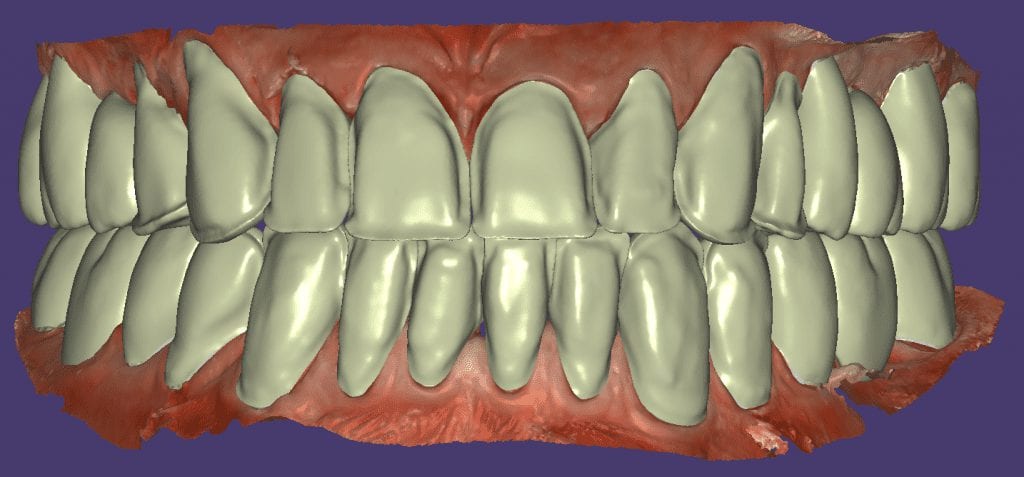
Over the course of a few appointments, the vertical dimension was reduced and the temporaries were adjusted to the patient’s desires. The new upper and lower arch were captured with the Medit i500 and the jaws were related to each other.
This was then imported into exocad where the prepped arches from a few weeks prior were force matched to the new bite
[videopress Zj7XsYG4]After the upper jaw was related to the temps, the same was done with the lower arch. Great care was taken to make sure the arches were properly related to each other throughout the process
[videopress ObPk1CAK]CASE DESIGNS
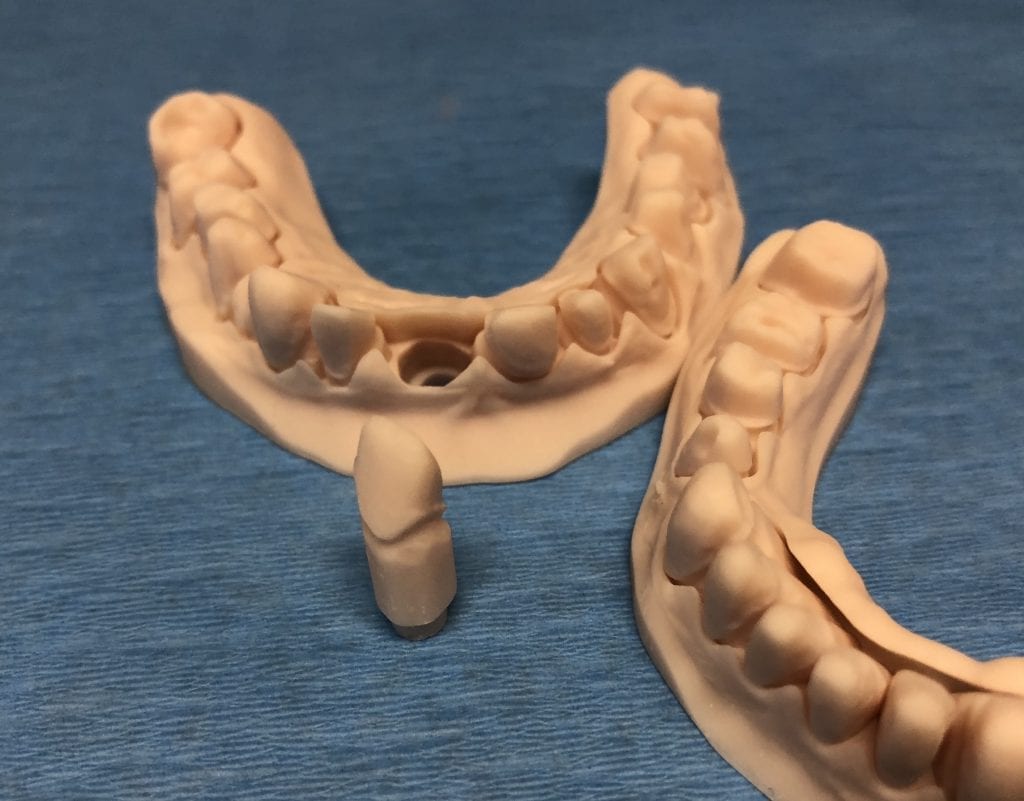
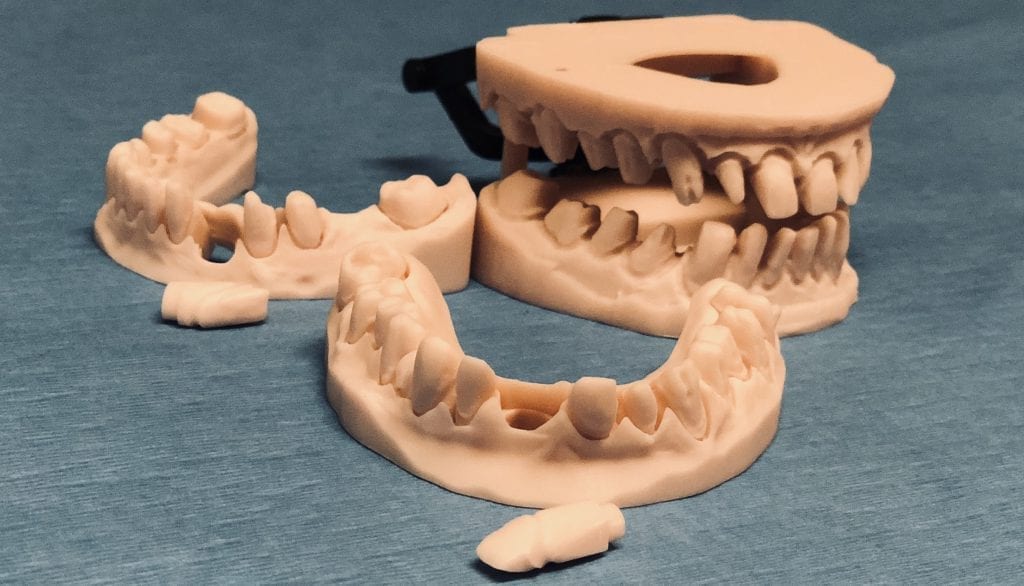
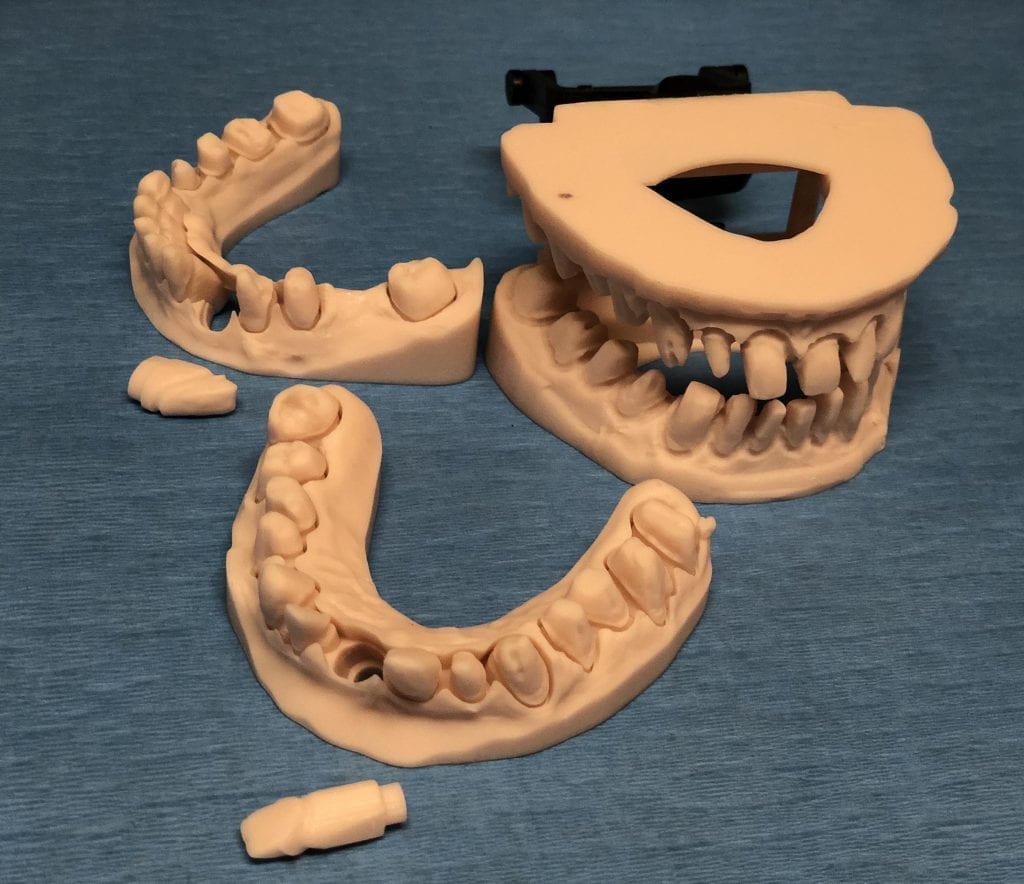
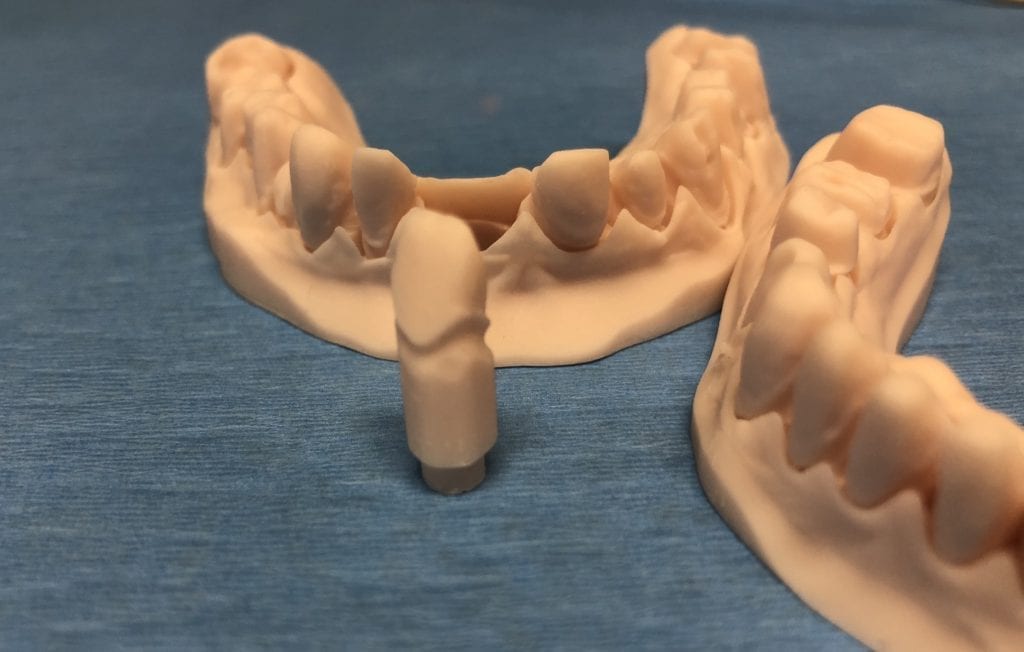
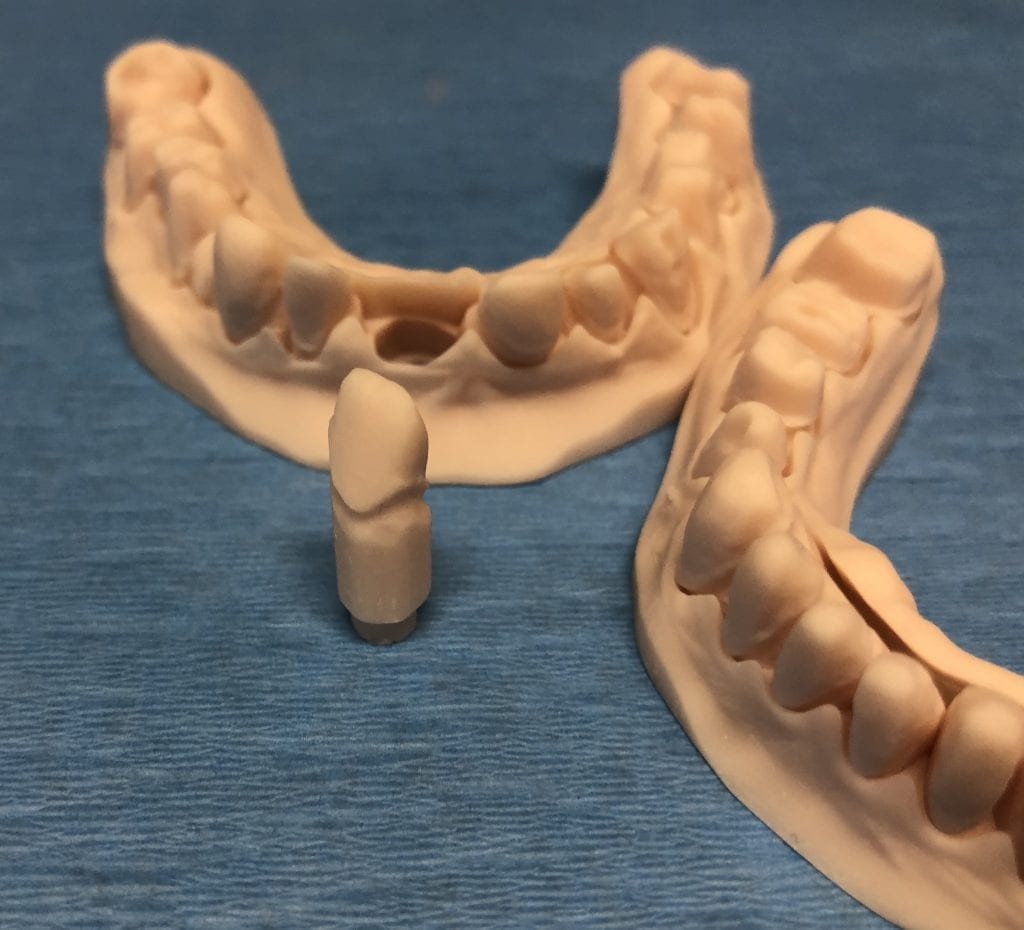
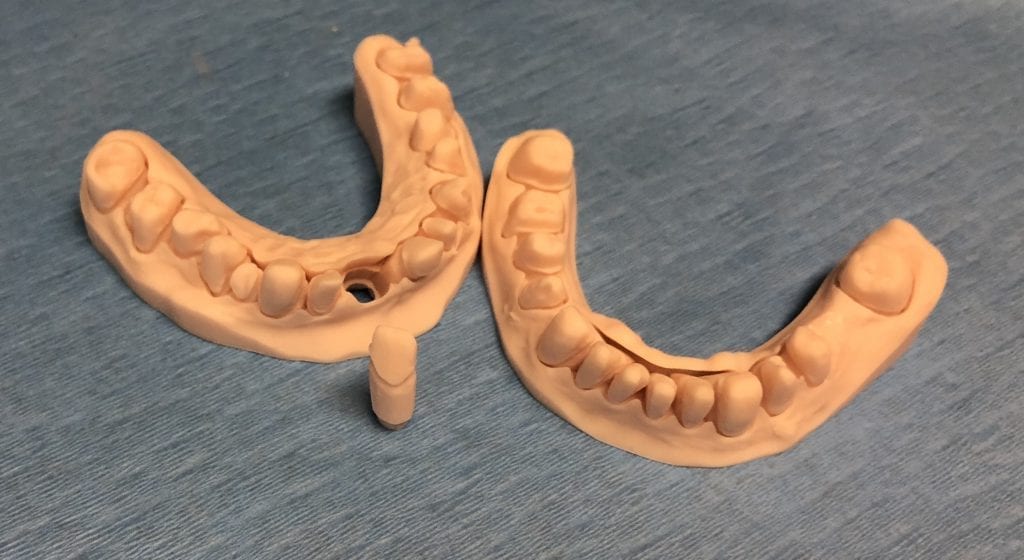
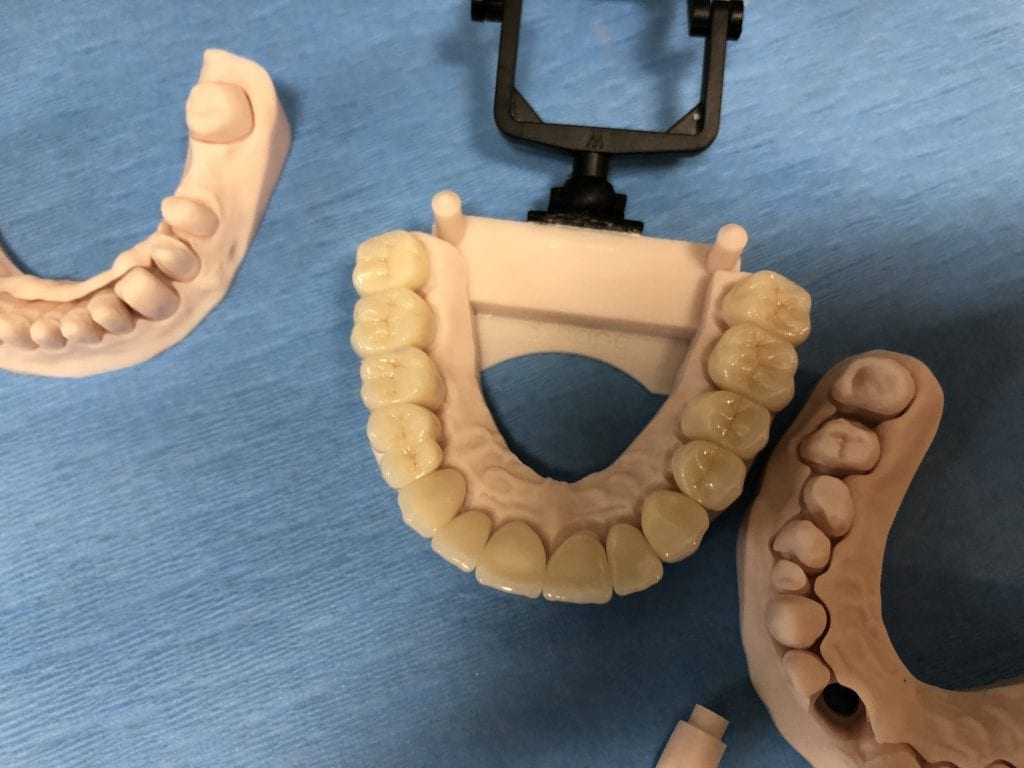
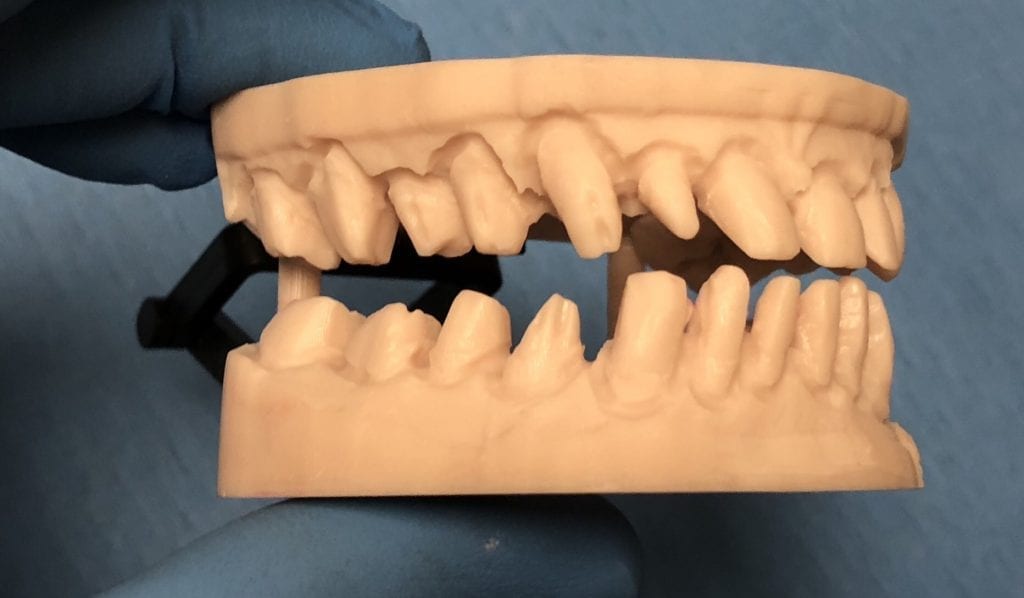
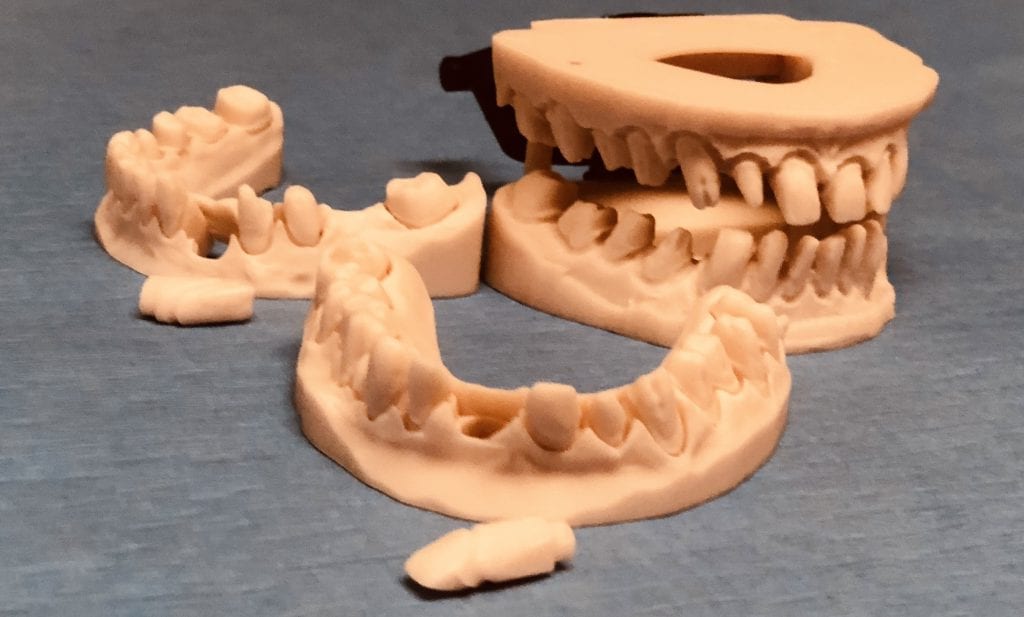
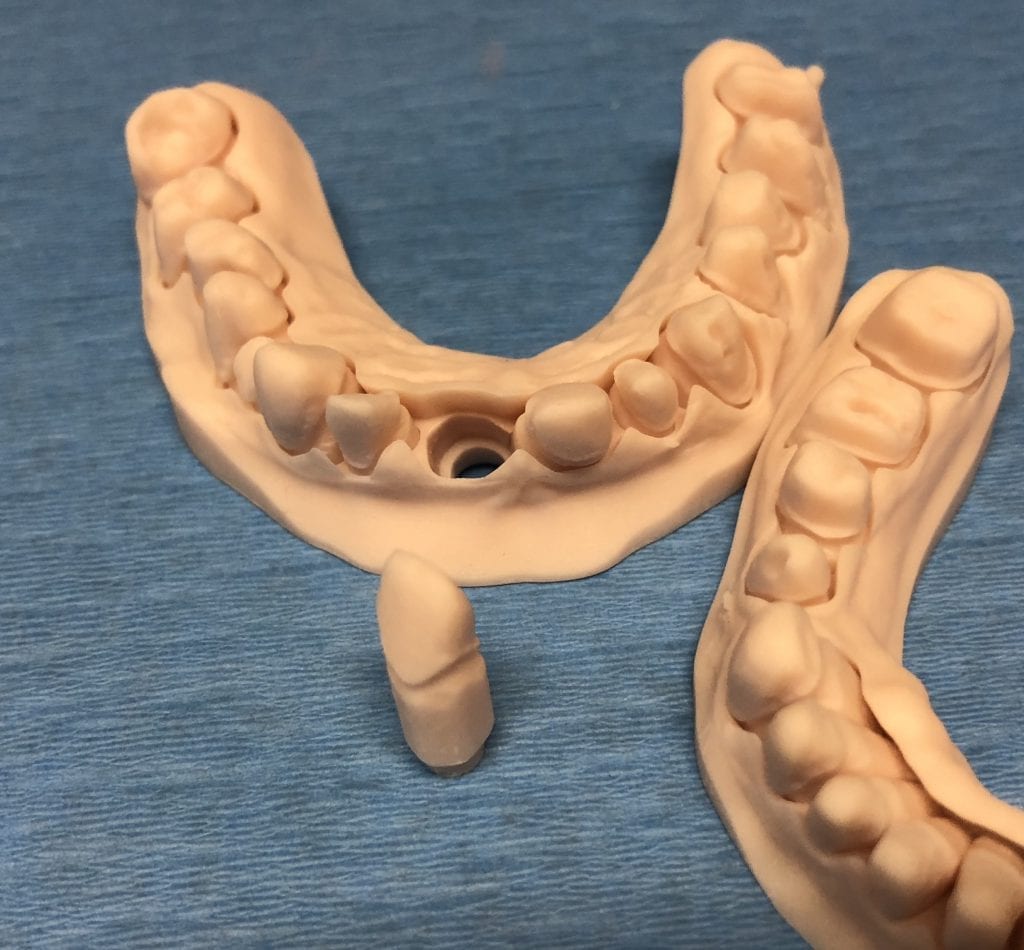
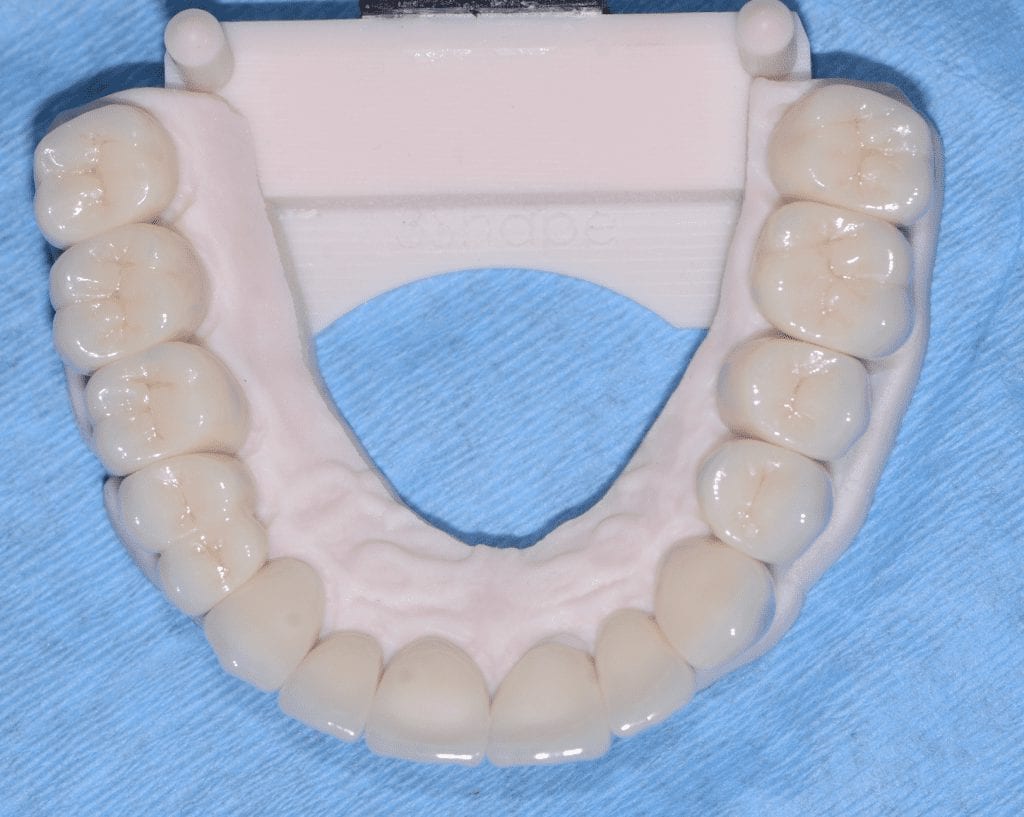
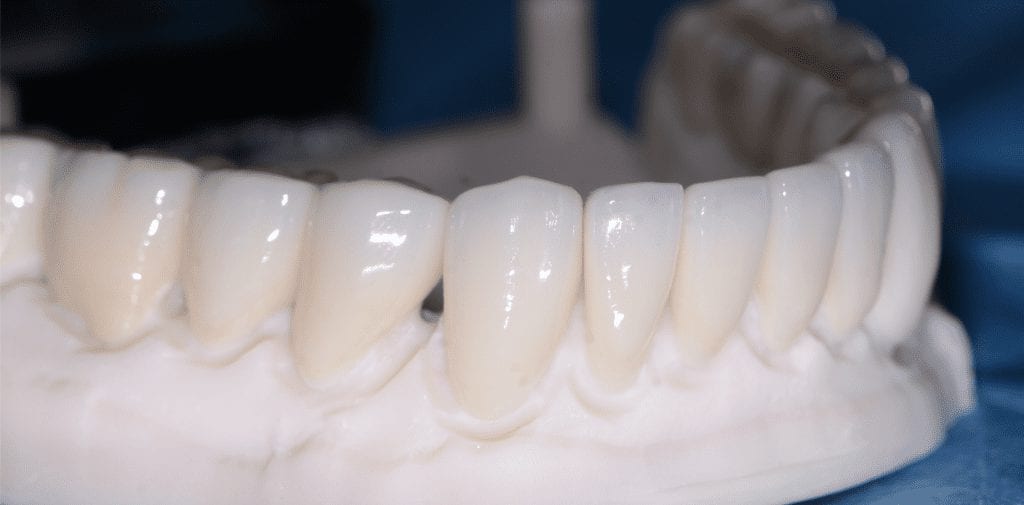
The case was designed by CADENT BESSA, and the models were printed by Burbank Dental Lab with Carbon Printers. There restorations were milled and cut back and layered by Burbank Dental Lab
IMAGES OF PRINTED MODELS
[videopress vWPj7dBI permalink=”false” hd=”true” loop=”true” autoplay=”true”]
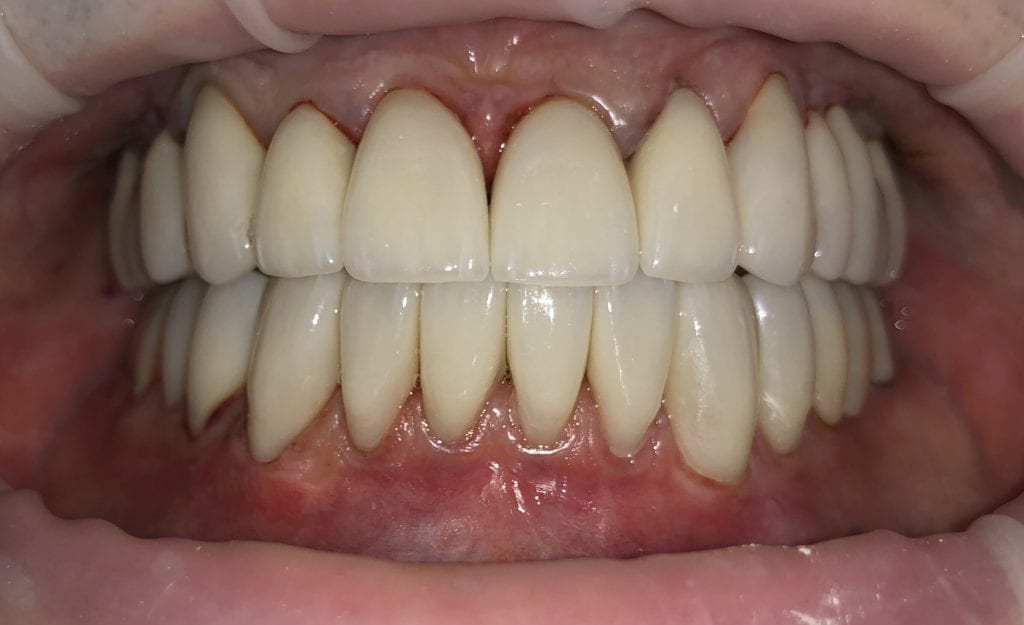
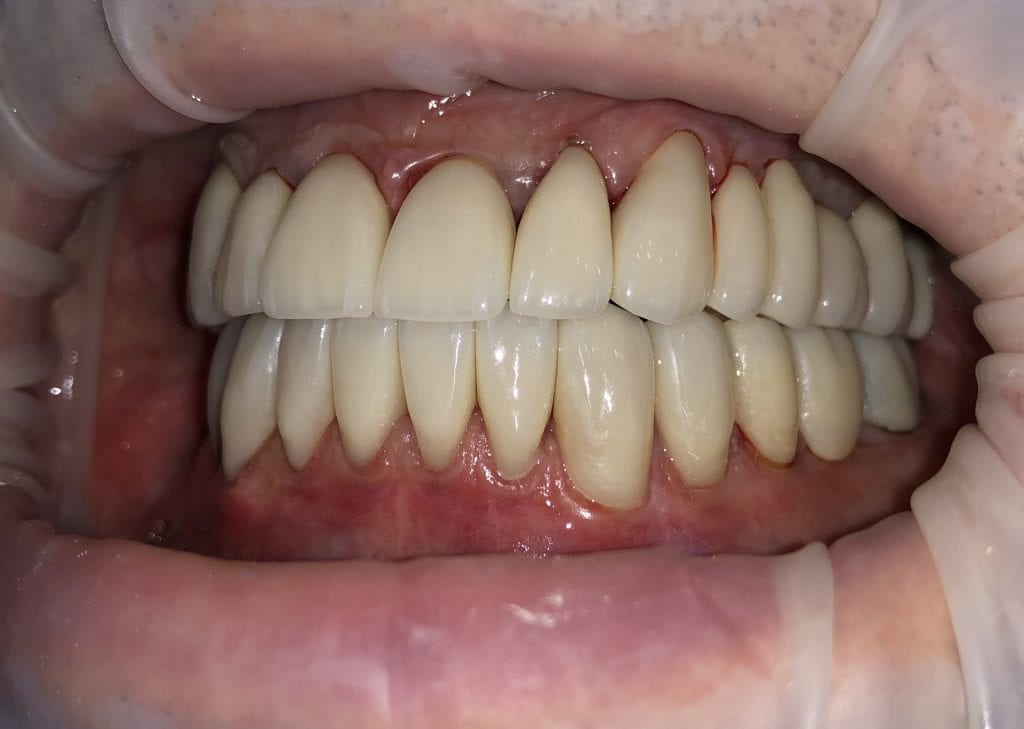
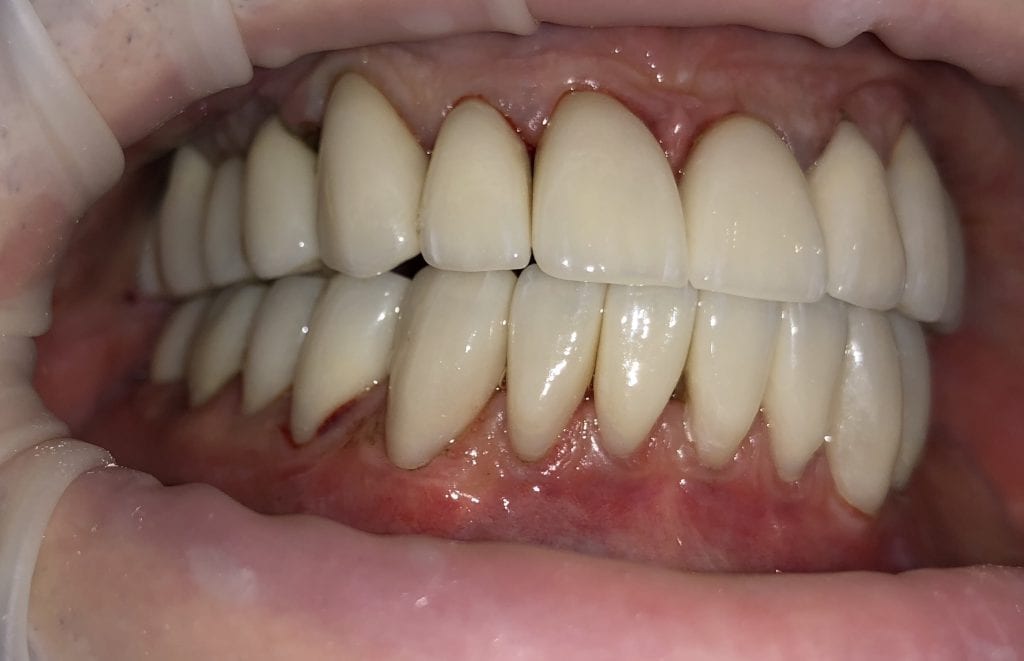
IMMEDIATE POST-OP PHOTOS AND VIDEO WITH IPHONE CAMERA
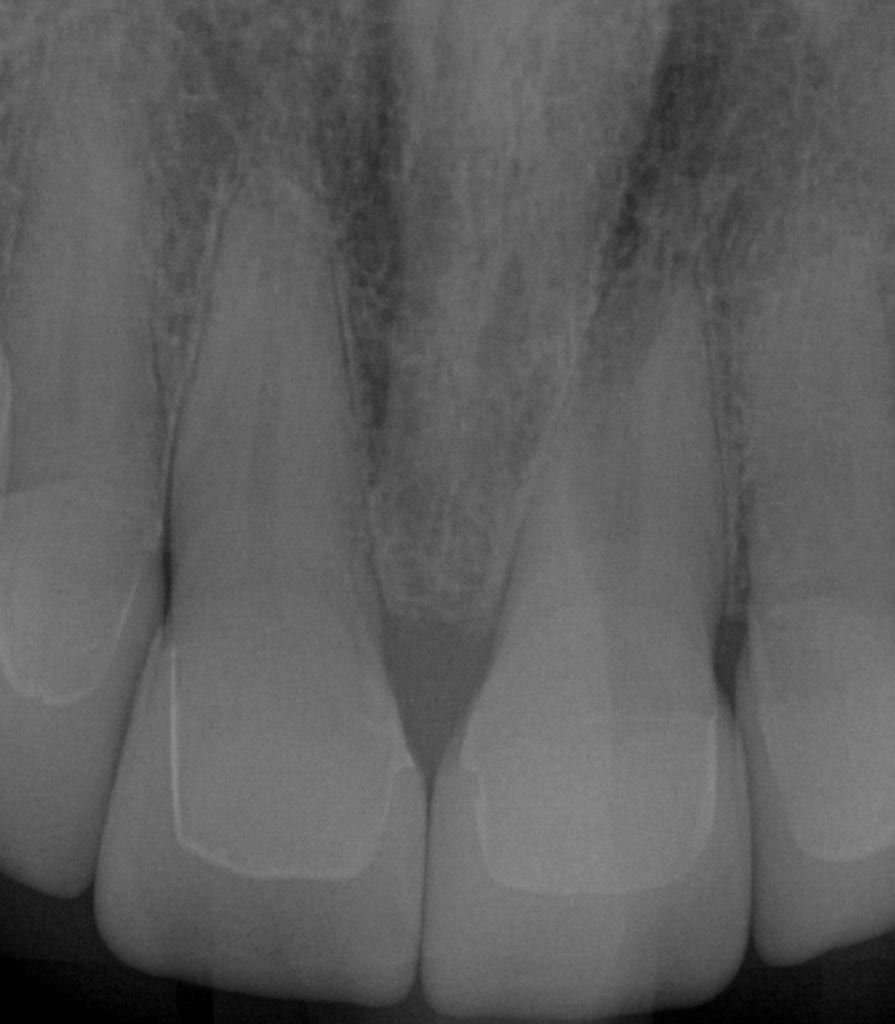
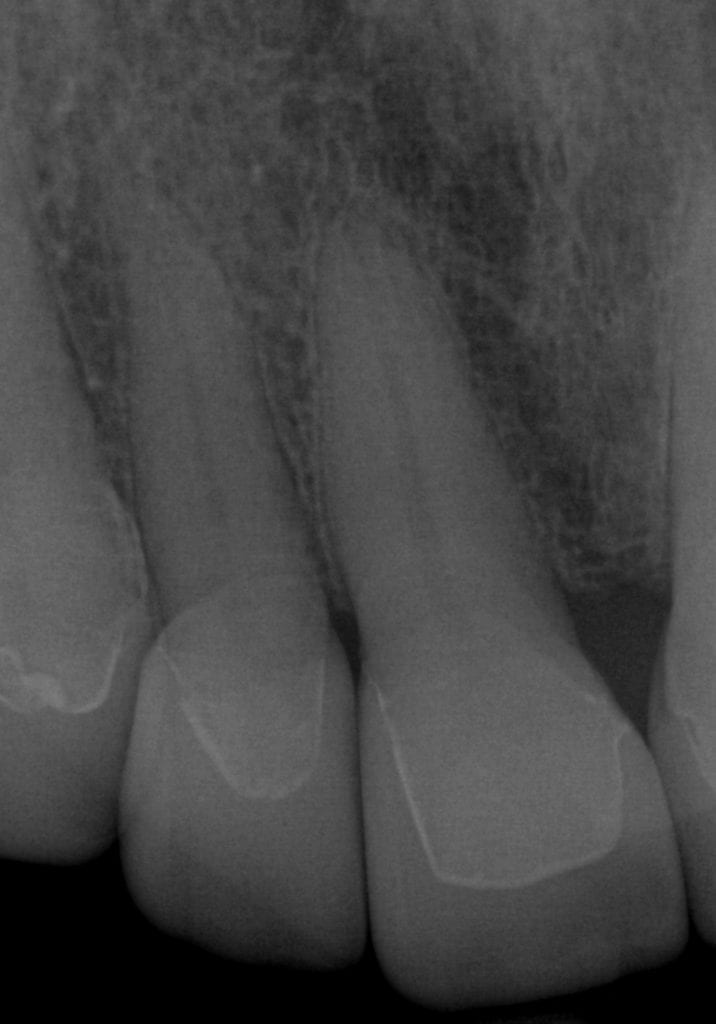
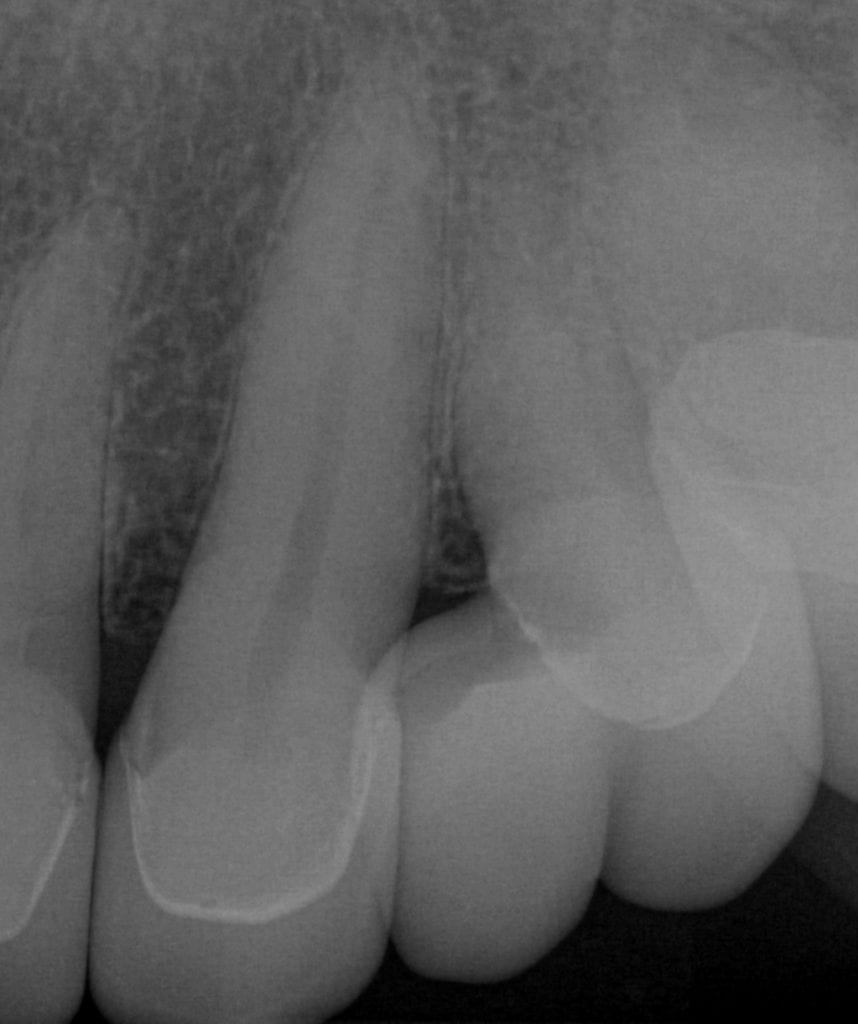
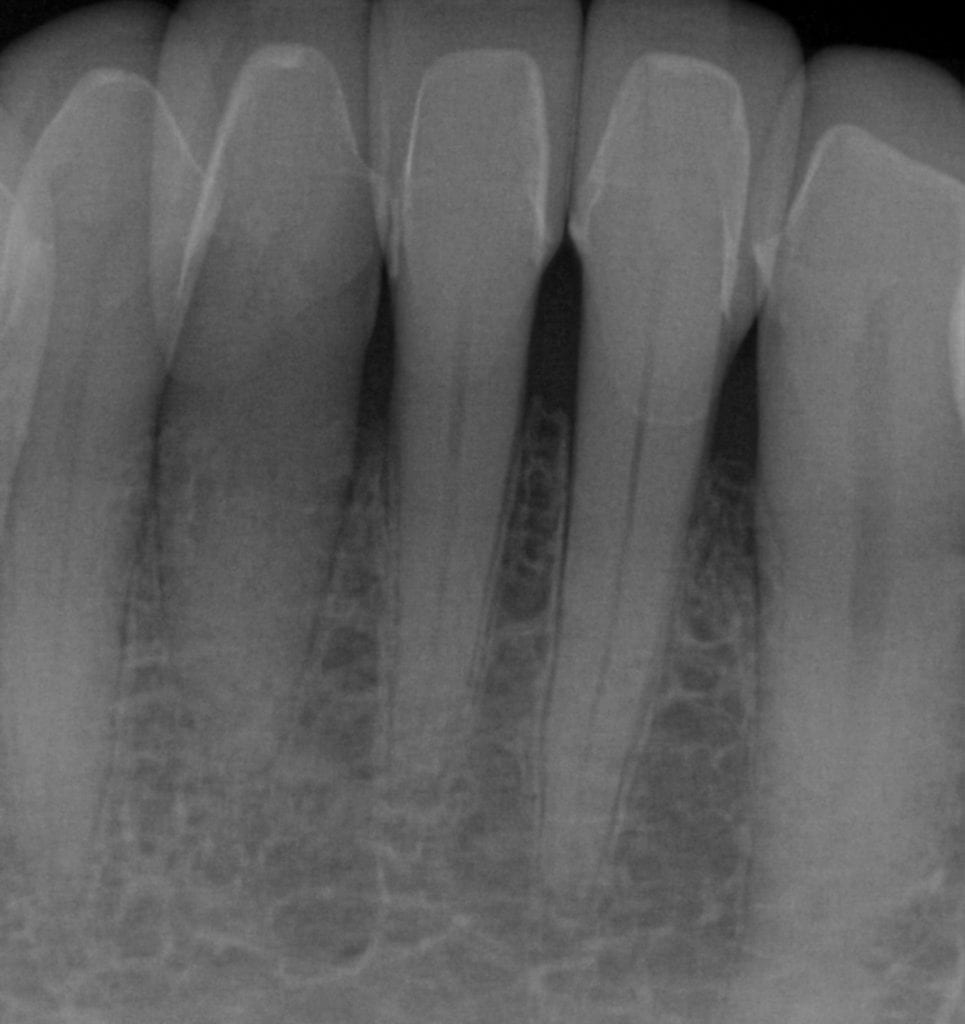
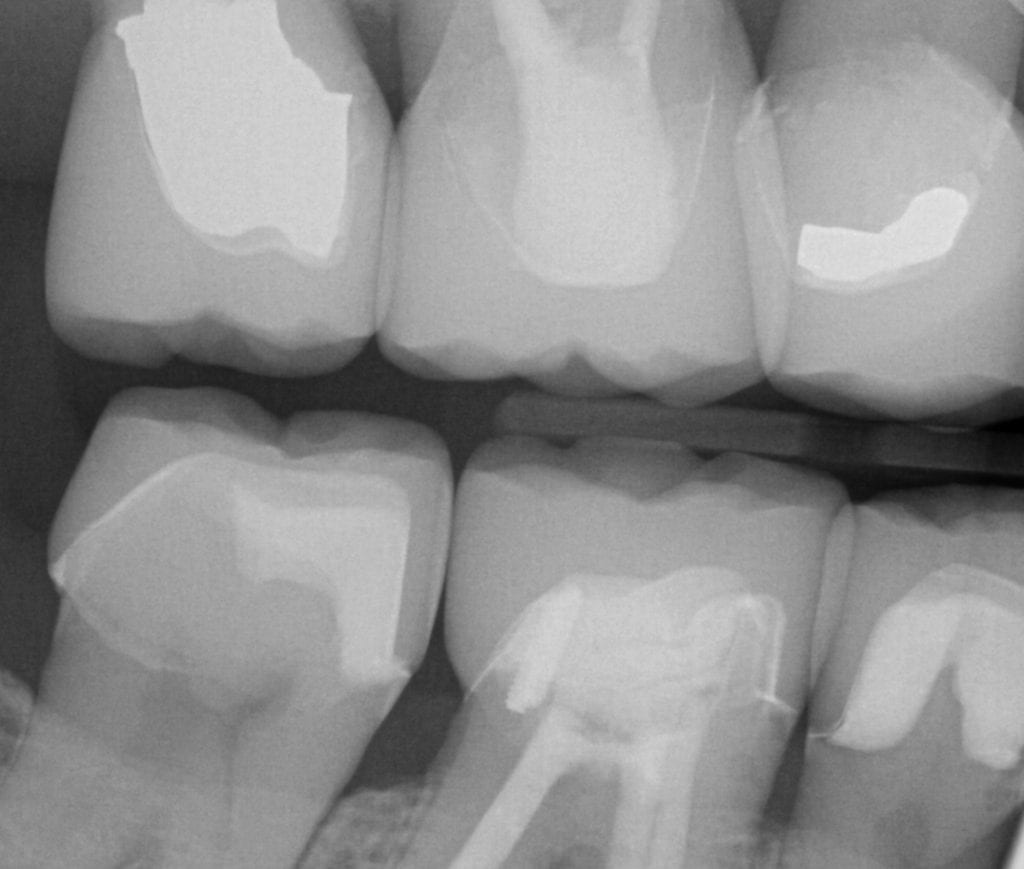
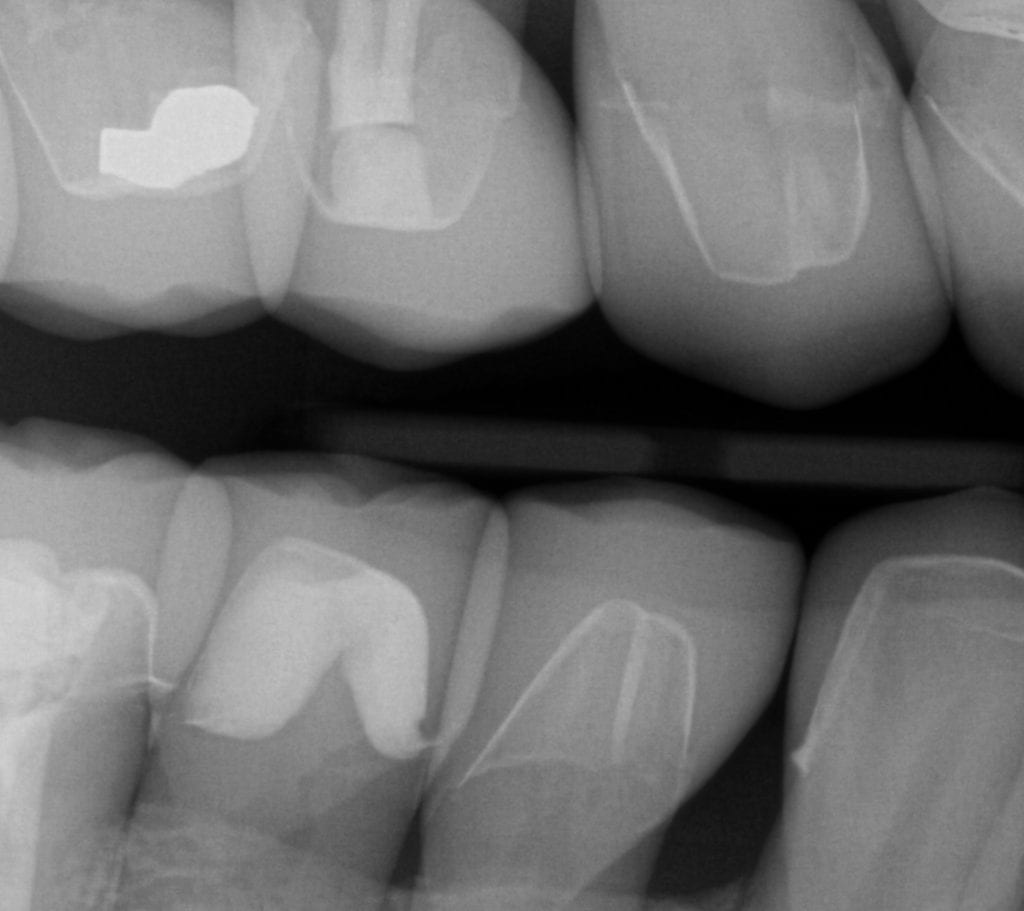
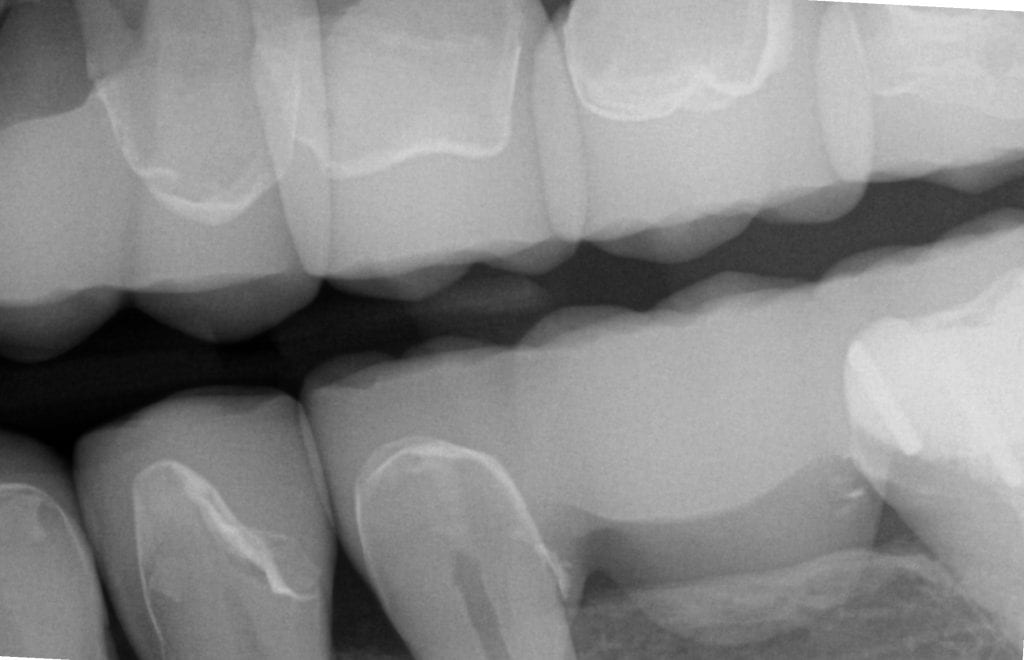
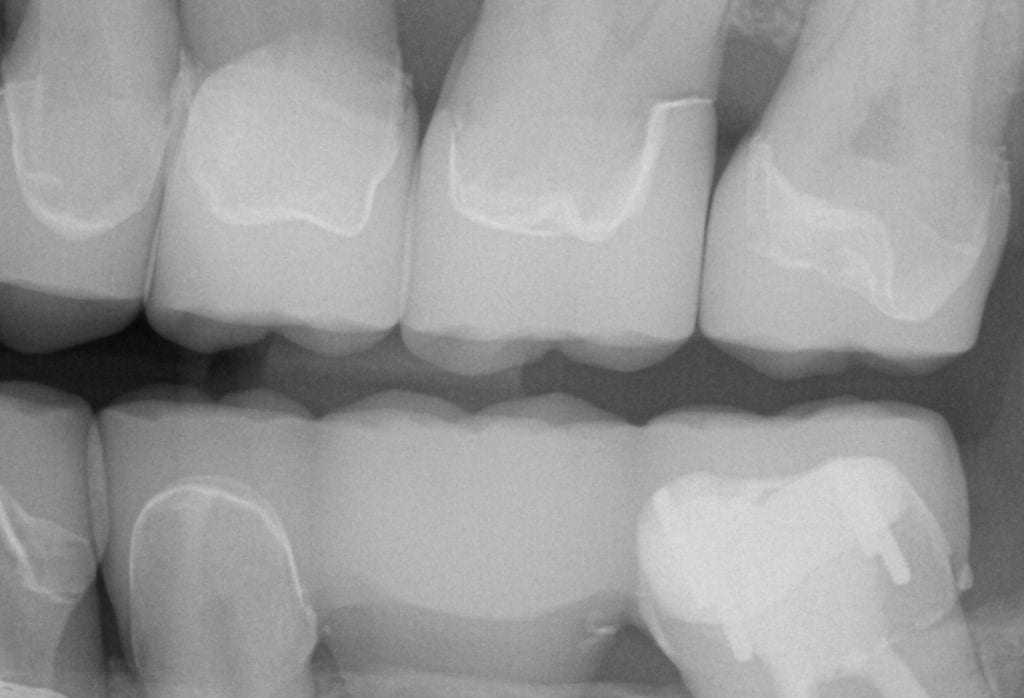
ONE WEEK POST-OP RADIOGRAPHS / CEMENT CHECK






You must log in to post a comment.