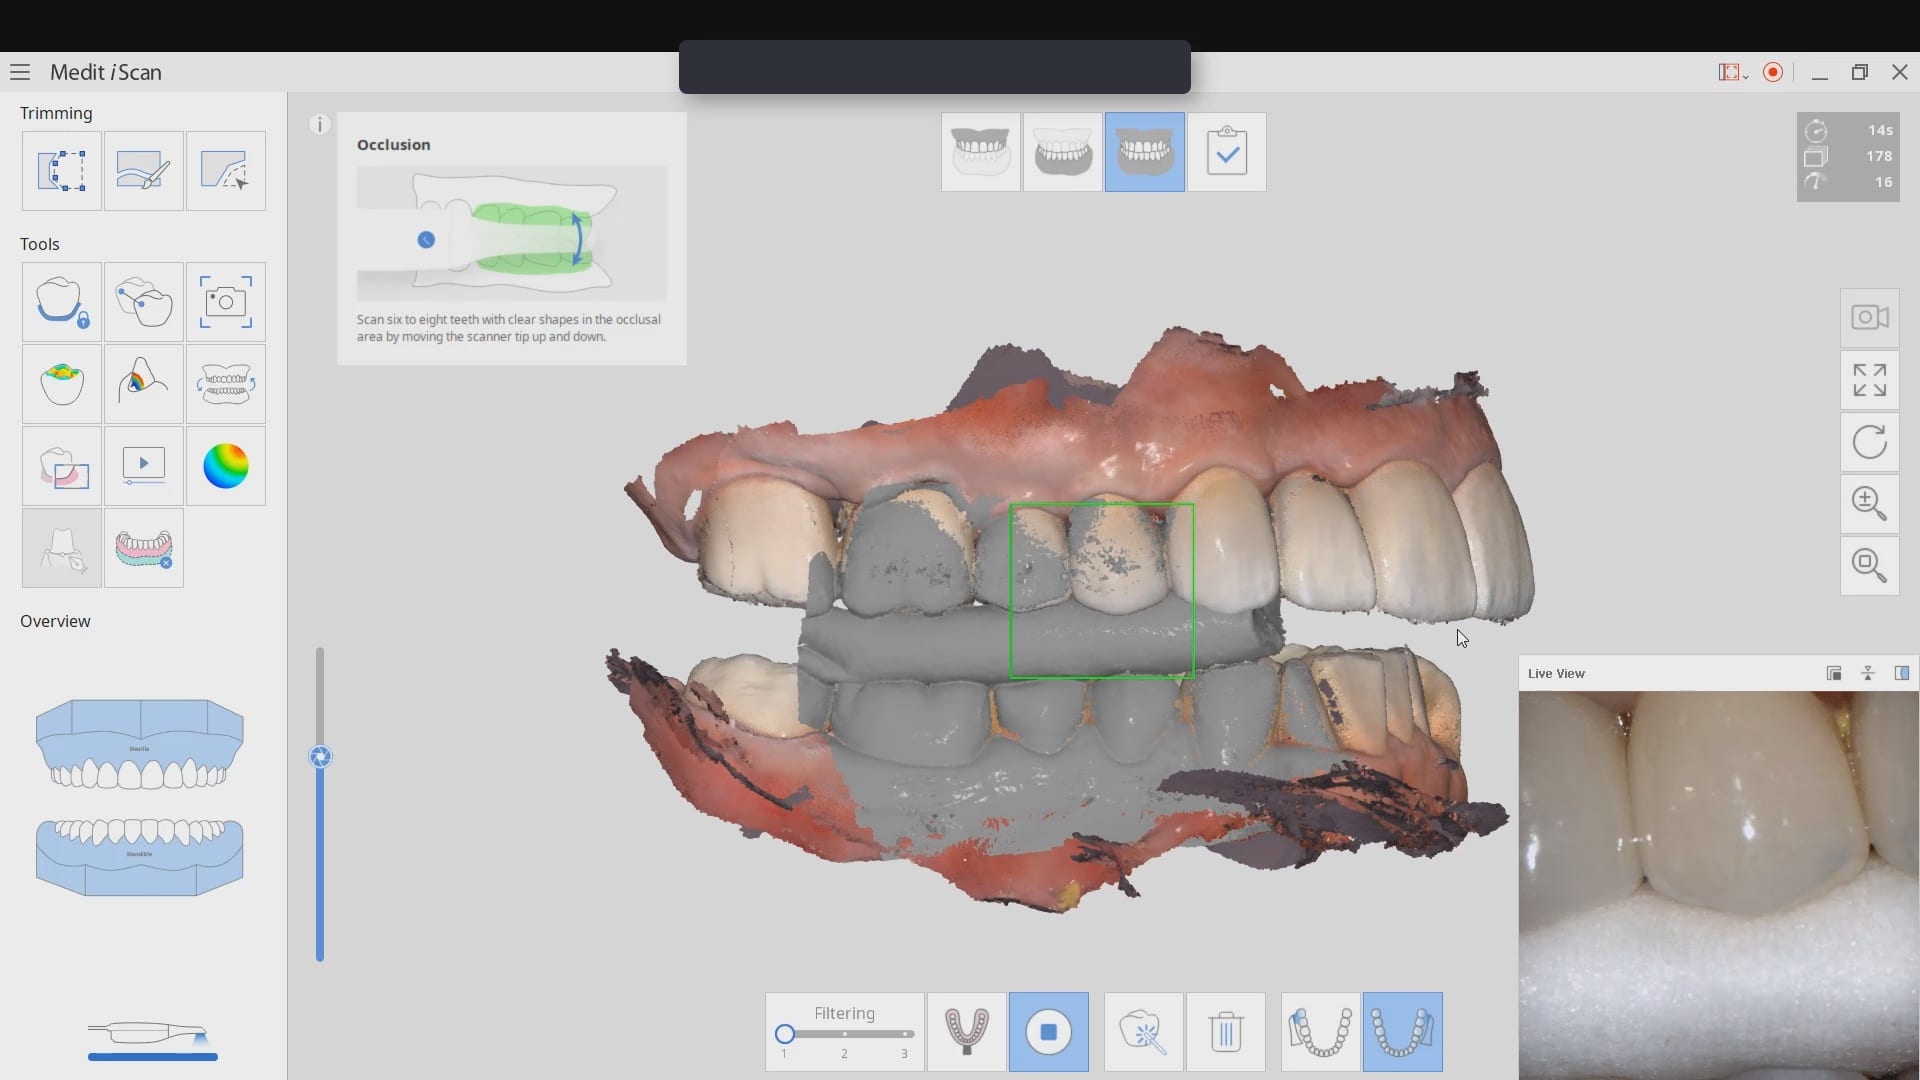


One of the greatest advantages of digital impressions is the ability to copy a pre-existing condition. This has a lot of benefits, one of which is that the patient will not notice a difference in the new restoration vs. the old one. For this to happen with the medit i500, you need an extra image catalog box. Rumor is that this will be available in the near future. Since we only have the upper and lower jaws, and the buccal bite to imagine into (and scanbody catalog boxes), what you can simply do is treat the case as if they are two separate patients.
Create a new patient, and scan the preop condition and save the case. Once processed, you can export the case file in OBJ, PLY, or STL format.
[videopress heGwDF6u permalink=”false” hd=”true” loop=”true” autoplay=”true”]You can then launch a second case, where you take the opposing, the prepared arch, and the buccal bite images. You can download the Korolation OBJ case files and design along. Just remember, in exocad, the upper and lower arches from “patient #2″ will automatically articulate with each other, but you will have to manual import the preop scan and merge the prepped model and the pre-op models.
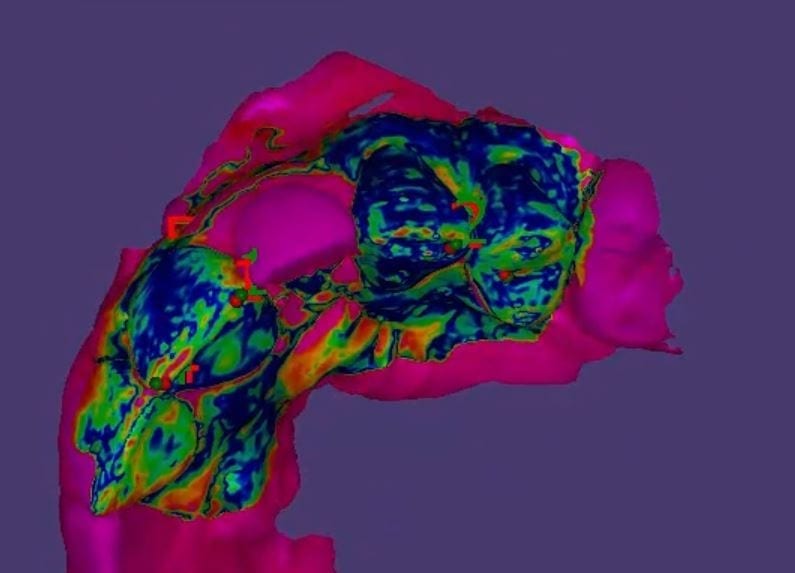
[videopress RkqfM9CJ permalink=”false” hd=”true”]Once you import in the pre-op condition, you can manually relate the models to each other by identifying common landmarks between the two models. After you perform alignment, you can then click on “Best fit matching”. The color scheme in exocad is a great guide in letting you know how well you have articulated the models together.
[videopress U5aJCxQ3]The more blue you see in the Korolated models, the more reliable your stitch is and you can be assured of greater accuracy in your final restoration.
[videopress 8DuVvk0x permalink=”false” hd=”true” loop=”true” autoplay=”true”]
[videopress Tu1I4kmK permalink=”false” hd=”true” loop=”true” autoplay=”true”]