Posted on Leave a comment

Saving an Integrated Implant by Treating it as a Cast Post and Core by Combining Medit i700 Intra-Oral Scan with a Physical Impression of fixture’s Internal Shape

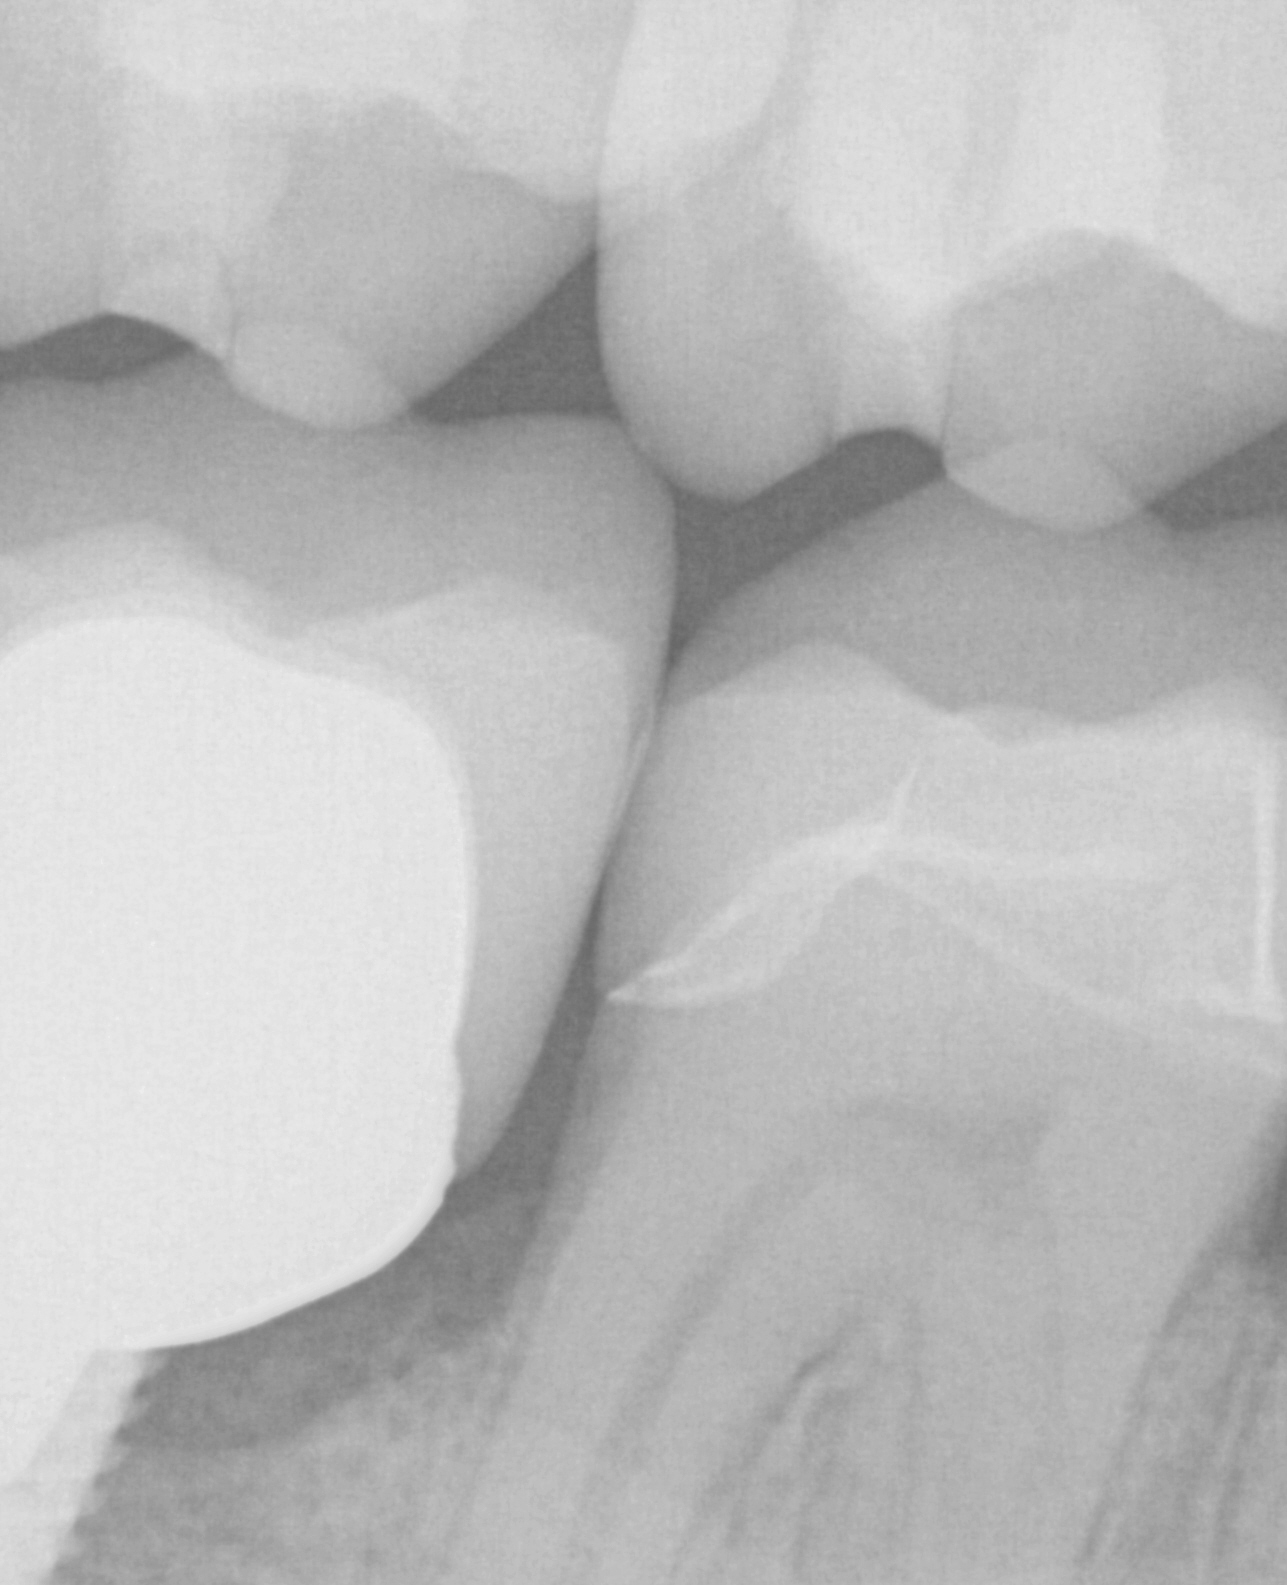
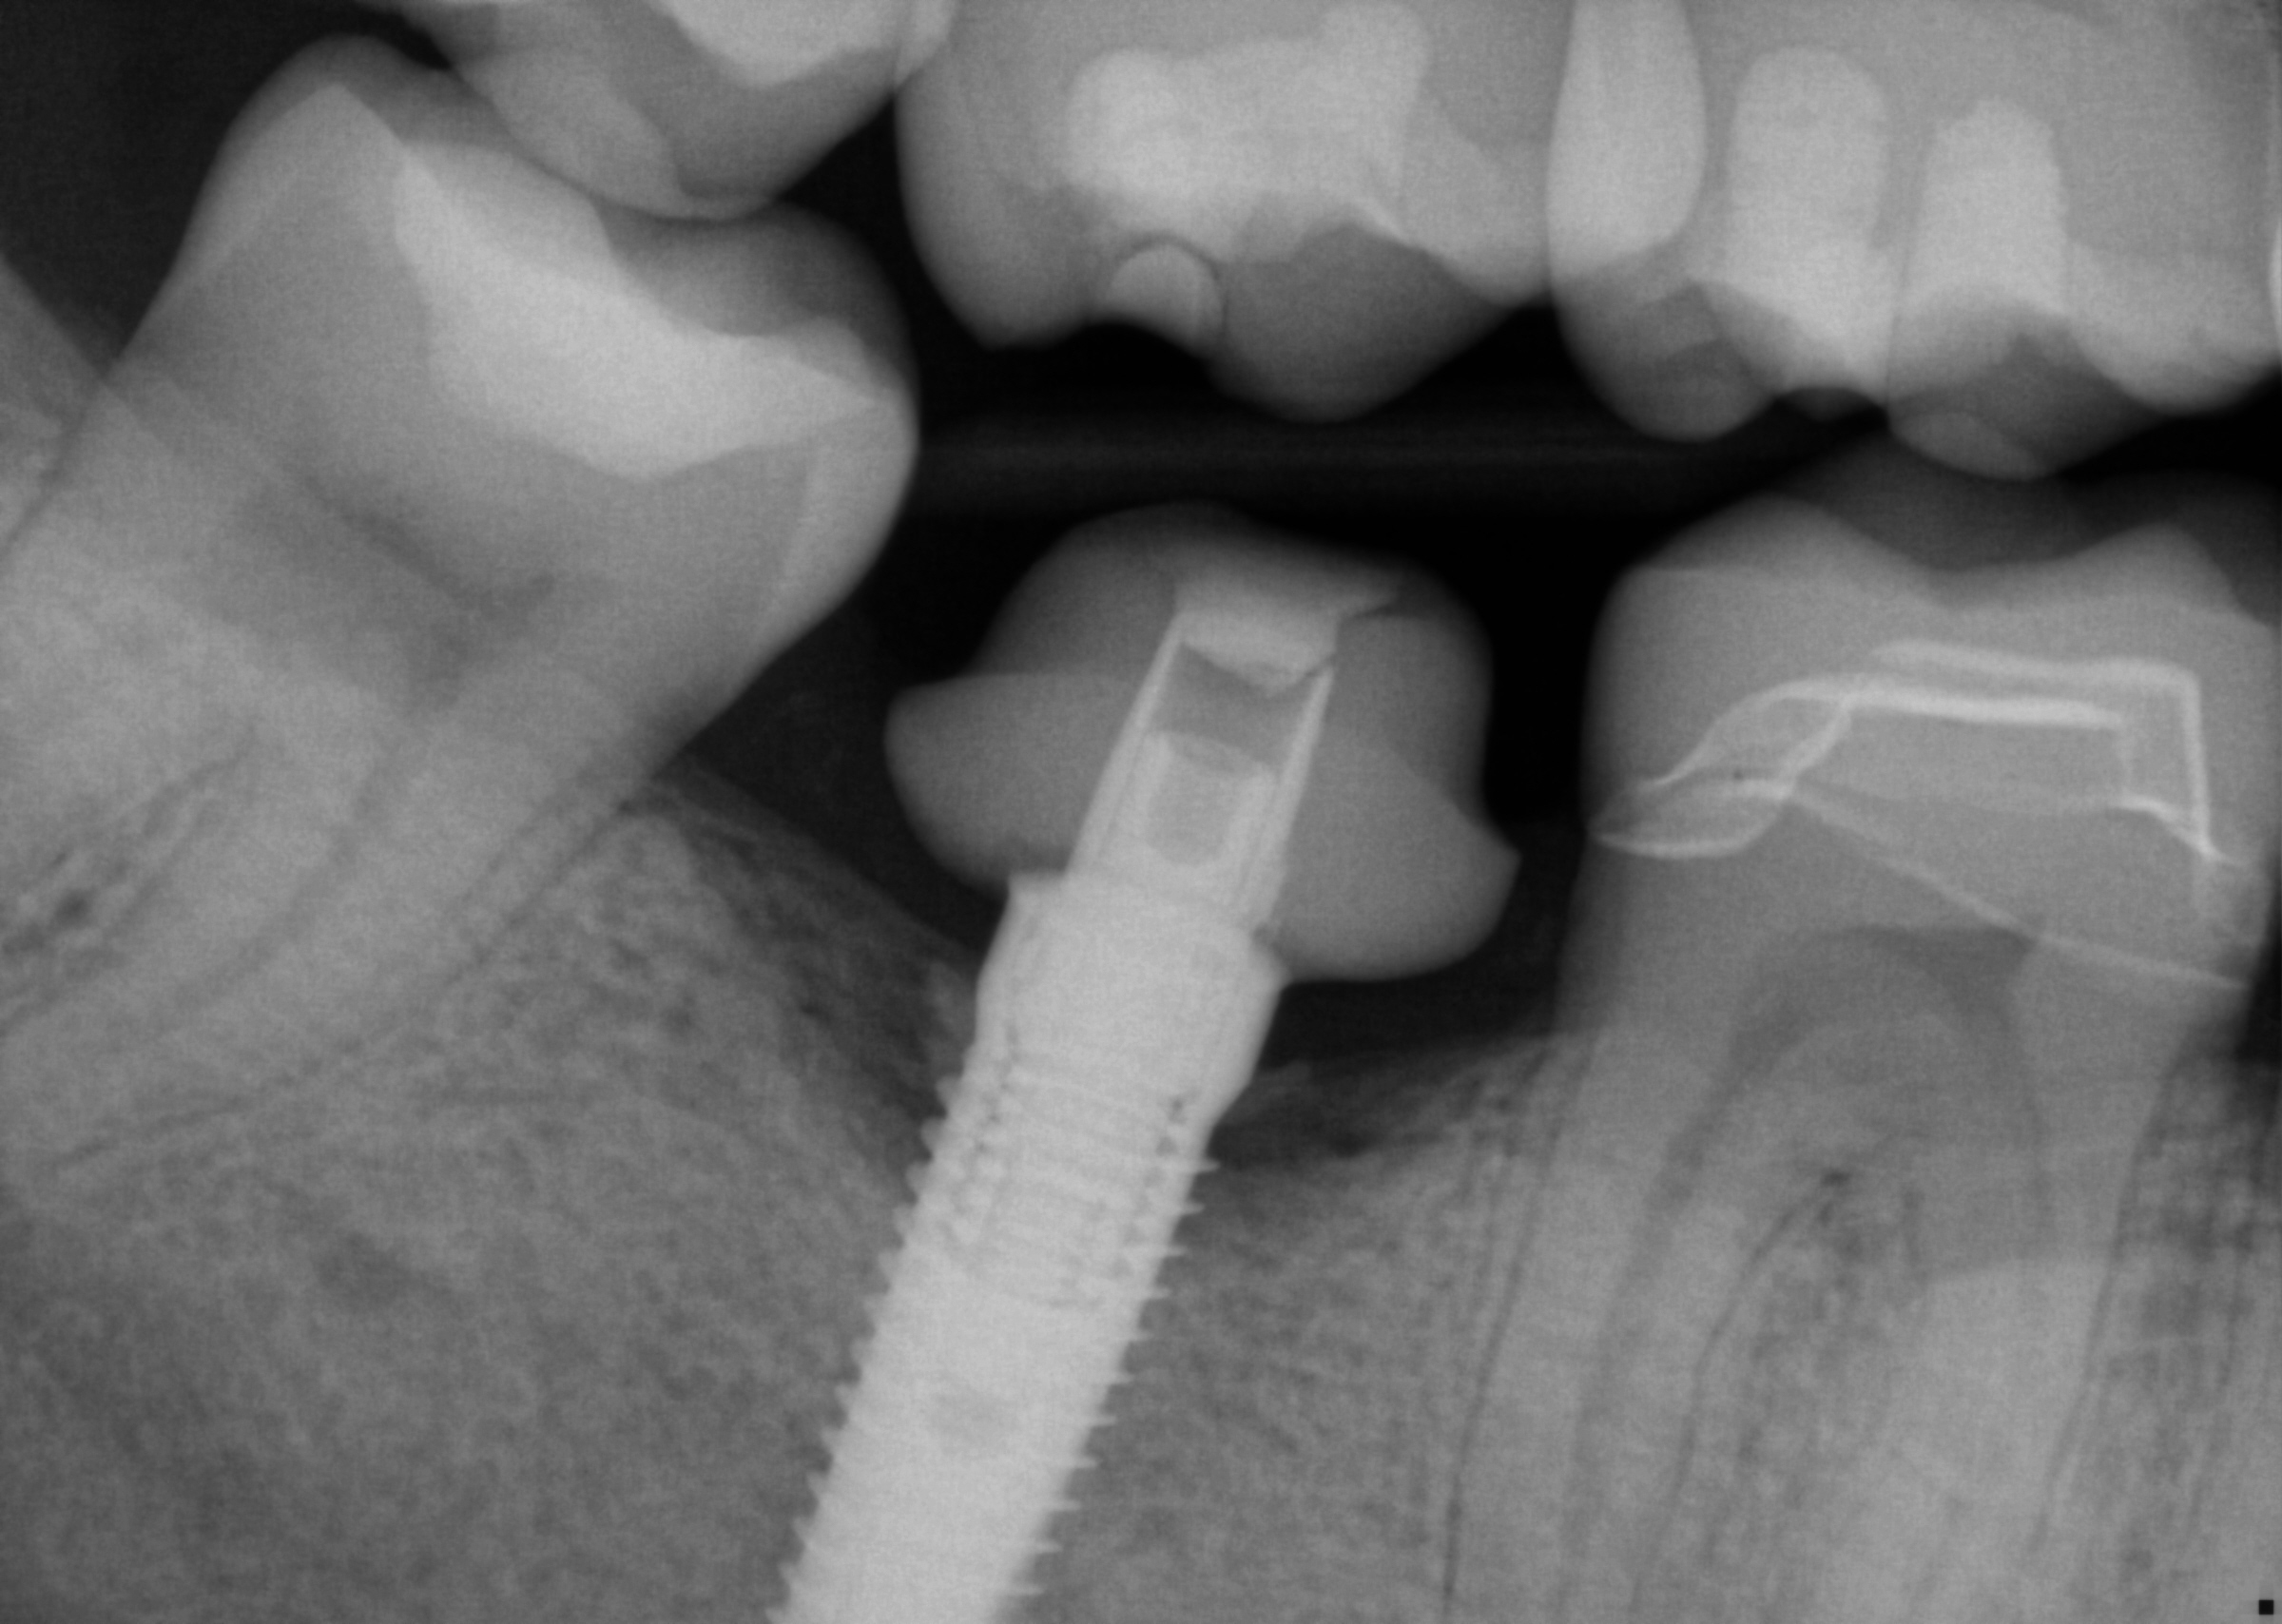
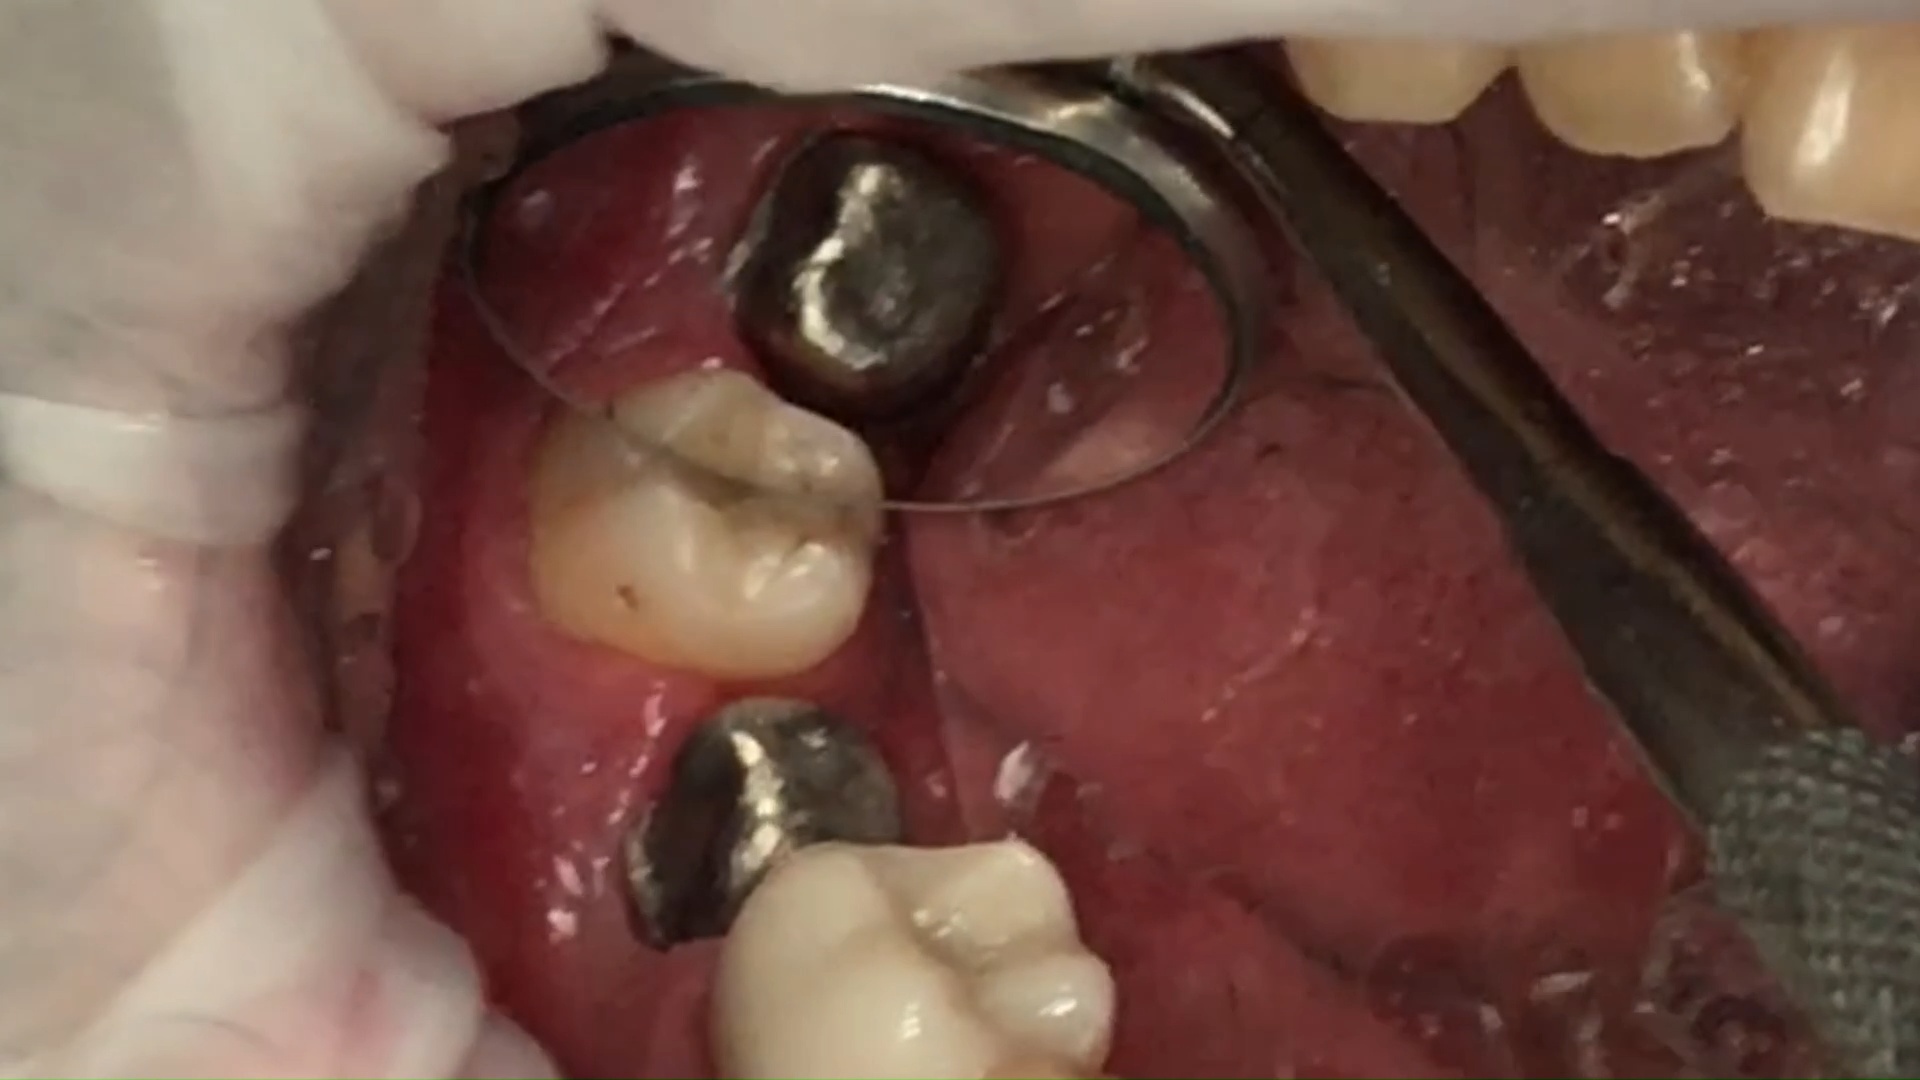
This implant was initially placed at the crest of the ridge in 2012.  its placement did not allow proper emergence profile and subsequently lost bone around the head of the implant by 2015.  The lack of blood flow to the crest of the bone at the cortical plate certainly could have contributed to its demise.  By 2015, the bacteria trap forced a new restoration to be placed which also ultimately lead to chronic inflammation due to improper contours.  The implant itself was well integrated and the decision was made to remove the top 3-5 mm of the implant and treat it as a cast post and core.

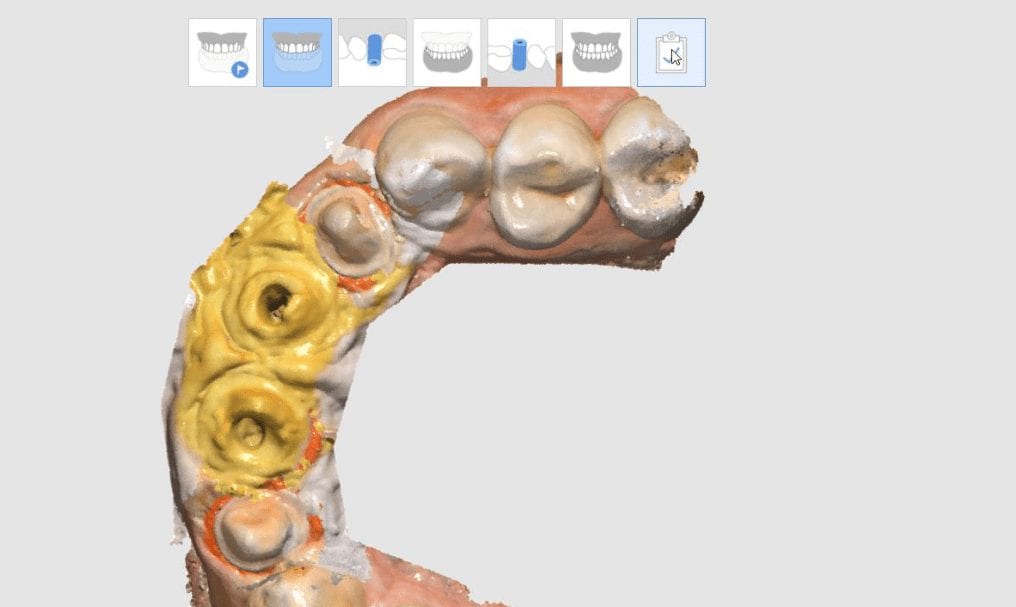
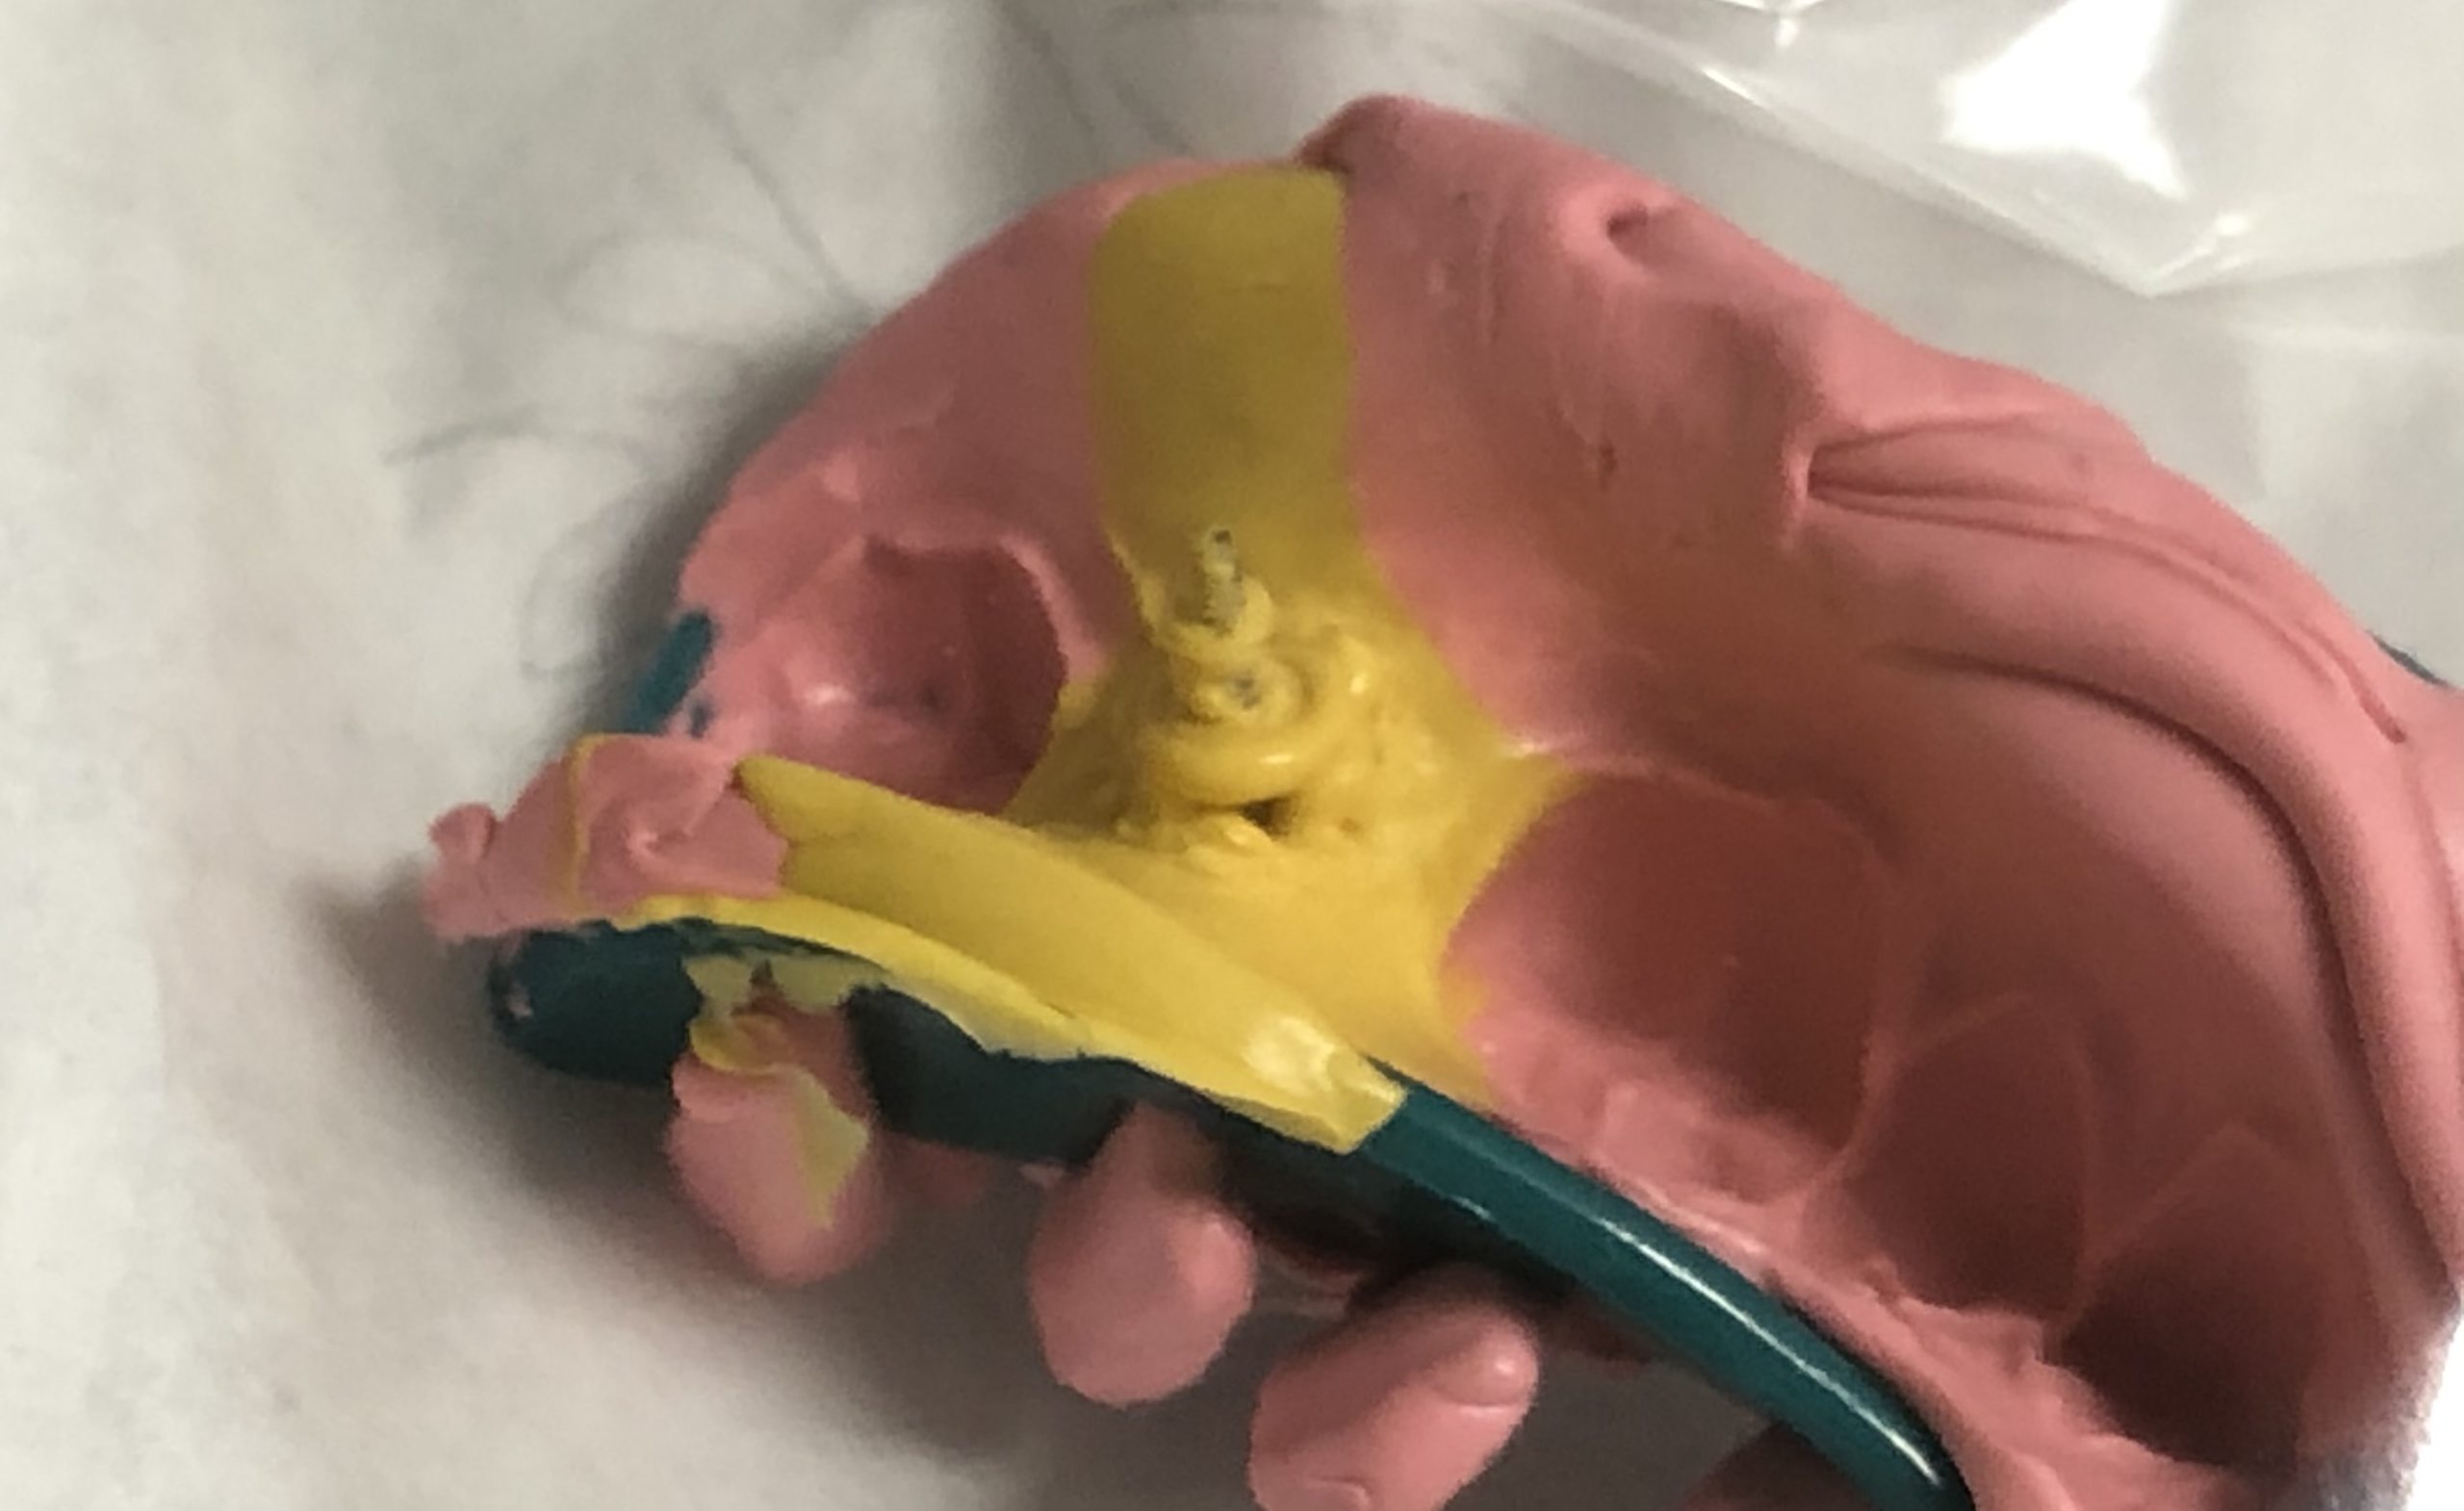
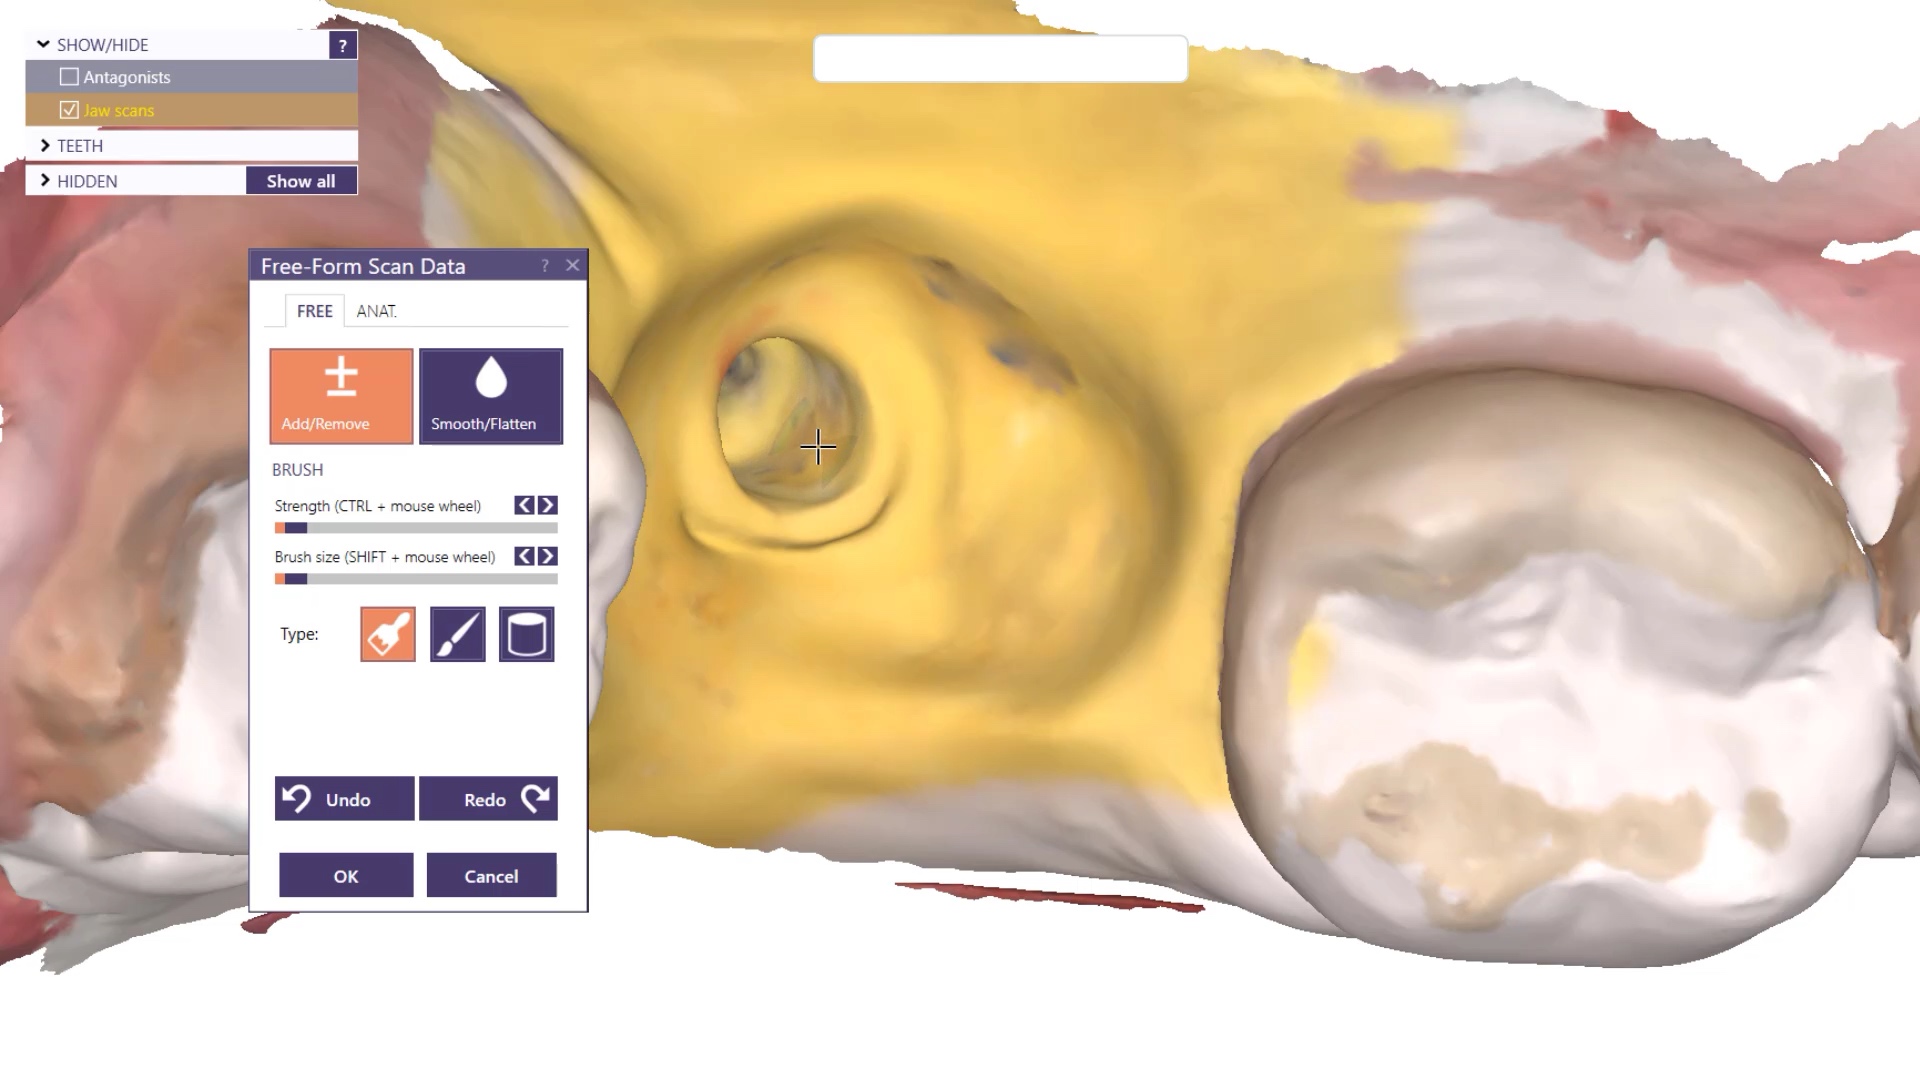
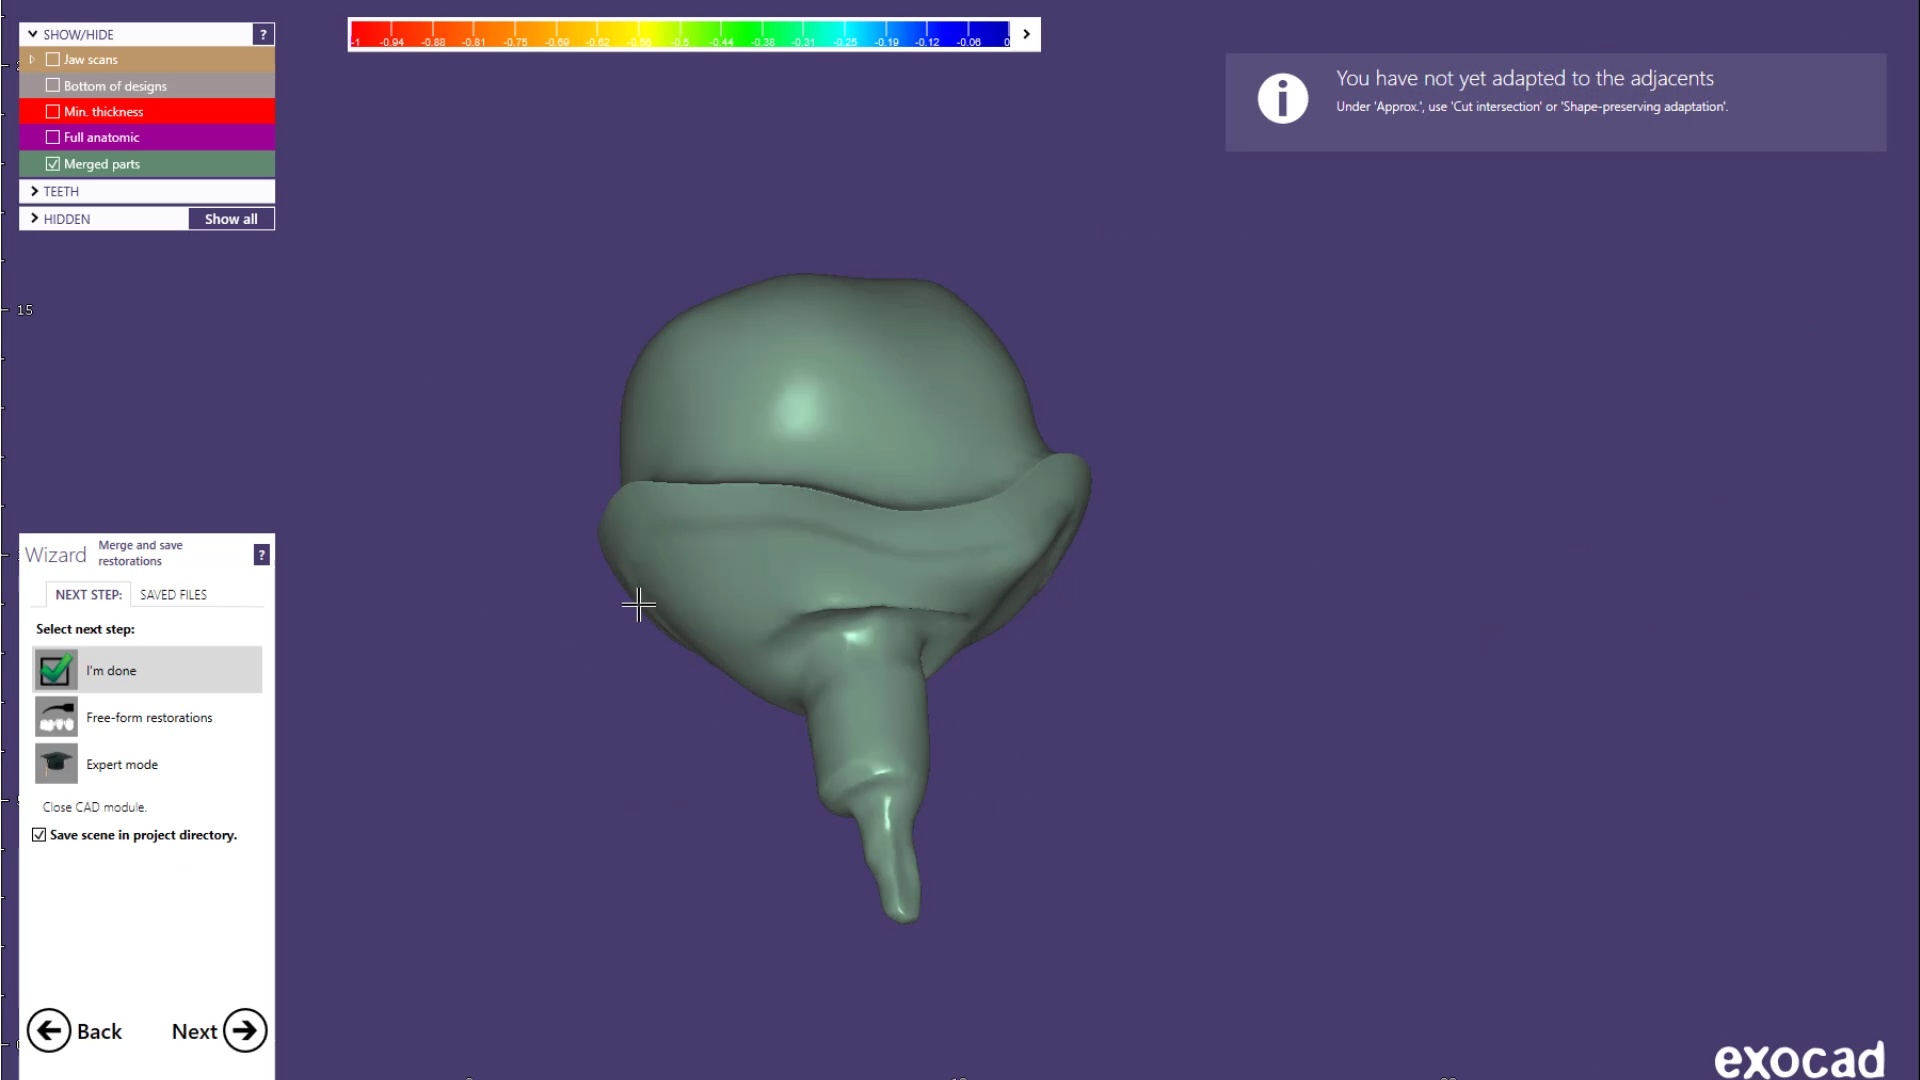
You can see how the Medit i700 was used to mix intra-oral scans with a PVS impression to capture the fixture.  Advanced users can utilize the stl of the implant itself to fabricate a post and core digitally.


video
play-rounded-fill
Dropping Margin on an Implant Fixture
video
play-rounded-fill
Design of Post and Core

The designed restoration was then sent to Burbank Dental Lab and it was milled out of wax and then cast to metal

video
play-rounded-fill
Milled Wax Post and Core

The post and core and the emax restoration were returned for delivery.  The emax was not crystalized until after the abutment was cemented and then it was tried in by itself to assure proper contours and contacts.  The great feature of lithium dissilicate is that you can add contact and glaze at the same time, which was required here as the mesial contact was weaker than desired after some minor adjustments

video
play-rounded-fill
Cast Post and Core for the Fixture

video
play-rounded-fill
Post and Core Try-in

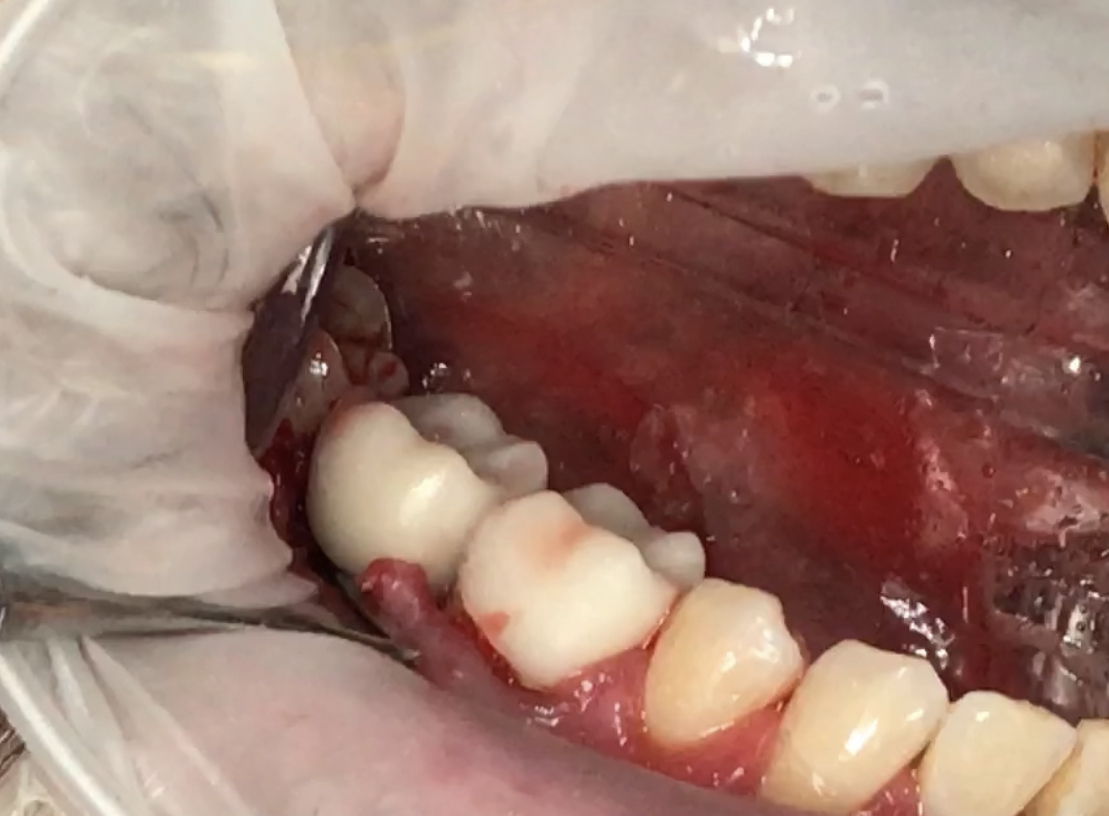
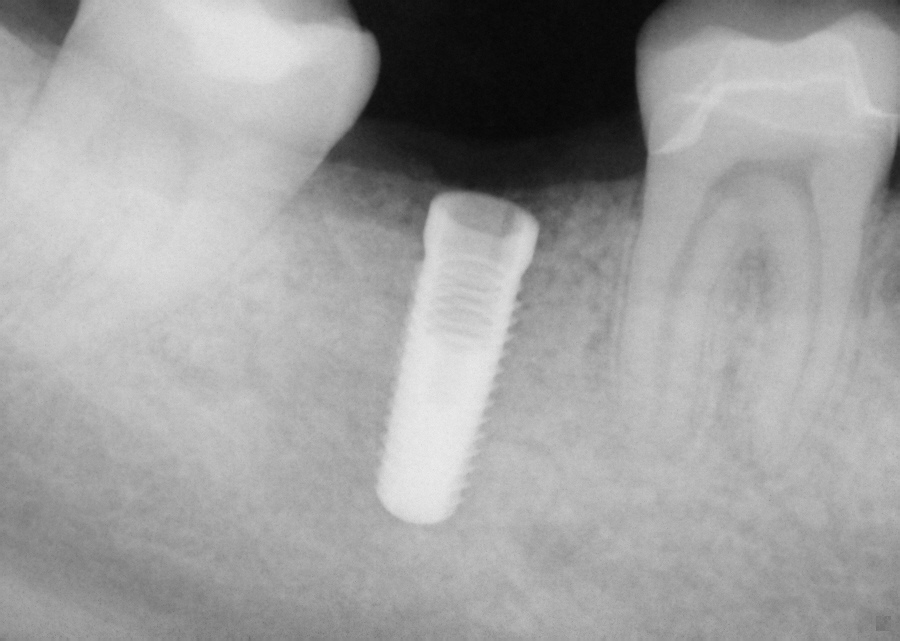
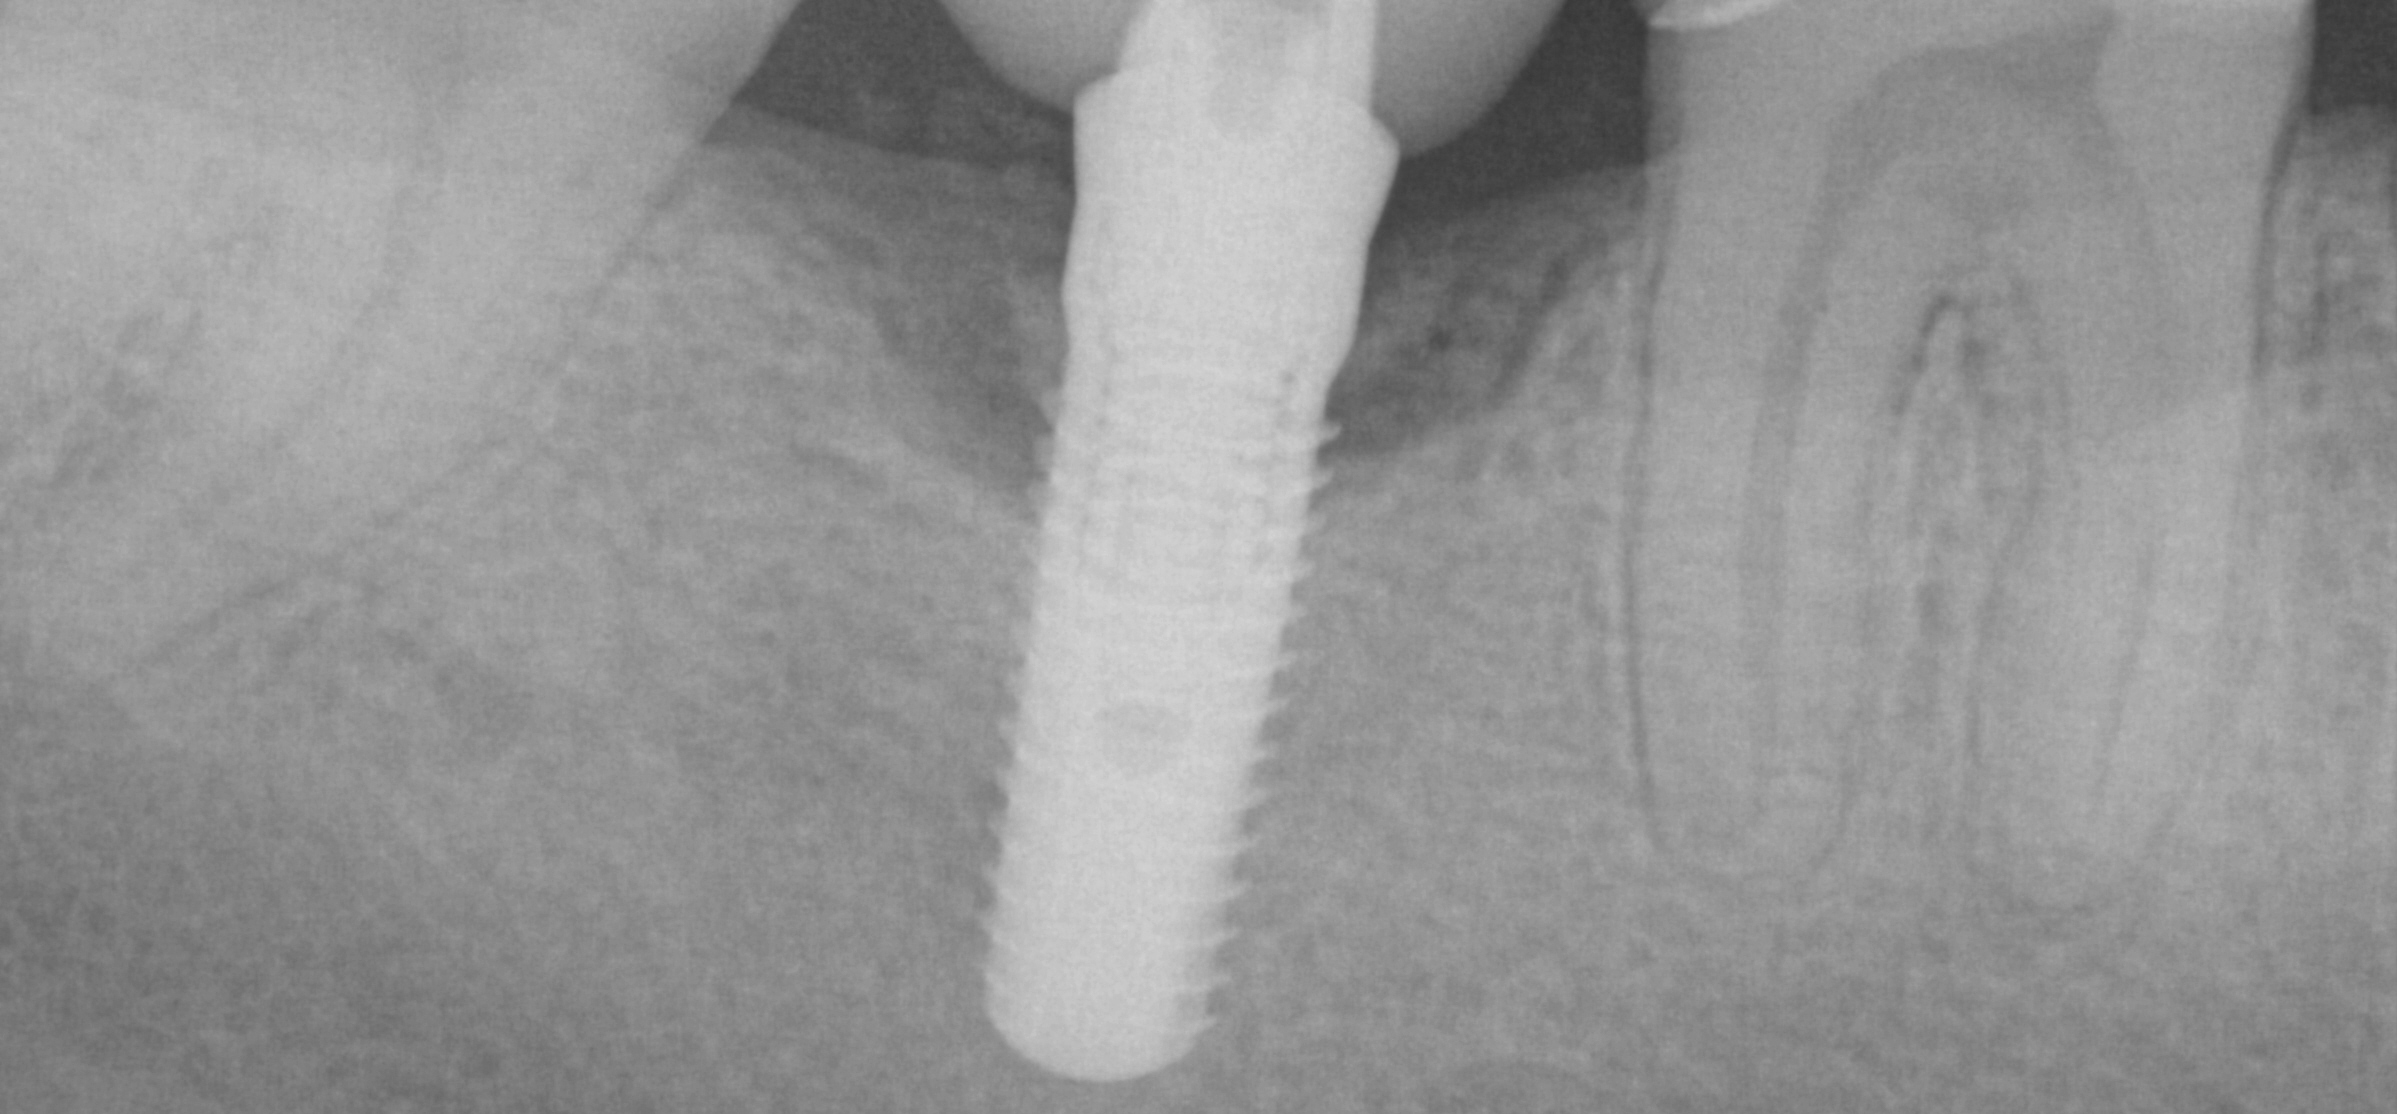
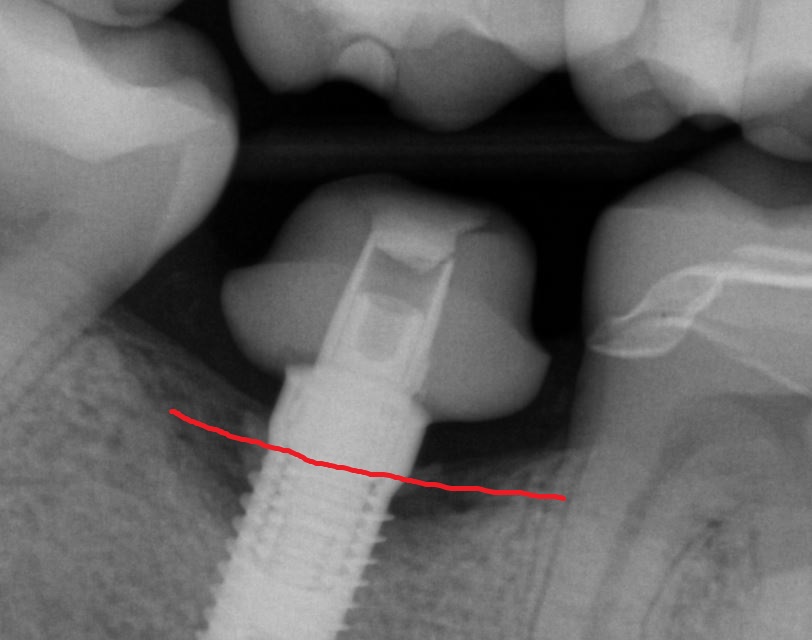
Post op x-rays to verify seat and no excess resin after flap was raised to clinically visualize that there is no excess cement

Posted on

How Deep is Your Scan?

A cool new feature in the upcoming Medit i500 is the opportunity to capture deep areas that are out of the camera’s focal length (-1.5 to 17mm). This usually happens in complex implant cases, or in this case where the anterior four teeth were traumatized.

With very little tooth structure remaining, a custom post and core was required to restored the dentition with a very guarded prognosis. After root canal therapy, the chamber was accessed and a conventional impression was taken.

Separate from this, a clinical digital impression was taken of the temporaries, the opposing and the buccal bite. The margins of the preps were protected and the chamber was deleted / cropped. As you can see, there are hollow areas in the depth of the chambers where the topography was outside the focal length. Scanning the impression as a negative gives easy access to the depths of the chamber, allowing you to form a model that is well outside the imagine range of the neighboring teeth.

The software allows you to image intra-orally and then allows you to fill in the voids by imaging the impression instead.

play-rounded-fill