


 [videopress SYc88hMJ]
.
[videopress SYc88hMJ]
.

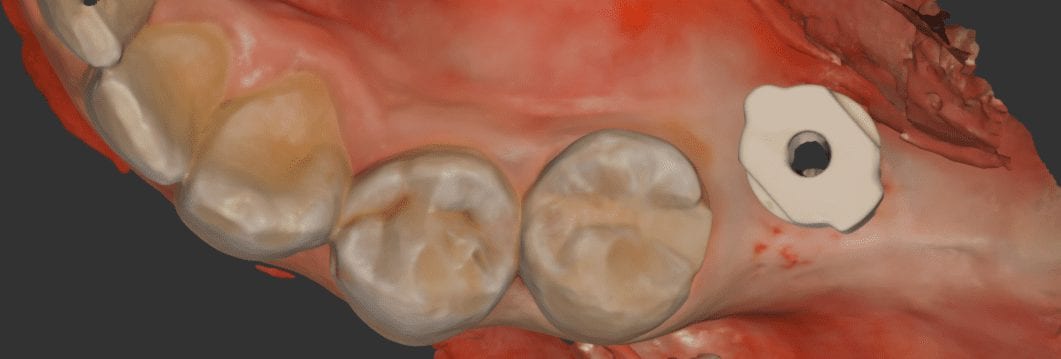
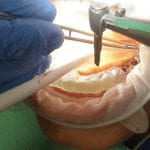
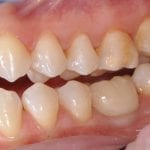
This is a case presentation of a onlay preparation on an upper first molar. The area was isolated with the optragate and the isolite after anesthesia. After a little refinement, a green colored retraction cord was placed to displace the tissue from the gingival margin.
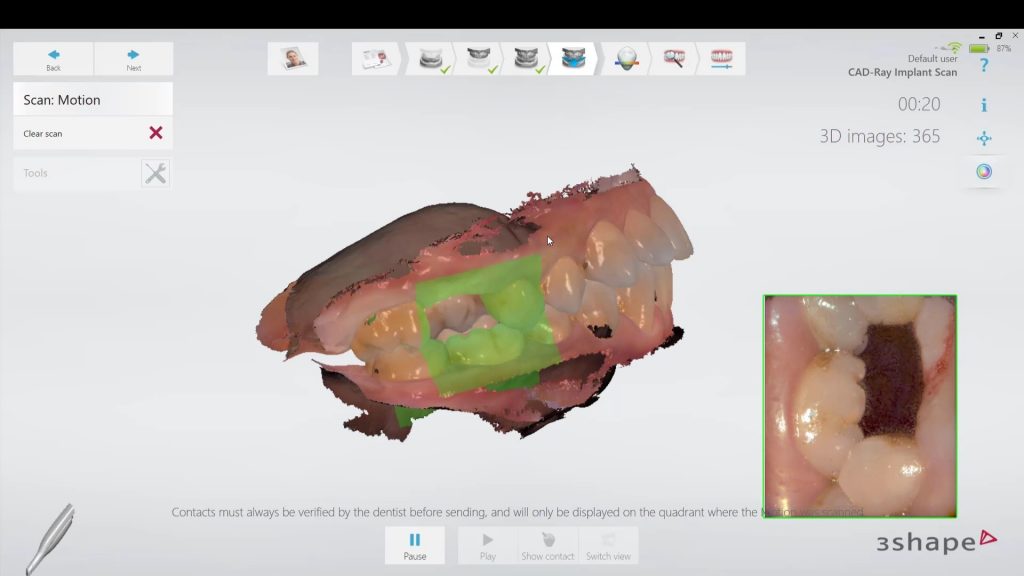
The attached video is unedited to show you exactly how long it takes to image a quadrant with the Medit i500 intra-oral scanner. You see an image counter and a clock in the upper left corner. First the prepared arch was captured. Notice how the camera is angled to capture all of the contact area on the second molar, below the height of contour. There are some areas that are not clinically relevant and less time was spent imaging those landmarks (palatal and lingual areas that will not have an impact on the restoration design).
After the upper arch was captured, the lower arch setting was selected and the camera was activate to image the mandible. The isolite allows you to image both arches with great ease. Once the lower arch was imaged, the isolite was removed and the buccal bite was captured and the case was processed
[videopress gGHSDKEw hd=”true” loop=”true” autoplay=”true”]
Download the OBJ File
Dowbload the STL File
CASE DESIGN IN EXOCAD


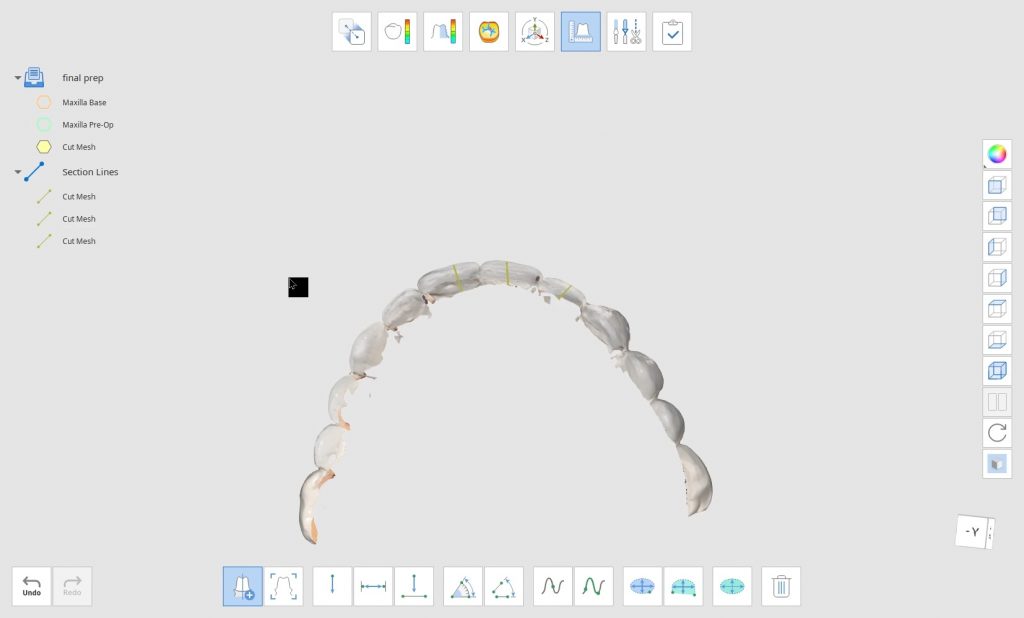
There are multiple ways to adjust a model with refined tools like the Polyline Trimming, the Brush Trimming, and the Quick Trim feature. You can see all of them in action in the video.
PolyLine Trimming allow you to circumscribe an area that you want to remove. You start with a left click, delineate the area you want removed, and then right click to get rid of the data you don’t want included in your models.
Brush Trimming has three separate settings and it is a very effective way of removing data in incremental steps. it allows for real fine adjustments.
Quick Trimming removes data that is not part of the model, like an island of floating data. This usually happens when the tongue gets in the way of imaging, and if it happens enough times, the software starts to thing it is part of the equation. if you click on data points that are indeed attached to the rest of the model, you will delete the whole model. You can see that happening in the video attached.
It’s not a big deal if you inadvertently trim areas away as you can undo each step and get back to your point of origin
[videopress 3W7AFoSC]

If you are new to Medit i500, or any introral scanner, and you are trying to scan full arches, there are some important concepts to keep in mind to make your life easier. The scanners do not like parts that move (lips and tongue) and love landmarks that keep their position. They also dislike air or dark areas, but not as much as moving tissue. Some times, if you image the lips or tongue enough, the software and camera can interpret that to be hard tissue and introduce errors. So lip and tongue retraction certainly help.
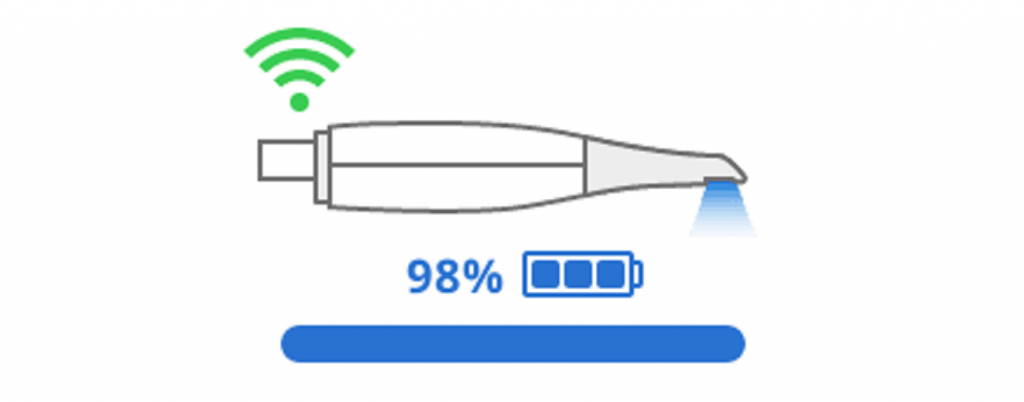
Humidity of the mouth can cause fogging of the lens, but that is not a big deal with the Medit i500 because the fan on the camera lens prevents that from happening. While keeping this in mind, and if you are new to full arch scanning, here’s a recommendation that works real well. It’s the concept of establishing a “Home Base”, a purchase point, or an anchor abutment. Not only does the camera like immobile parts, it likes these objects to cover large surface areas and also to cross multiple planes.
To build this home base, we recommend that you place the camera on top of the posterior and then turn on the scanning. Note, there is a setting in the software that starts to autoscan the surfaces. As a newcomer, you may inadvertently scan areas that you don’t want to. So start in the manual mode, place the camera on the first molar, and start scanning that occlusal surface, Then move the camera to the distal to capture the second molar and come back to the premolar area. Once you have the occlusal surfaces captured, we recommend you roll to the buccal and lingual of this quadrant.
Once you have the foundation of your scan established, you can proceed to capture the rest of the arch. If you get lost in the process, or your camera can no longer continue capturing because you moved to fast or you lost your orientation, you an always go back to your home-base and start from there again. The software will quickly orient itself to that landmark. If you watch the video, you can see how we get back on track on a few occasions by applying this concept.
The first sequence shows how the camera is looking at the opposing arch, and just by moving the camera back to the original landmark, the software quickly recognizes where it is. The second sequence shows how we scan a blue glove and then move the camera to that position. It takes little time for the system to recognize where it is and what it needs to do next.
[videopress O2MFOsZk]
The prices and specifications cited in these charts are best estimates from published data readily available on the internet. We suggest you verify the numbers for accuracy and fluctuations over time.
| Medit i500 | Sirona Omnicam | 3Shape Wired | Carestream | iTero | Planscan Emerald | |
|---|---|---|---|---|---|---|
| Retail Price | $18,000 | $29,995 | $39,000 | $37,000 | $29,995 | ~$36,000 |
| Yearly Fee | $0 | $2400 | $1800 after first year | $0 | $2280 | |
| Required Training | $2500 | |||||
| 5 Year Total | ~$18,000 | ~ $43,000 | ~$49,500 | ~$37,000 | ~$41,000 | ~$36,000 |
Medit i500 Facts and Comparison to other intraoral scanners

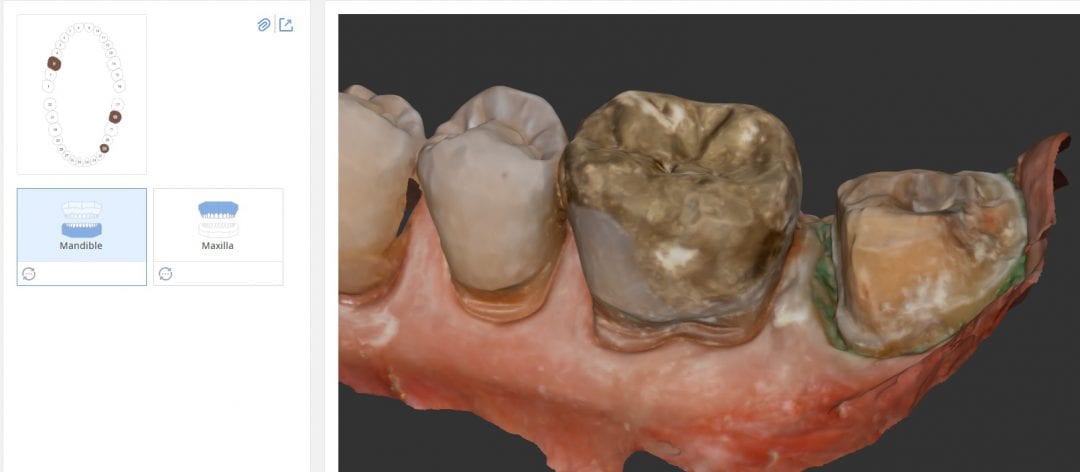
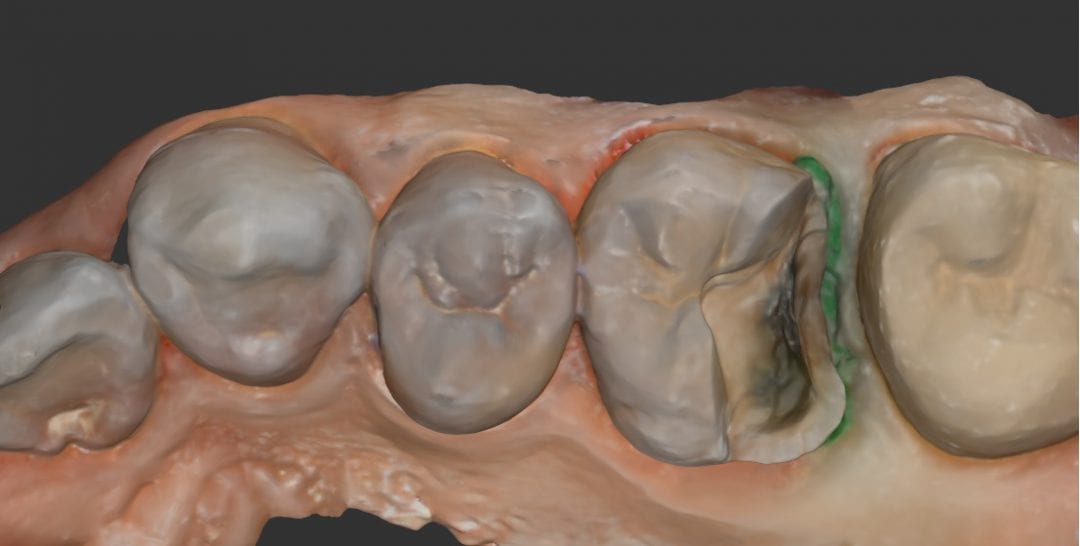
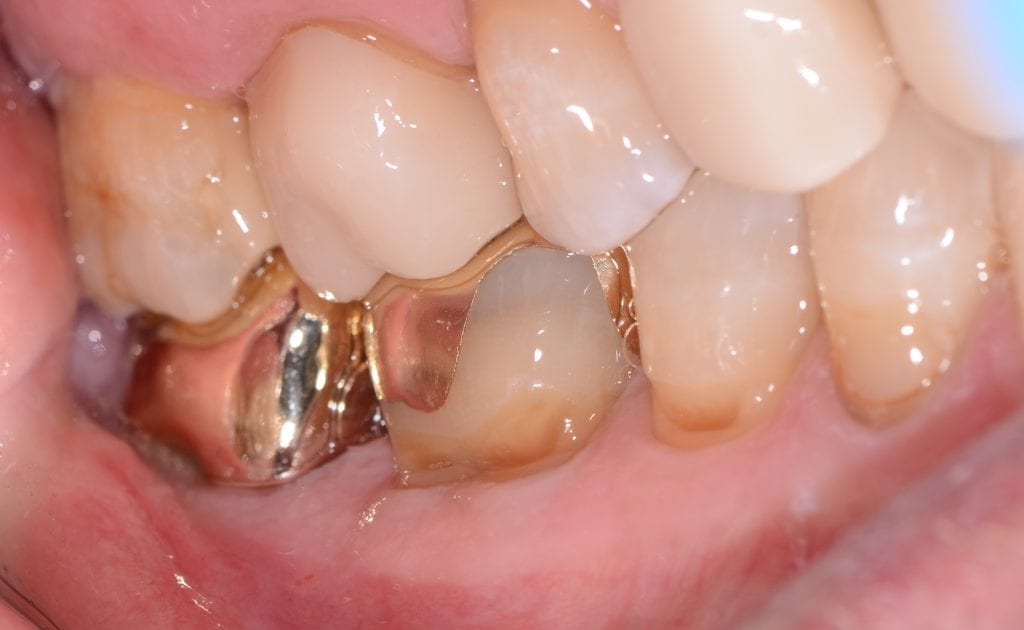
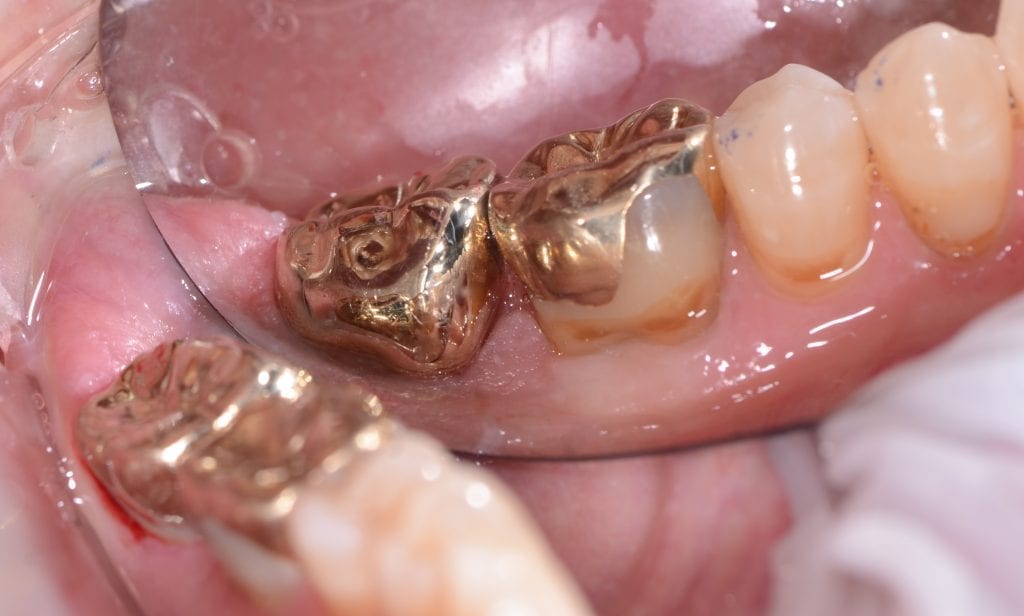
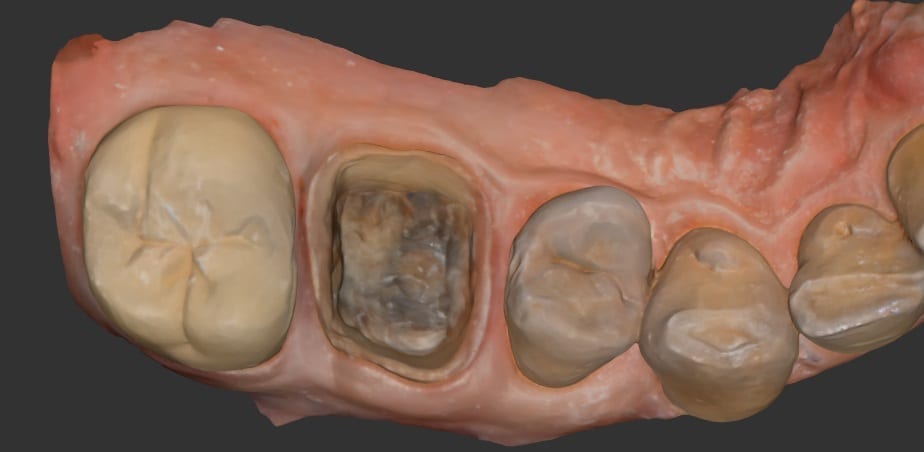
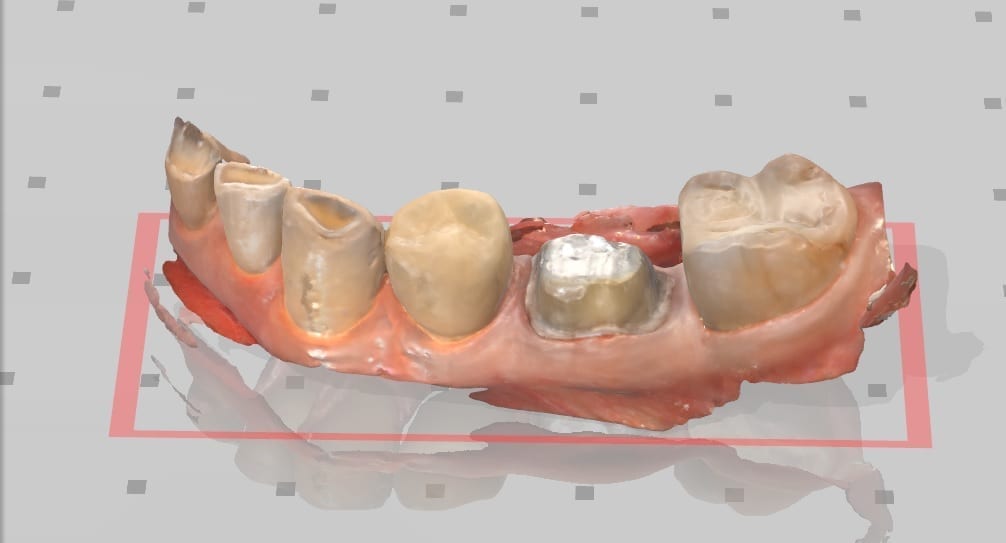
Imaging reflective surfaces like gold is often difficult with intra-oral scanners. In this video, you can see how the whole occlusal surface of the gold crown is captured with the Medit i500 and the contact area as well. It is certainly not flawless, but it works great. No powder or dusting was used here and no animals were harmed in the process either. Take a look at how nicely visible the margin is on the mesial of the second molar!


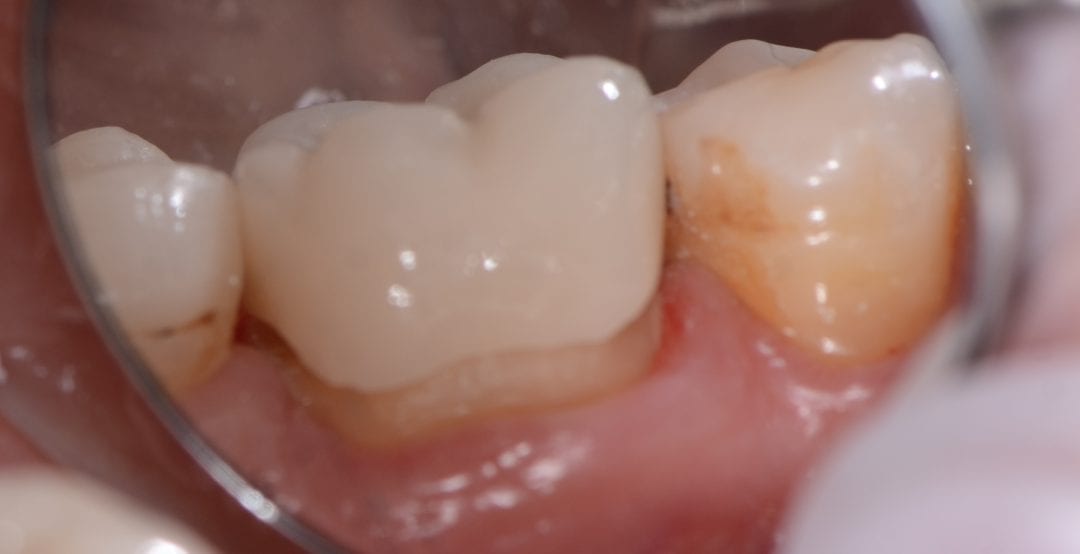
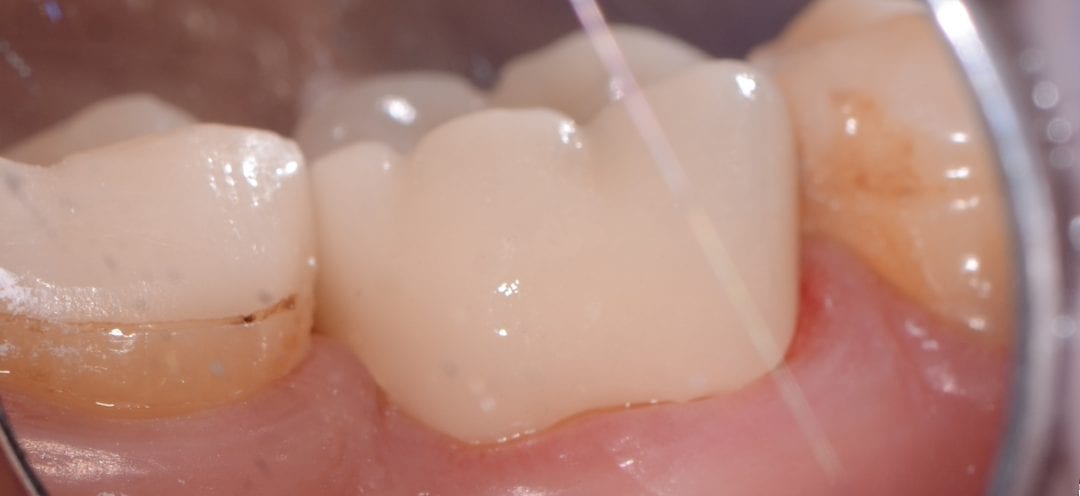
This is the triple tray technique used to image the prep, the opposing, and the bite with the Medit Desktop Scanner by Burbank Dental Lab. Not a single contact was adjusted and crown fit perfectly!
[videopress QRPhcJb9]
Fit perfectly. Not a single adjustment to the contact area or the occlusion

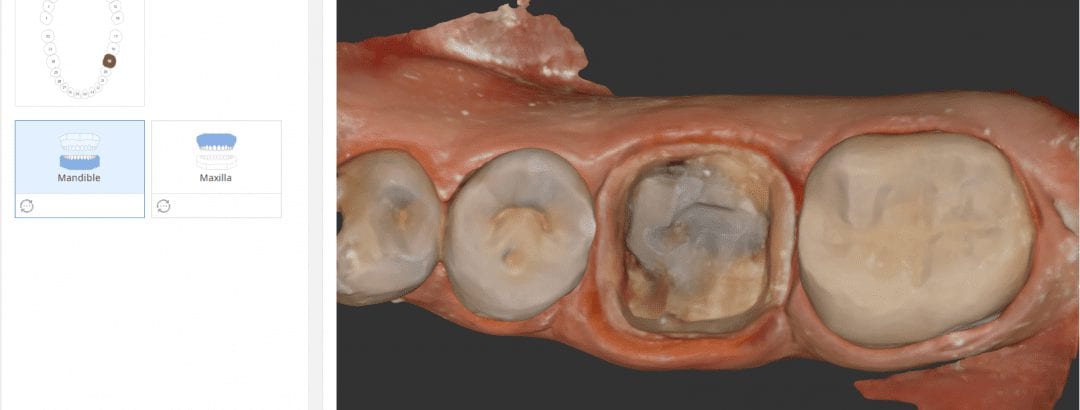
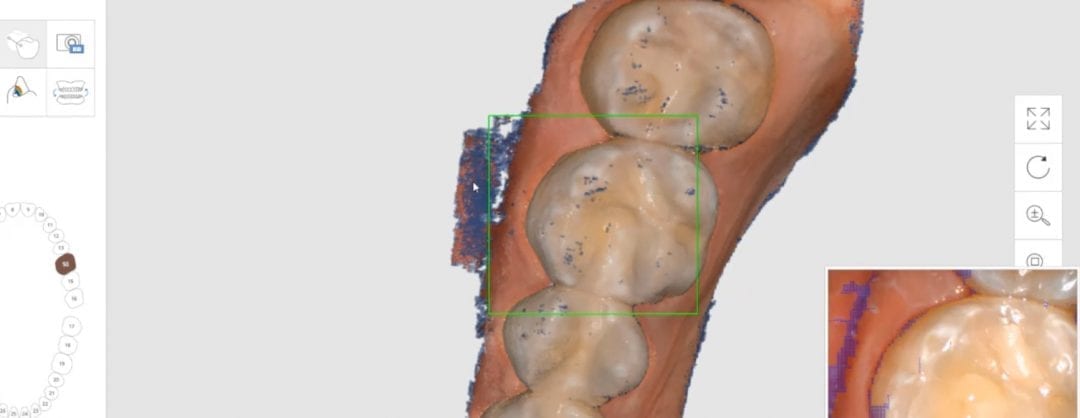
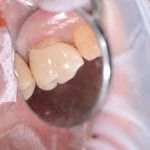
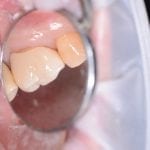
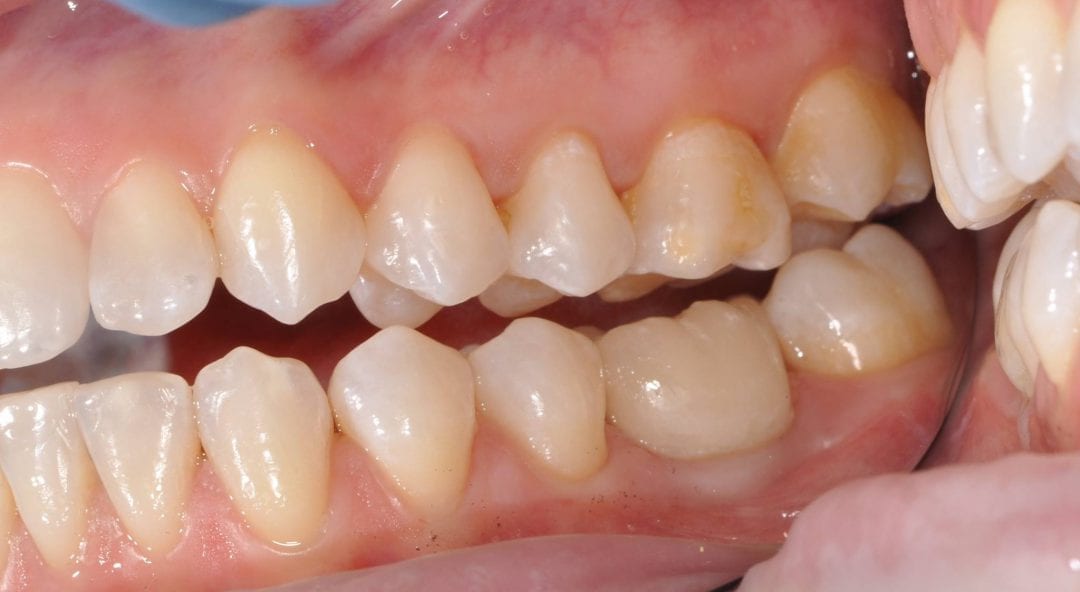
Here’s a straight forward scan of a molar crown prep. You can see how angling the camera helps you capture the contact areas of adjacent teeth. You can spend a little more time capturing more data below the height of contour, but that is not necessary as you won’t be making contact to that area (otherwise you won’t be able to seat the crown).
You can see the rest of the process of imaging the opposing and capturing the buccal bite and articulating the models together in the video. With the color capture, more often than not, it is not necessary to retract the tissue to visualize the margins.
[videopress ntWOMxfk]


Many intra-oral scanners struggle with “black triangles” where there is tissue recession. Another area that is difficult to capture is the distal of second molars. Here is a video that shows a live scan with the Medit i500 that starts from the mid-line and images all the way to the second molar, captures the distal of the second molar, crosses over to the palatal and scans from to the contra-lateral second molar.
Once the distal of the second molar is captured the camera is rolled to the buccal, and the imaging continues to the midline, on the facial. The second video shows the upper and lower arches articulated together
[videopress GpFCcORn hd=”true” loop=”true” autoplay=”true”]

In this video, you can see how easy it is to image both arches and capture all the margins and contacts. There are certain areas that are not necessary for you to capture. For example, in contact areas of adjacent teeth, you do not need to image anything below the height of contour of the adjacent teeth, since you won’t be making contacts to those areas.
This is an upper and lower case that is scanned with the Medit i500 intra-oral scanner. The lower arch was prepared first and imaged and saved. Then the upper molar was prepared and scanned as well. The bite was captured from the buccal while the patient was biting down in maximum intercuspation. Tissue retraction was not necessary in either case as we could discern the margins simply by the color difference between the tooth structure and the tissue.
[videopress ShjLWNmf hd=”true” autoplay=”true”]
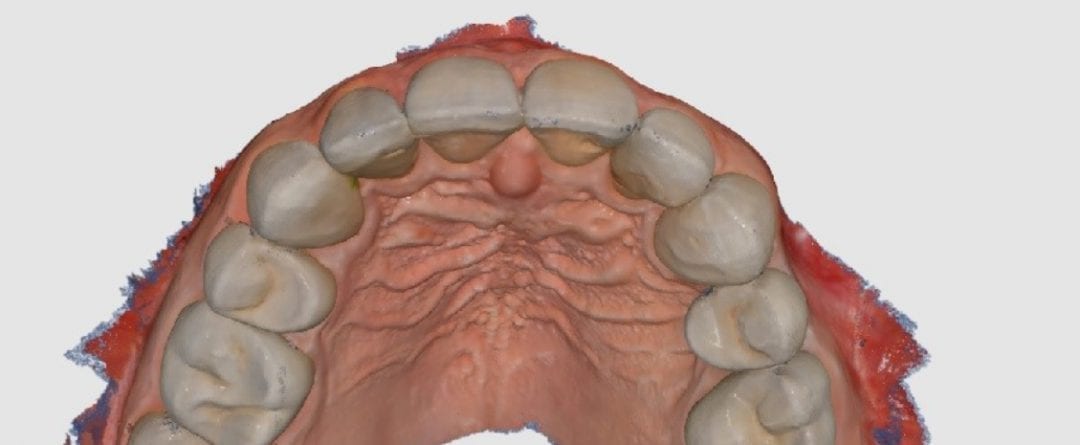
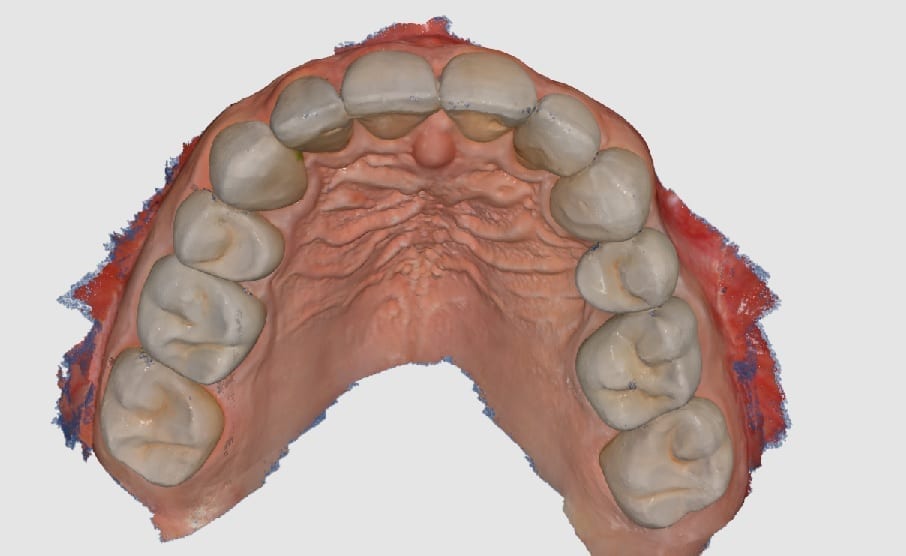
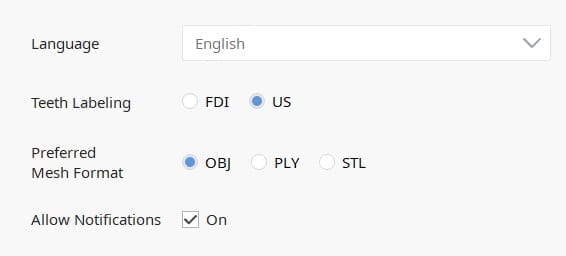 The software allows you to export the file in STL, PLY, or OBJ formats. When just submitting an STL file to the lab, the color difference in the model is not transmitted. But with other formats, you can easily convey to the lab what you see clinically.
Image of case exported as STL
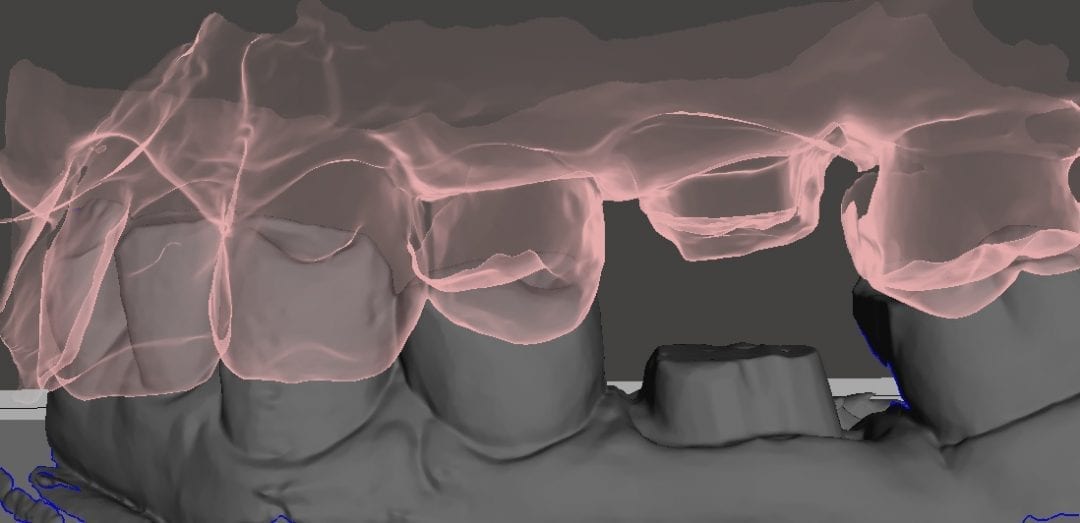
Image of case exported as OBJ
[videopress LslAuYJe]
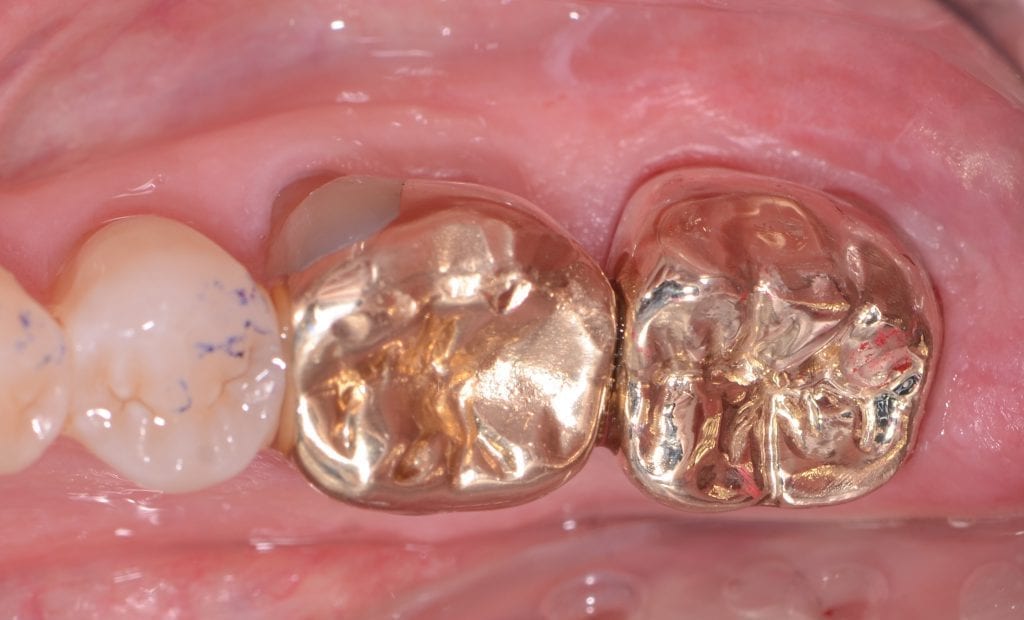
Delivery of the restorations, fabricated by Burbank Dental Lab. There were no adjustments made to the contacts or to the occlusion.


Every intra-oral scanner struggles to some degree with imaging certain materials and has a focal length that makes it difficult to image deep margins. The difficult materials are the reflective ones; like eMax, metal abutments, and zirconia. Some machines even require you to mask or opaque these materials before imaging them.
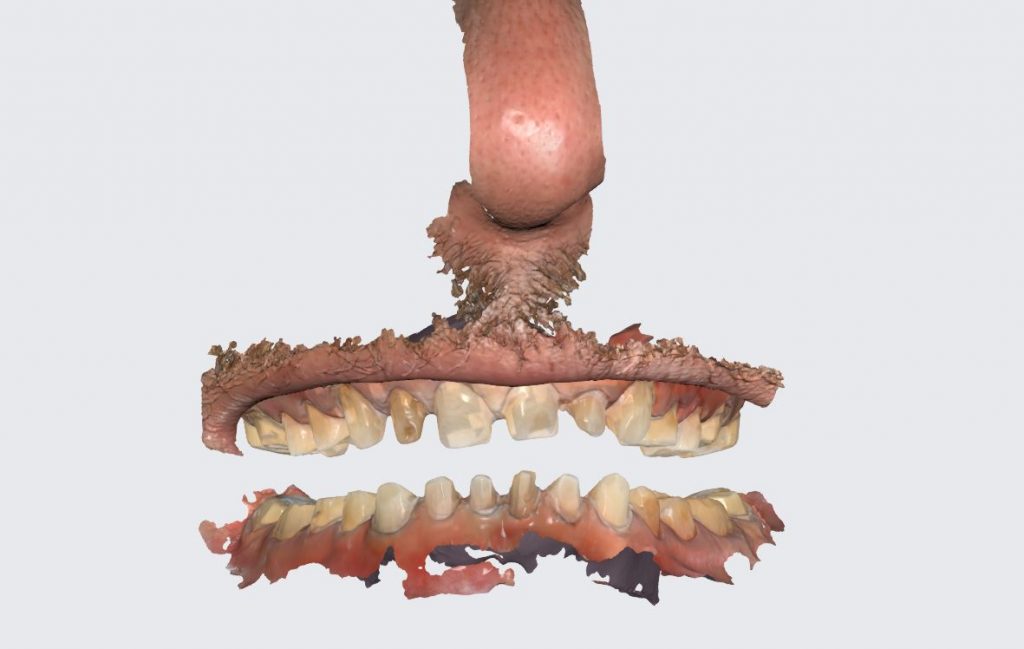
Conversely, most scanners do well with imaging soft tissue. The depth of the vestibule and the focal length of the camera determine how well you can pick up these areas. The video below shows an initial test and more particularly a technique where you pick up soft tissue and natural dentition as your landmarks and start developing full arch scans around these “anchors”
[videopress NzpWW0Qt]
The video above produced this detailed image performed with the Medit i500 camera. Total time taken to image this arch was about 5 minutes, two to three times longer than normal because every single tooth in the arch was restored with eMax. Only the anterior lingual are natural teeth. It is just a preview of more things to come from CAD-Ray.
The laptop used had the following specs:

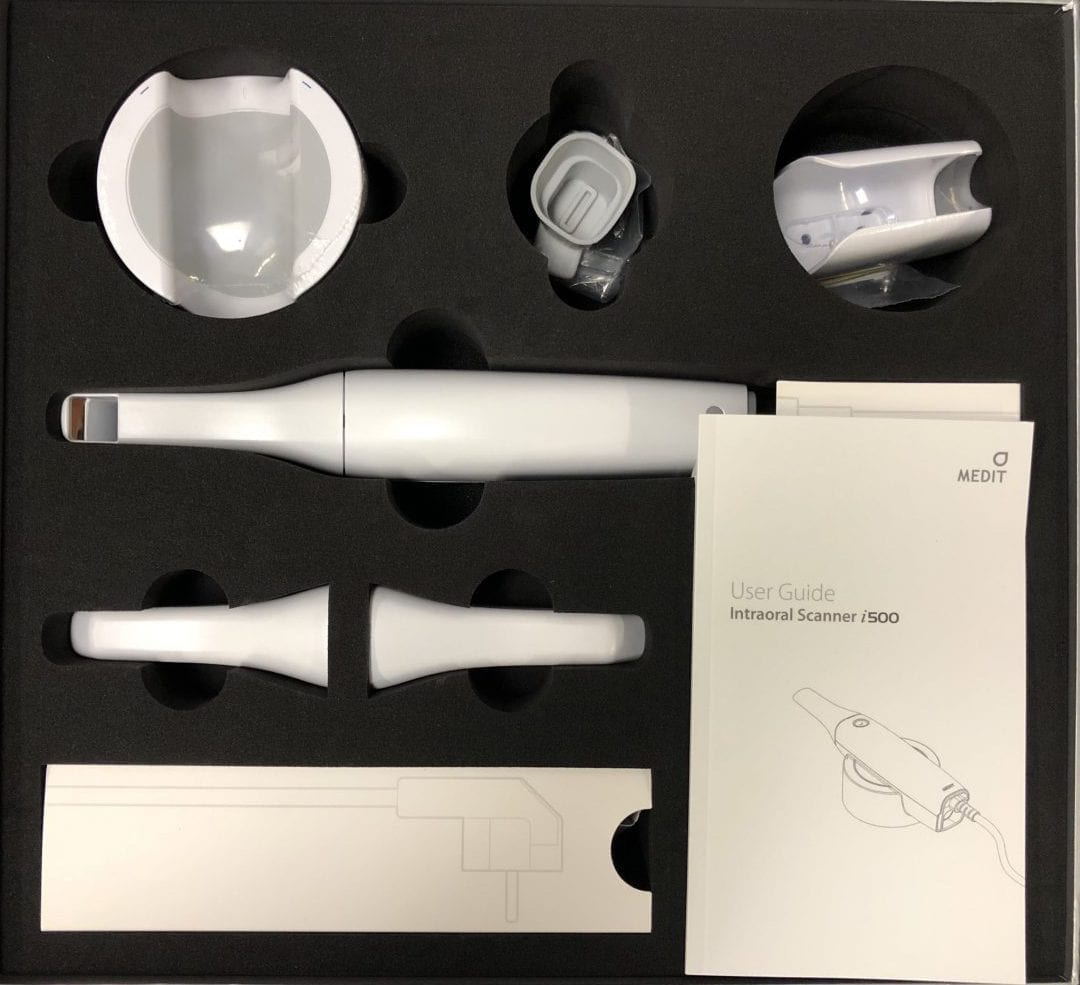
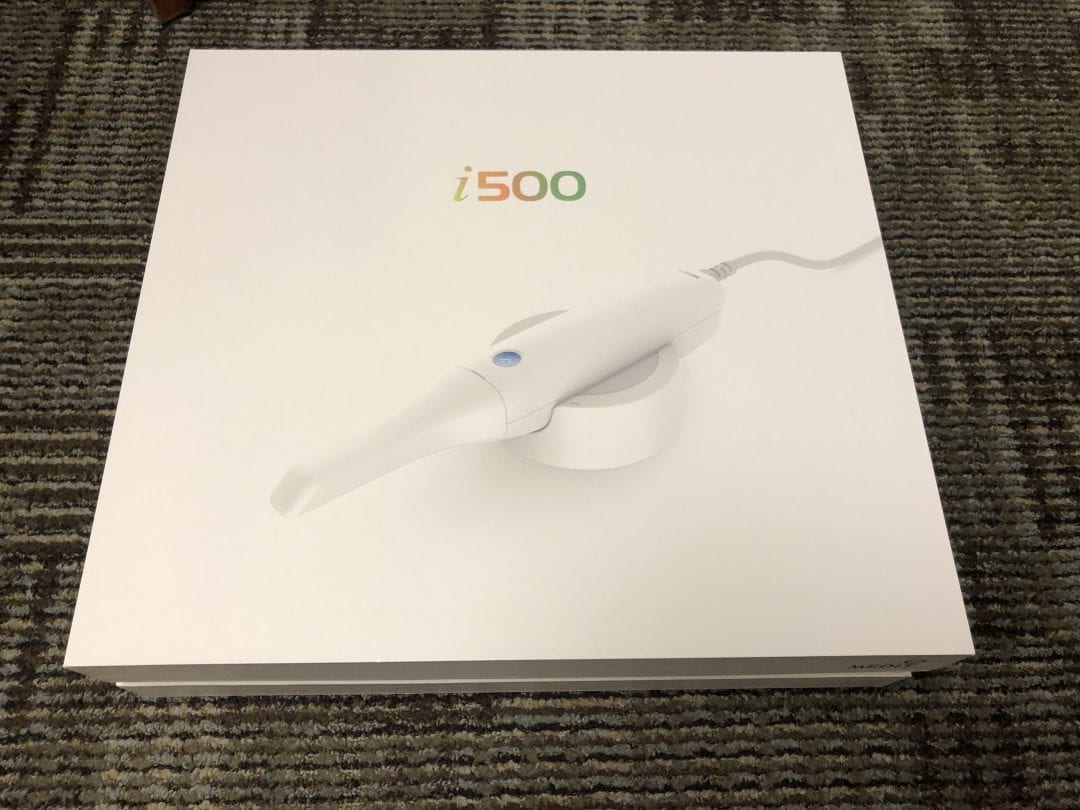
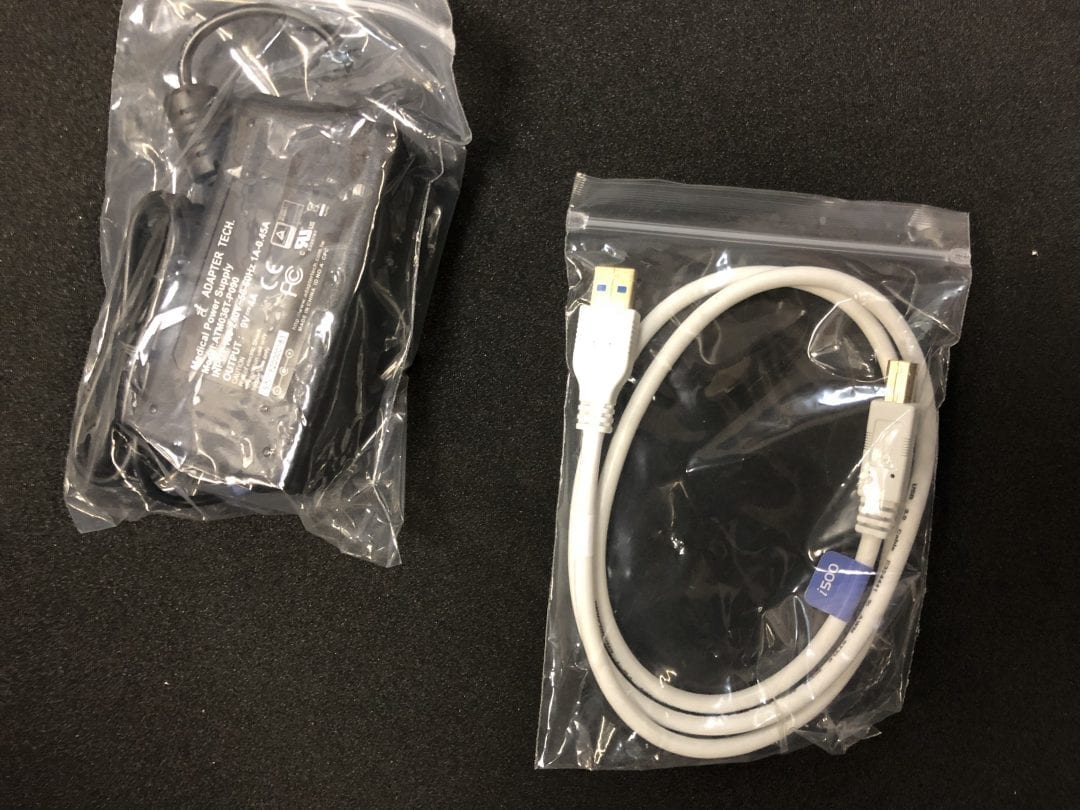
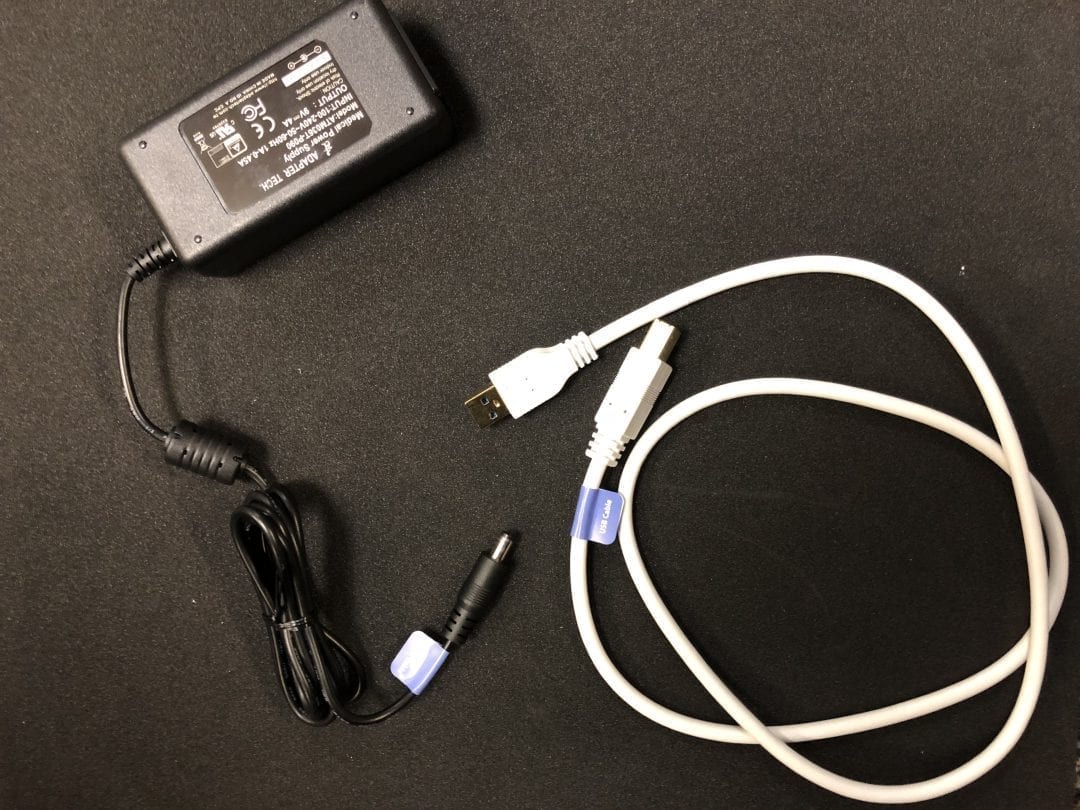
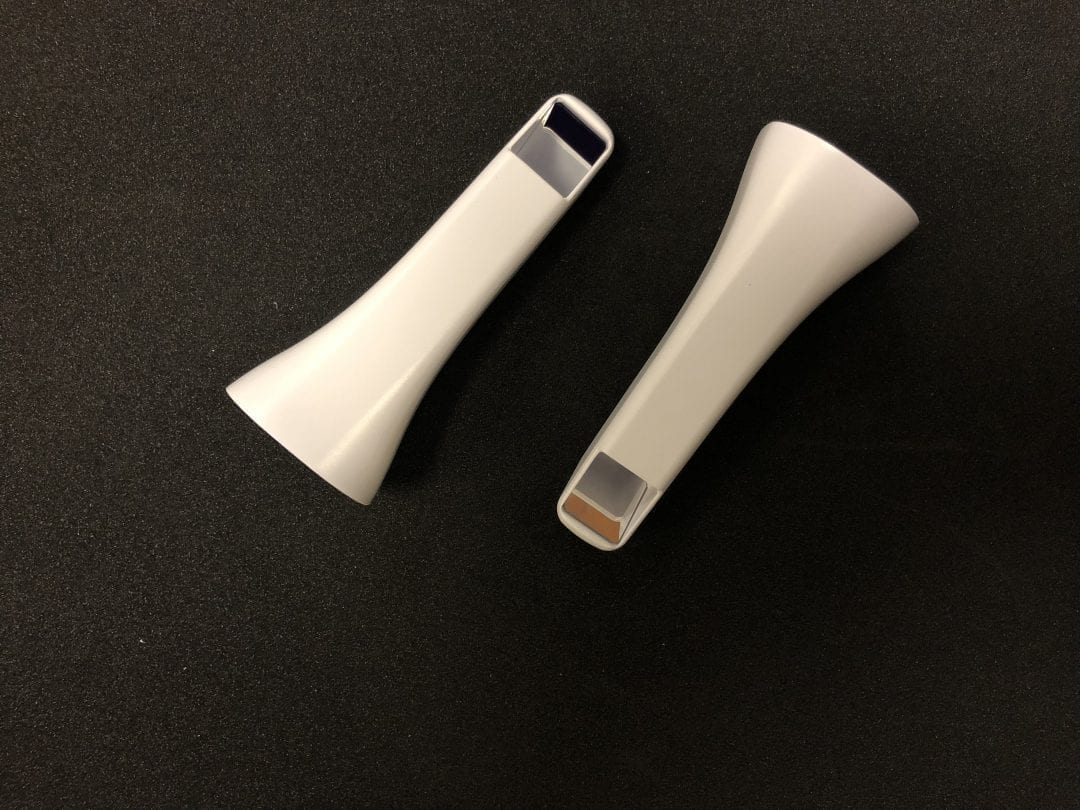
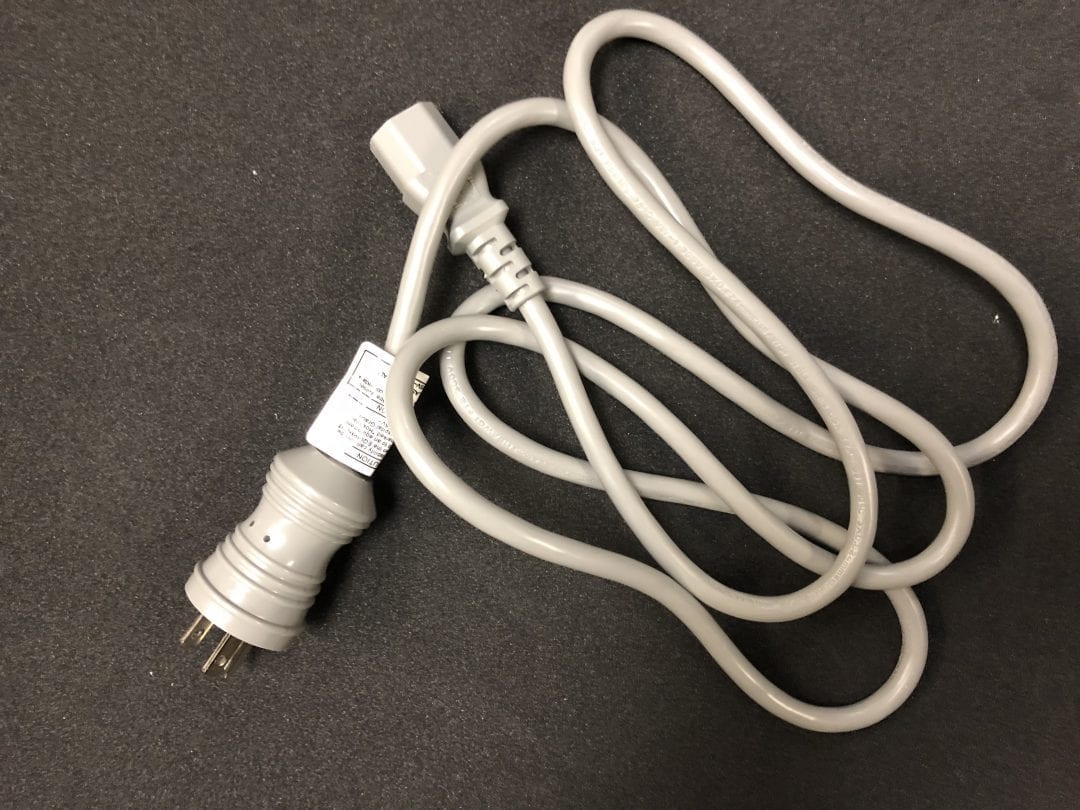
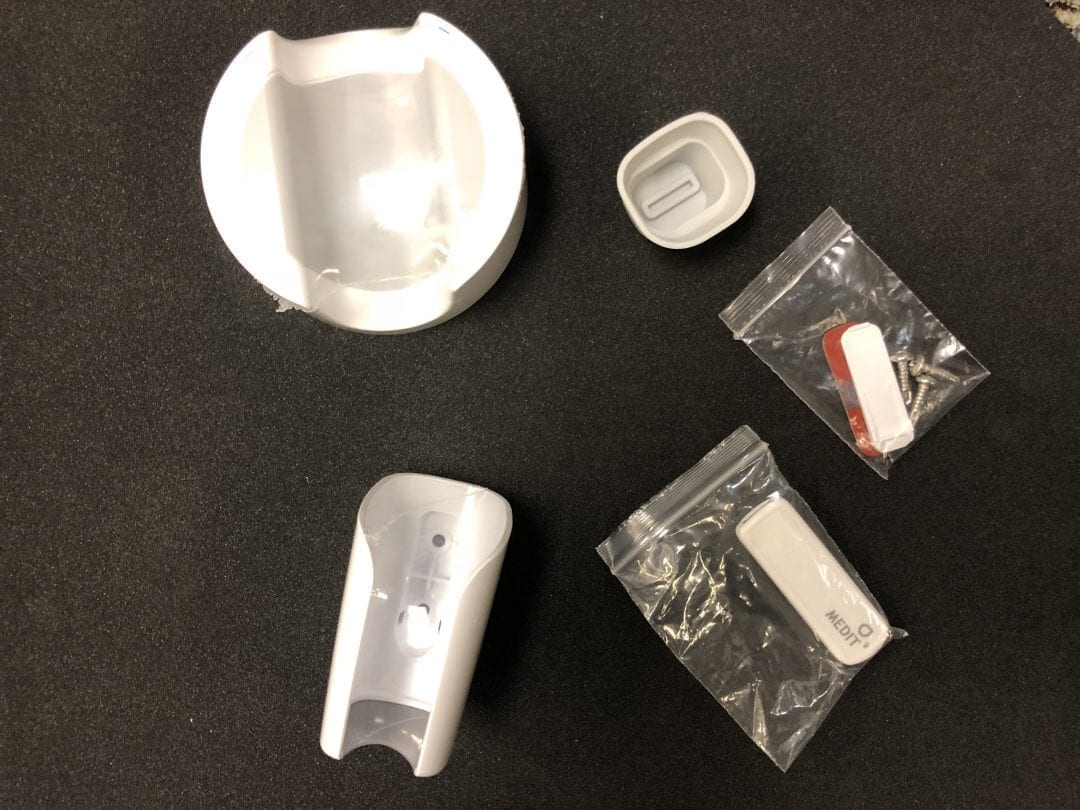
It’s always a good idea to take photos of everything you unpack whenever you purchase any equipment or technology.
It helps you keep track of all the items and where they belong, before you start installing it. Oh and reading the manual helps as well. As of July 14, 2018, you need software version 1.1.0.0 which you can download from meditlink.com

Installation guide for Medit i500

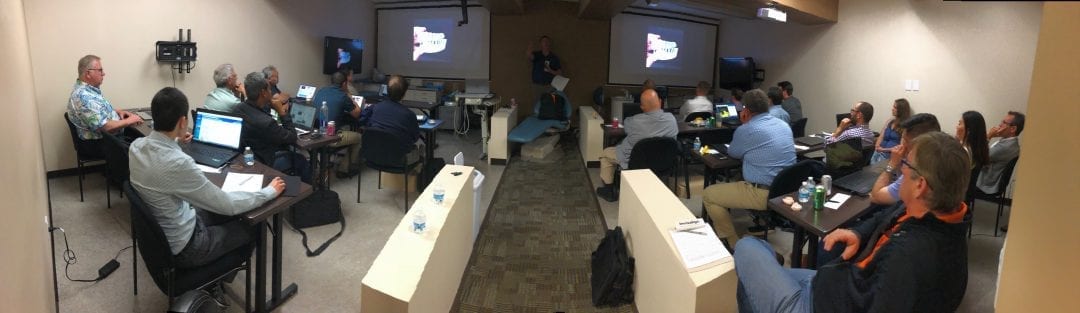
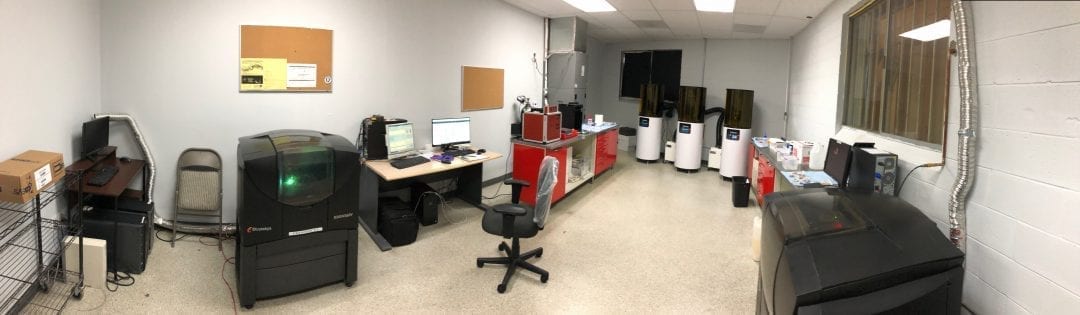
CAD-Ray Distribution LLC has a training facility located in downtown Los Angeles that also operates as a full service dental practice. We house and operate imaging machines for digital impression, we can take CT images on patients, and we can fabricate restorations in house.
We also have a close working relationship with Burbank Dental Lab which houses a variety of milling, printing, and fabricating machines.

Our programs are designated for CE credit by CAD-Ray Inc.

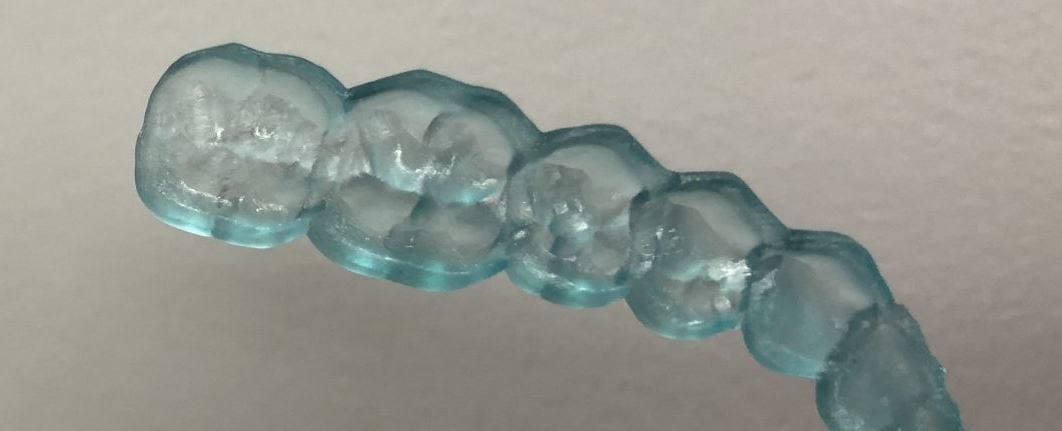
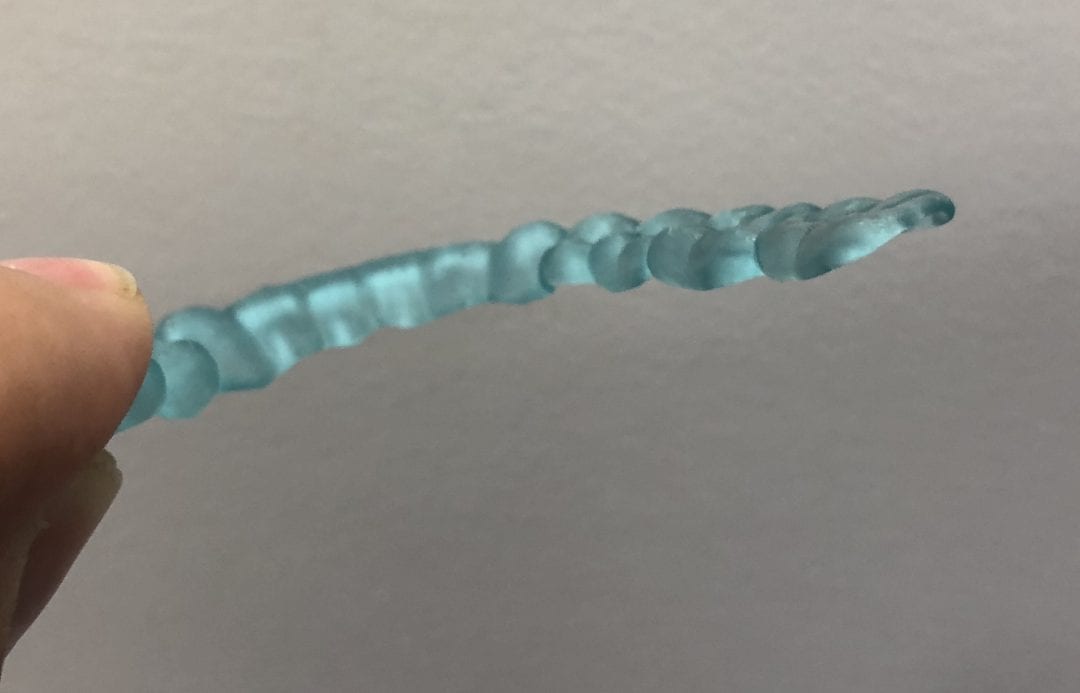 Introducing the CAD-Ray Obstructive Sleep Apnea Device, manufactured by Burbank Dental Lab. This appliance is printed with an FDA approved material by an FDA certified lab. They also happen to print thousands of surgical stents and models with a variety of printers.
You can submit your case digitally and the whole process is done without pouring up any models or suck-down stents. Printing vs. milling also has a lot of advantages with faster turn around time and less cost. Instead of delivering a device that has to meet minimum thickness requirements that inadvertently increase the patients vertical dimension, this oral appliance is ultra thin and durable.
In this video, you can see the required thickness of some materials that increase the vertical dimension to the pointy that they may cause discomfort. Moreover, we can customize the design to include small hooks and knobs, in which patients can even use orthodontic rubber bands, reducing the bulk of the material significantly.
These cases can be submitted through the CAD-Ray portal for design, sent to Burbank Dental for manufacturing (printing), and returned to you in a short period of time.
[videopress GZJ0Hrac]

Join us for this very informative seminar that will you shape your future, as we teach you how to implement the top platforms that will help your practice grow in the next five years!
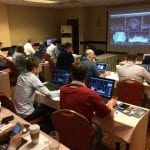
Dr. Armen Mirzayan, the founder of CAD-Ray Imaging, Implant Planning, and Stent Manufacturing Services will be conducting an event designed for CAD/CAM and/or Cone Beam users AND non-owners alike! By attending this seminar,

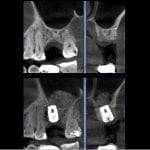
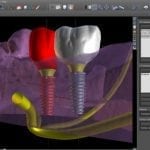
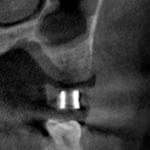
One of the greatest a clinician can learn is to master implant restorations by being involved in the planning and treatment of the case. Very quickly, you can realize how the exact placement of the fixture will determine your clinical outcome. Giving yourself enough running room to create the emergence profile is critical. Watch this video that explains where to place the implant so you can create natural looking restorations


You must be logged in to post a comment.