


Exocad comes in many formats. You have the demo version where you can design cases, but nothing can be saved or manufactured and the full version, that is generic in all its setting that you can customize to your liking. You must purchase a green dongle for the demo version and a blue one for the full version:
Download Demo Software for the Demo Dongle
Download the Full Version for the Blue License
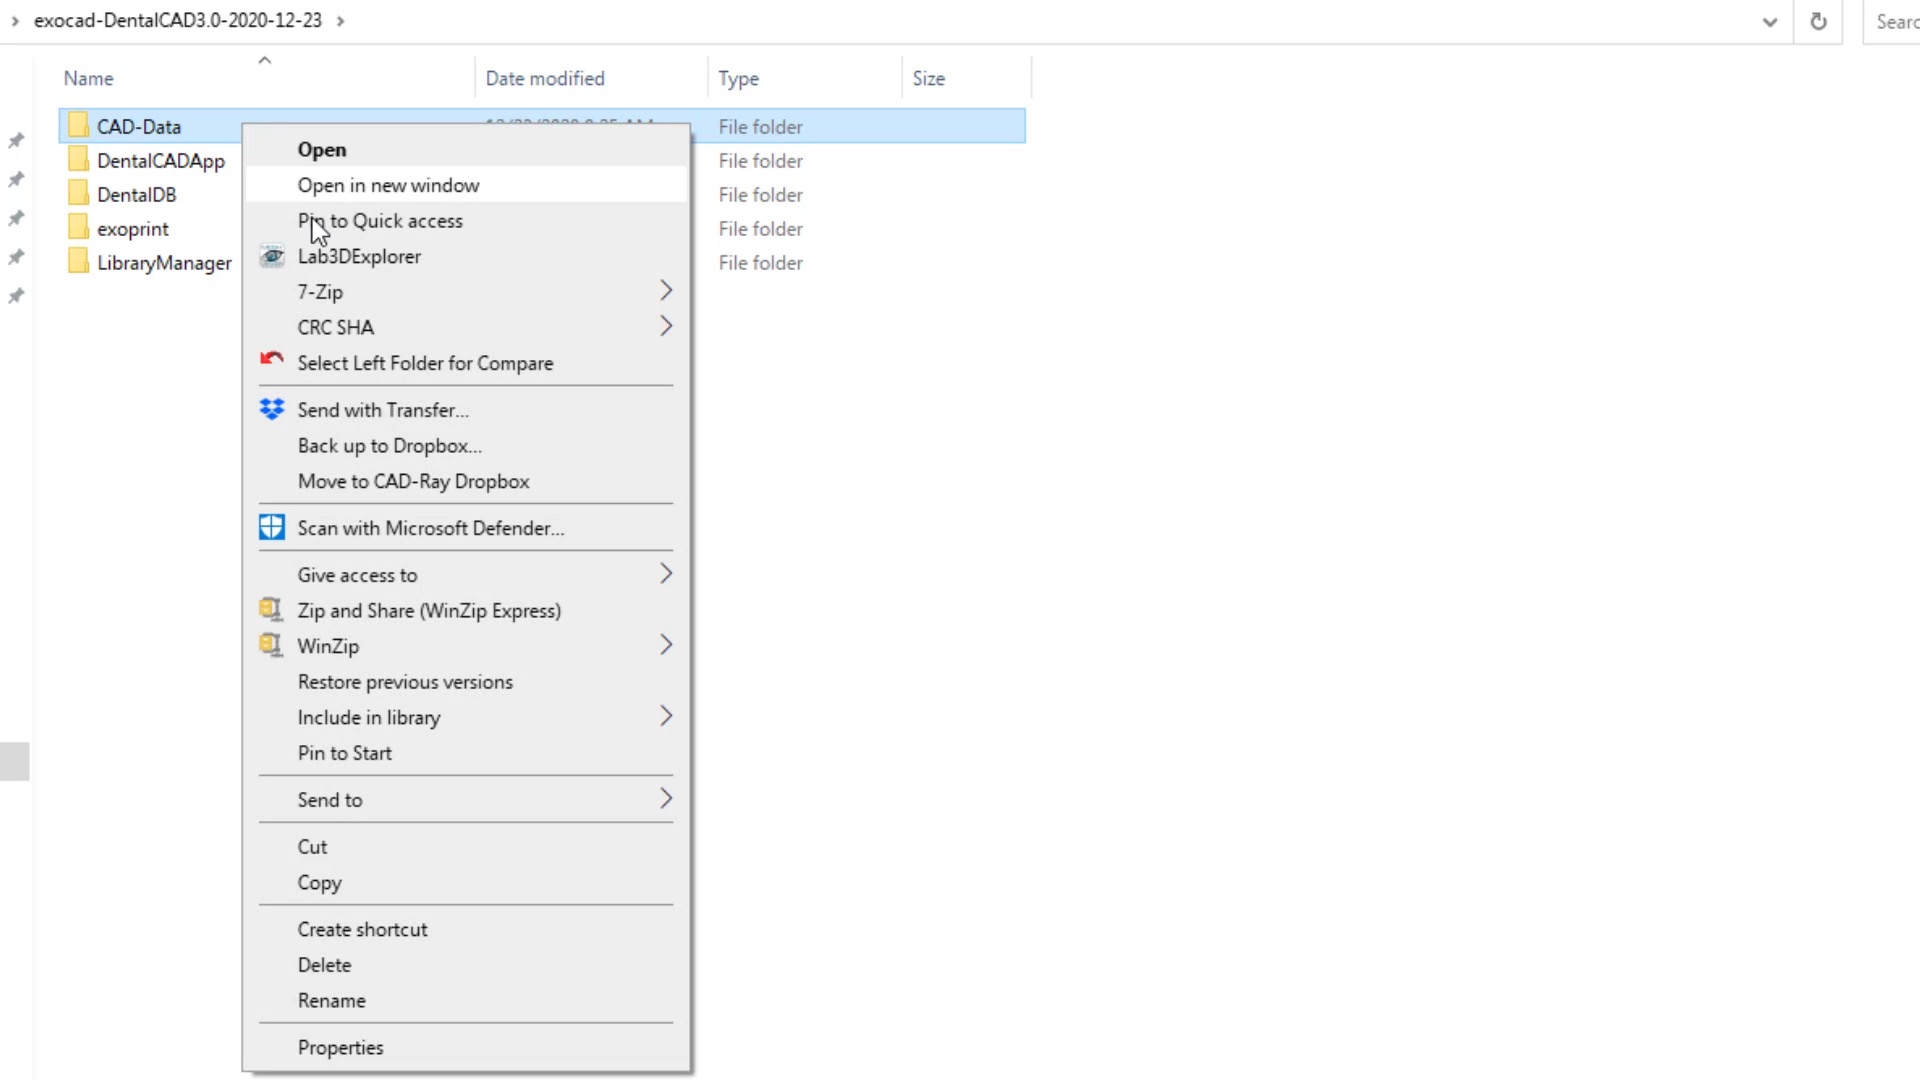
After you download the 7zip file, unzip it into a folder. If you don’t know what unzip means or what 7zip is, please step away from the computer and immediately contact someone else to take over and do not procced from here. Once you use 7zip to unzip the file you will have a folder that will contain 4 folder:
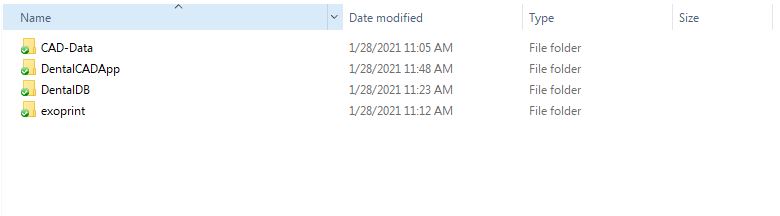
The CAD-Data folder contains the patient cases, DentalDB is where you create the Prescription Form, and the CADApp folder is where you do the design and where all the implant libraries are contained. The CAD-Data folder, a lot of advanced users like to place on the network or even a HIPPA compliant cloud service and have all their machines point to that storage area so that they can access all their cases where-ever they are without having to take their computers with them. Copying and pasting the folder that contains the the CADApp and DentalDB to any other machines essentially installed the program. There is no installer like you are used to with other programs. Note that the path to the CAD-Data direct has a unique path in each machine and is dependent on the configuration of each machine.
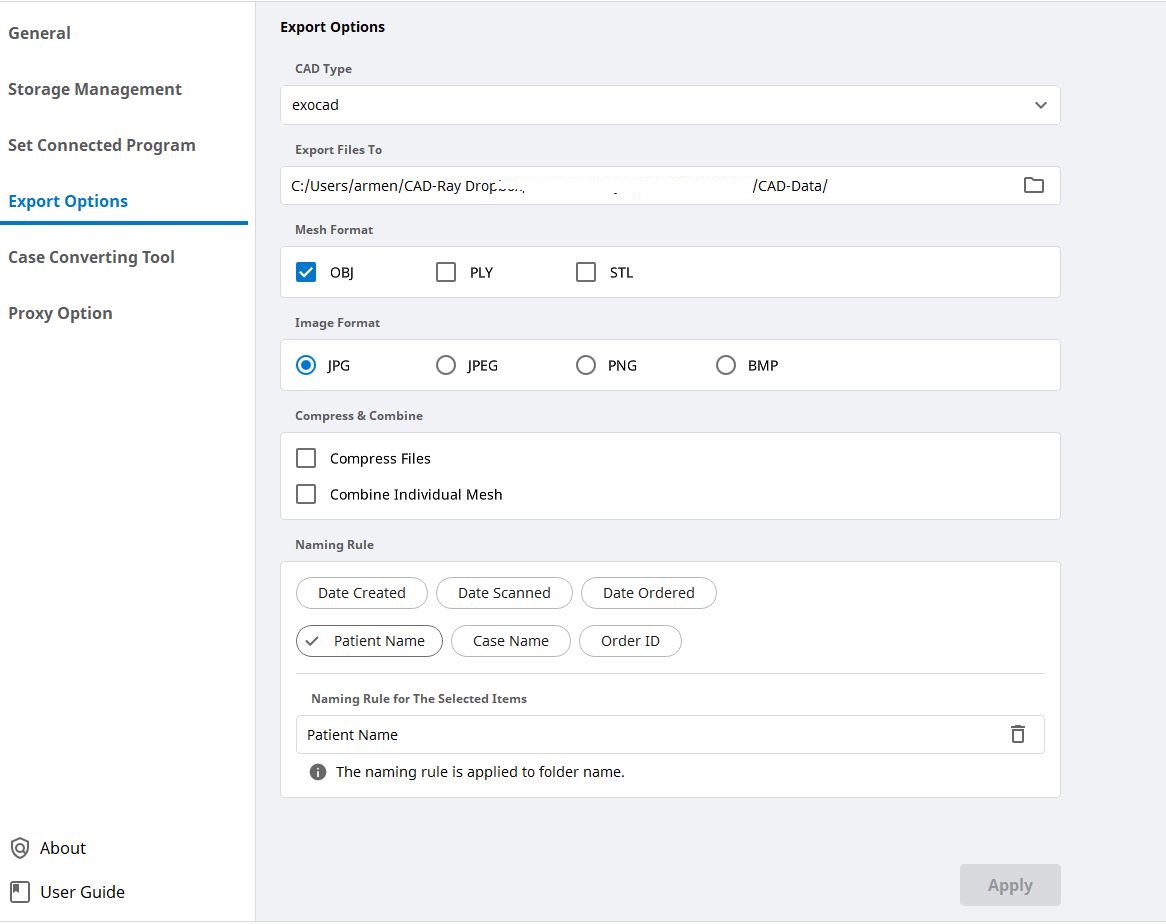
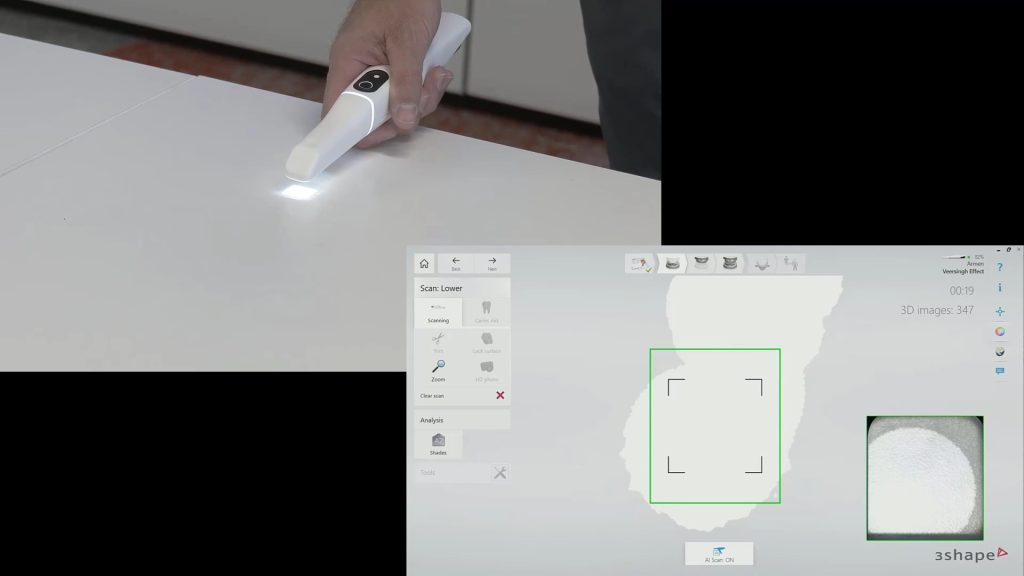
For our Medit users, we recommend that you chose the following settings for the export feature: Point to the same directory that your CAD-Data is located and then choose only the Patient Name as the export option
You can also set your Meditlink program to connect to exocad by going to the settings menu and visiting the “Set Connected Program and Choose the DentalCADApp.exe file in the DentalCADApp folder so that you can directly launch the design software and properly import the models and line them up in the proper vertical dimension and start designing. 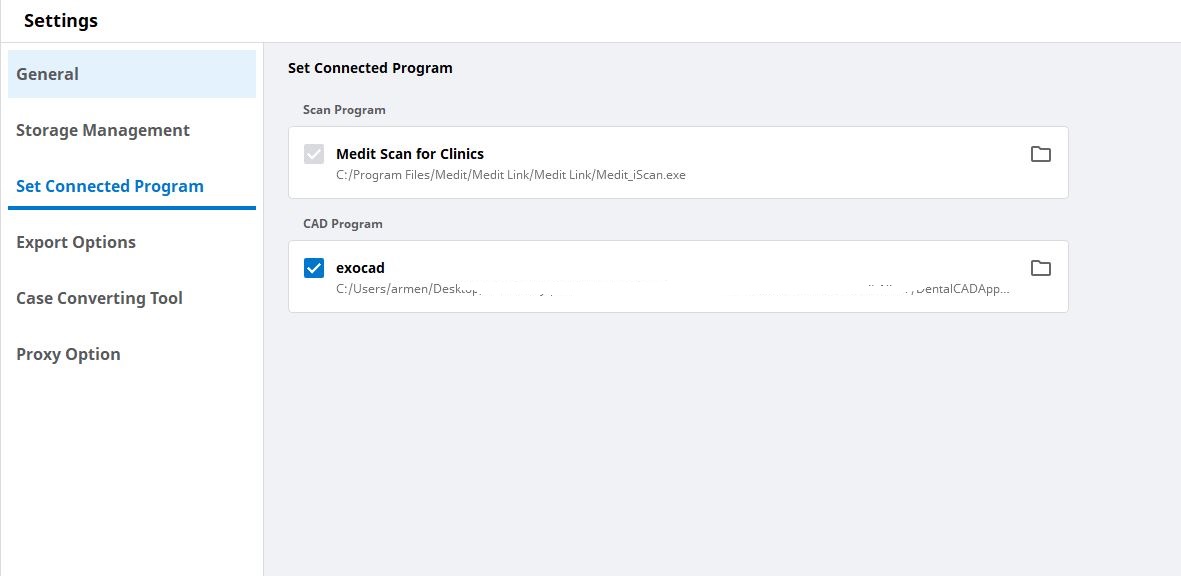
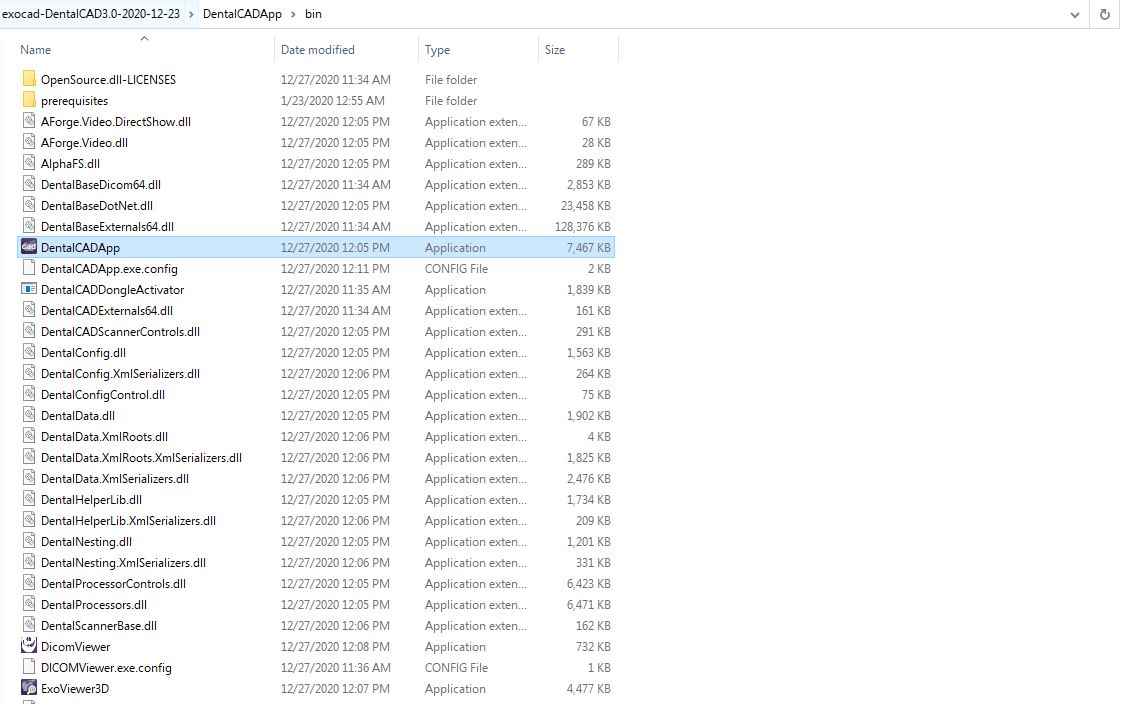
You can find that file located here: DentalCADAapp > bin > DentalCADApp.exe
Now lets do the same with exocad and configure it so that it follows the same exact nomenclature and location. This part is a bit tricky but once you do it gets easier every time. Watch the video on how its done.
exocad set up

You must be logged in to post a comment.