


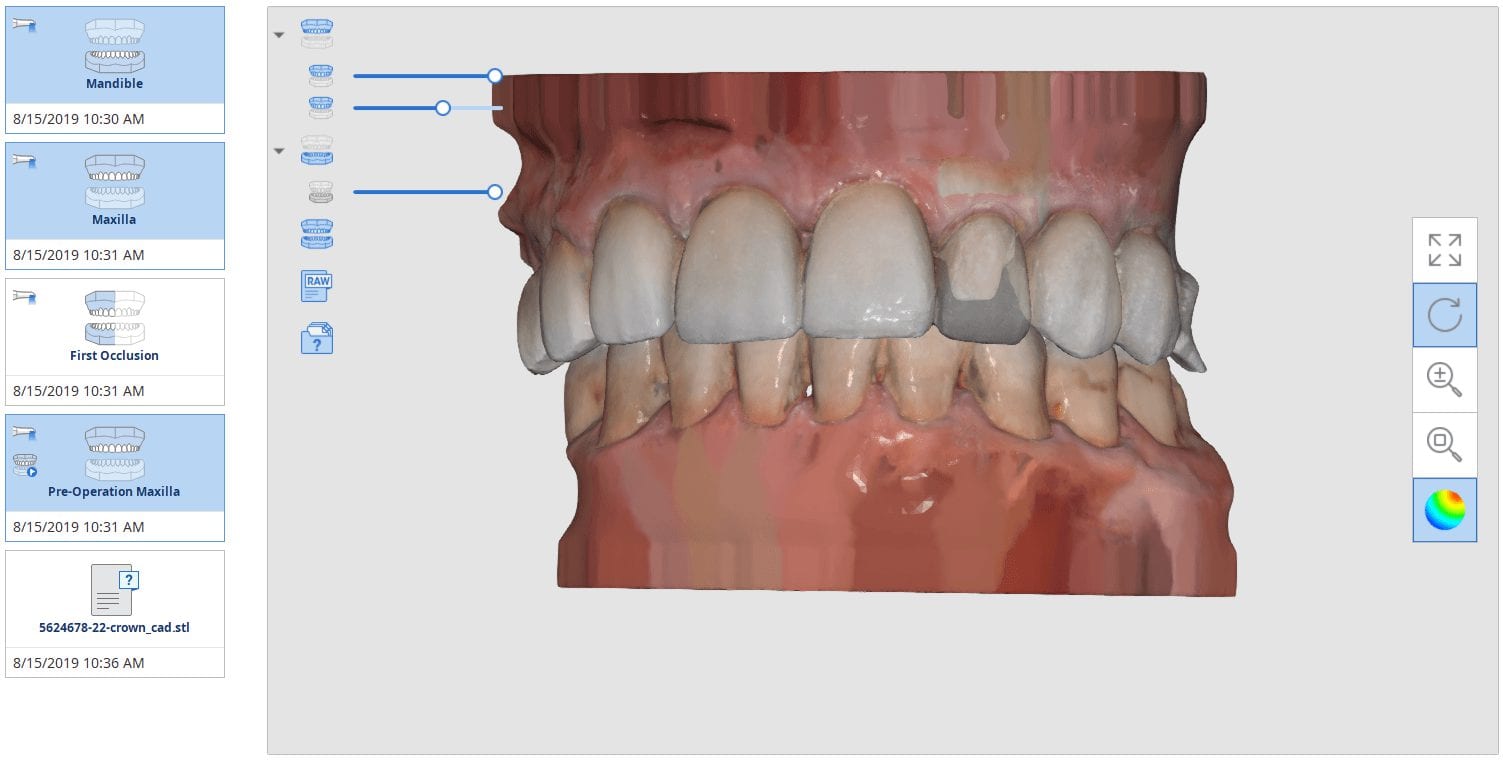
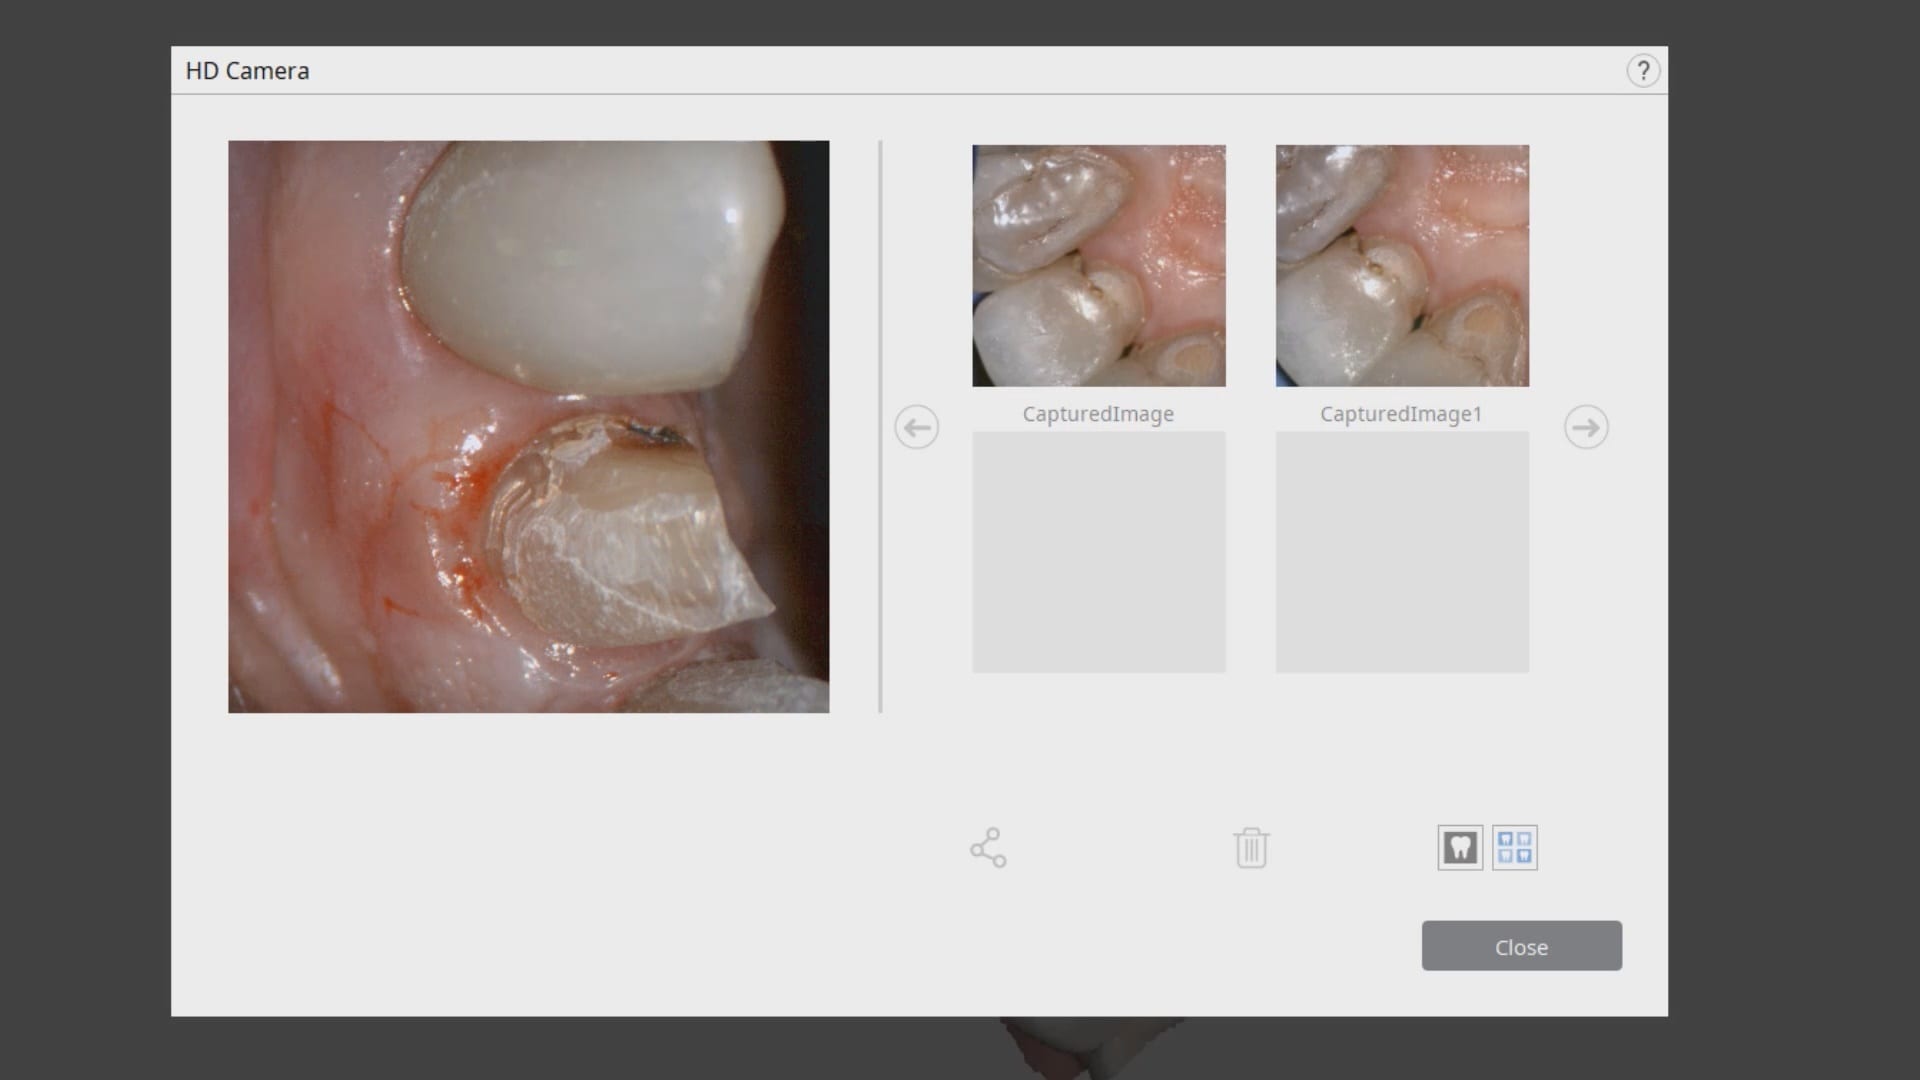
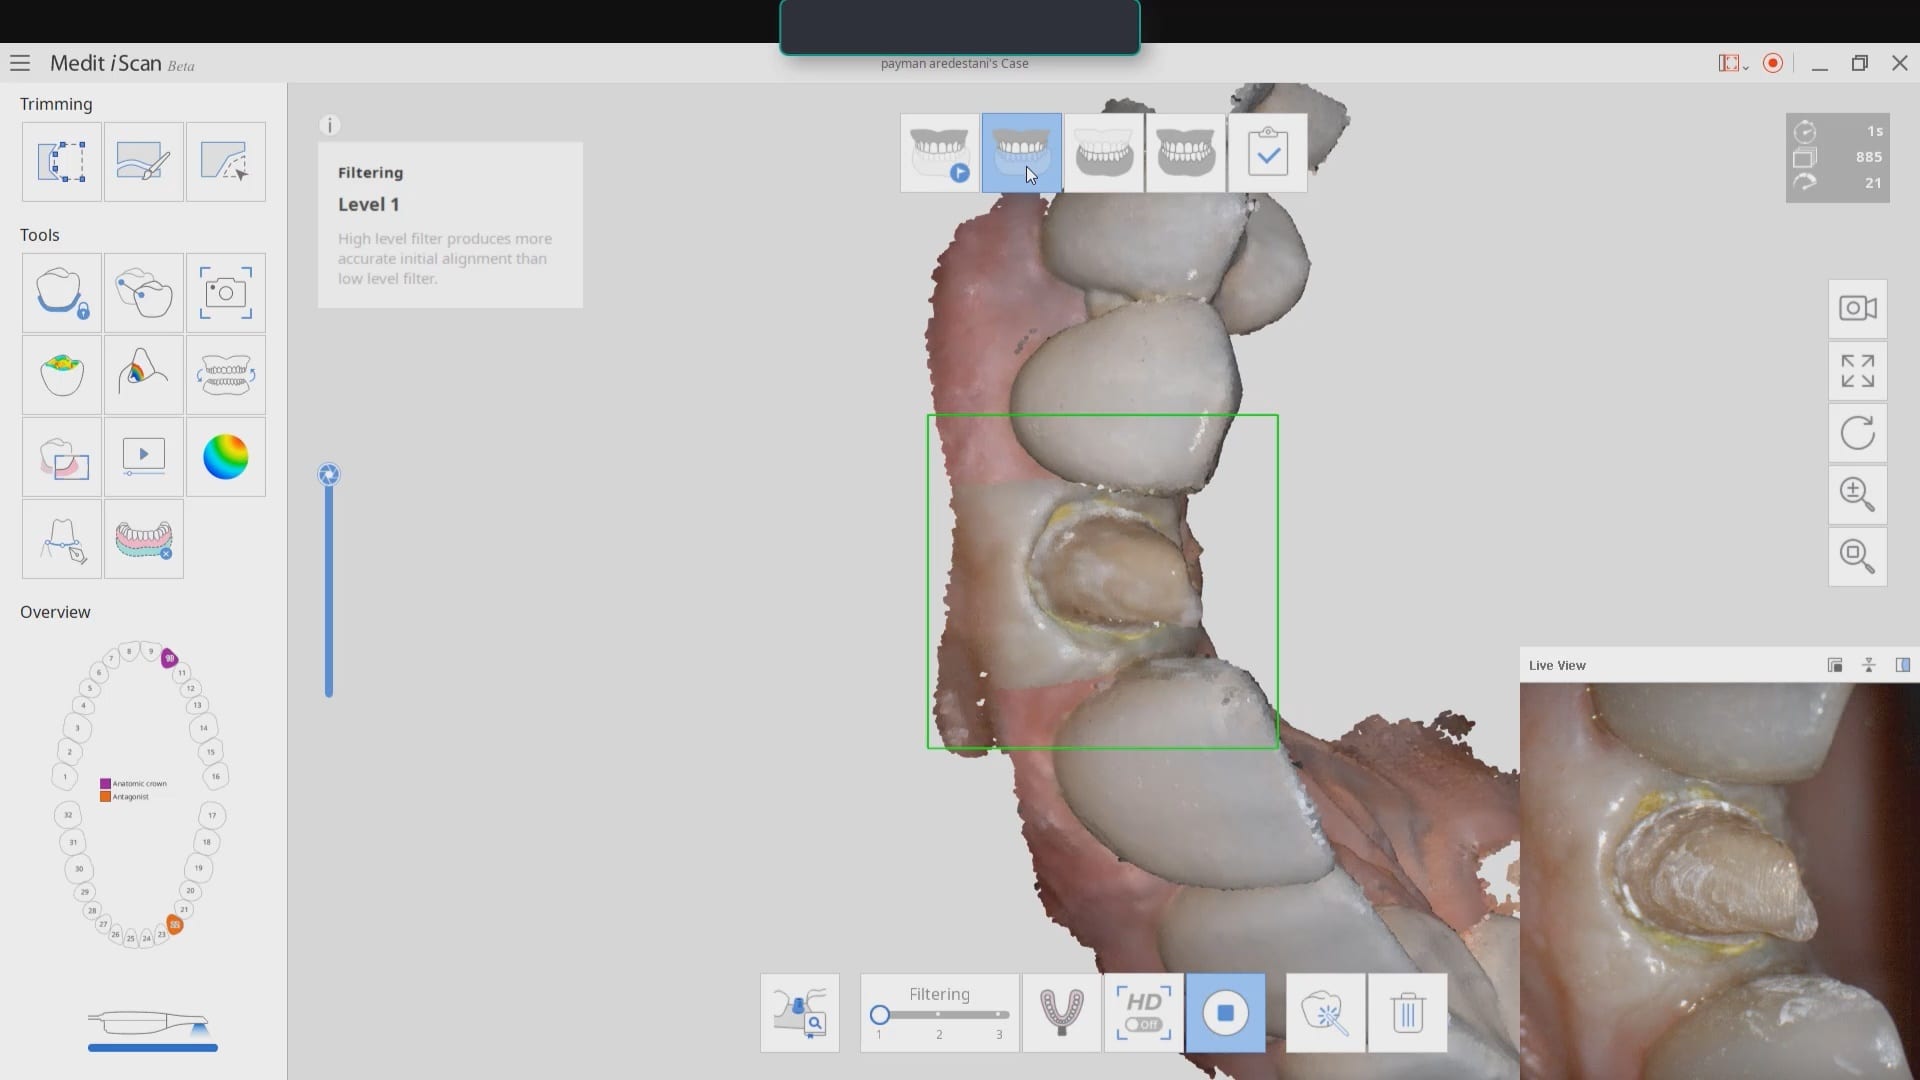
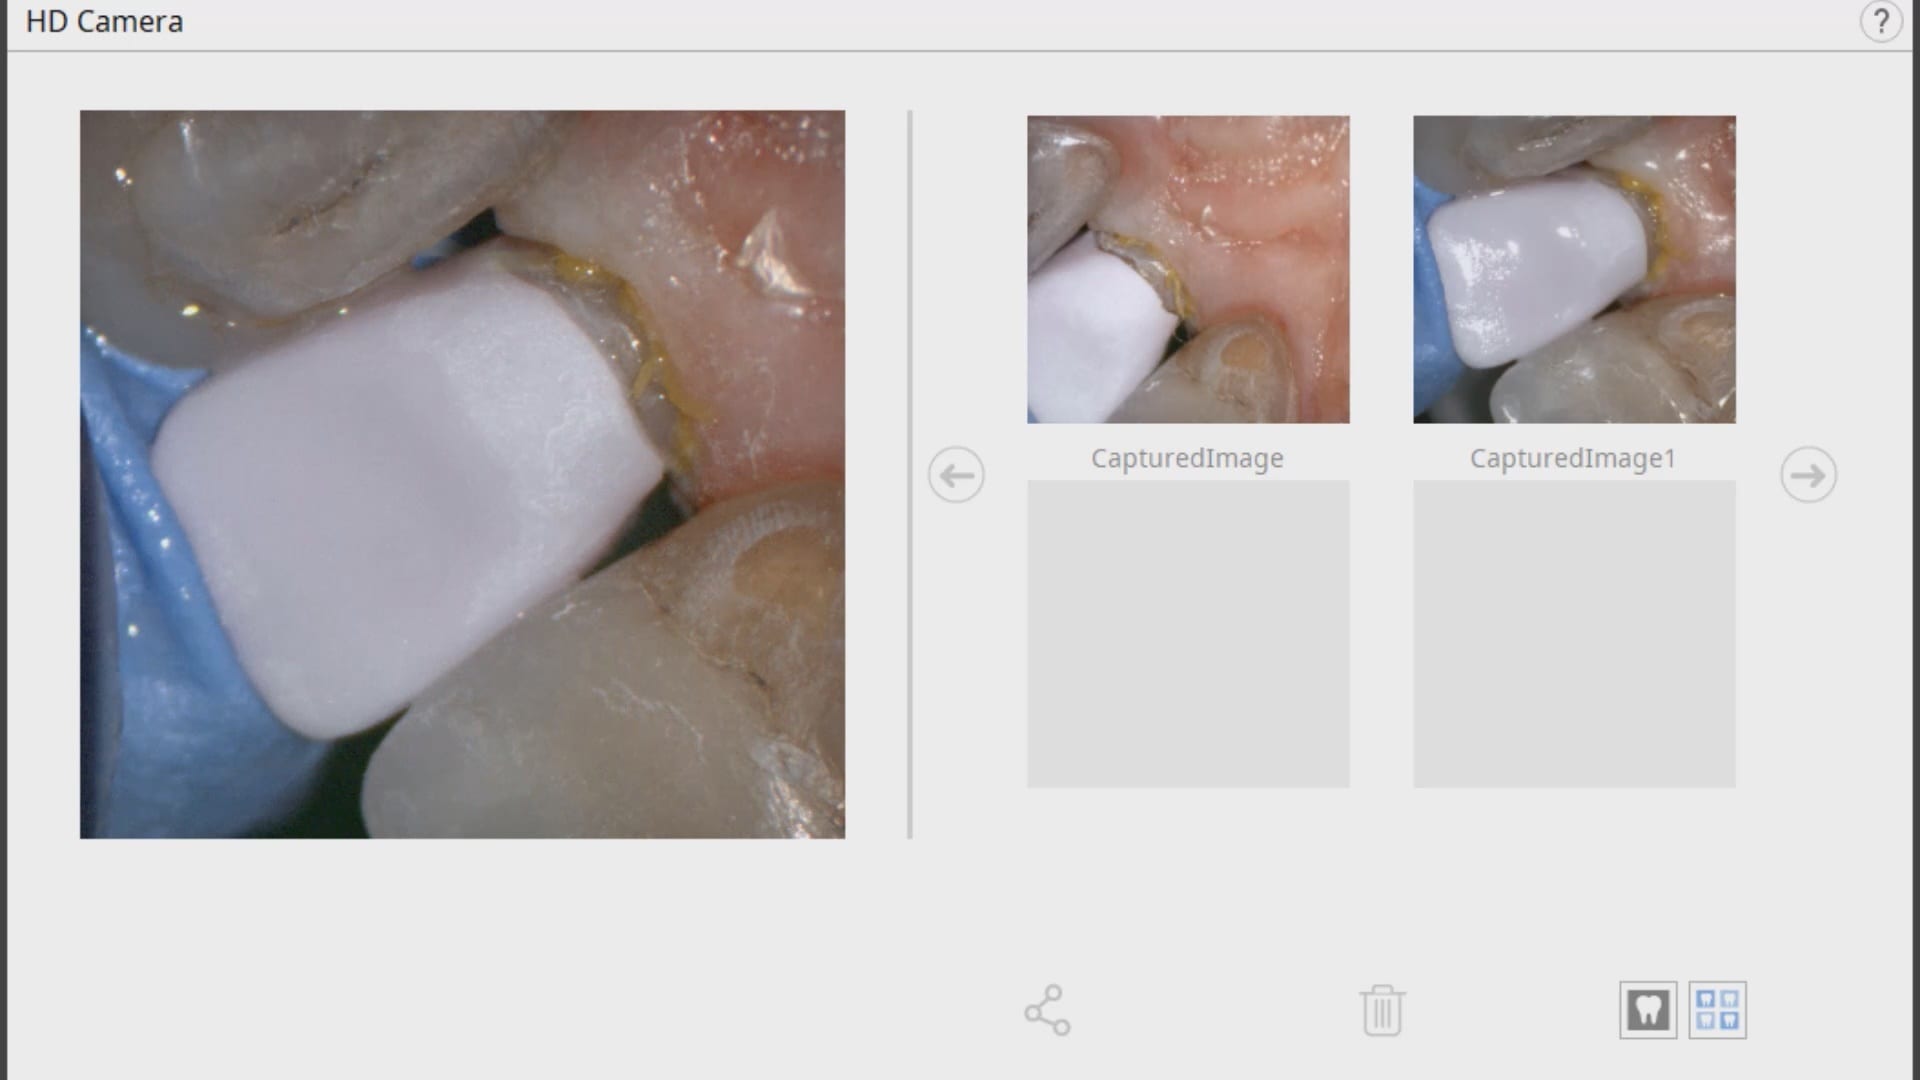
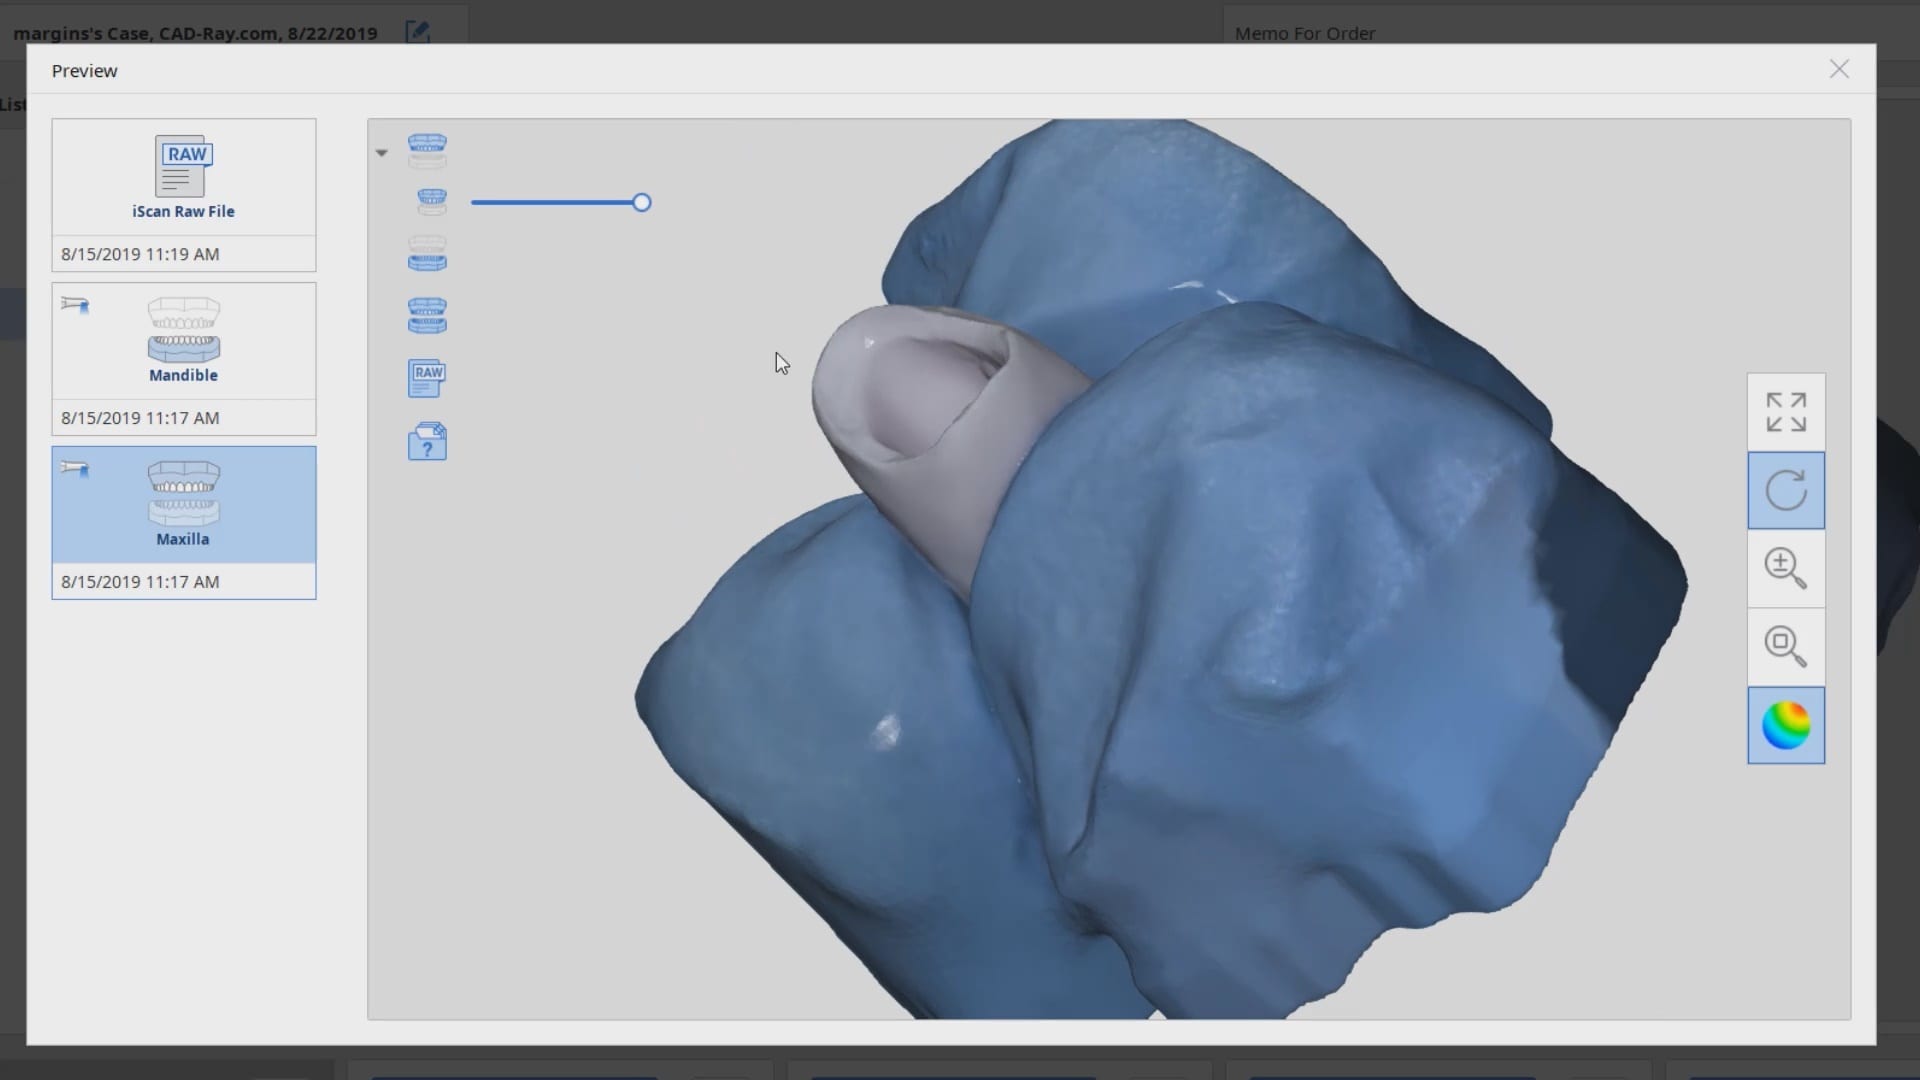
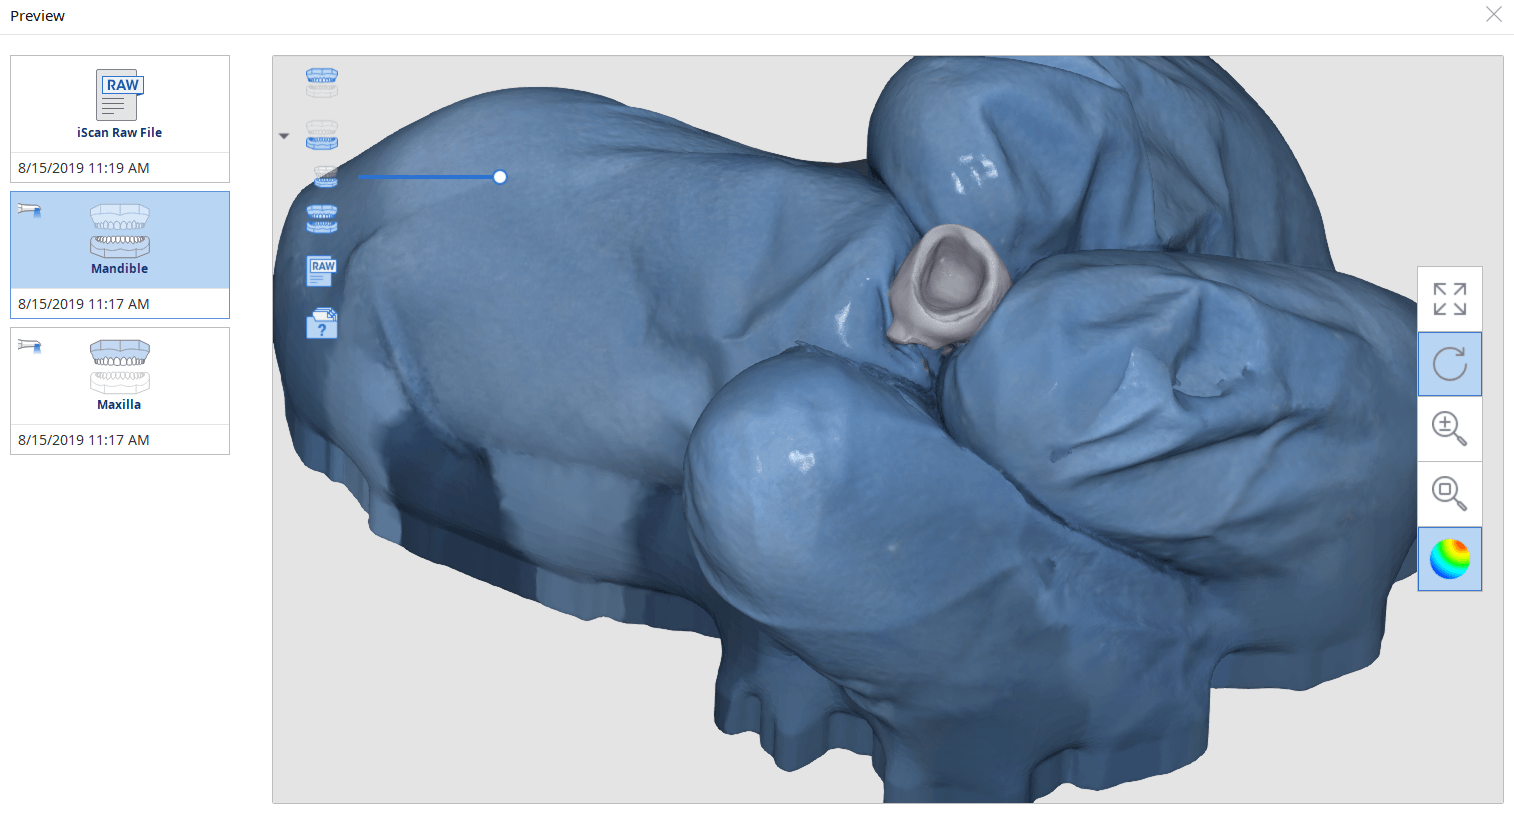
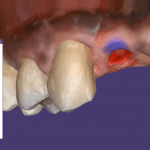
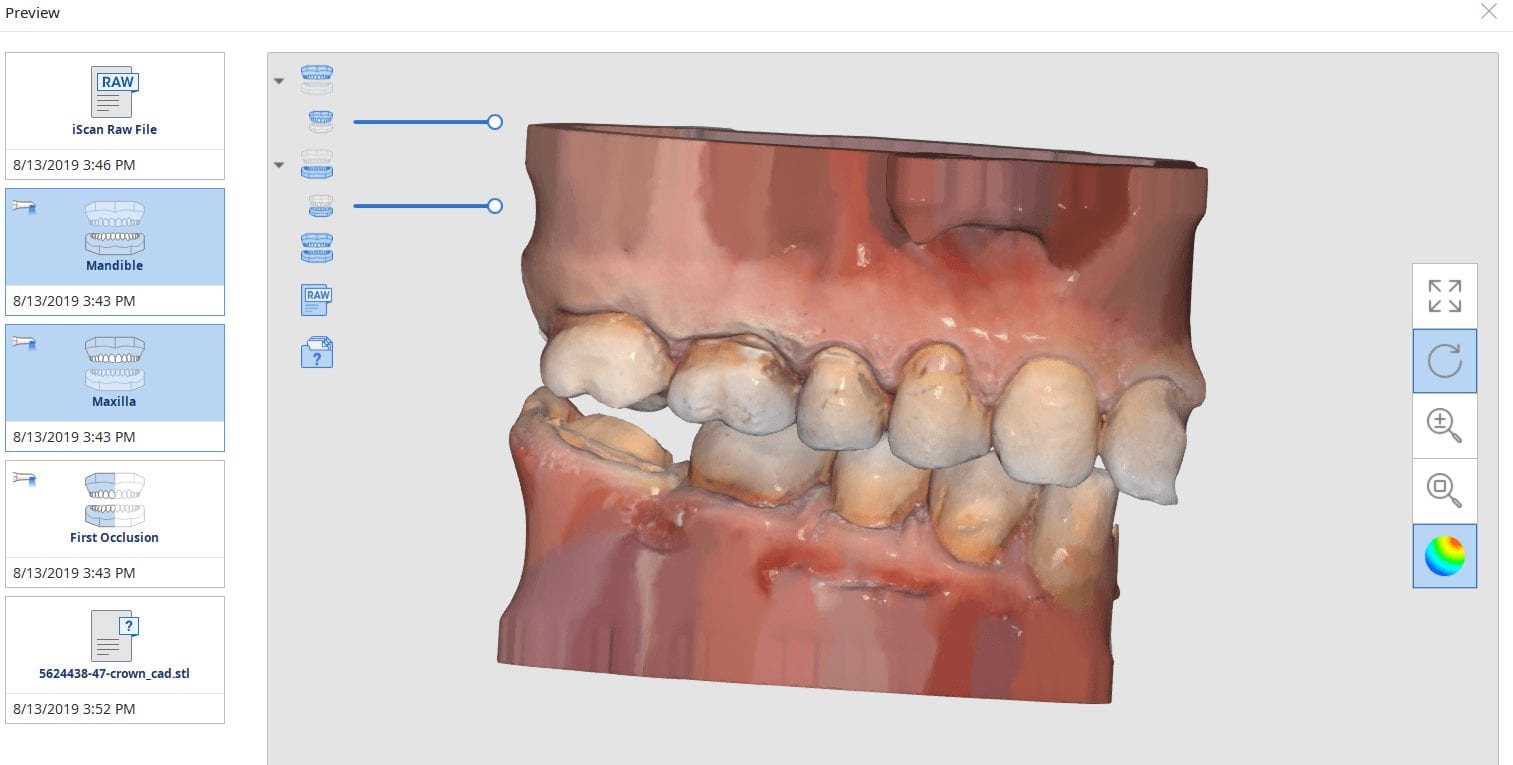
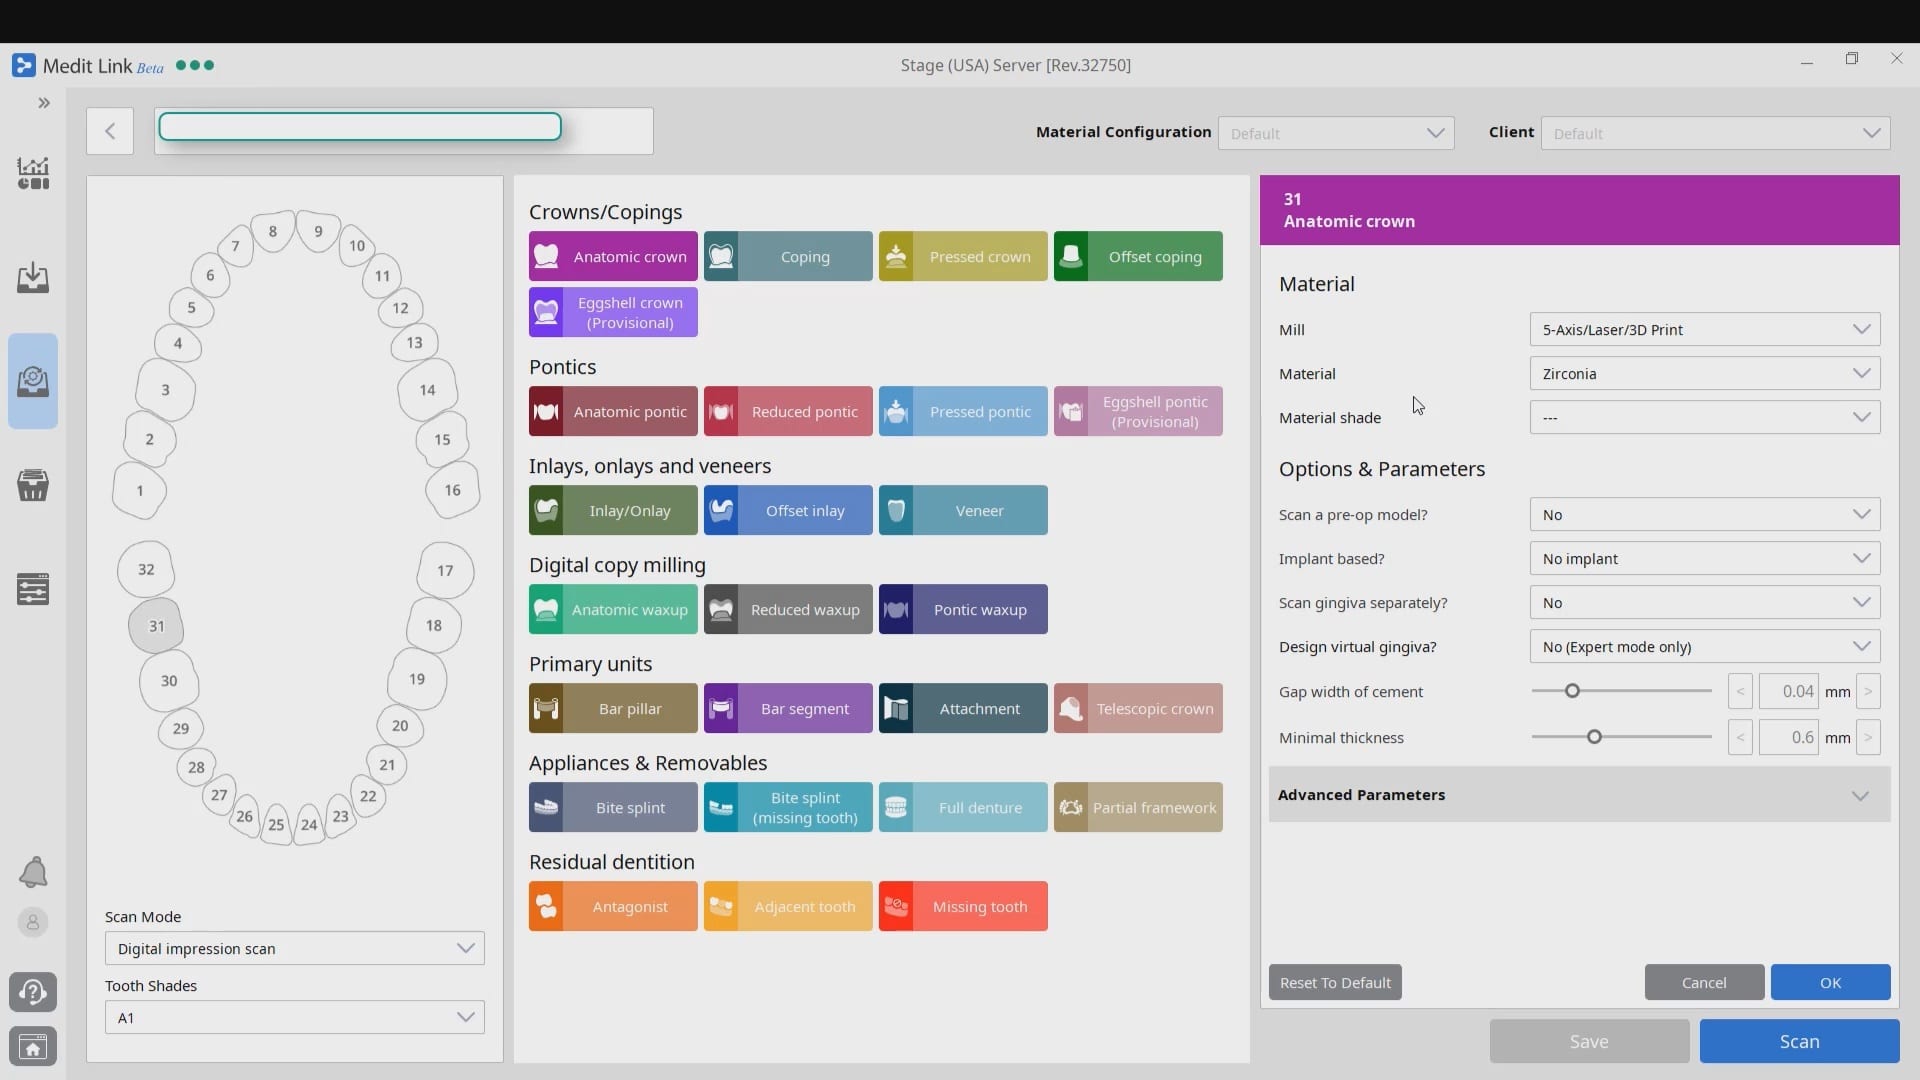
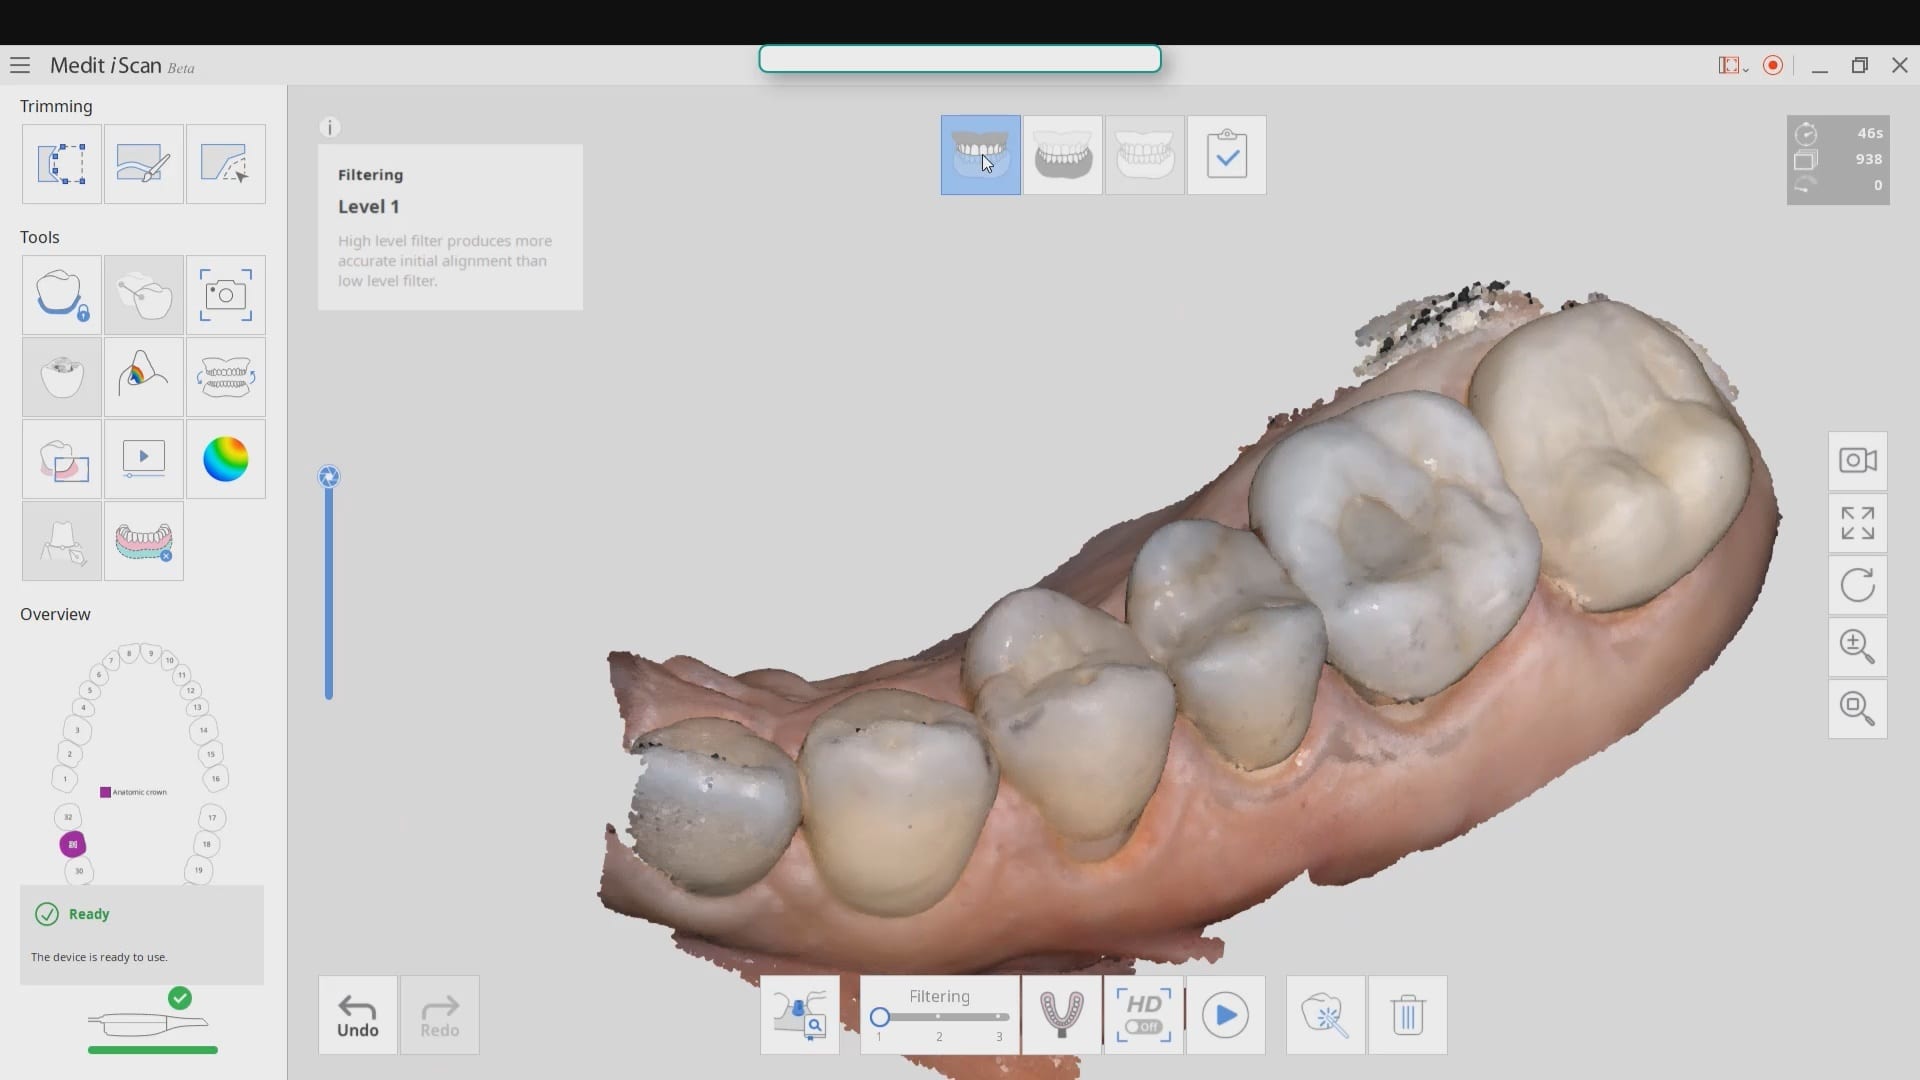
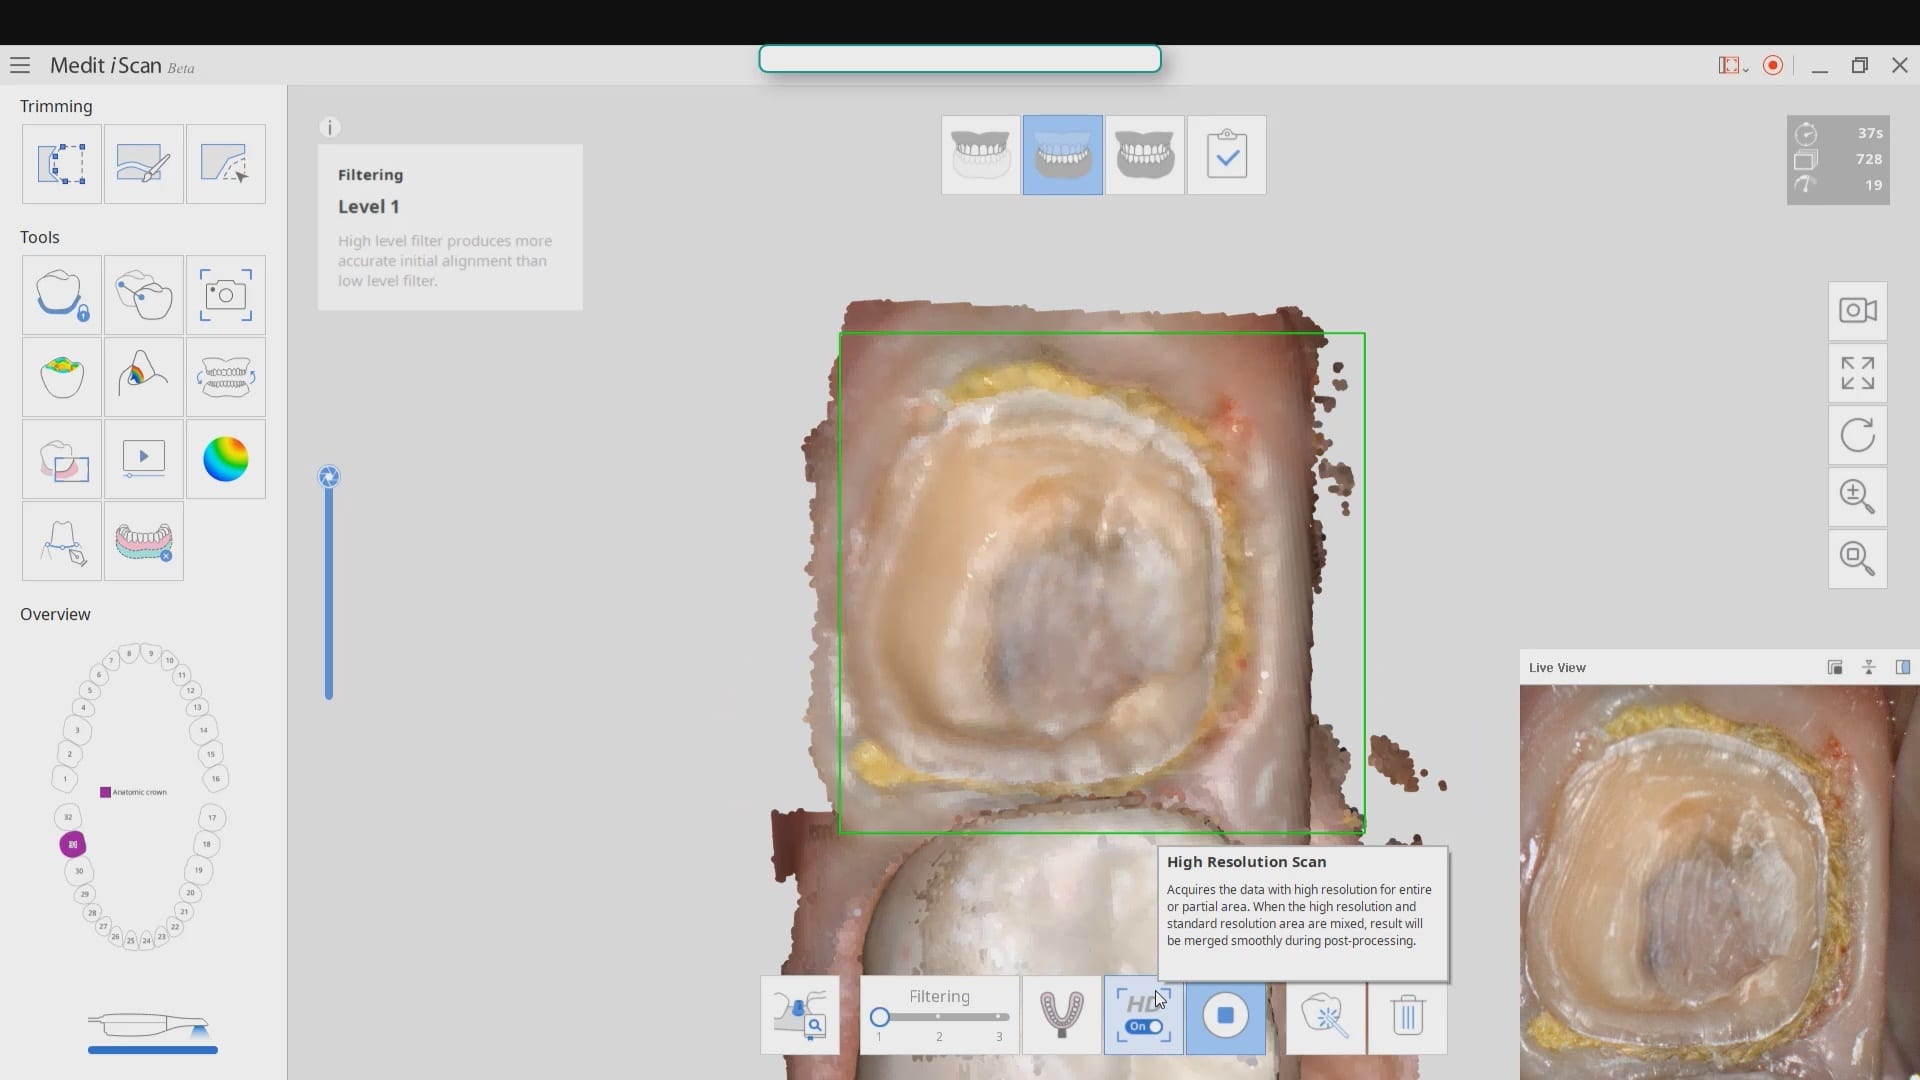
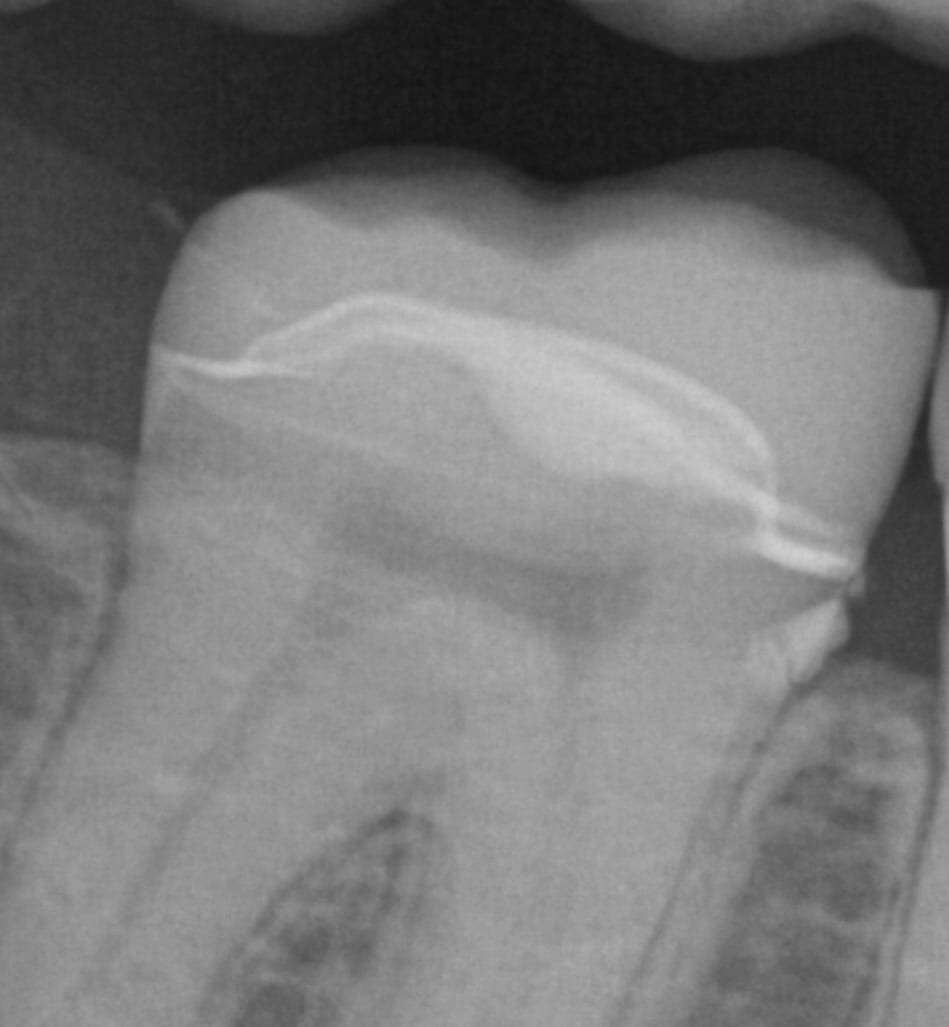
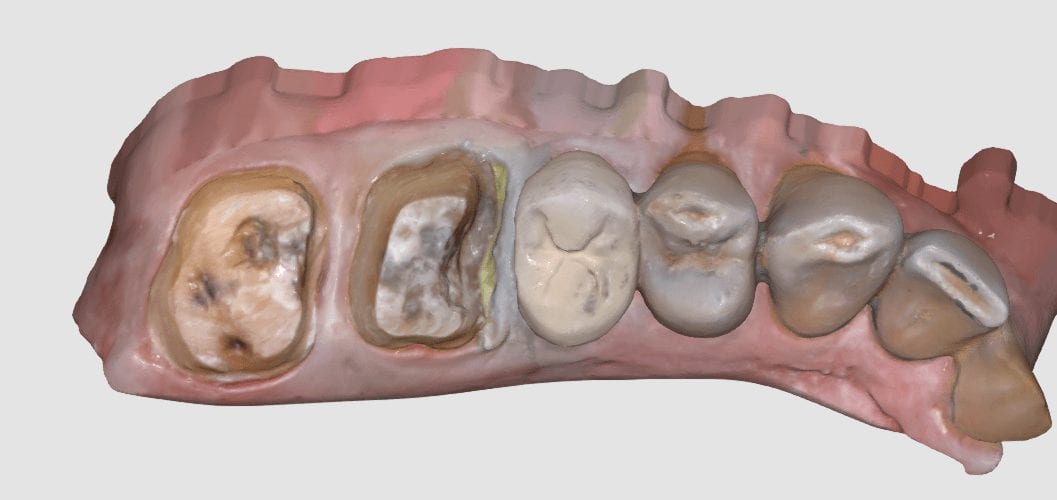
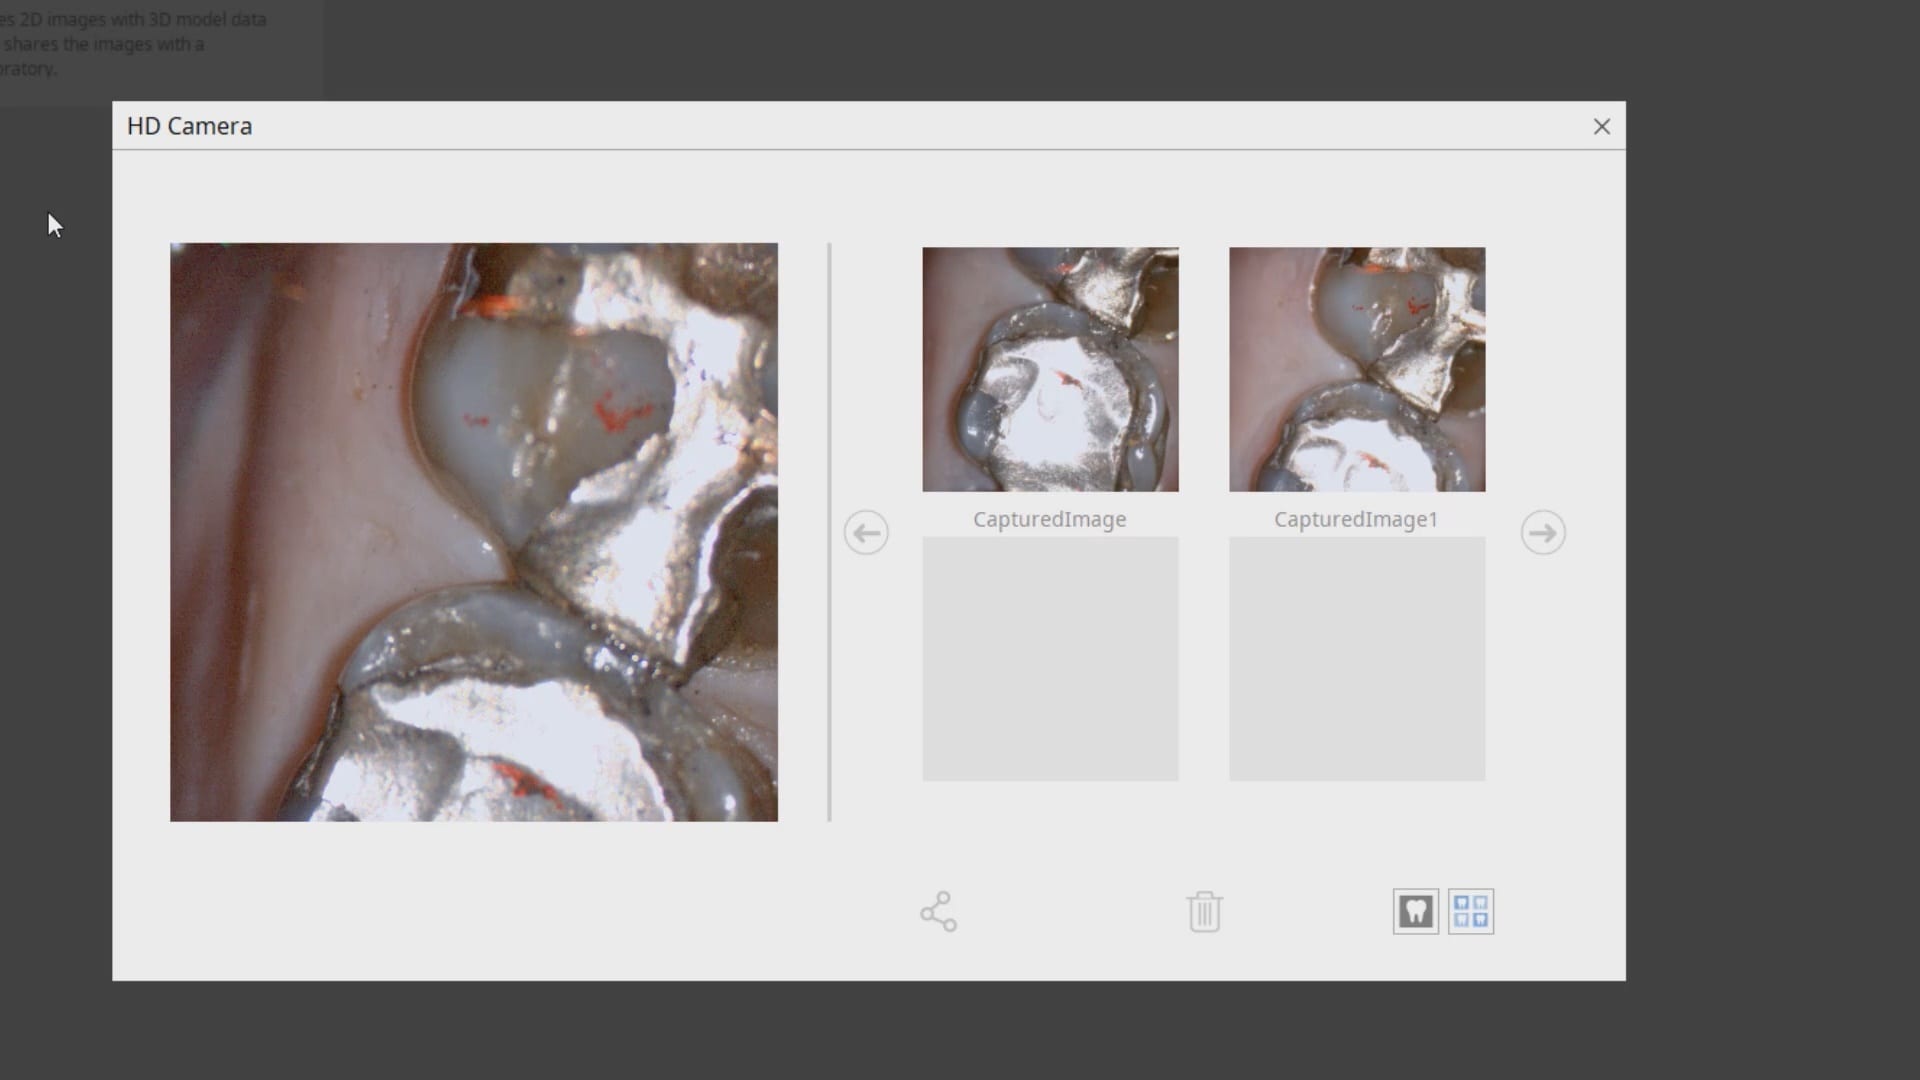
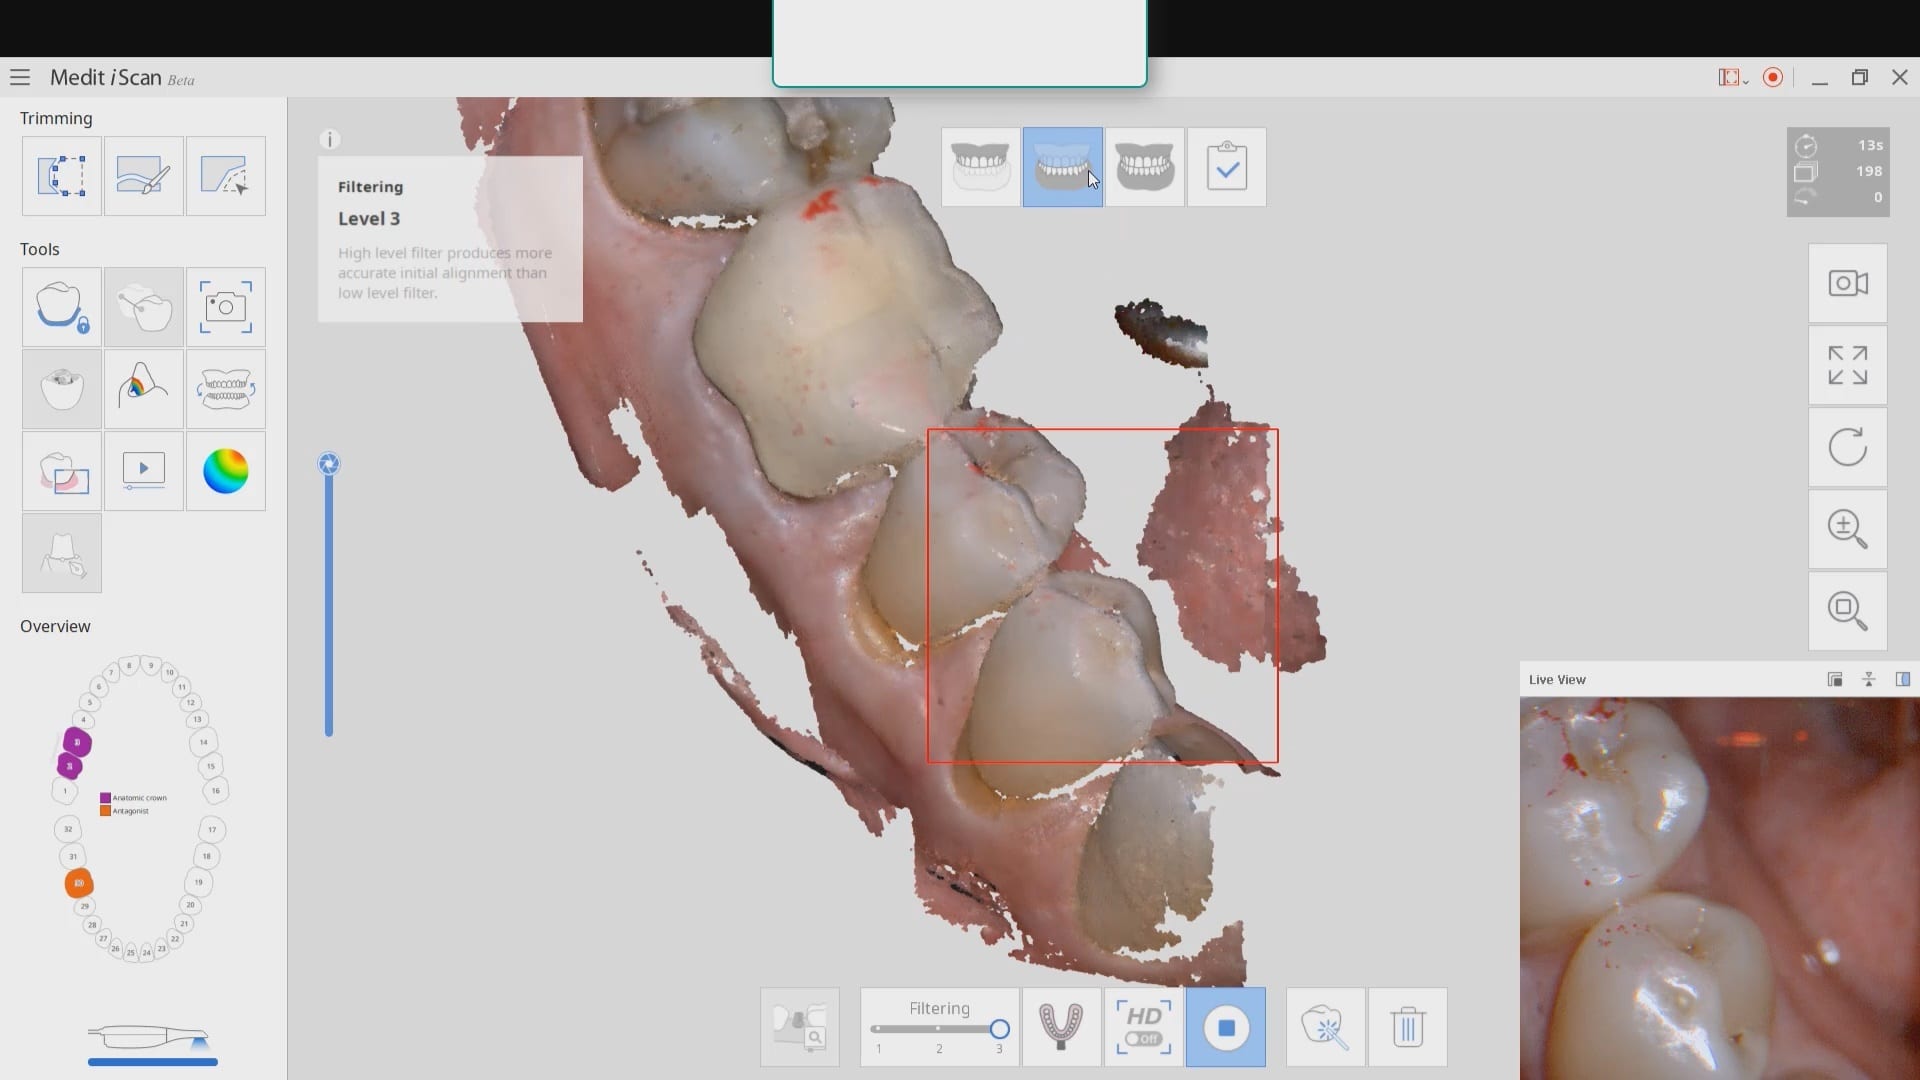
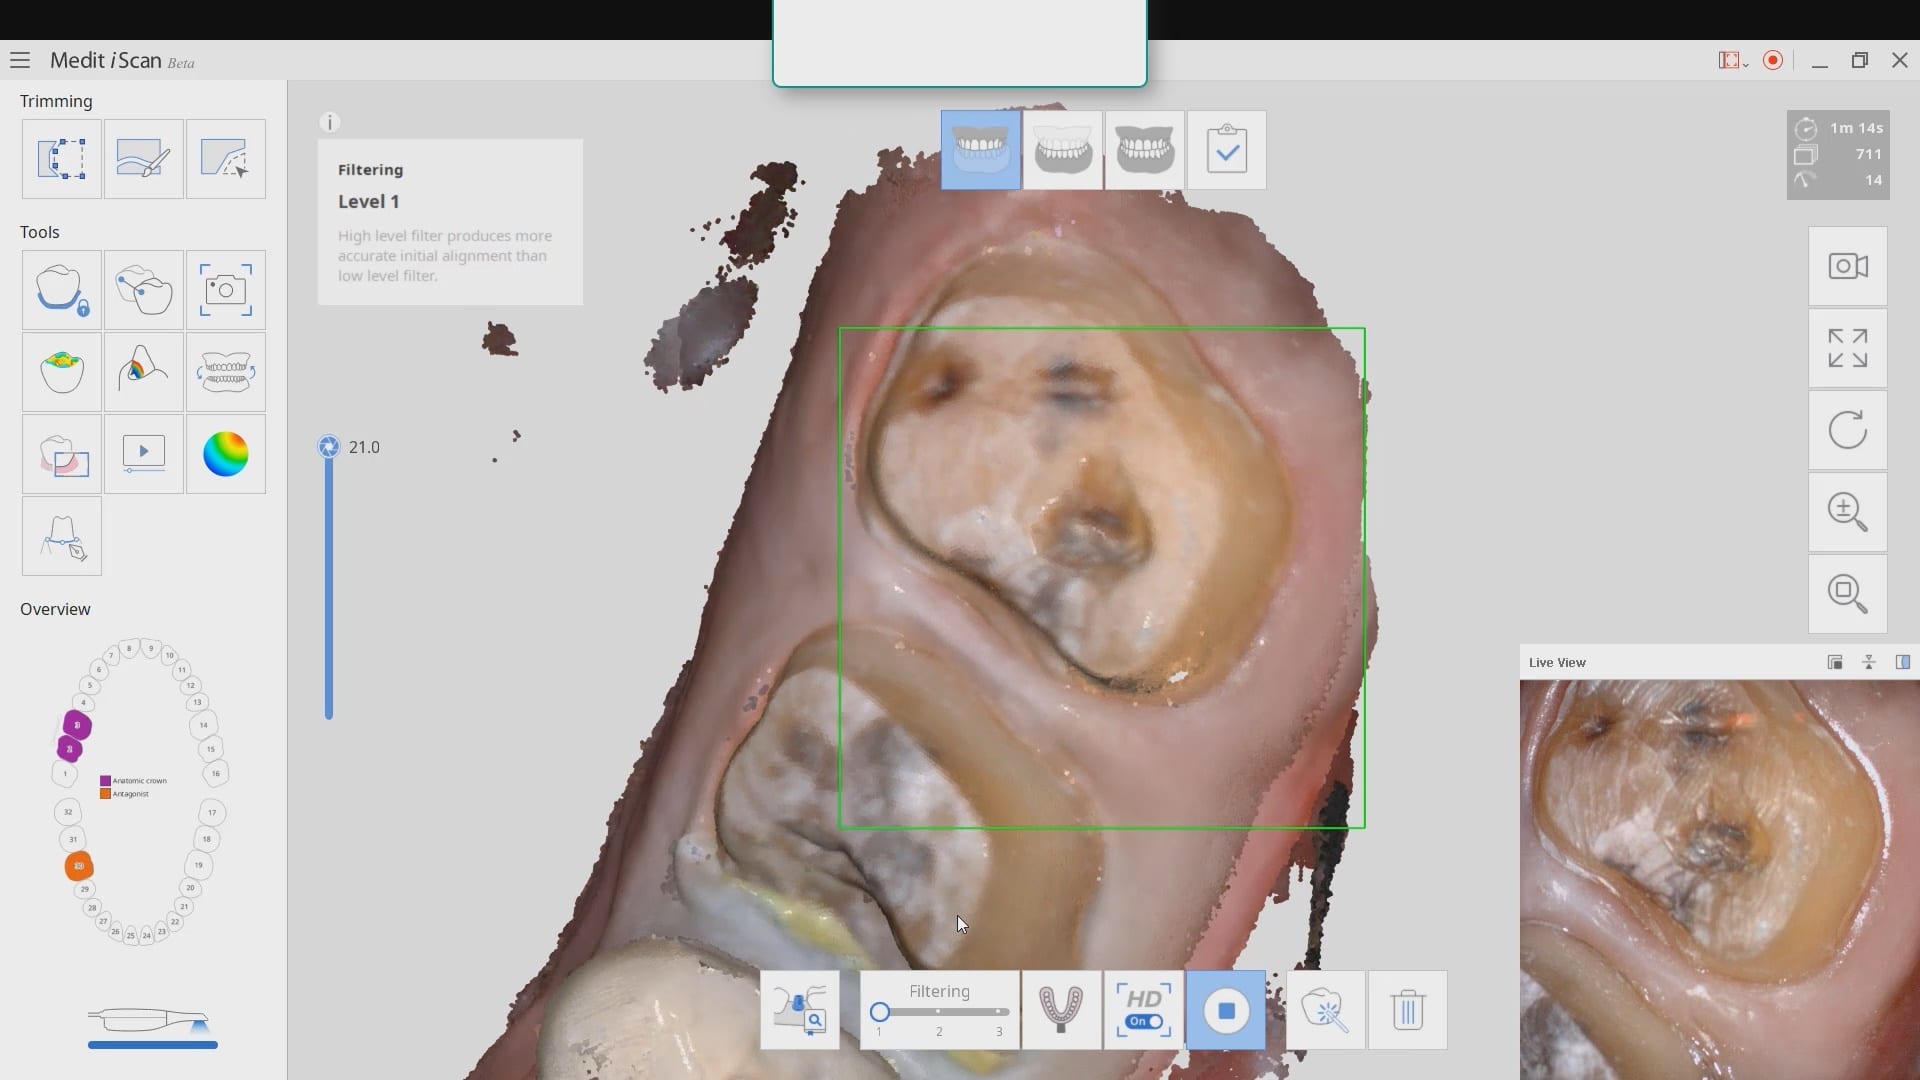
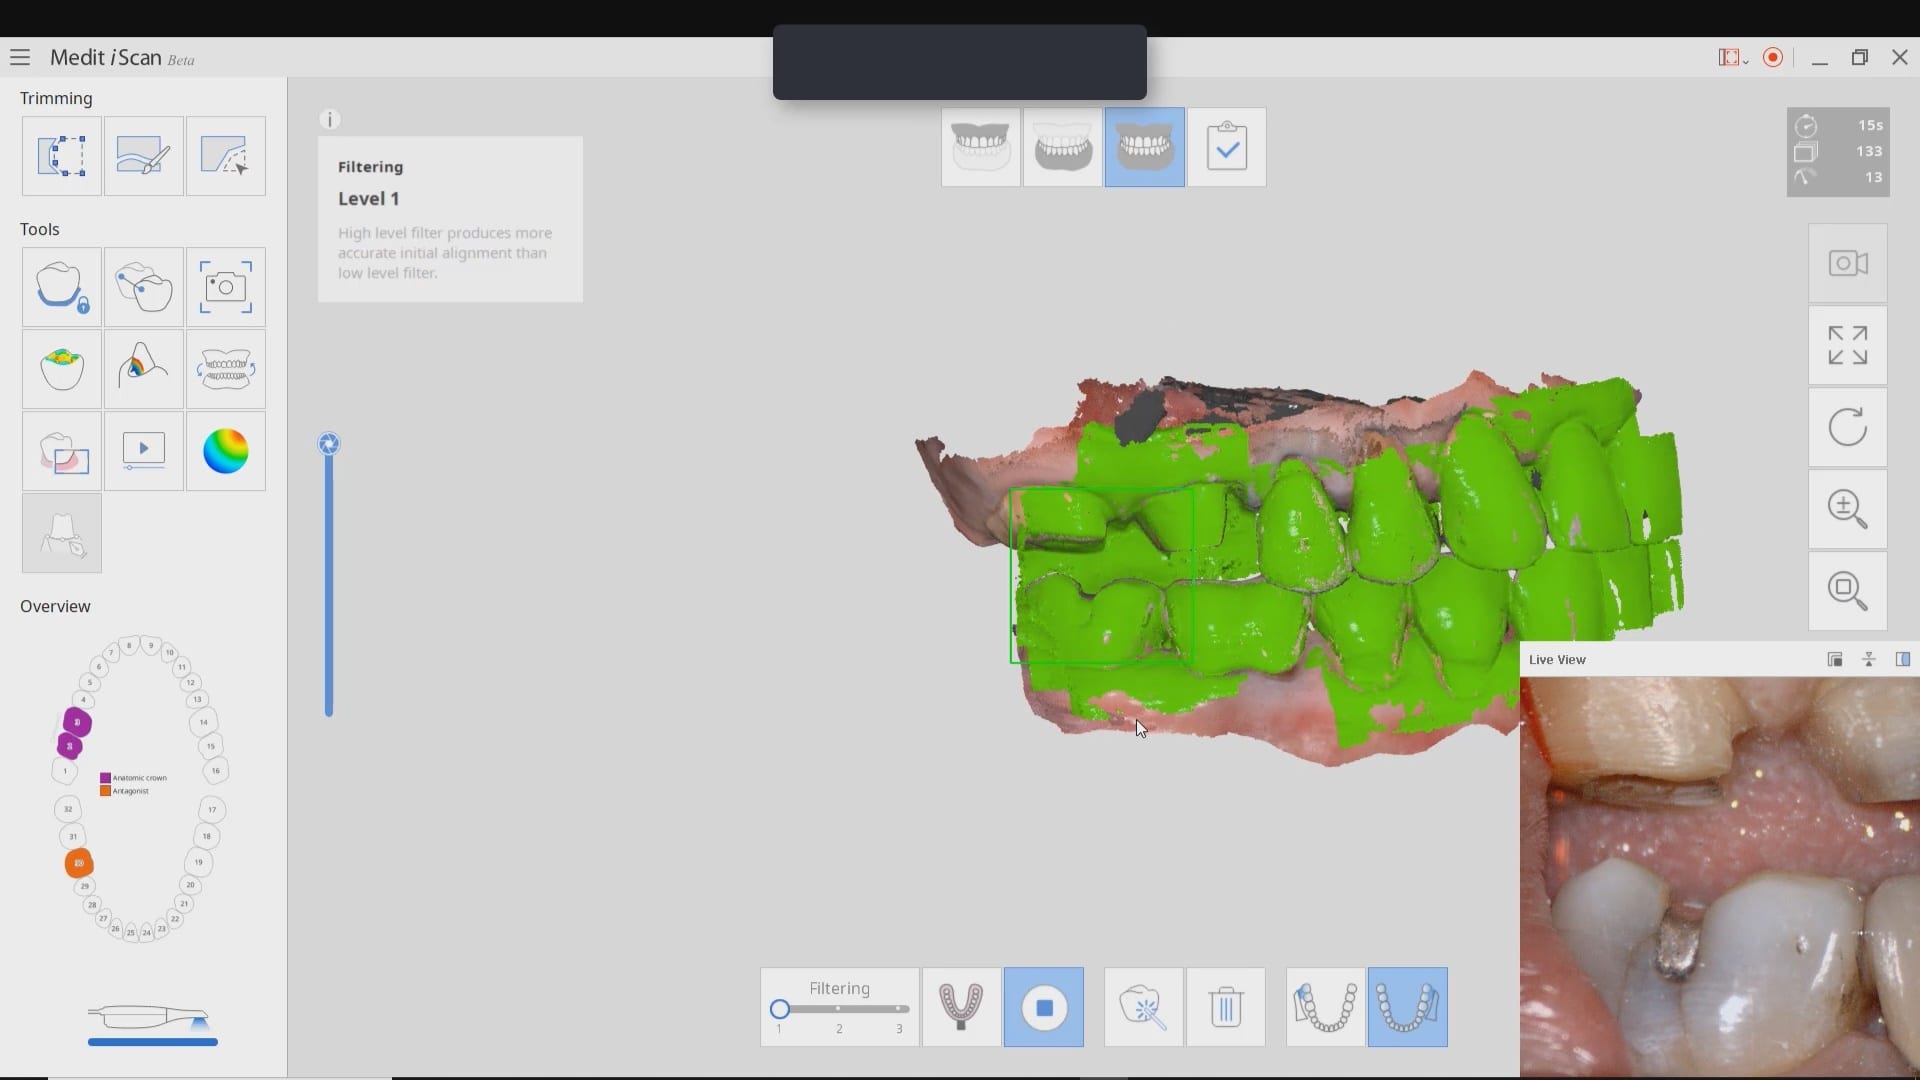
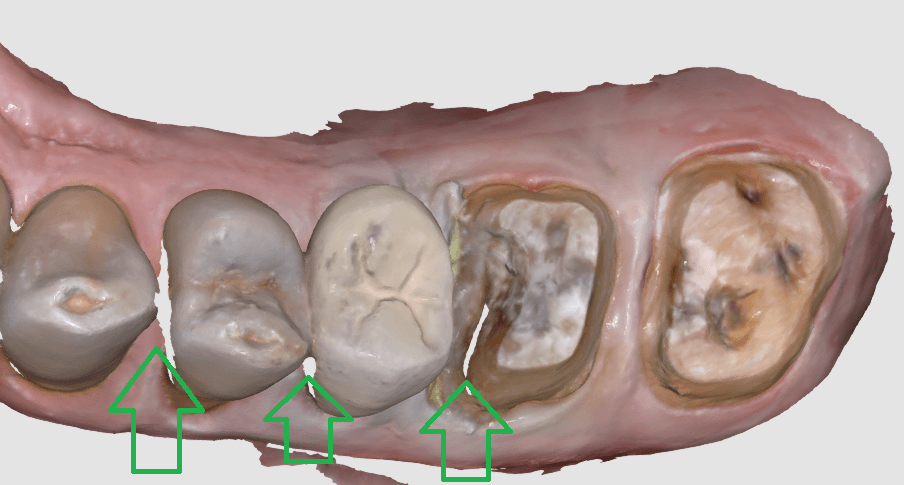
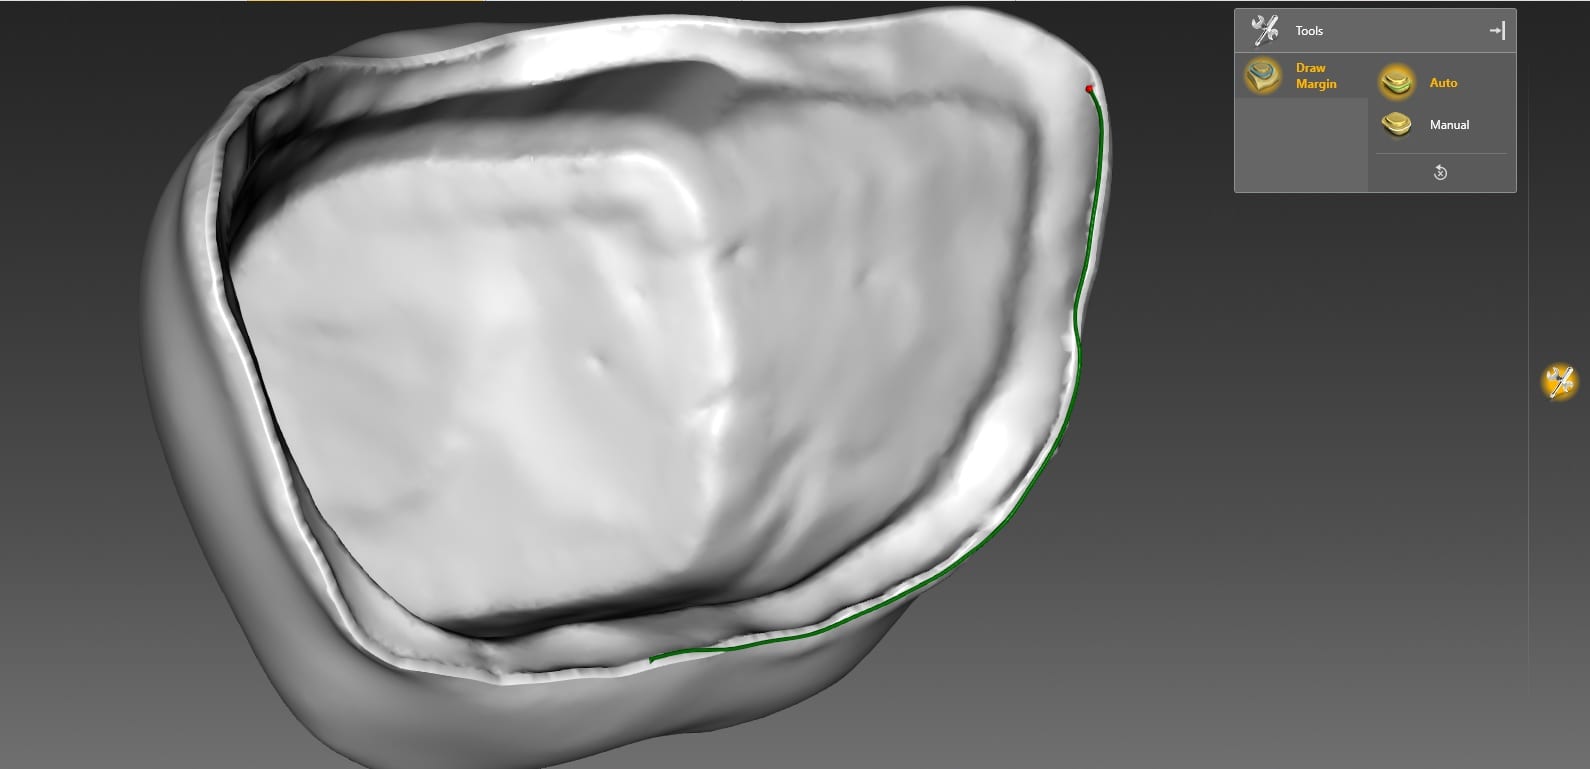
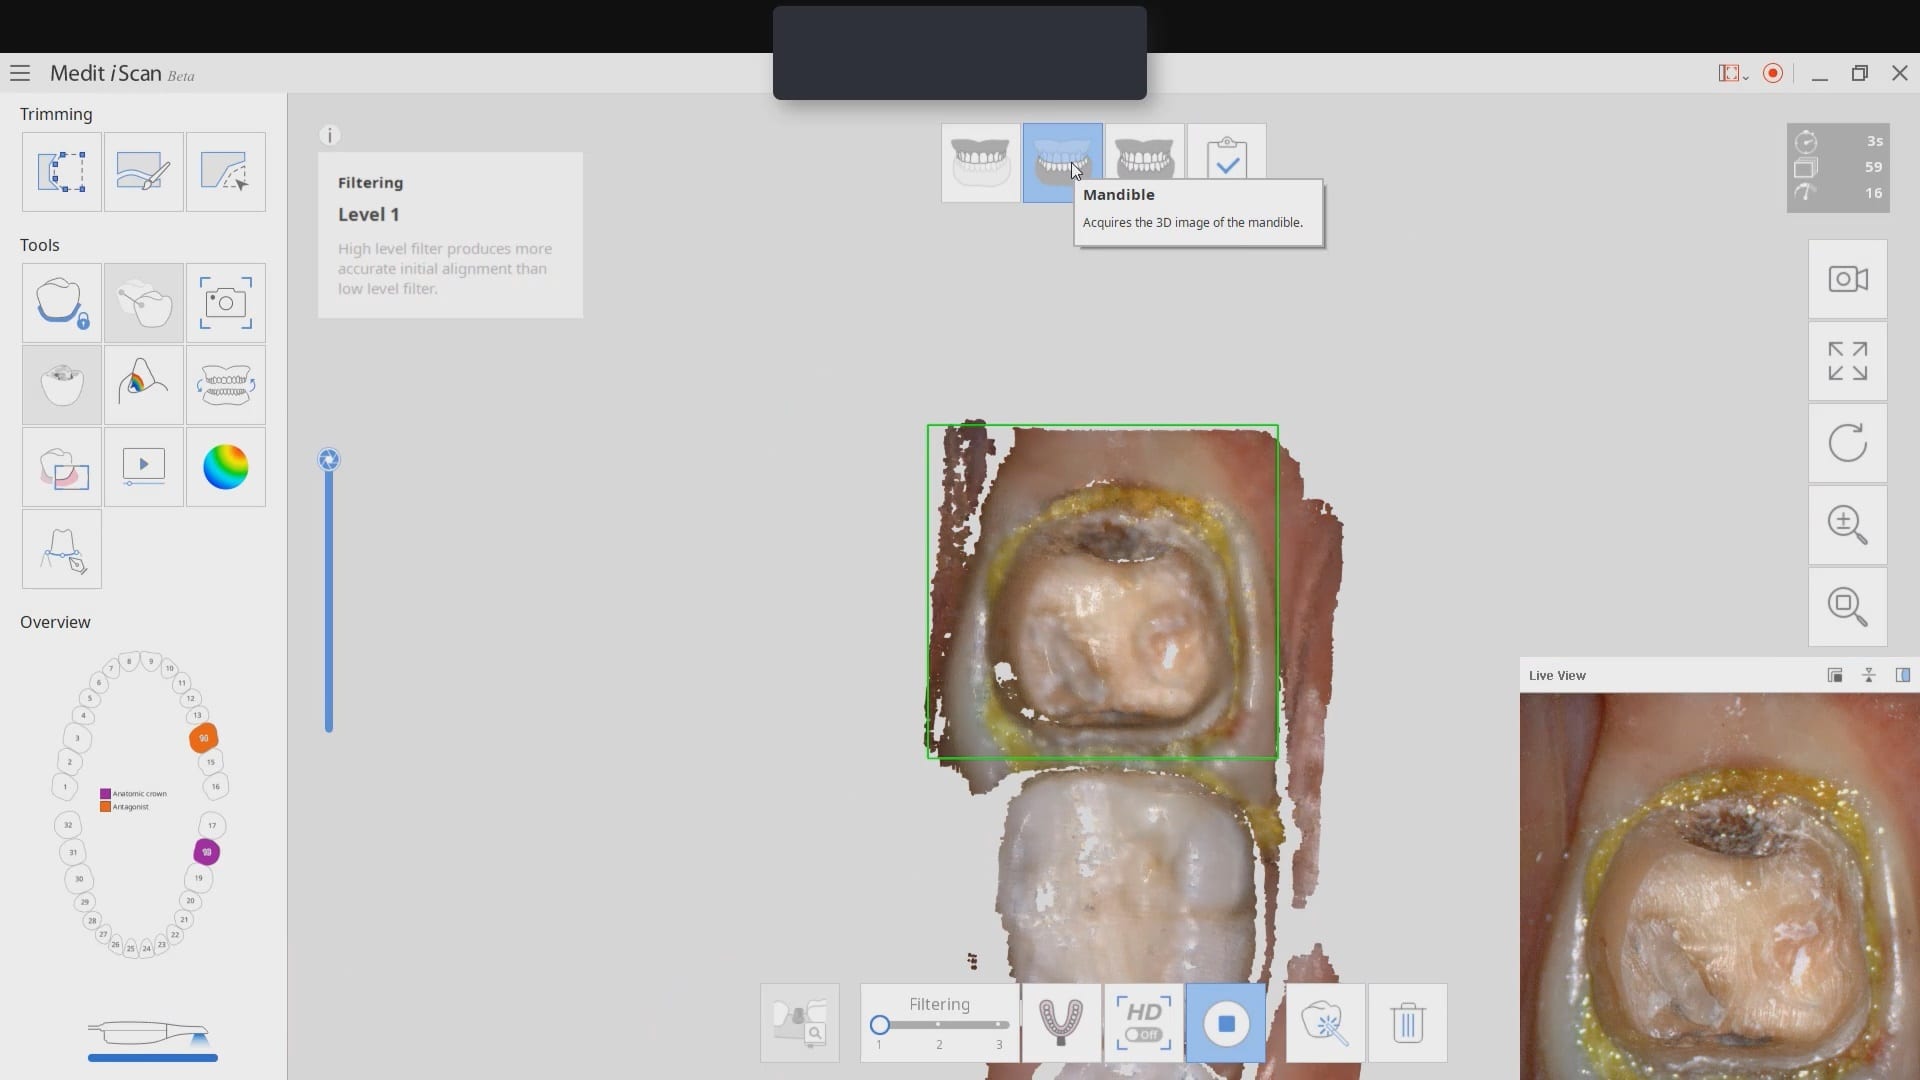
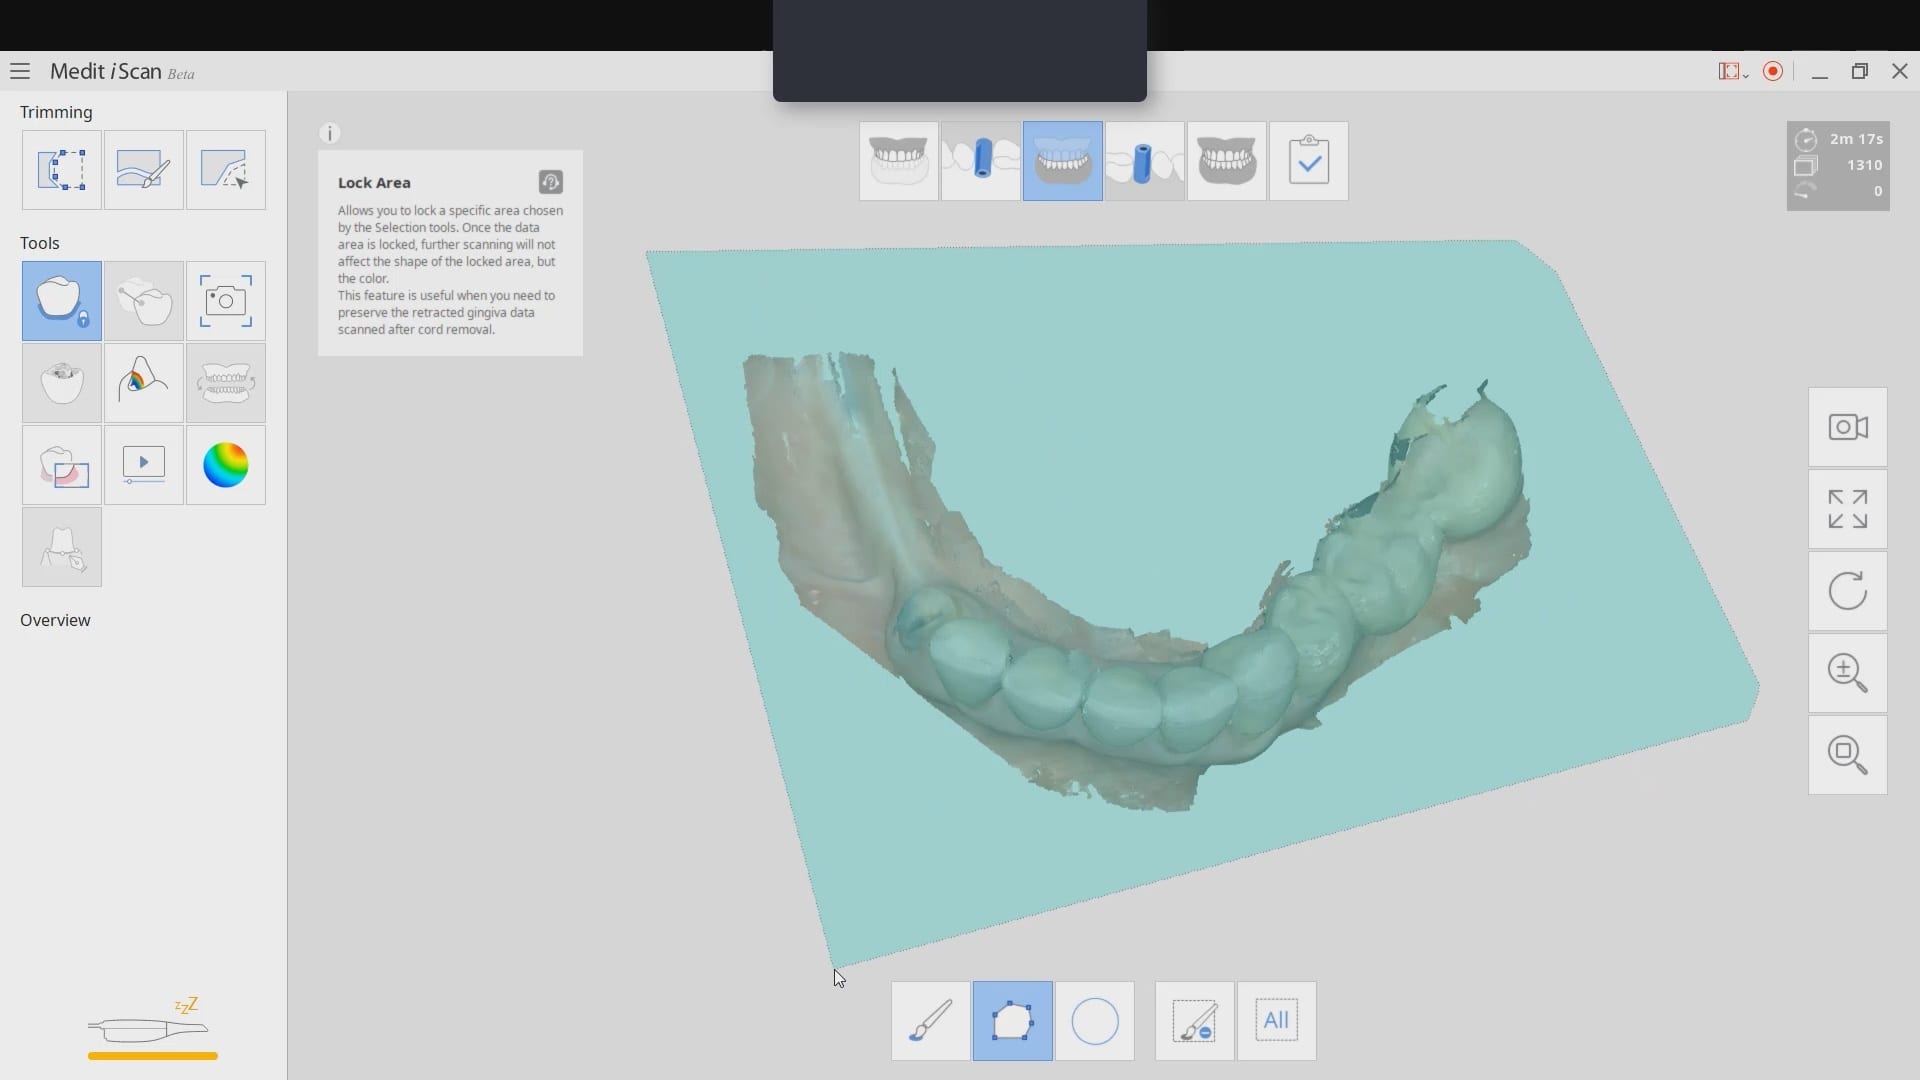
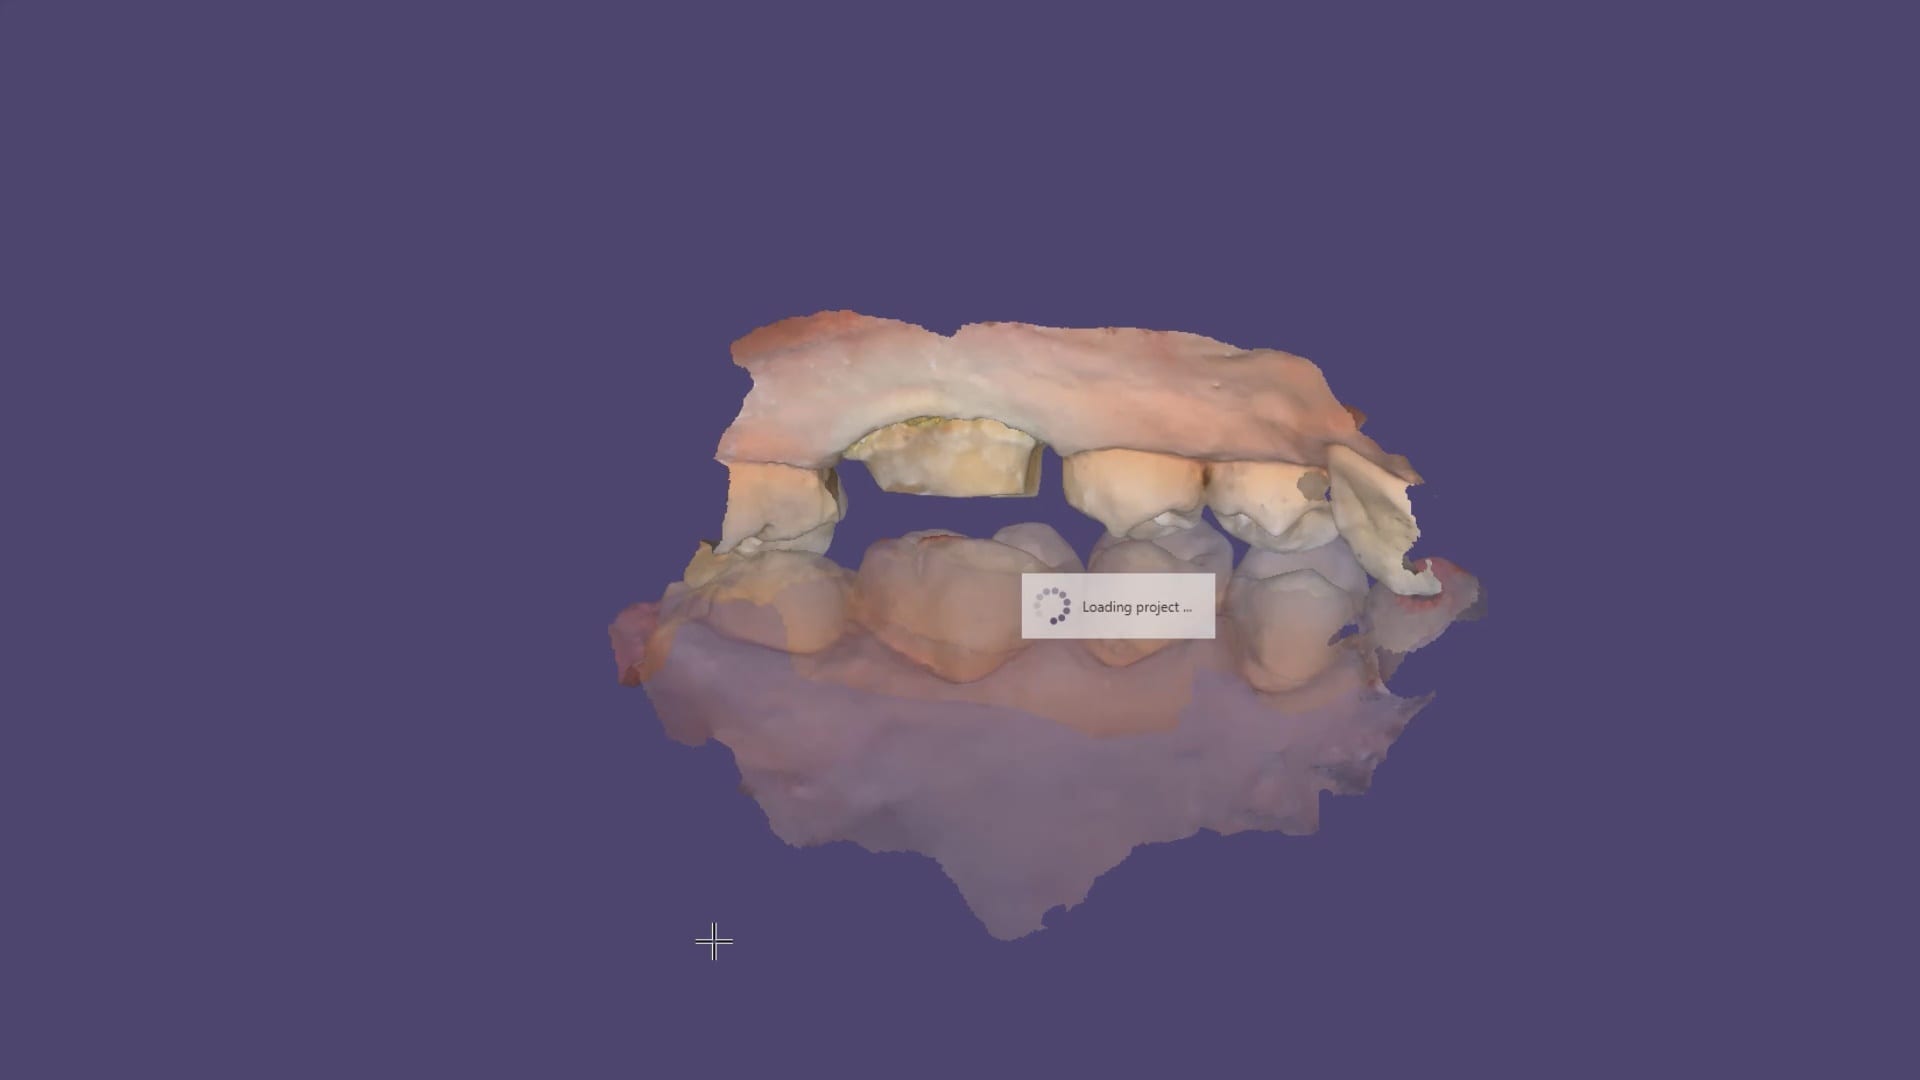
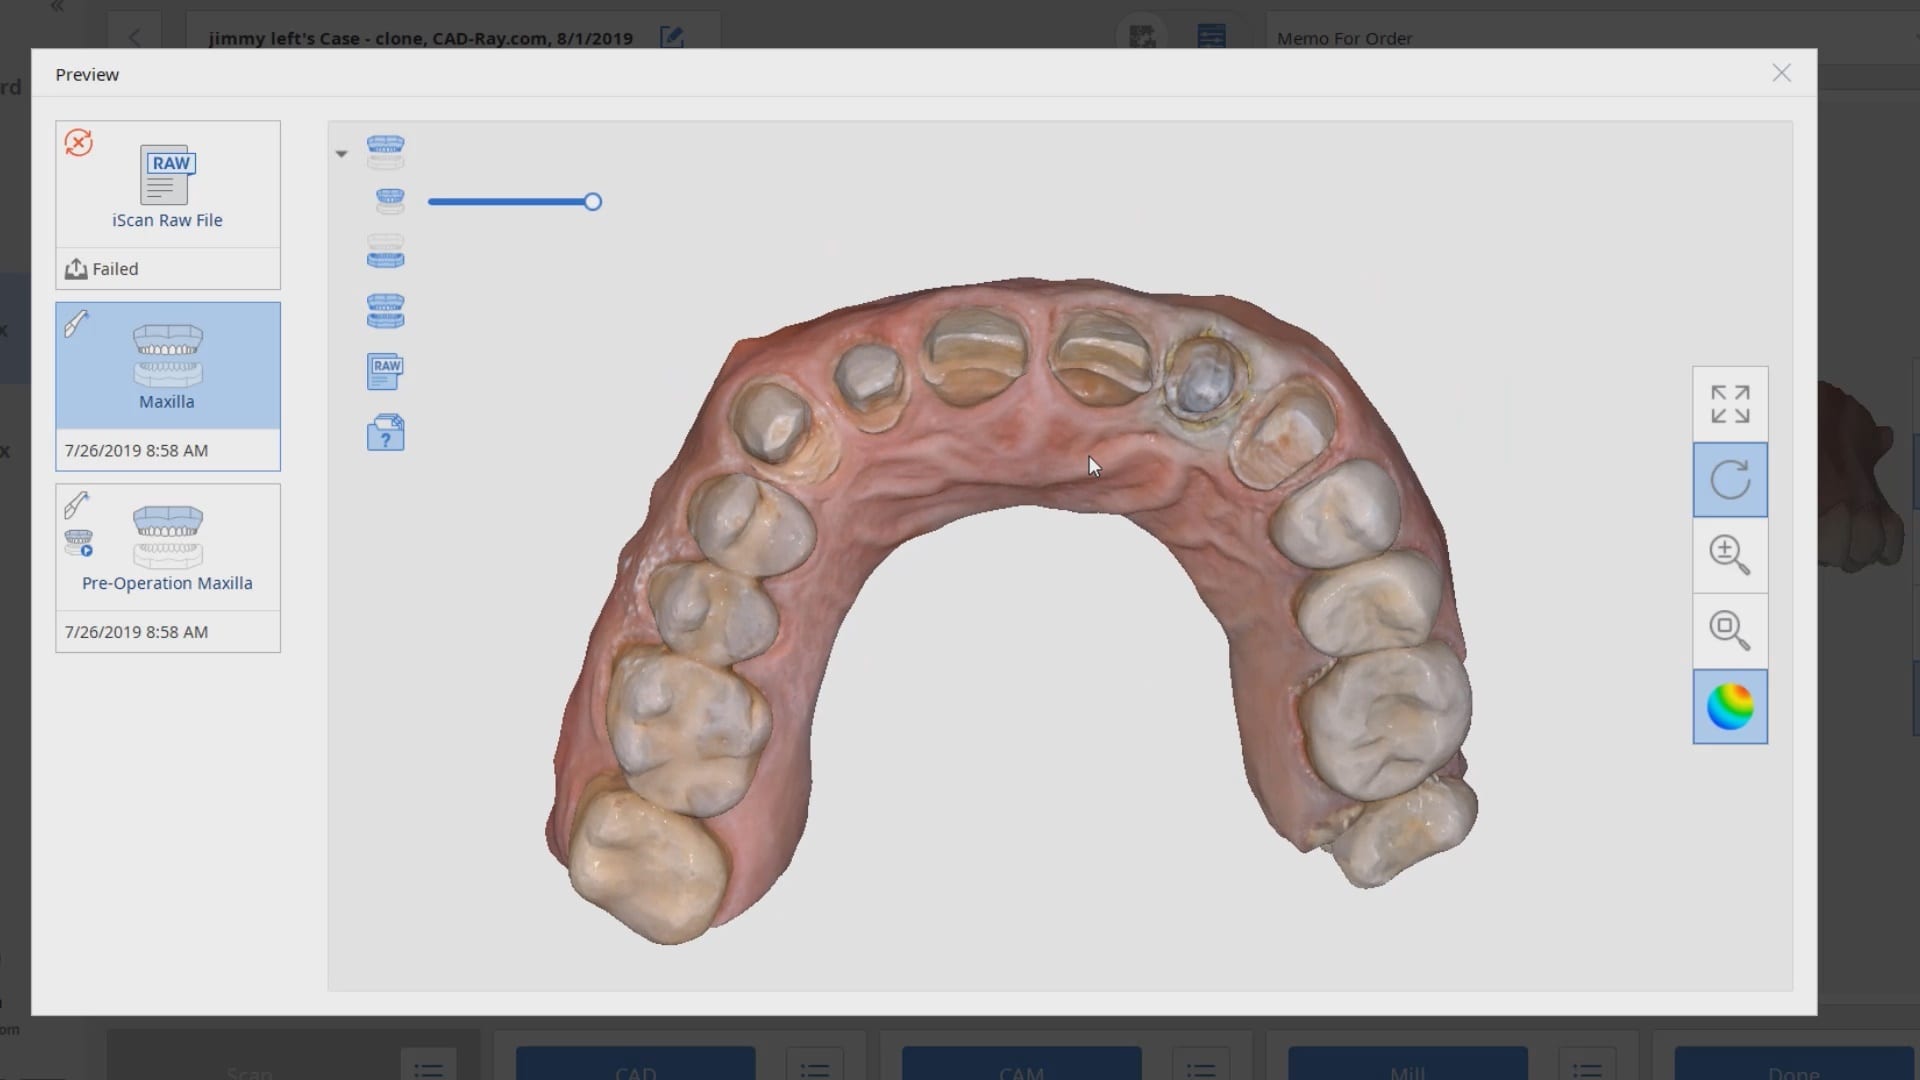
In this article, we feature an upper left lateral crown that needed to be replaced due to recurrent decay. While the patient was getting numb, we defined the job description in the Medit i500 software and imaged the pre-existing crown, the opposing and the bite. We digitally cropped out the tooth to be prepared and proceeded with crown removal. Once the margins were refined and the tissue was displaced, we imaged the preparation in HD mode and processed the case.
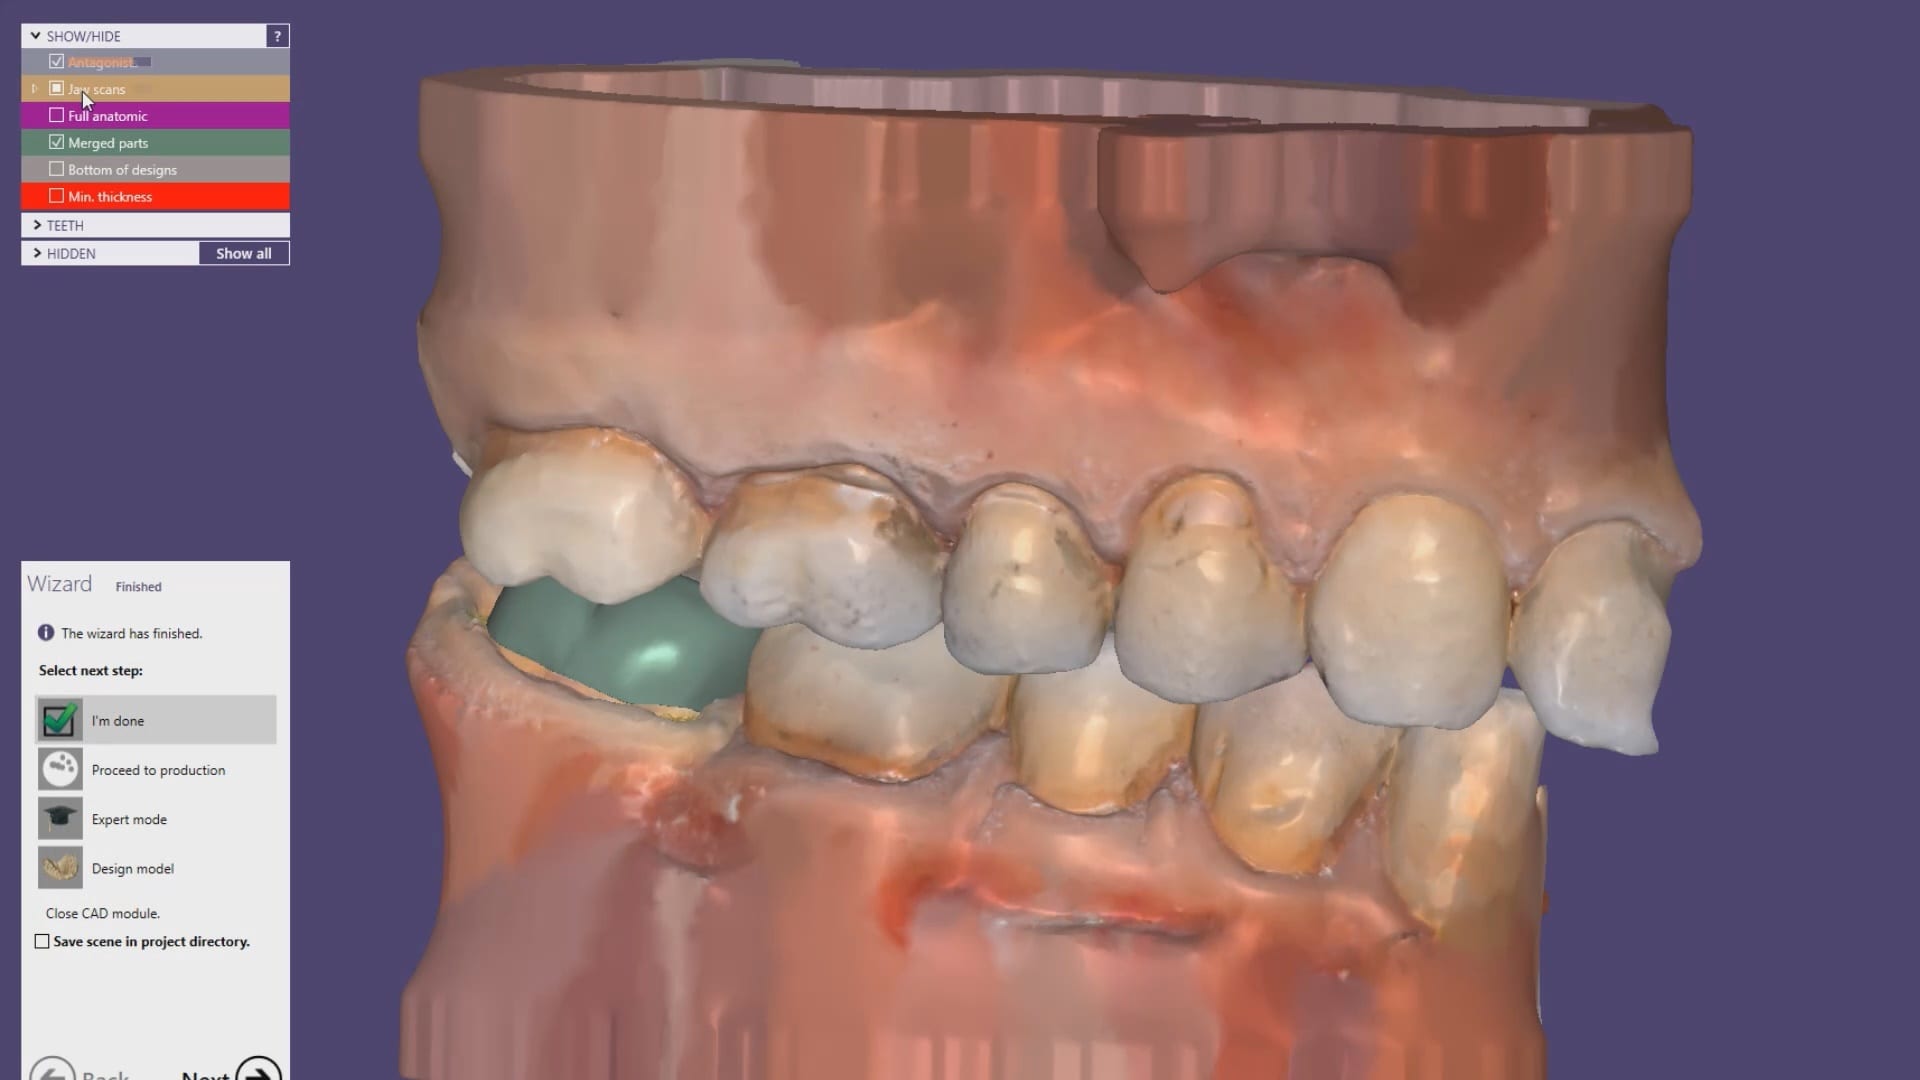
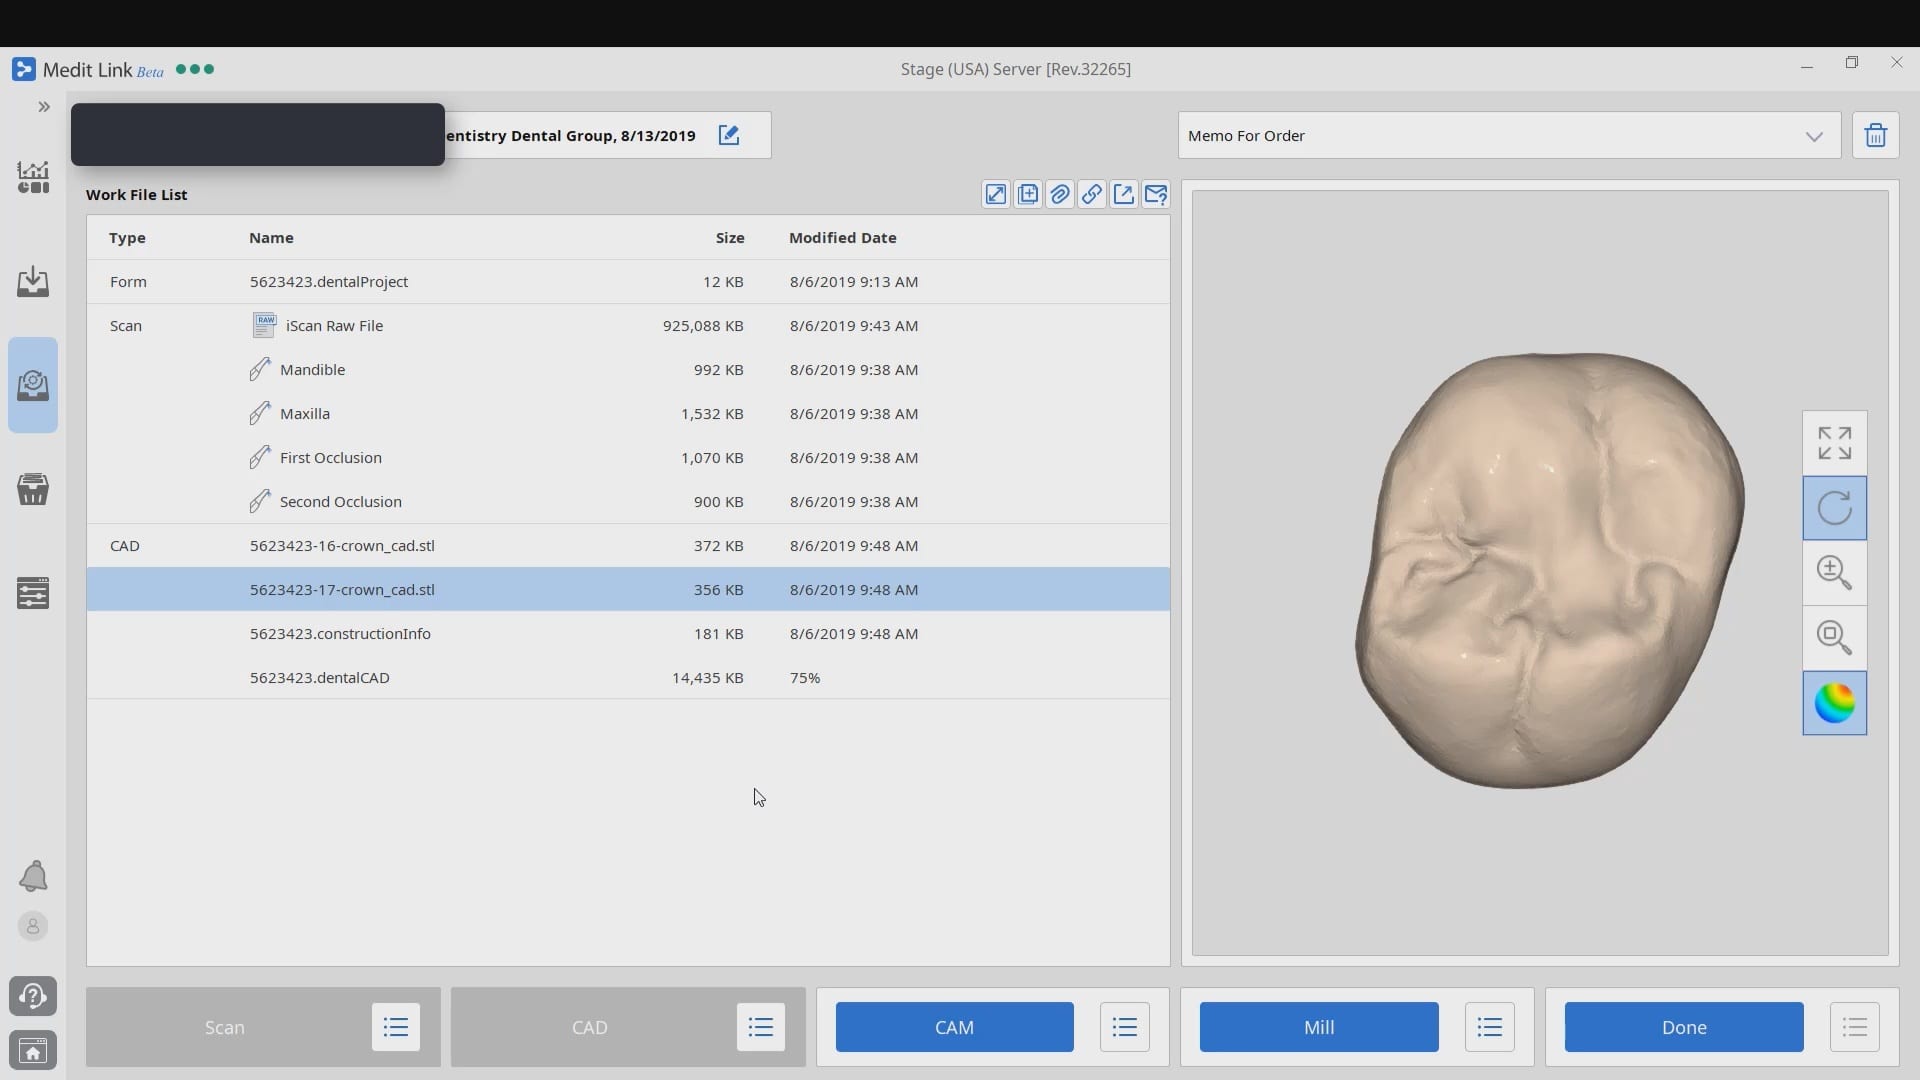
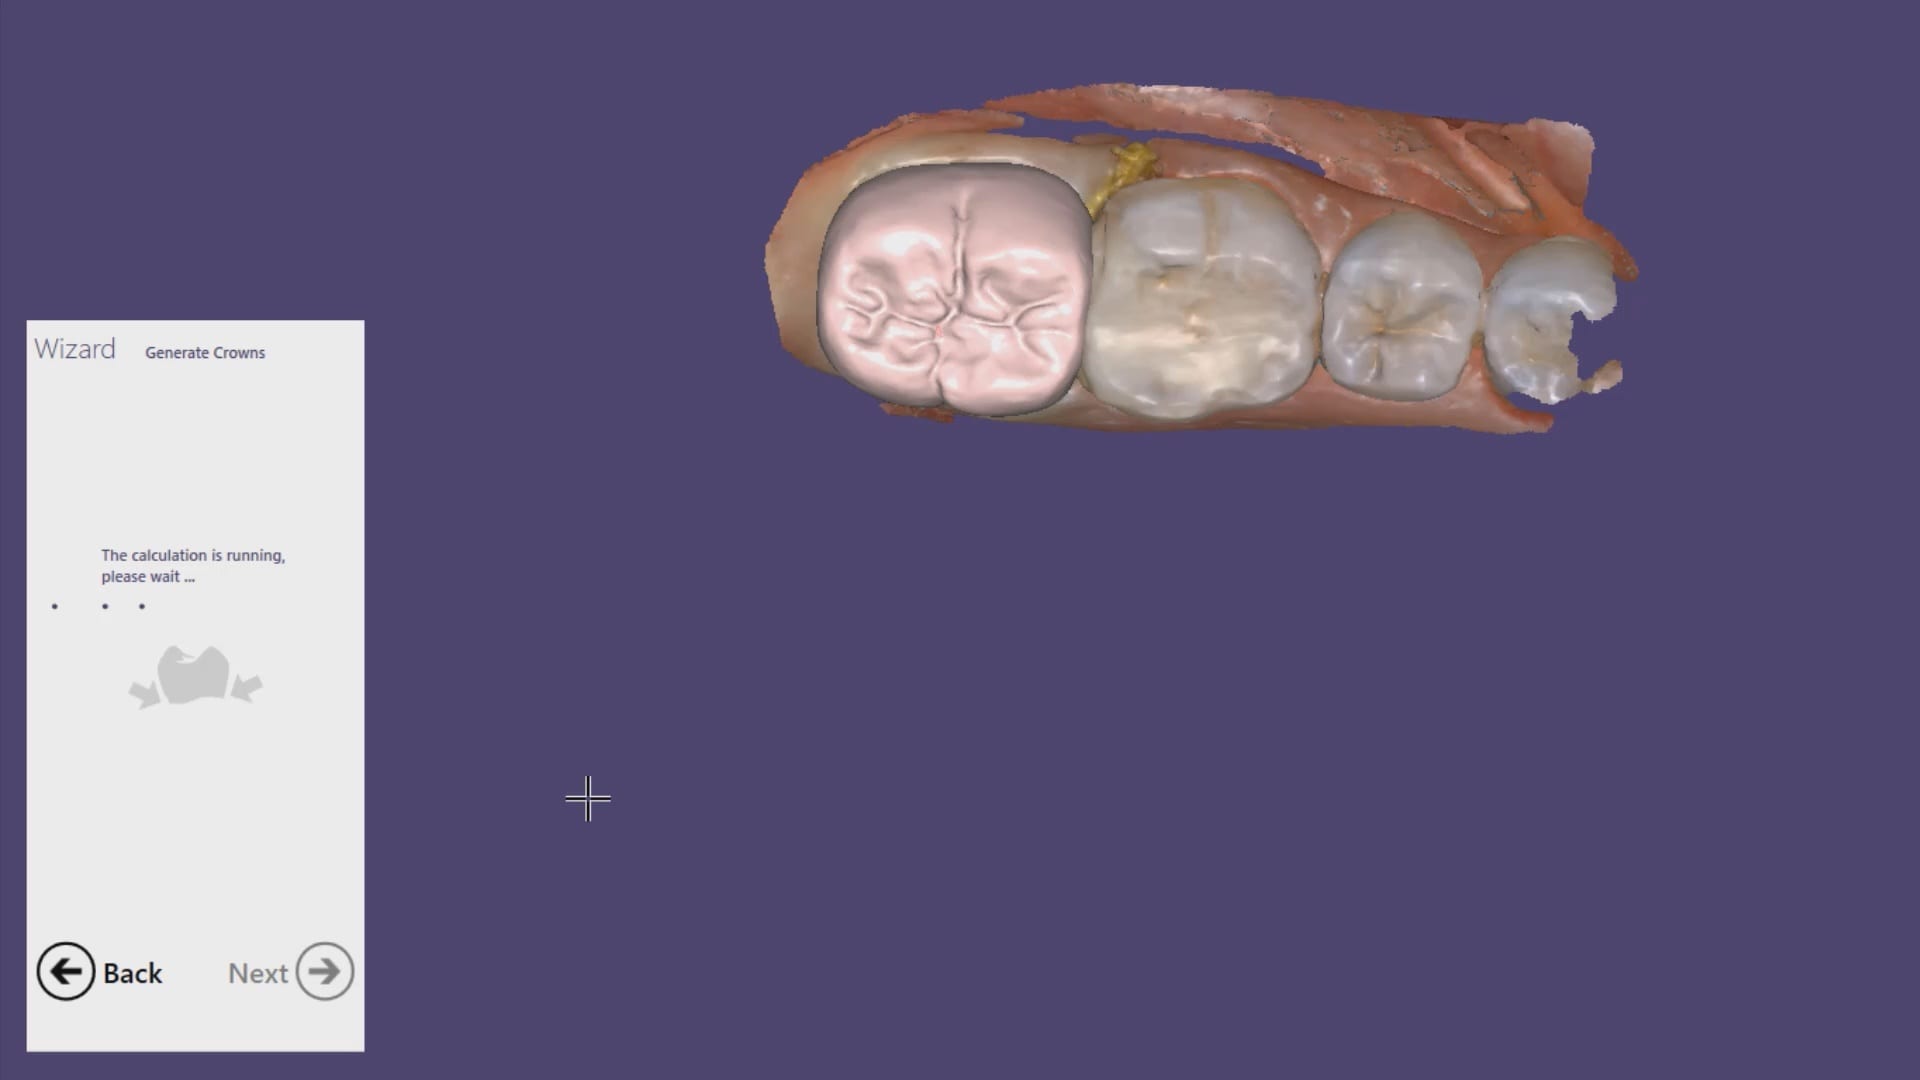
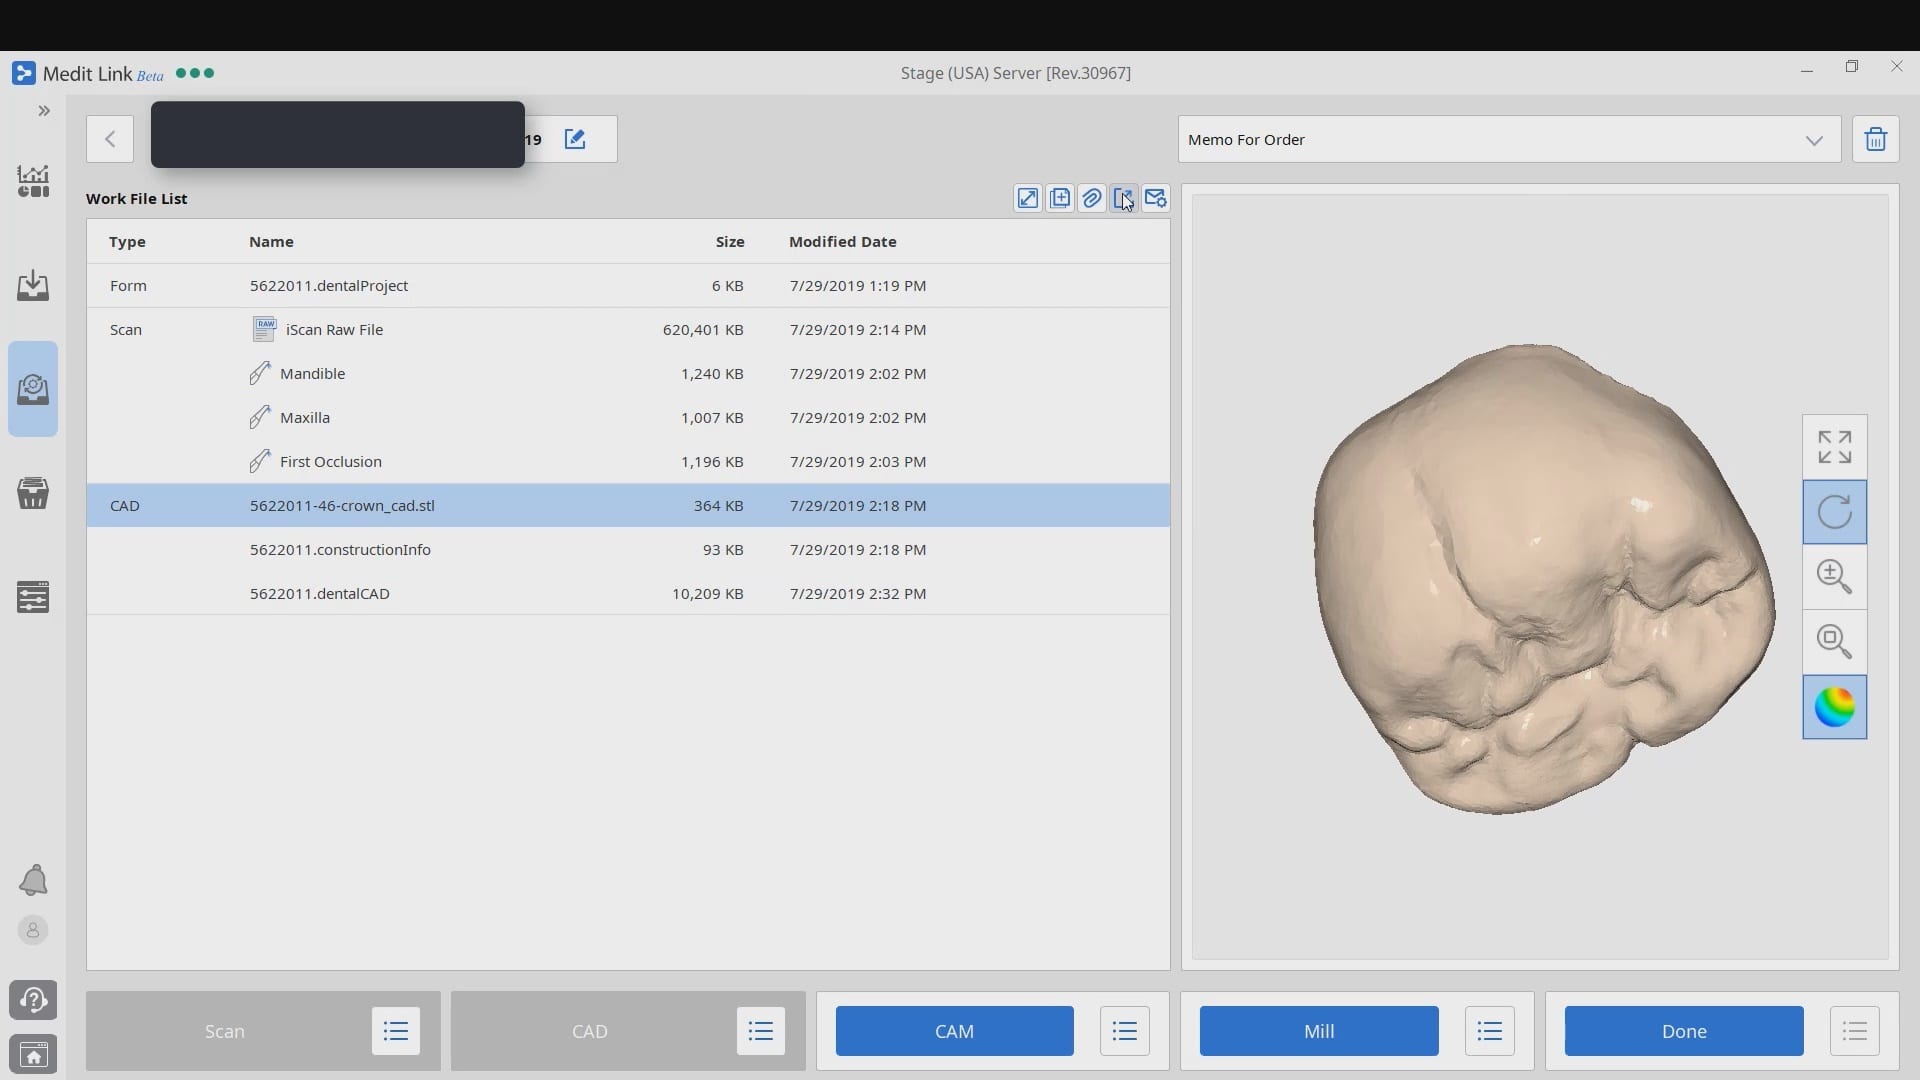
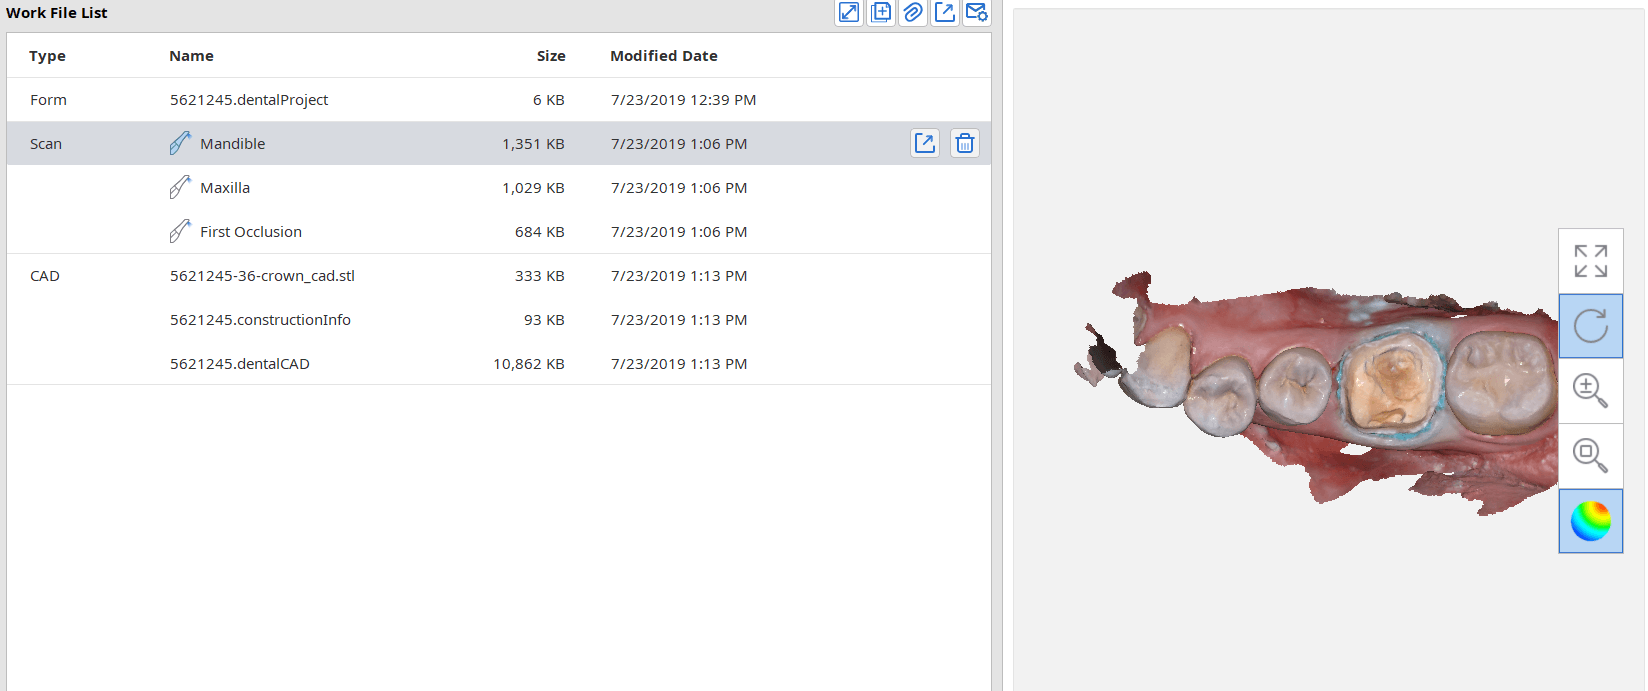
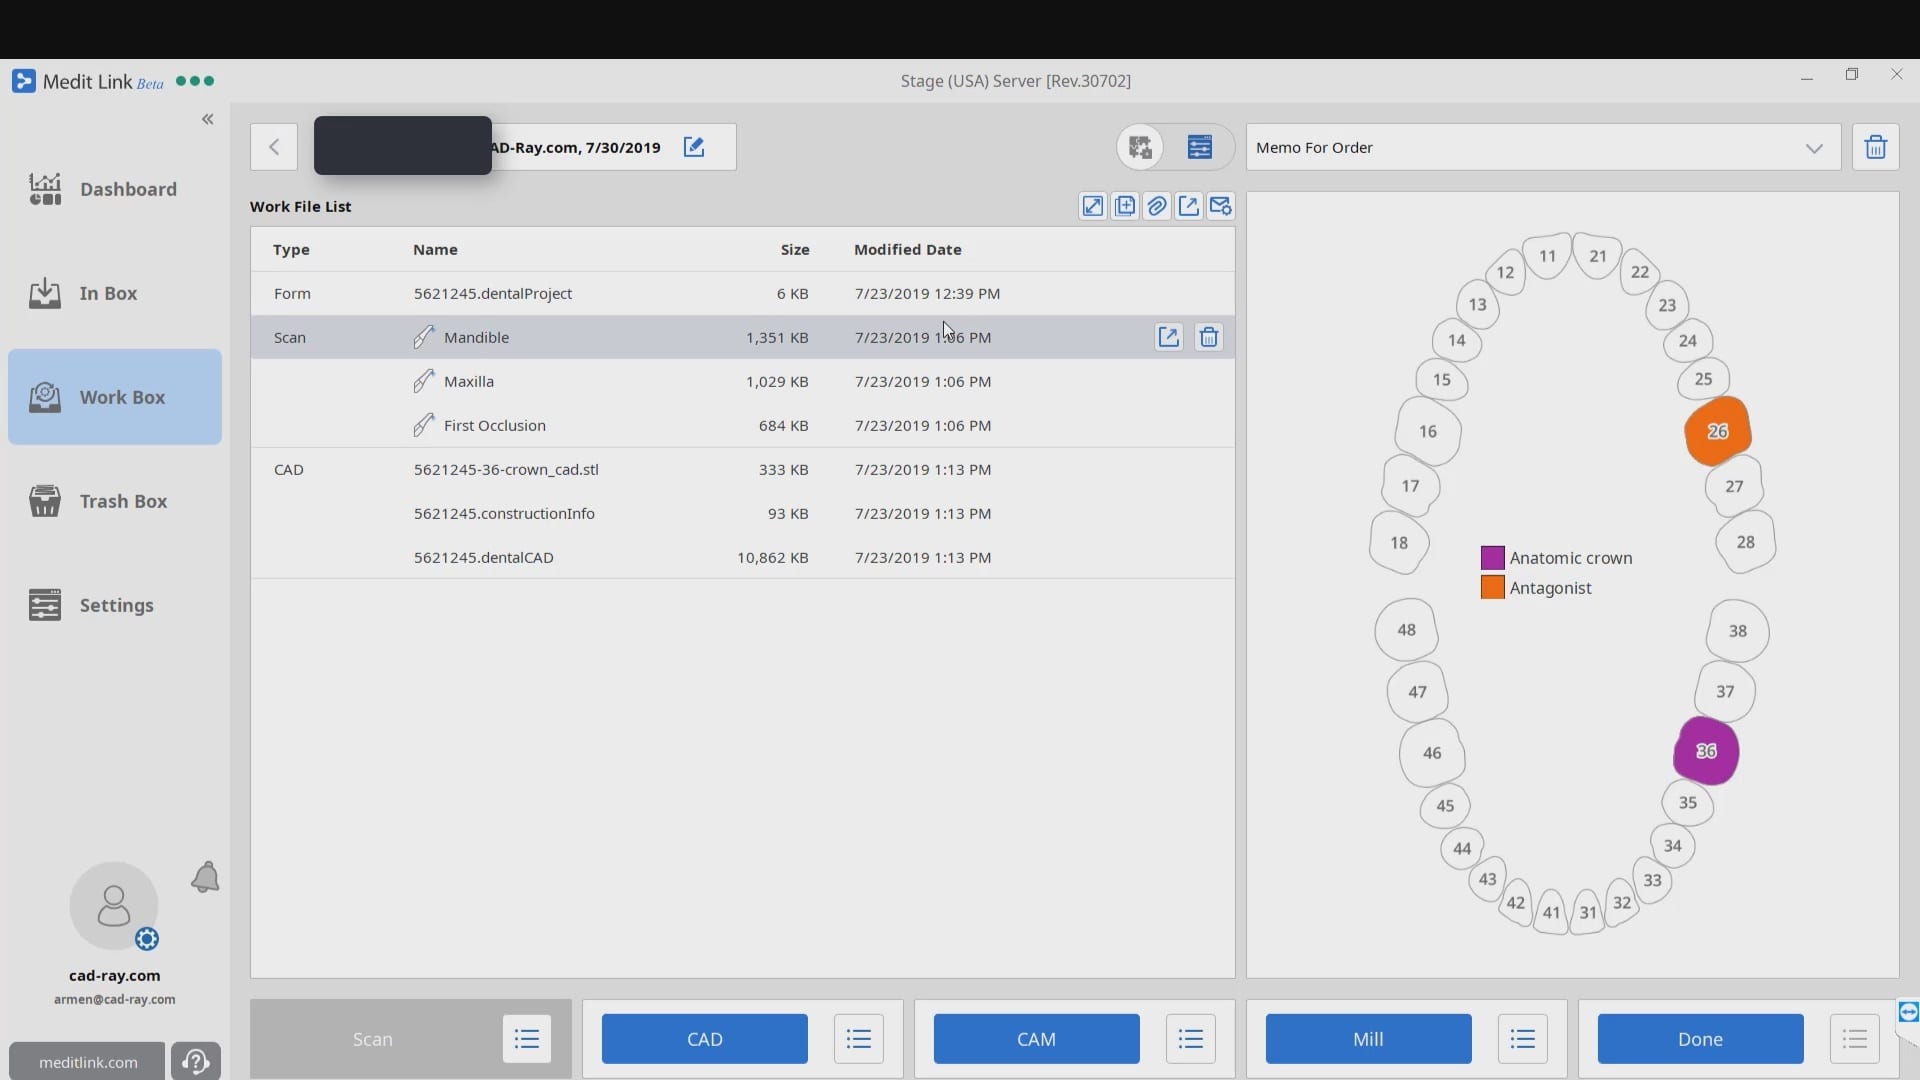
Once the digital models were rendered, we launched the integrated CAD software that automatically imported the pre-op, the opposing, the prep model, and the bite. Their relationship is preserved in the CAD software and no modifications were necessary. You have two ways to copy the pre-op; one way is to program the CAD software so it replicates the pre-op perfectly while the other gives you a raw proposal that you can then choose to adapt to pre-existing situation.

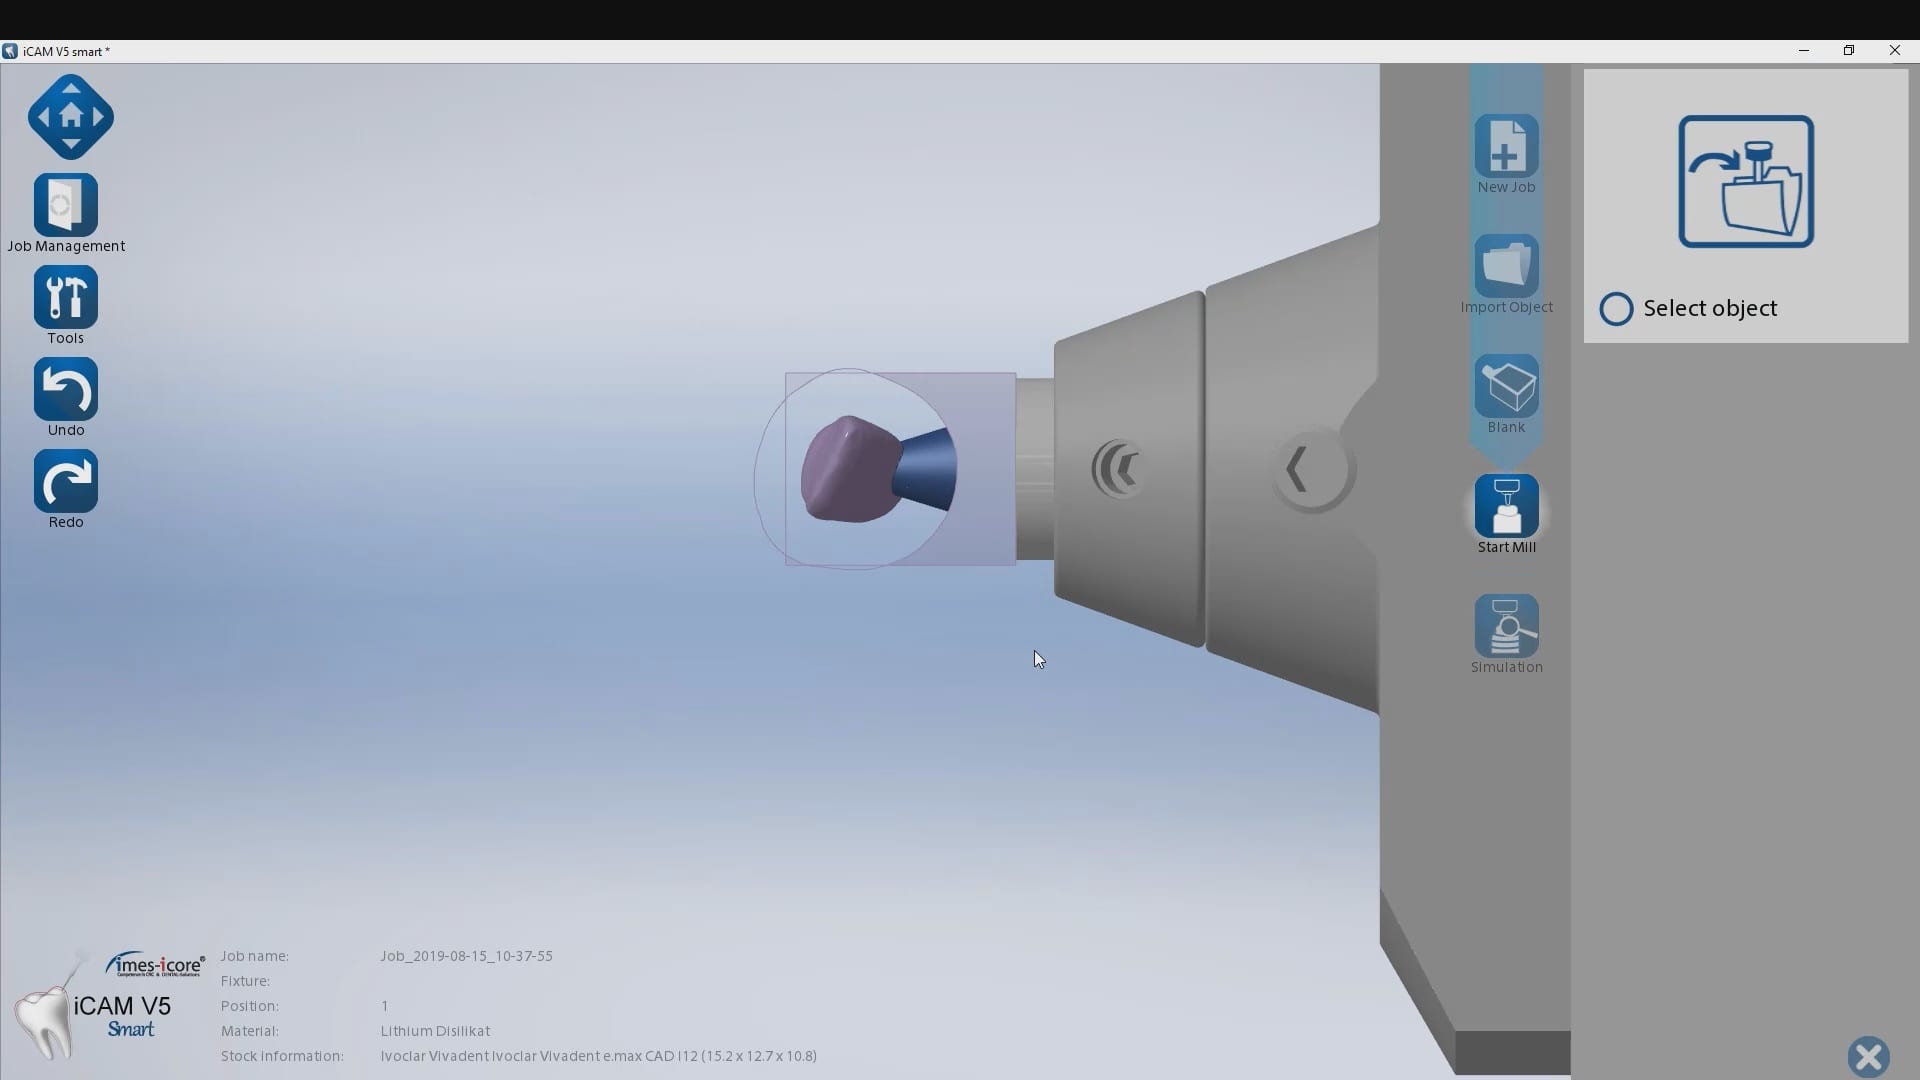
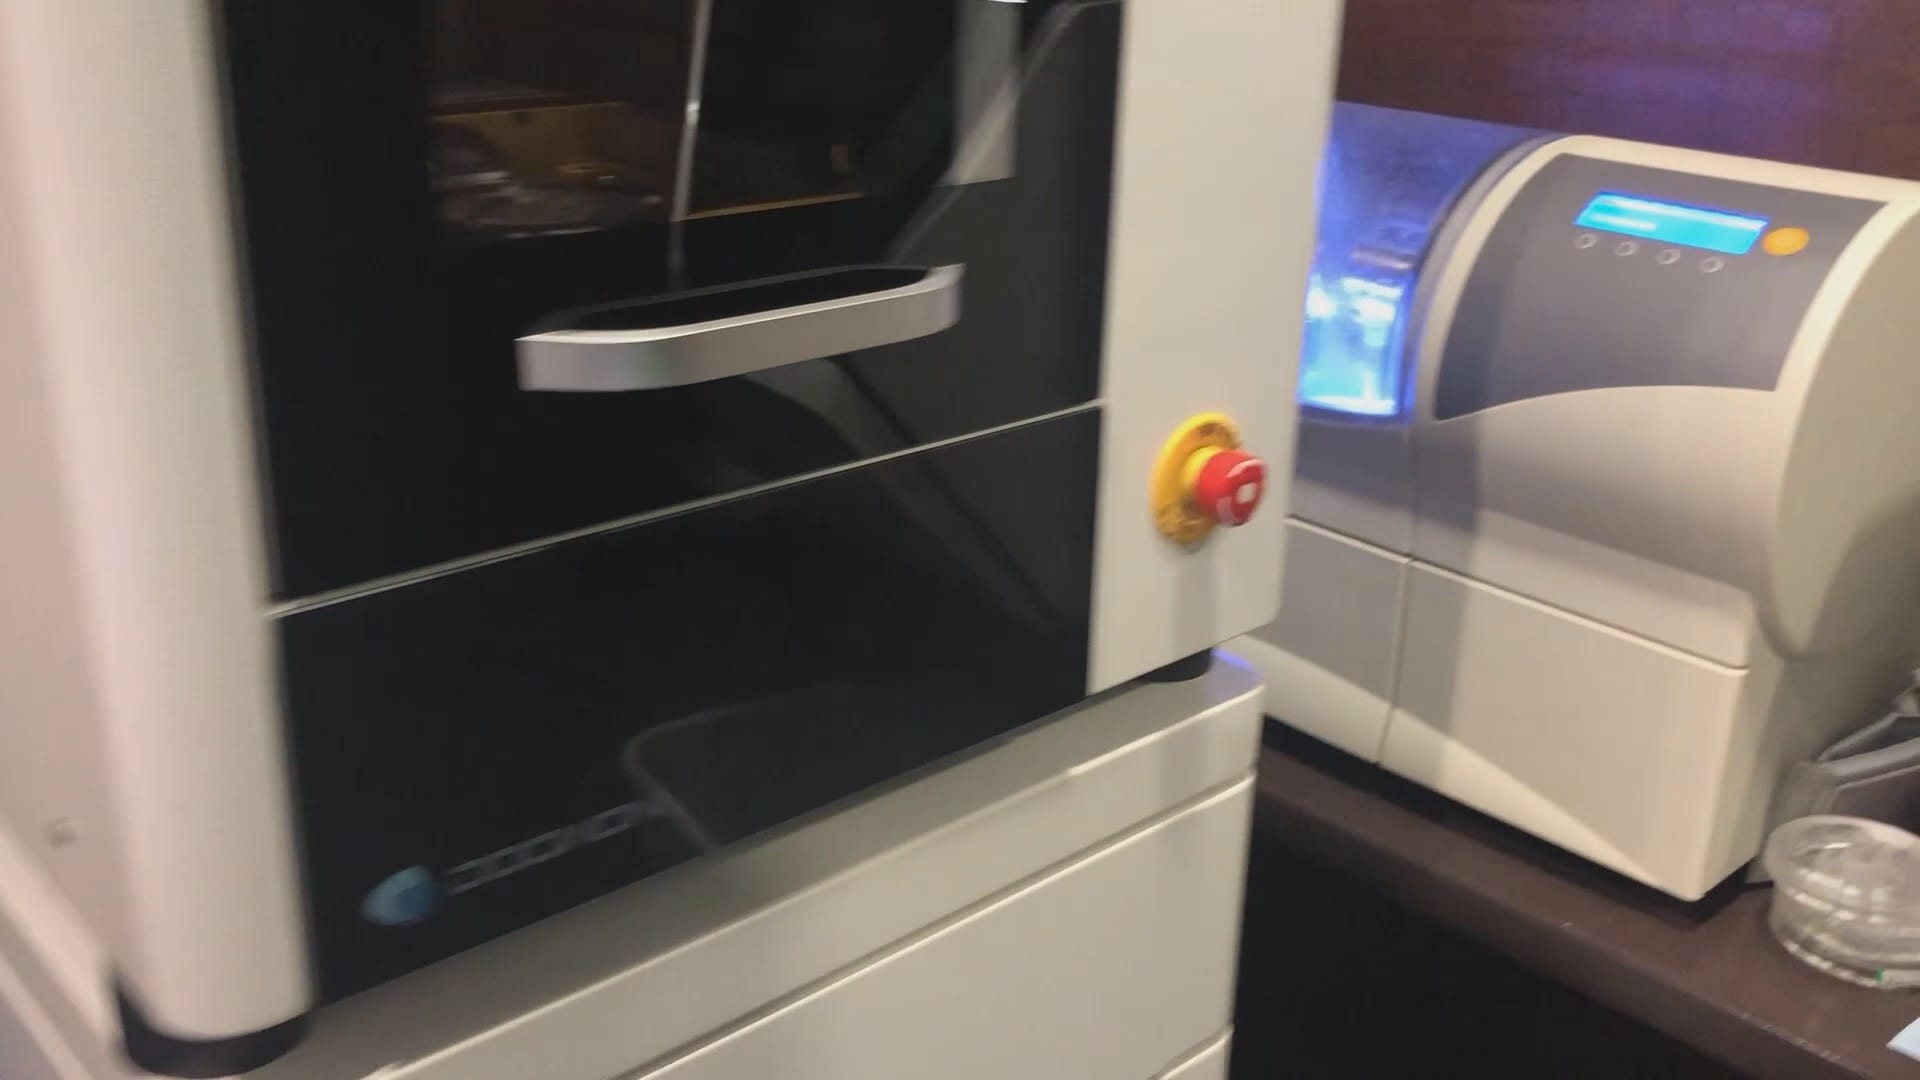
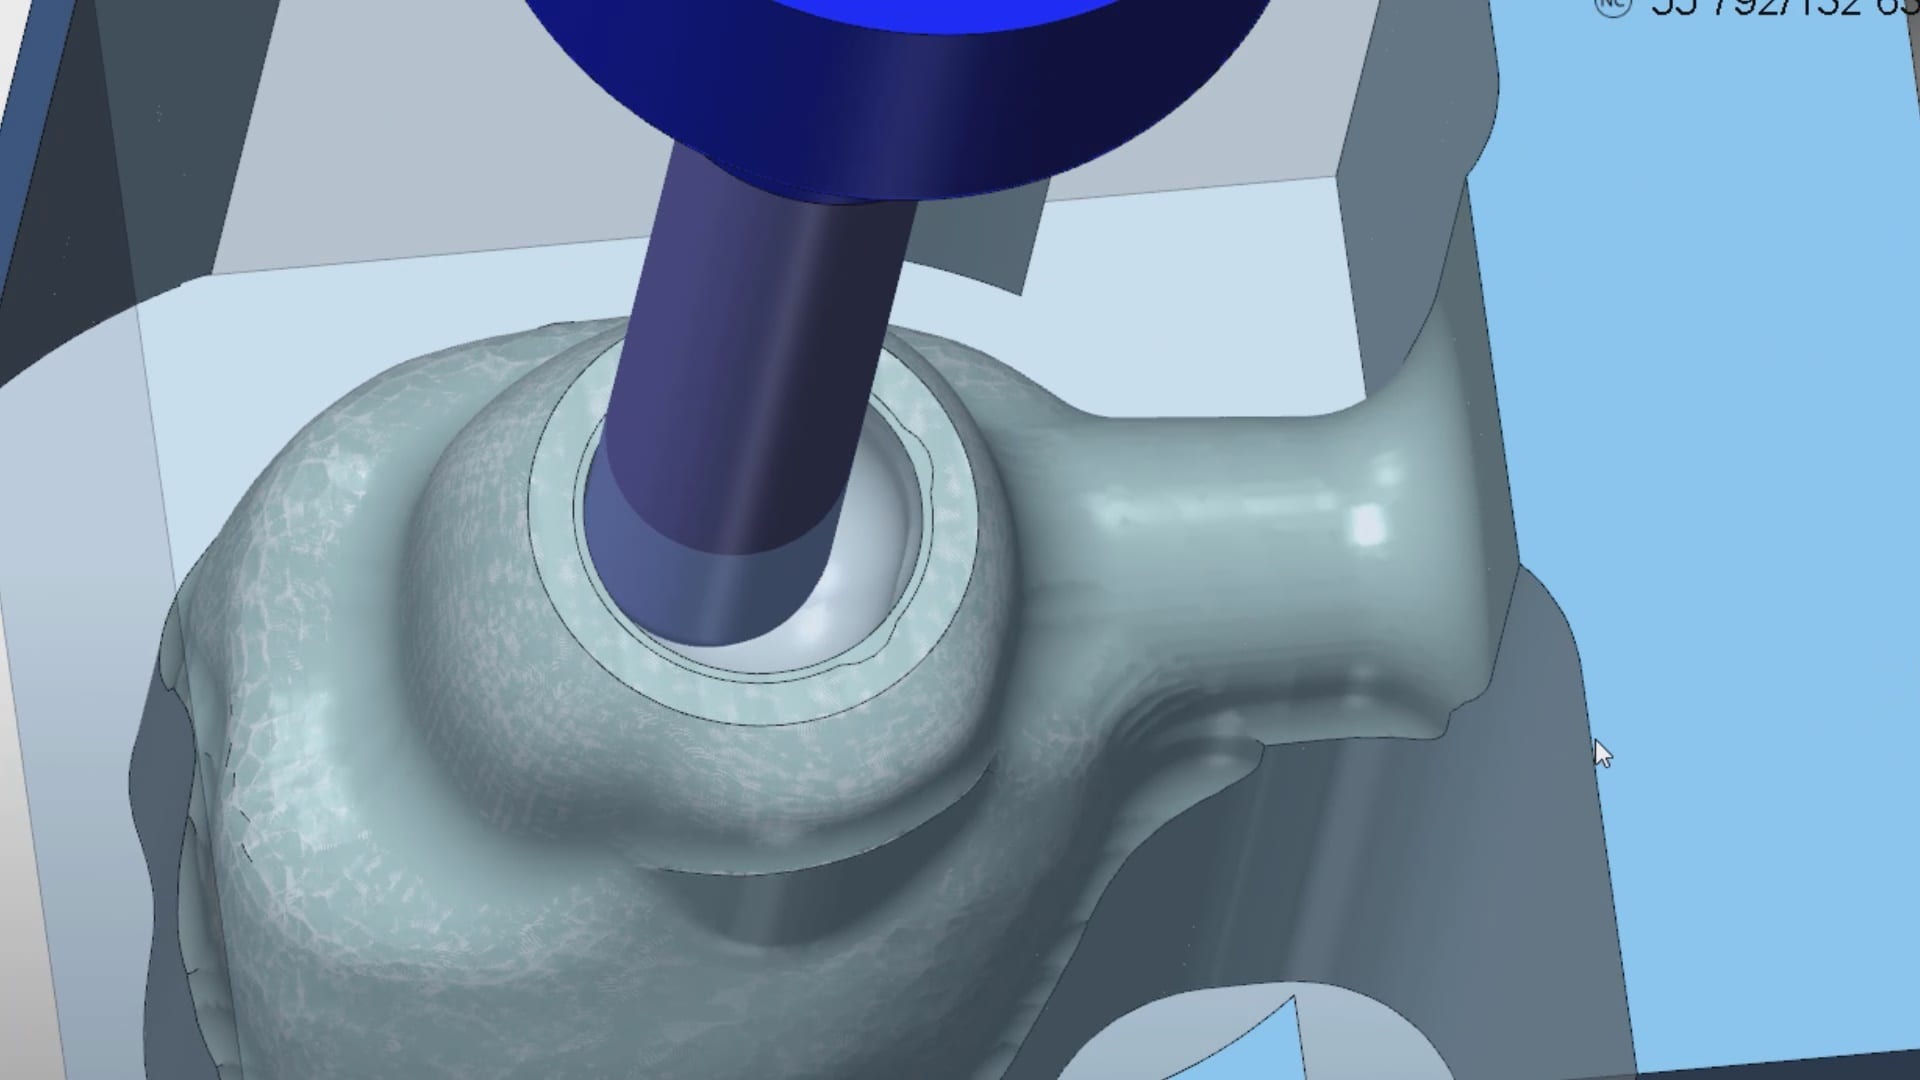
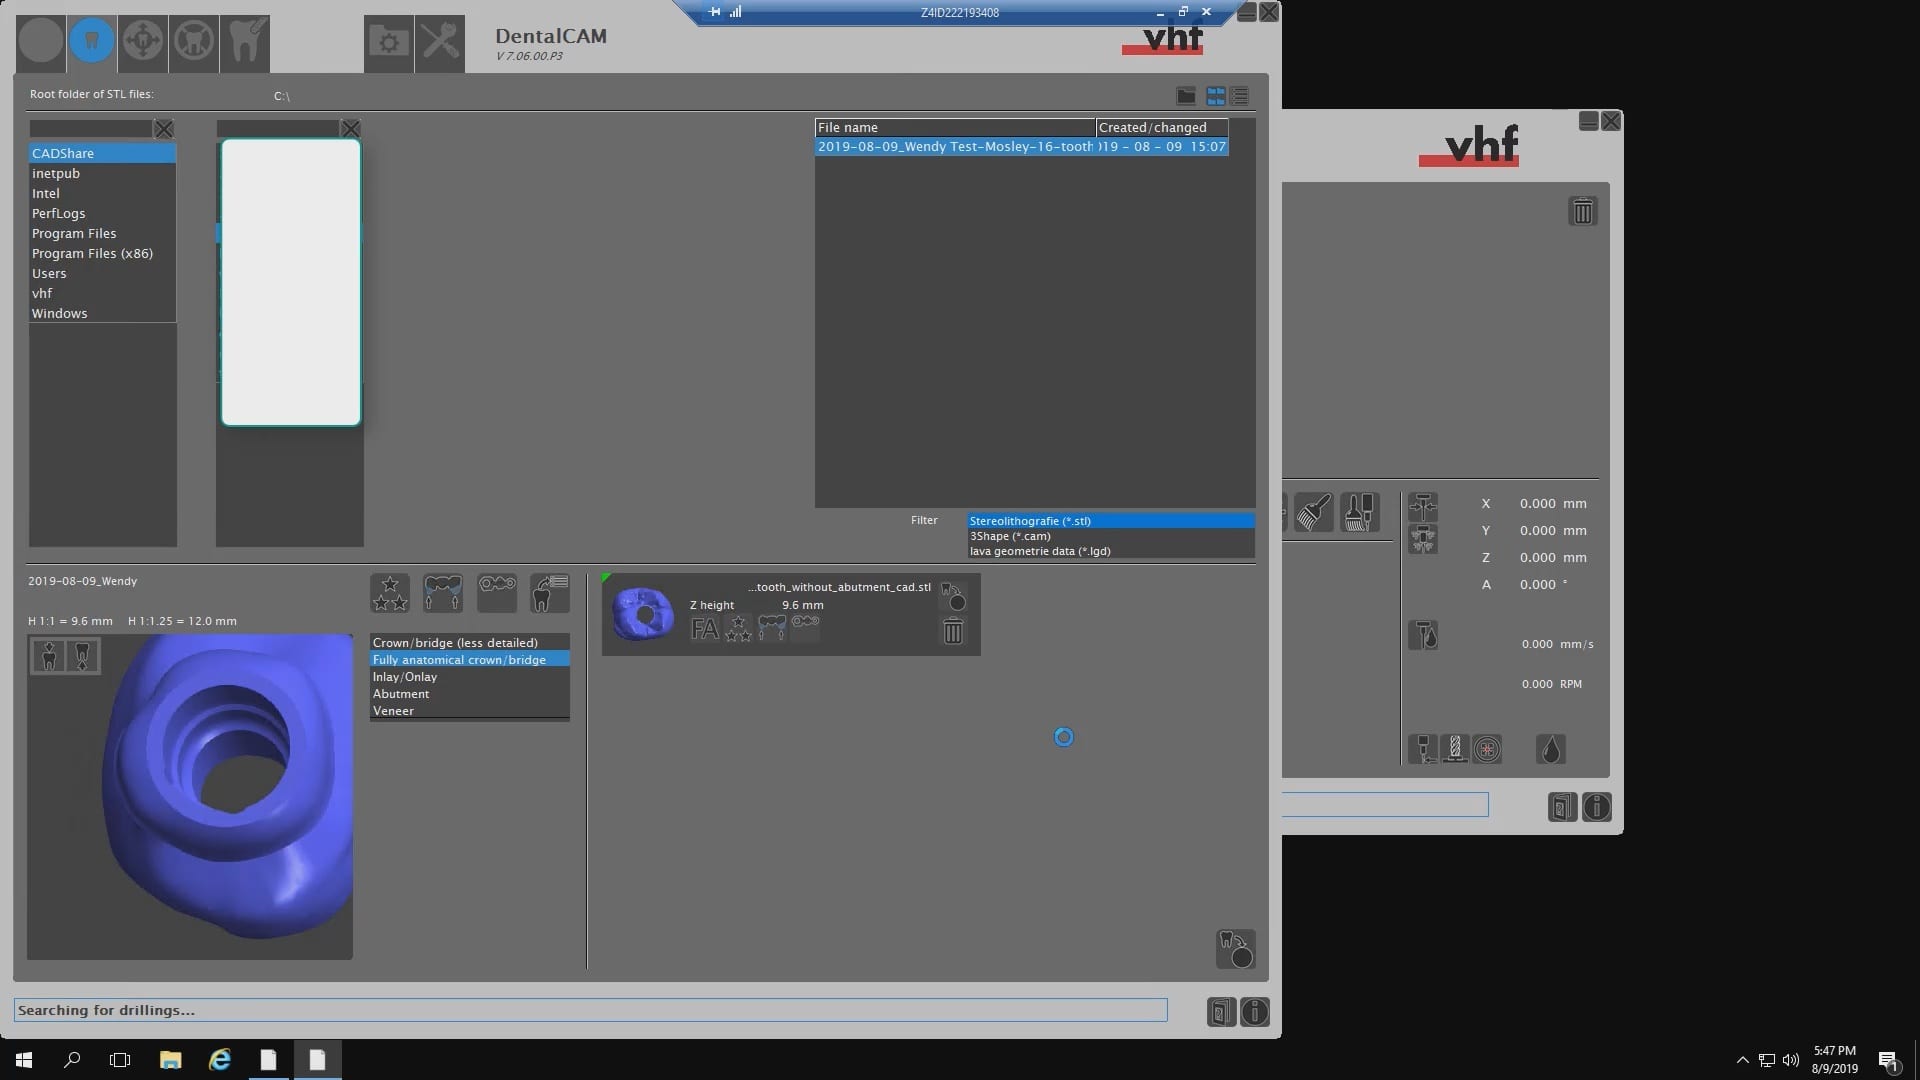
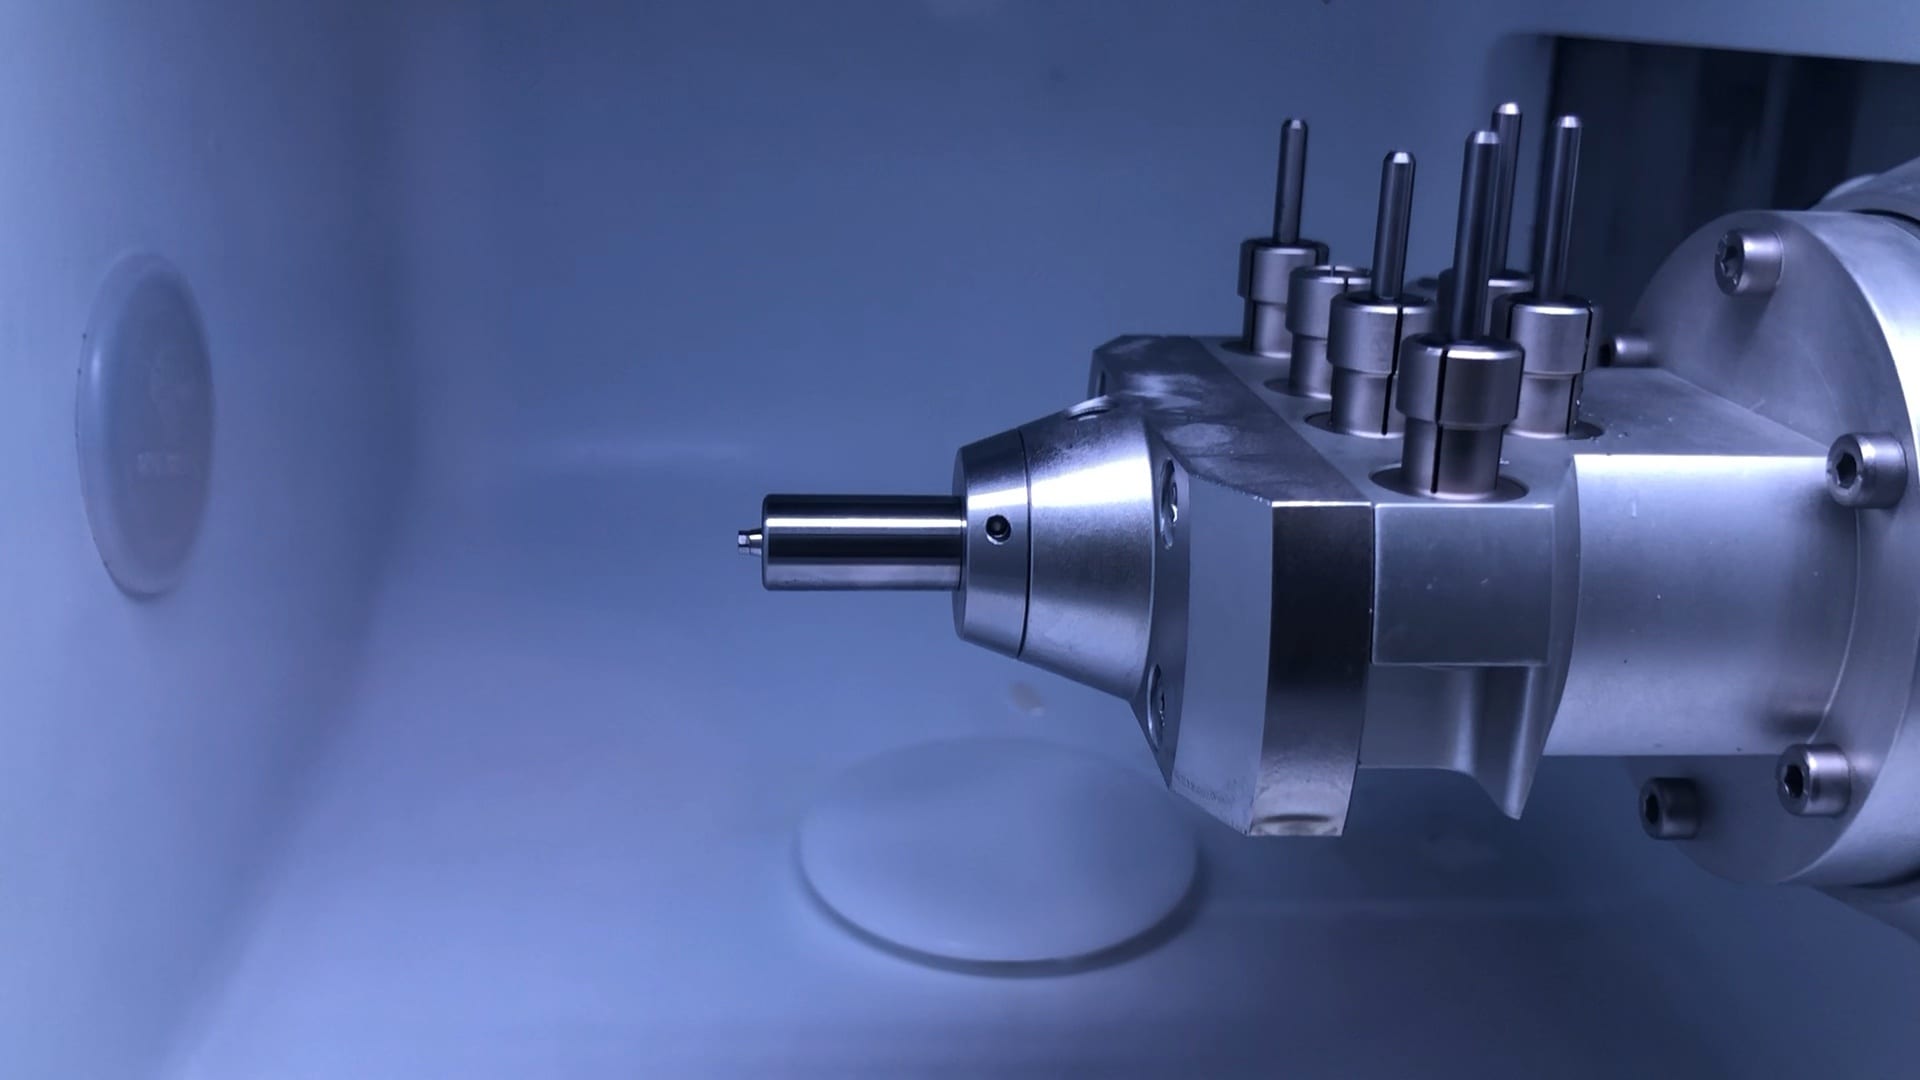
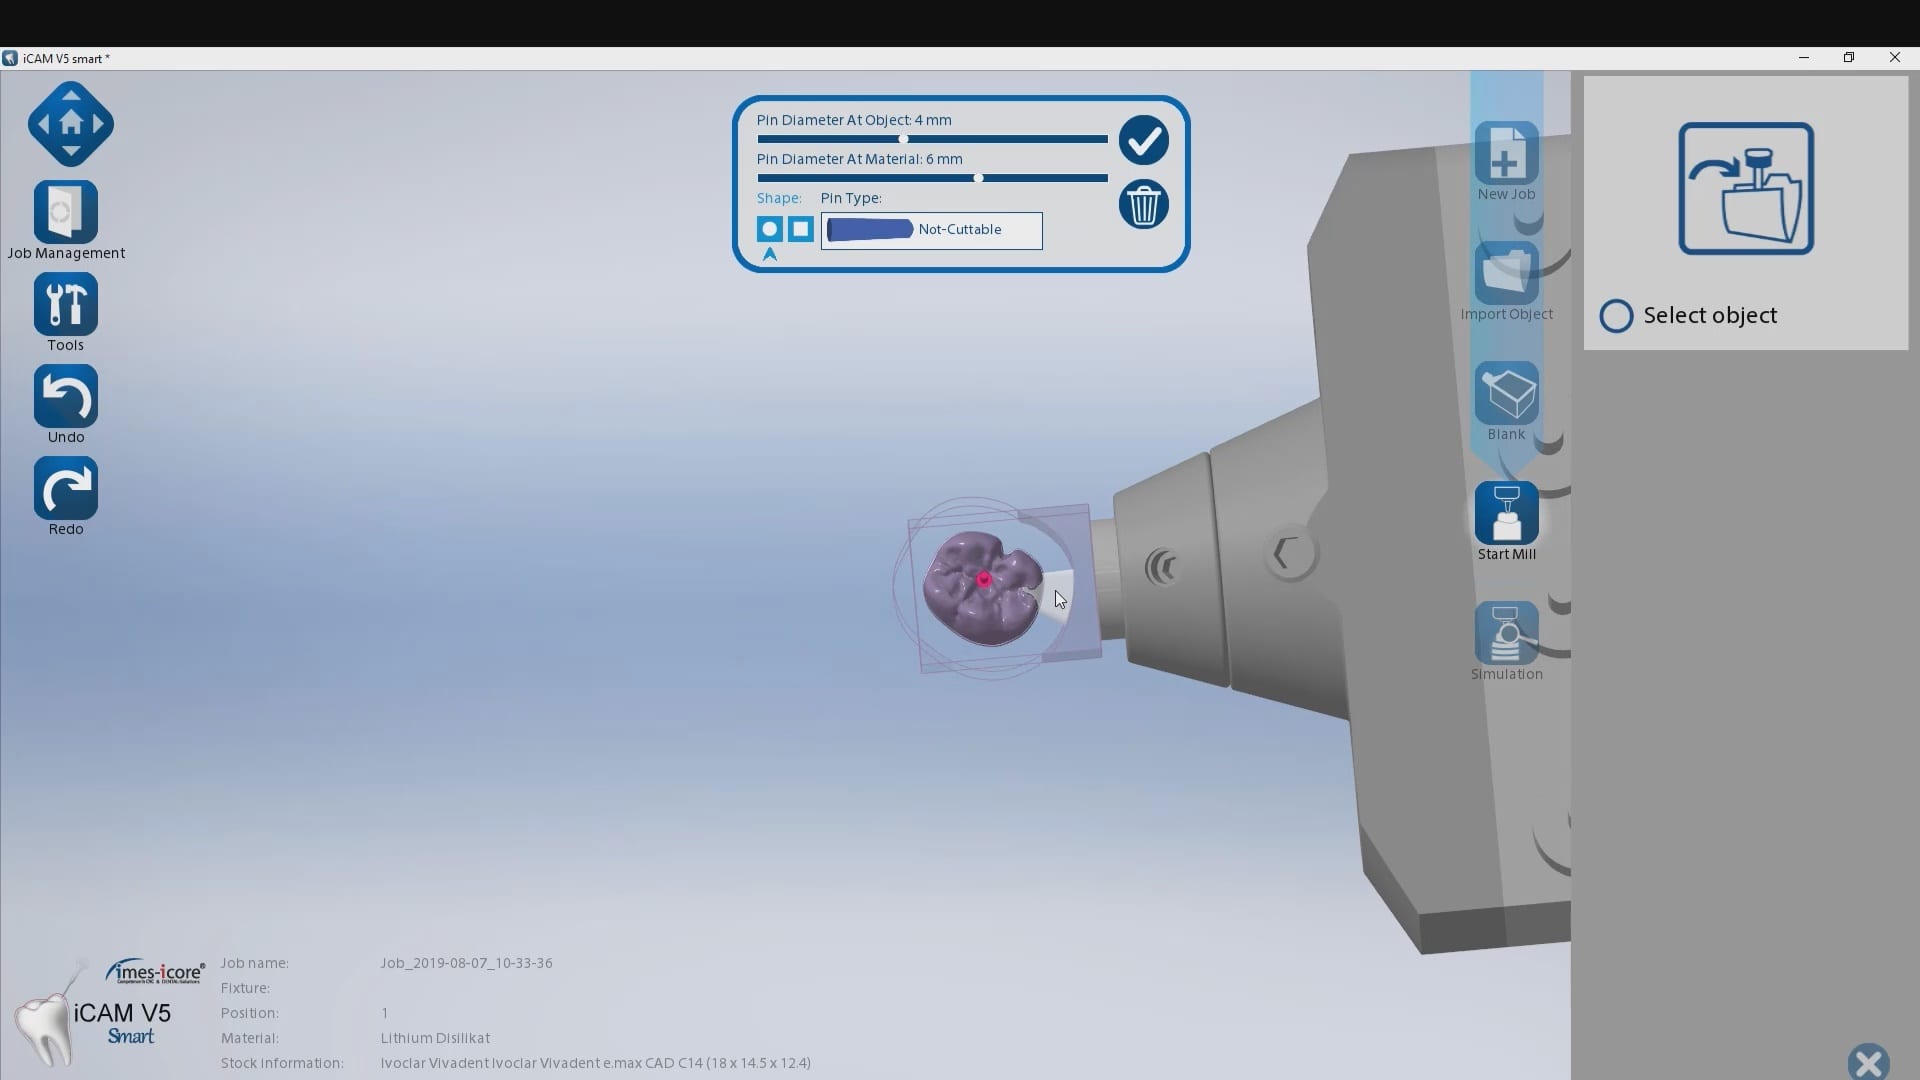
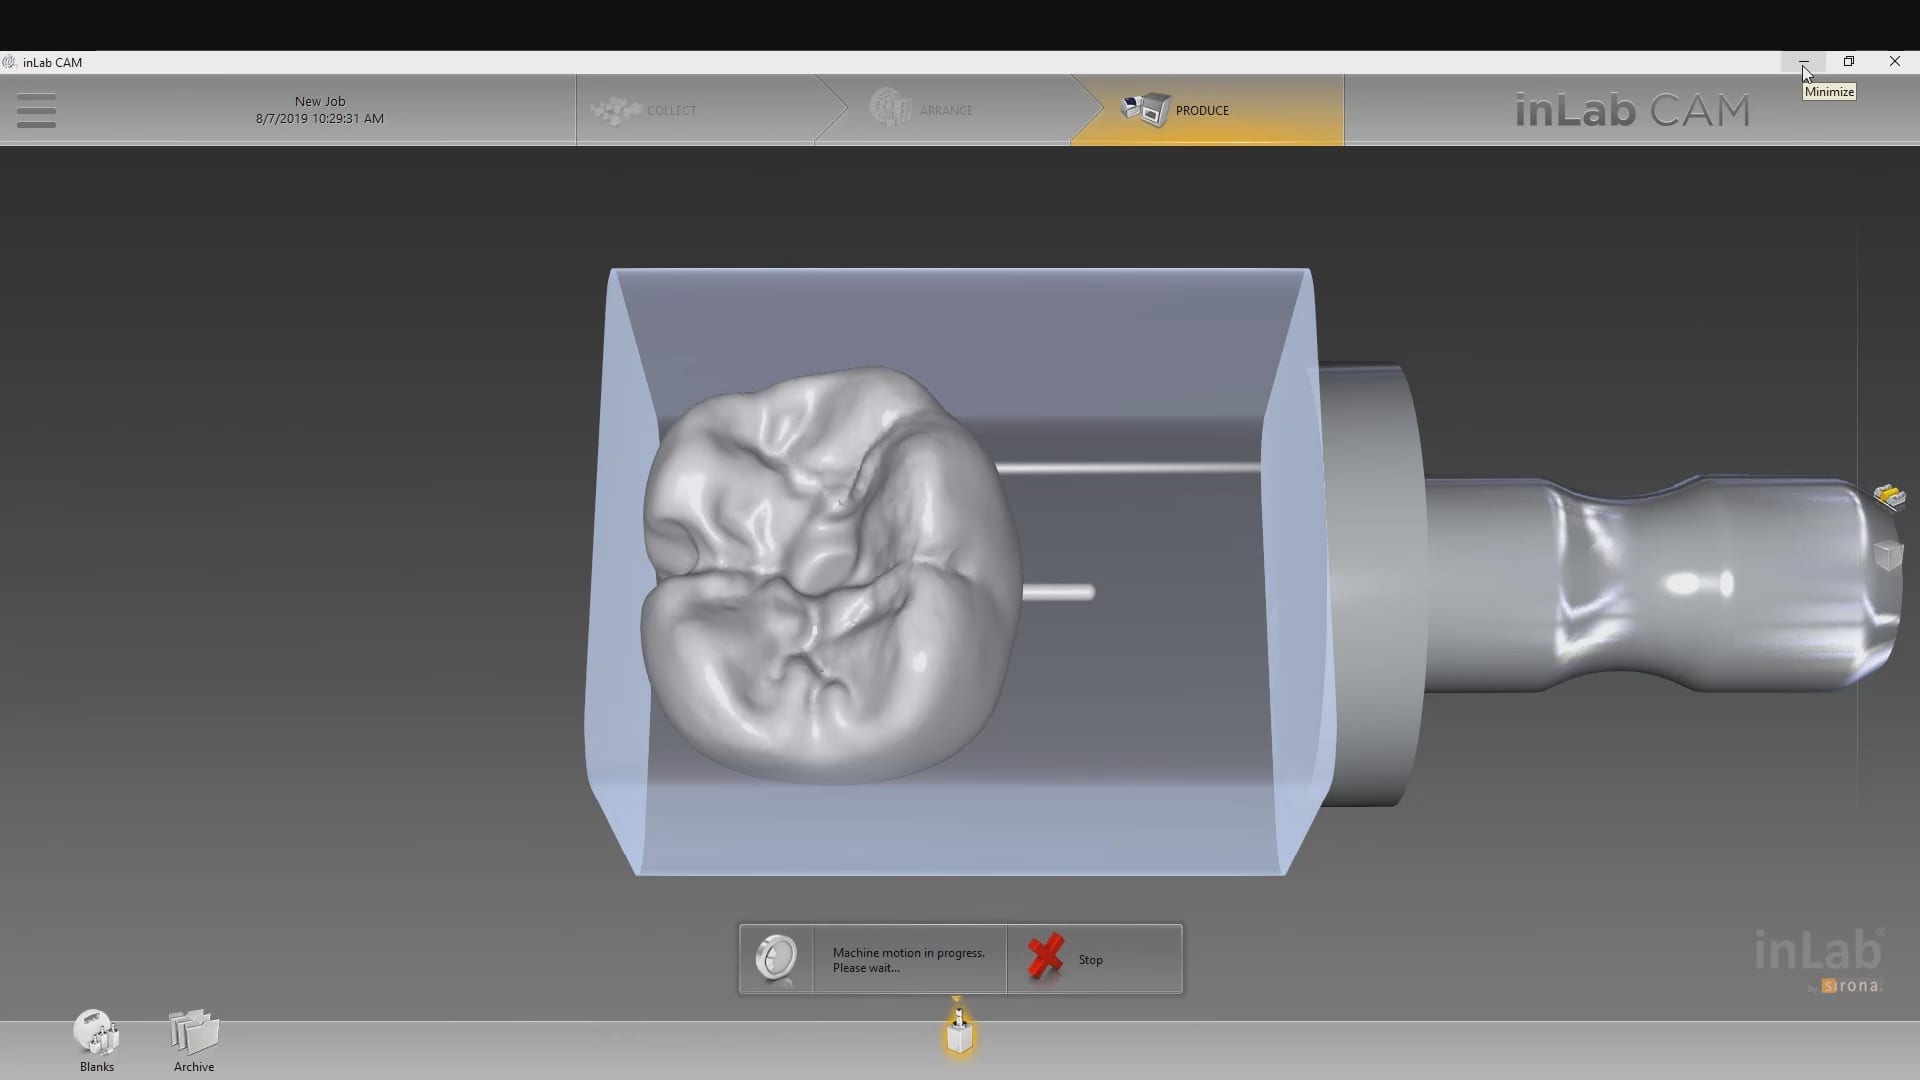
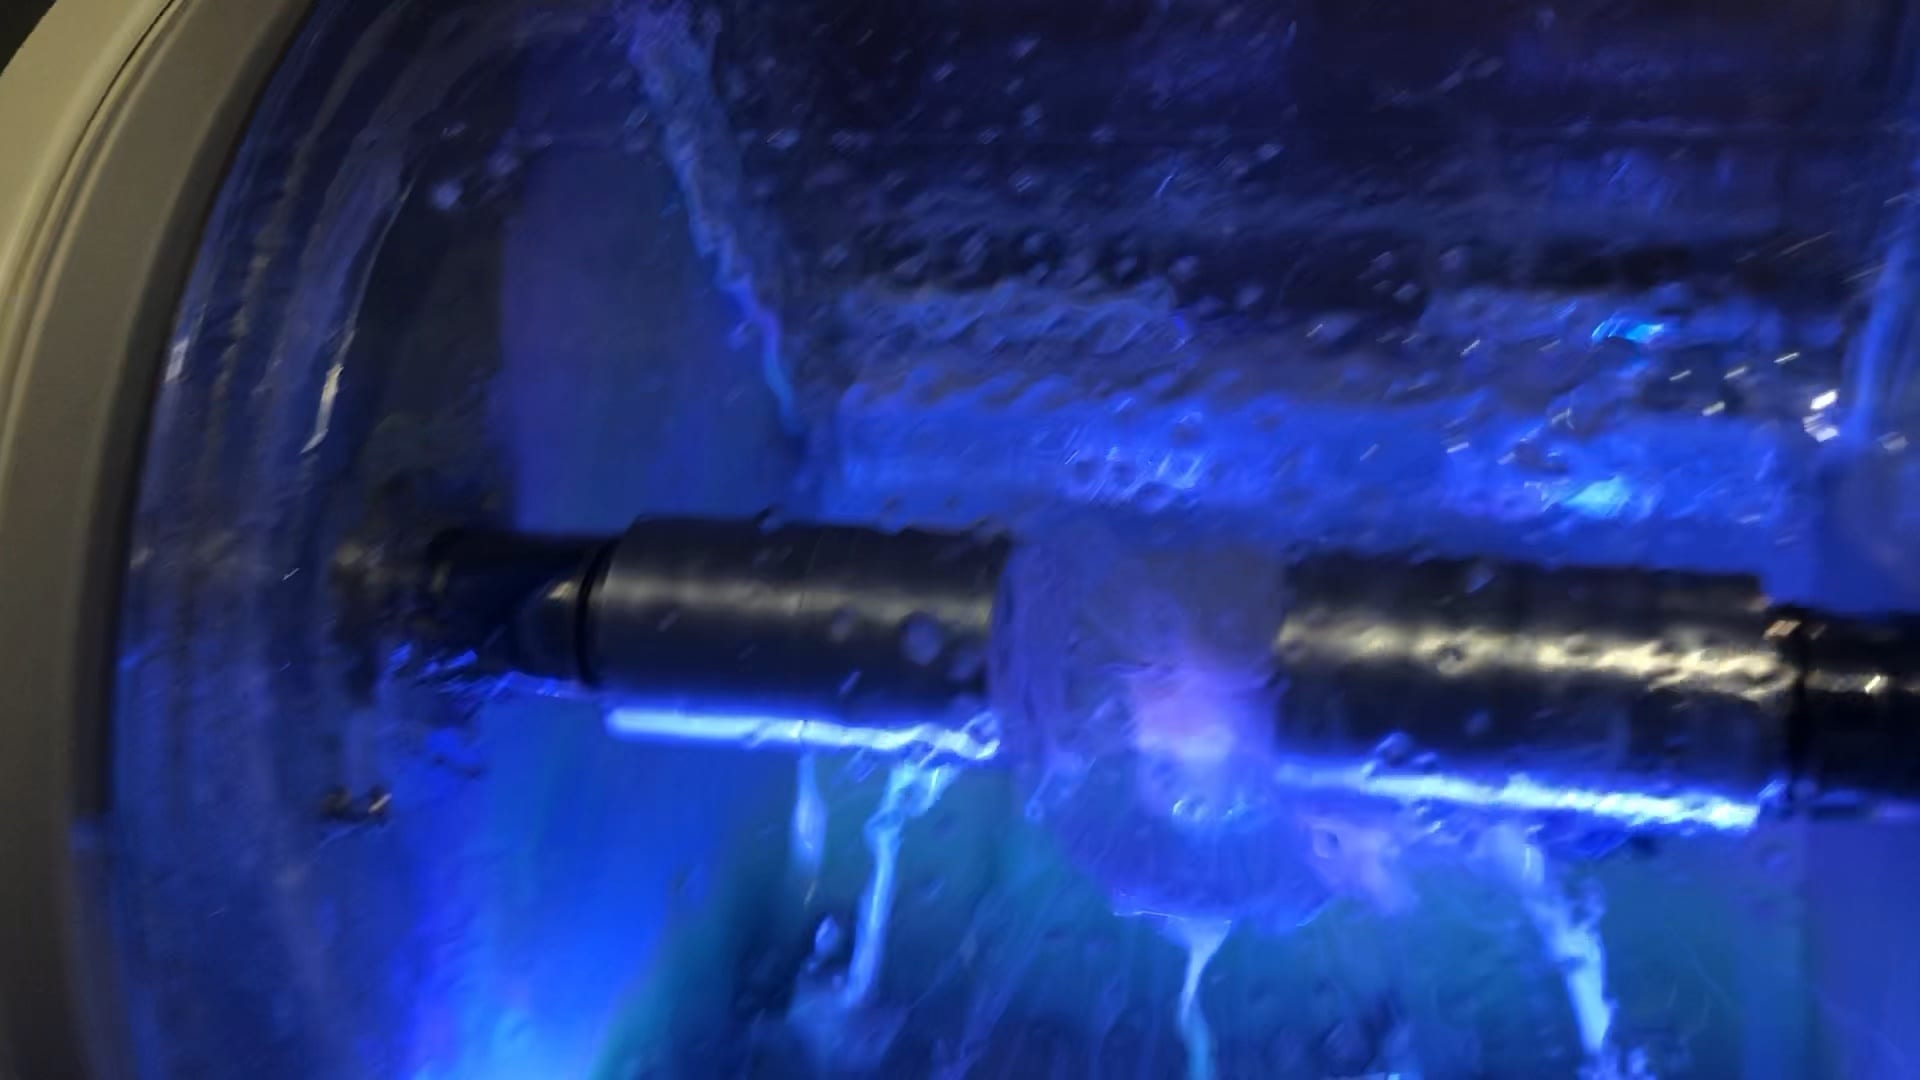
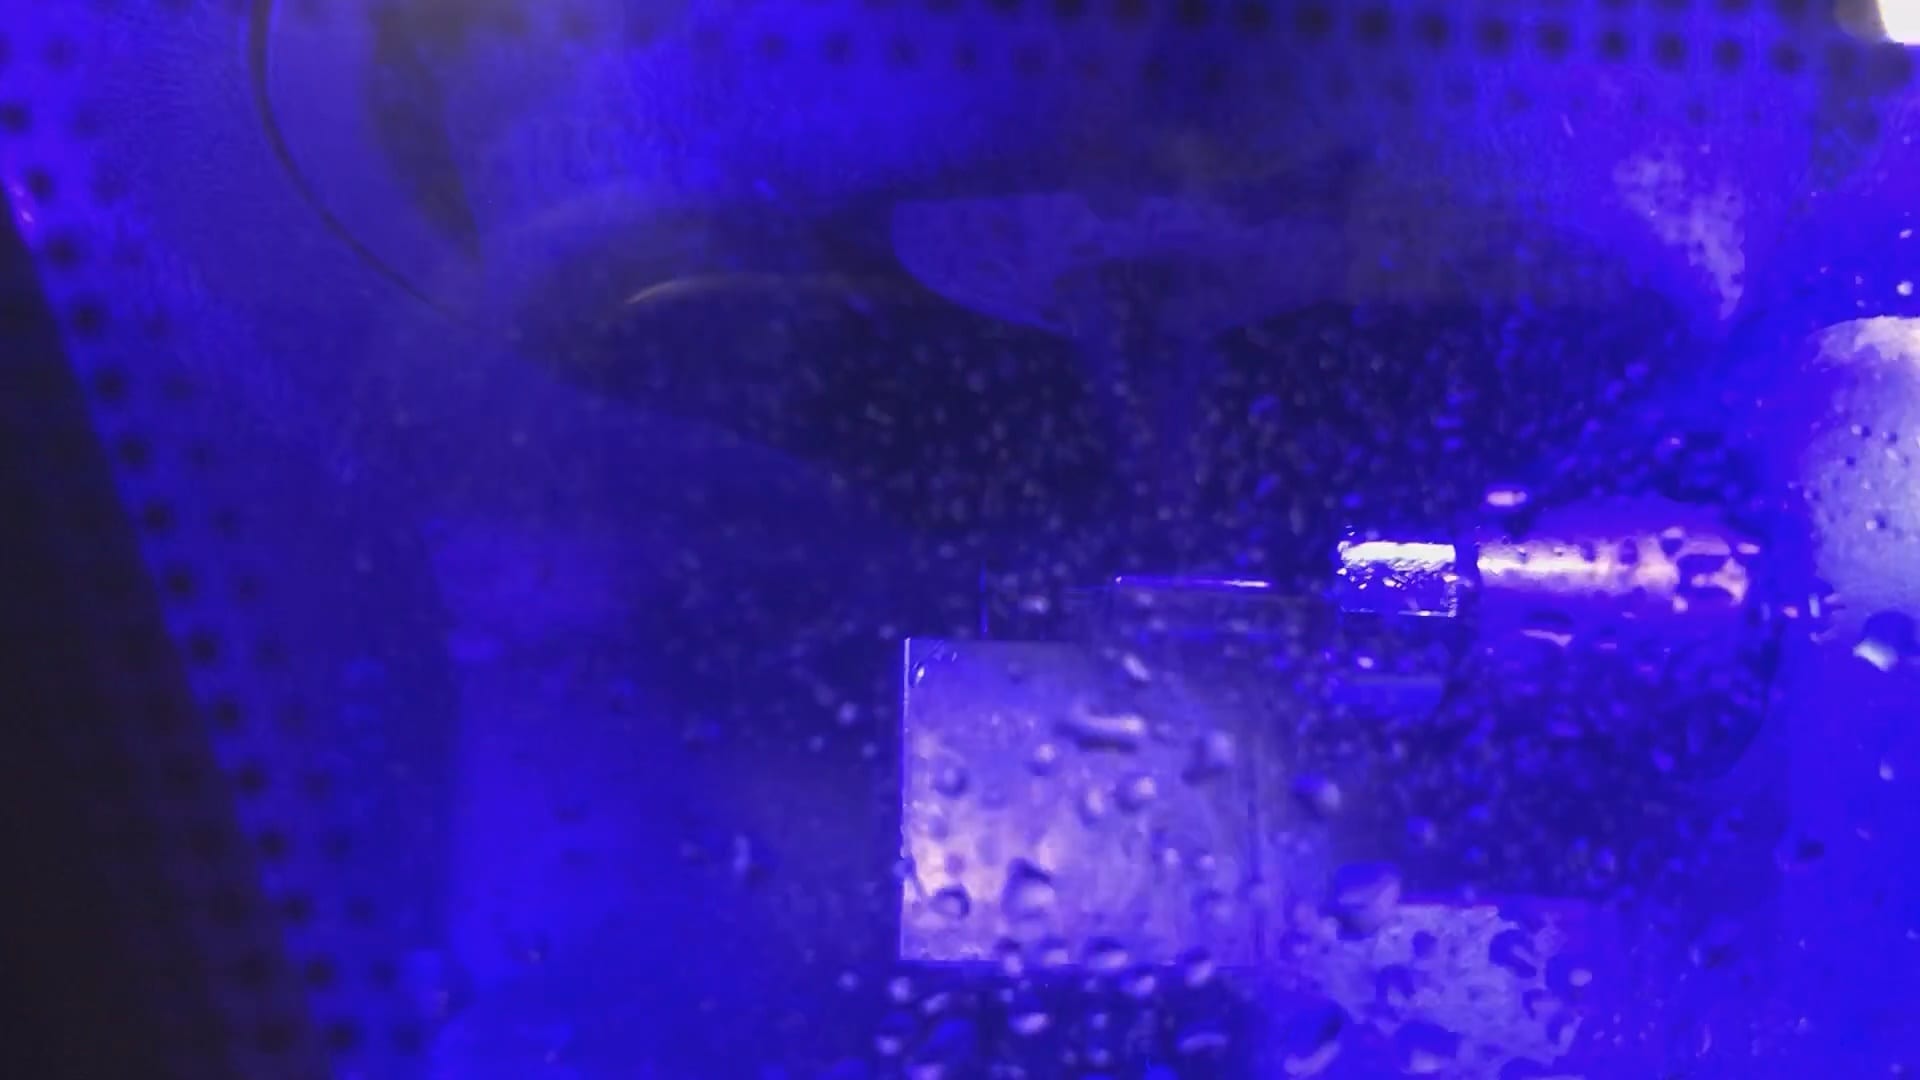
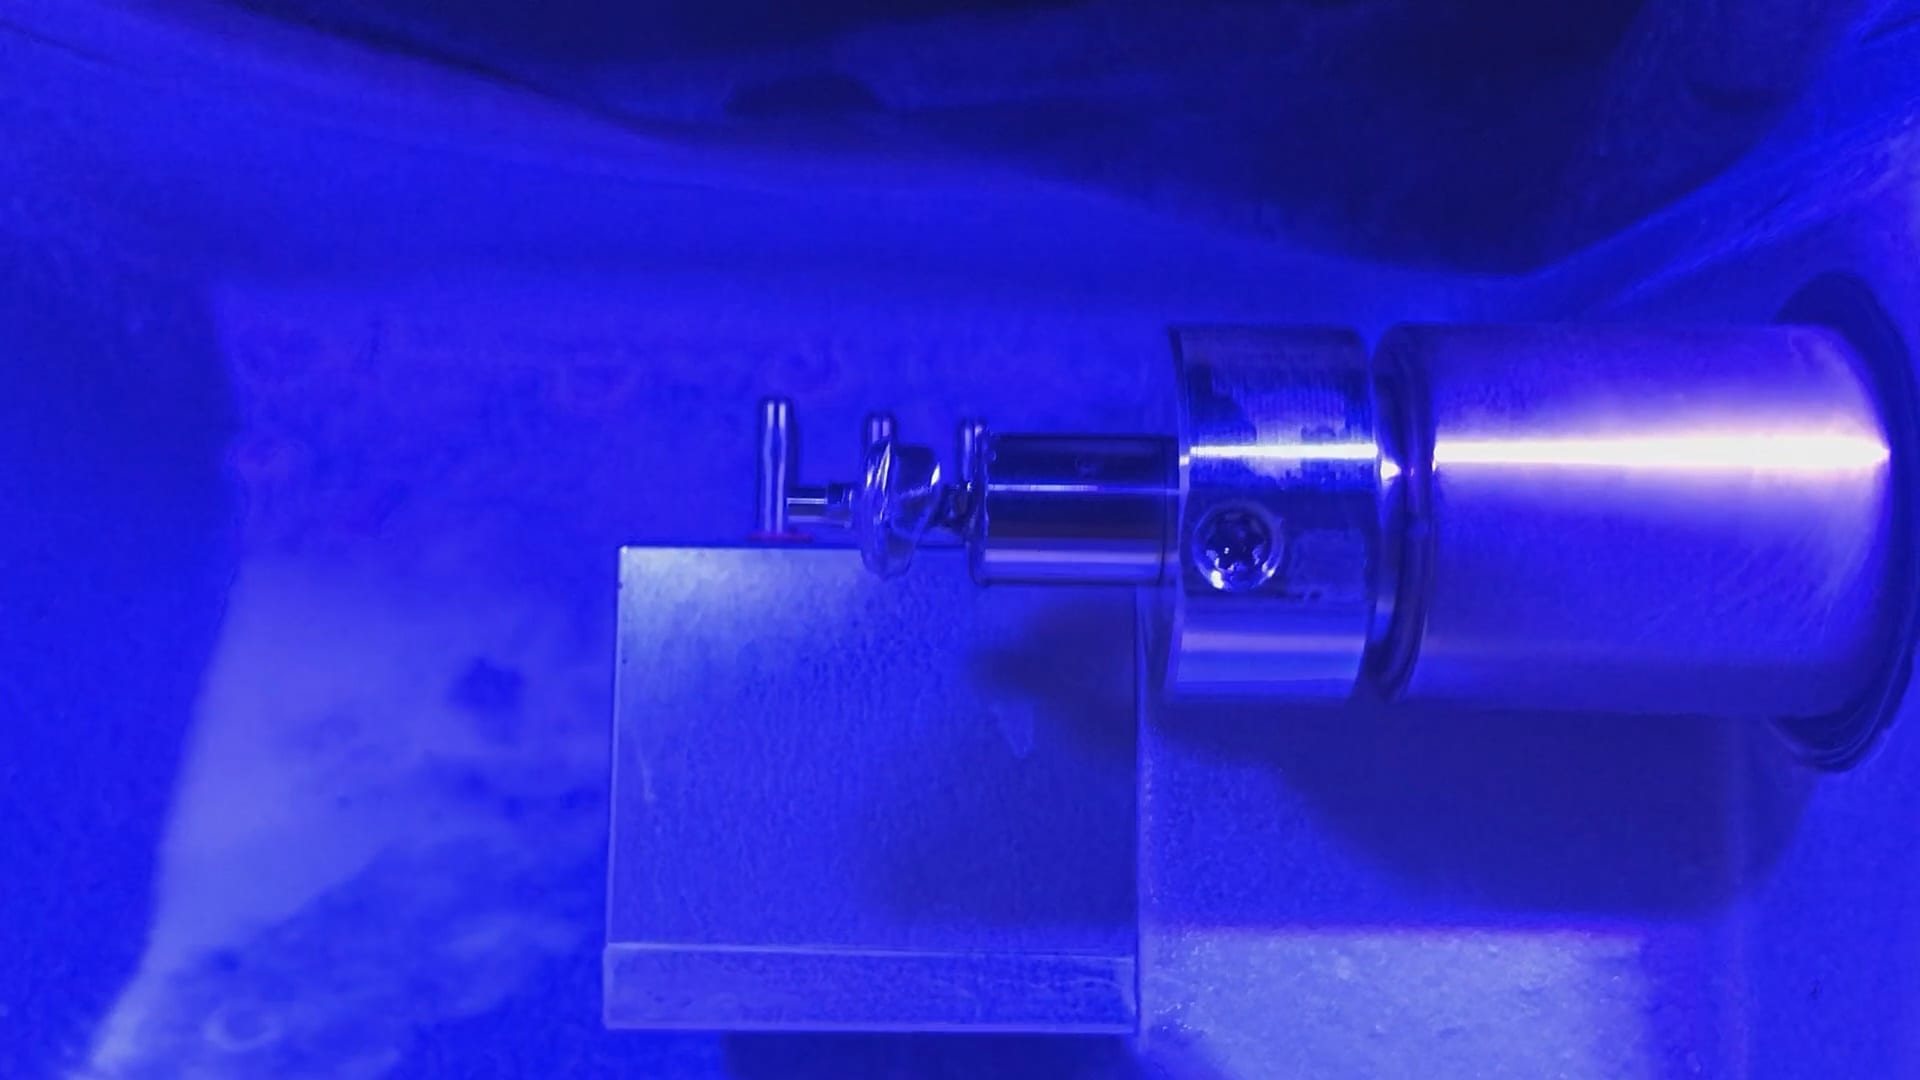
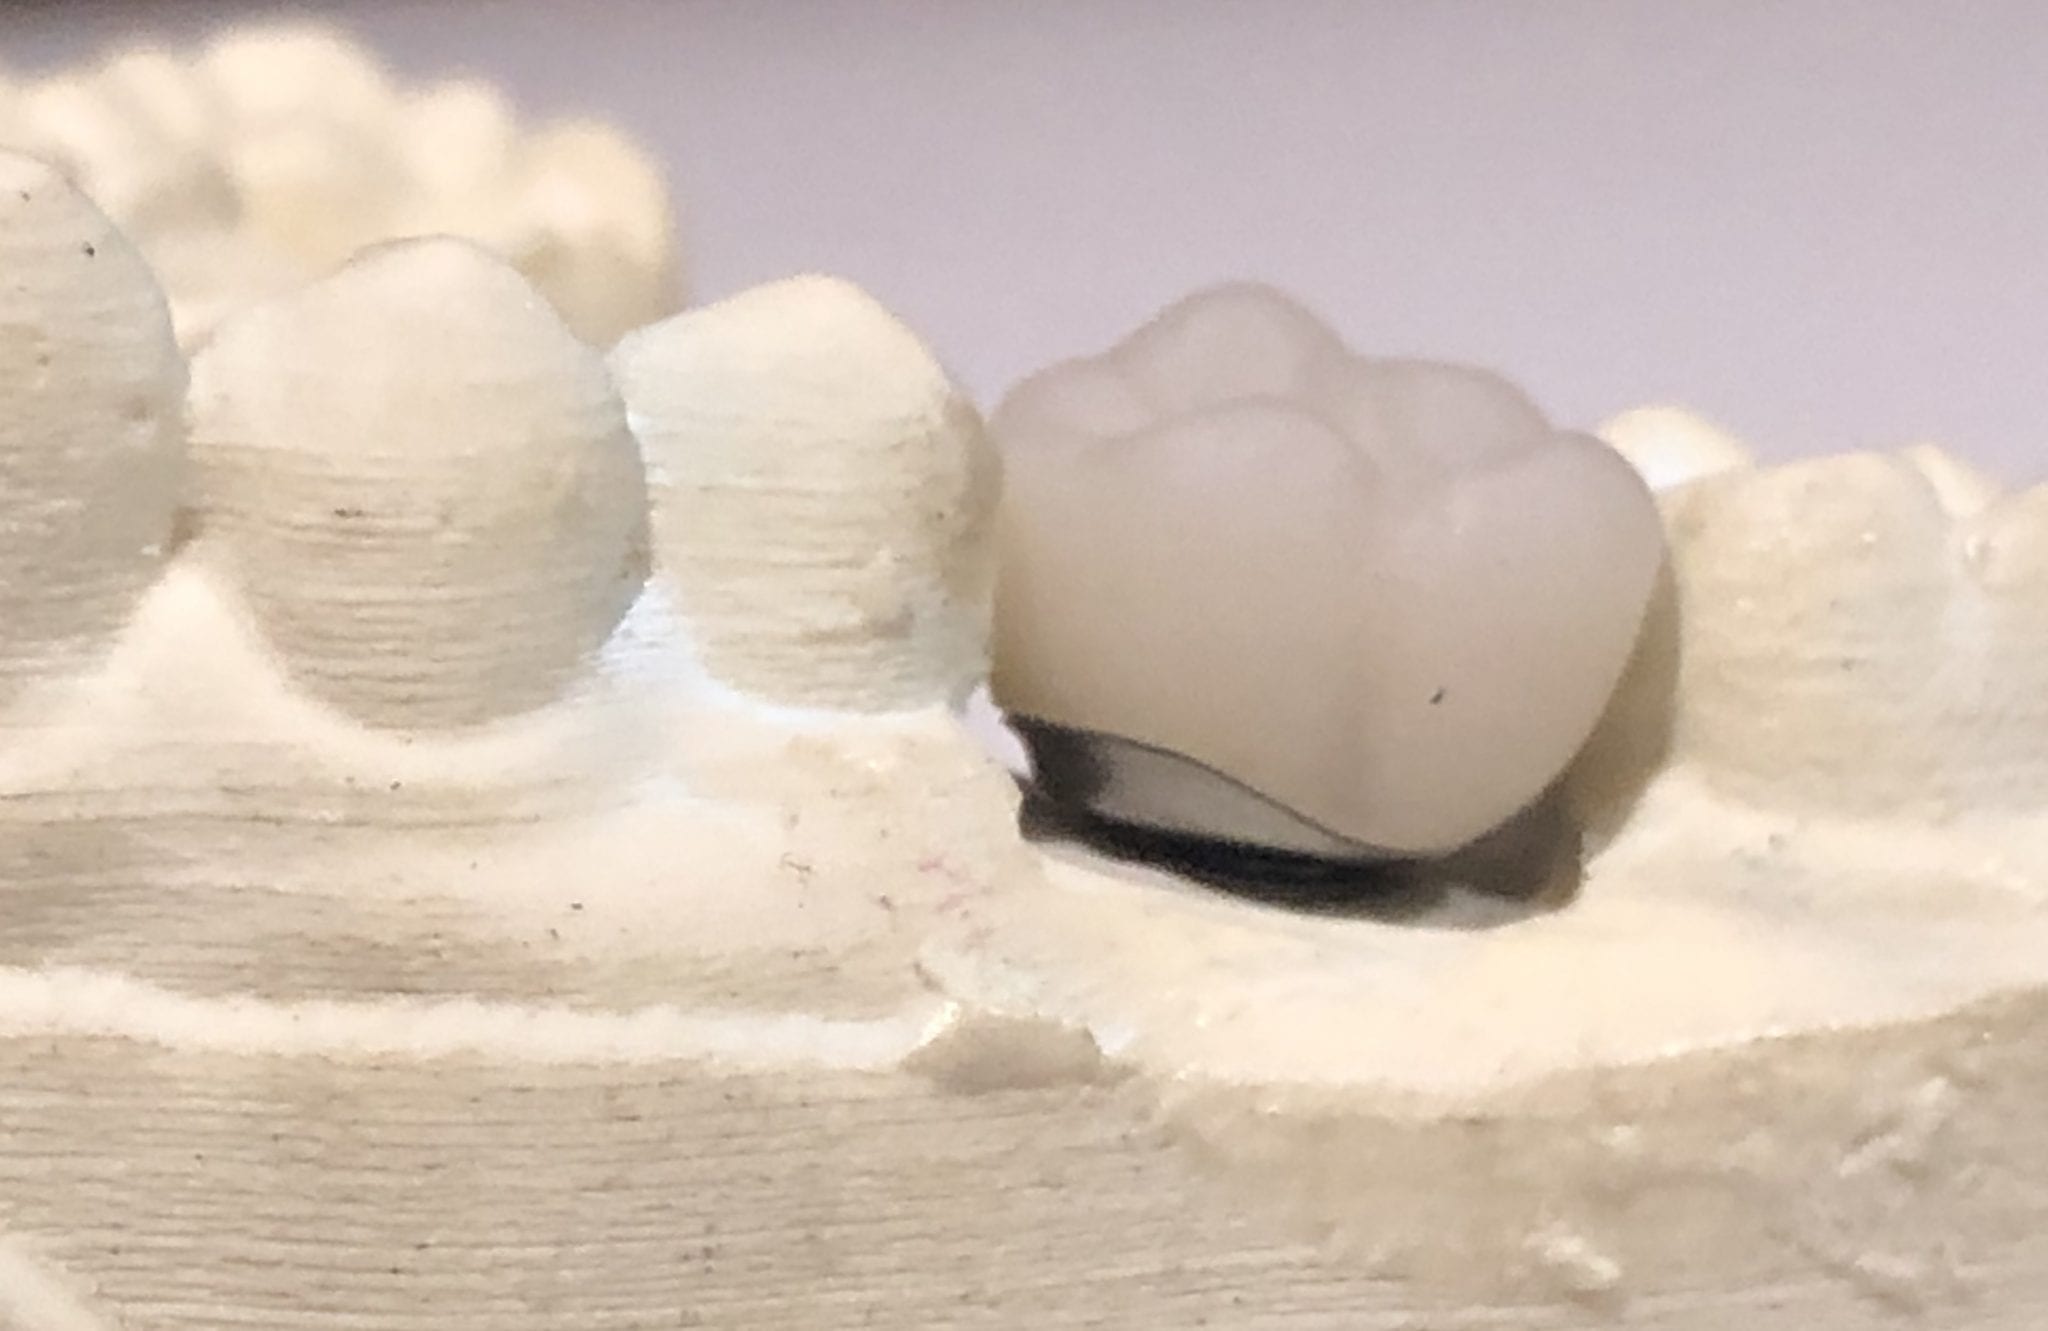
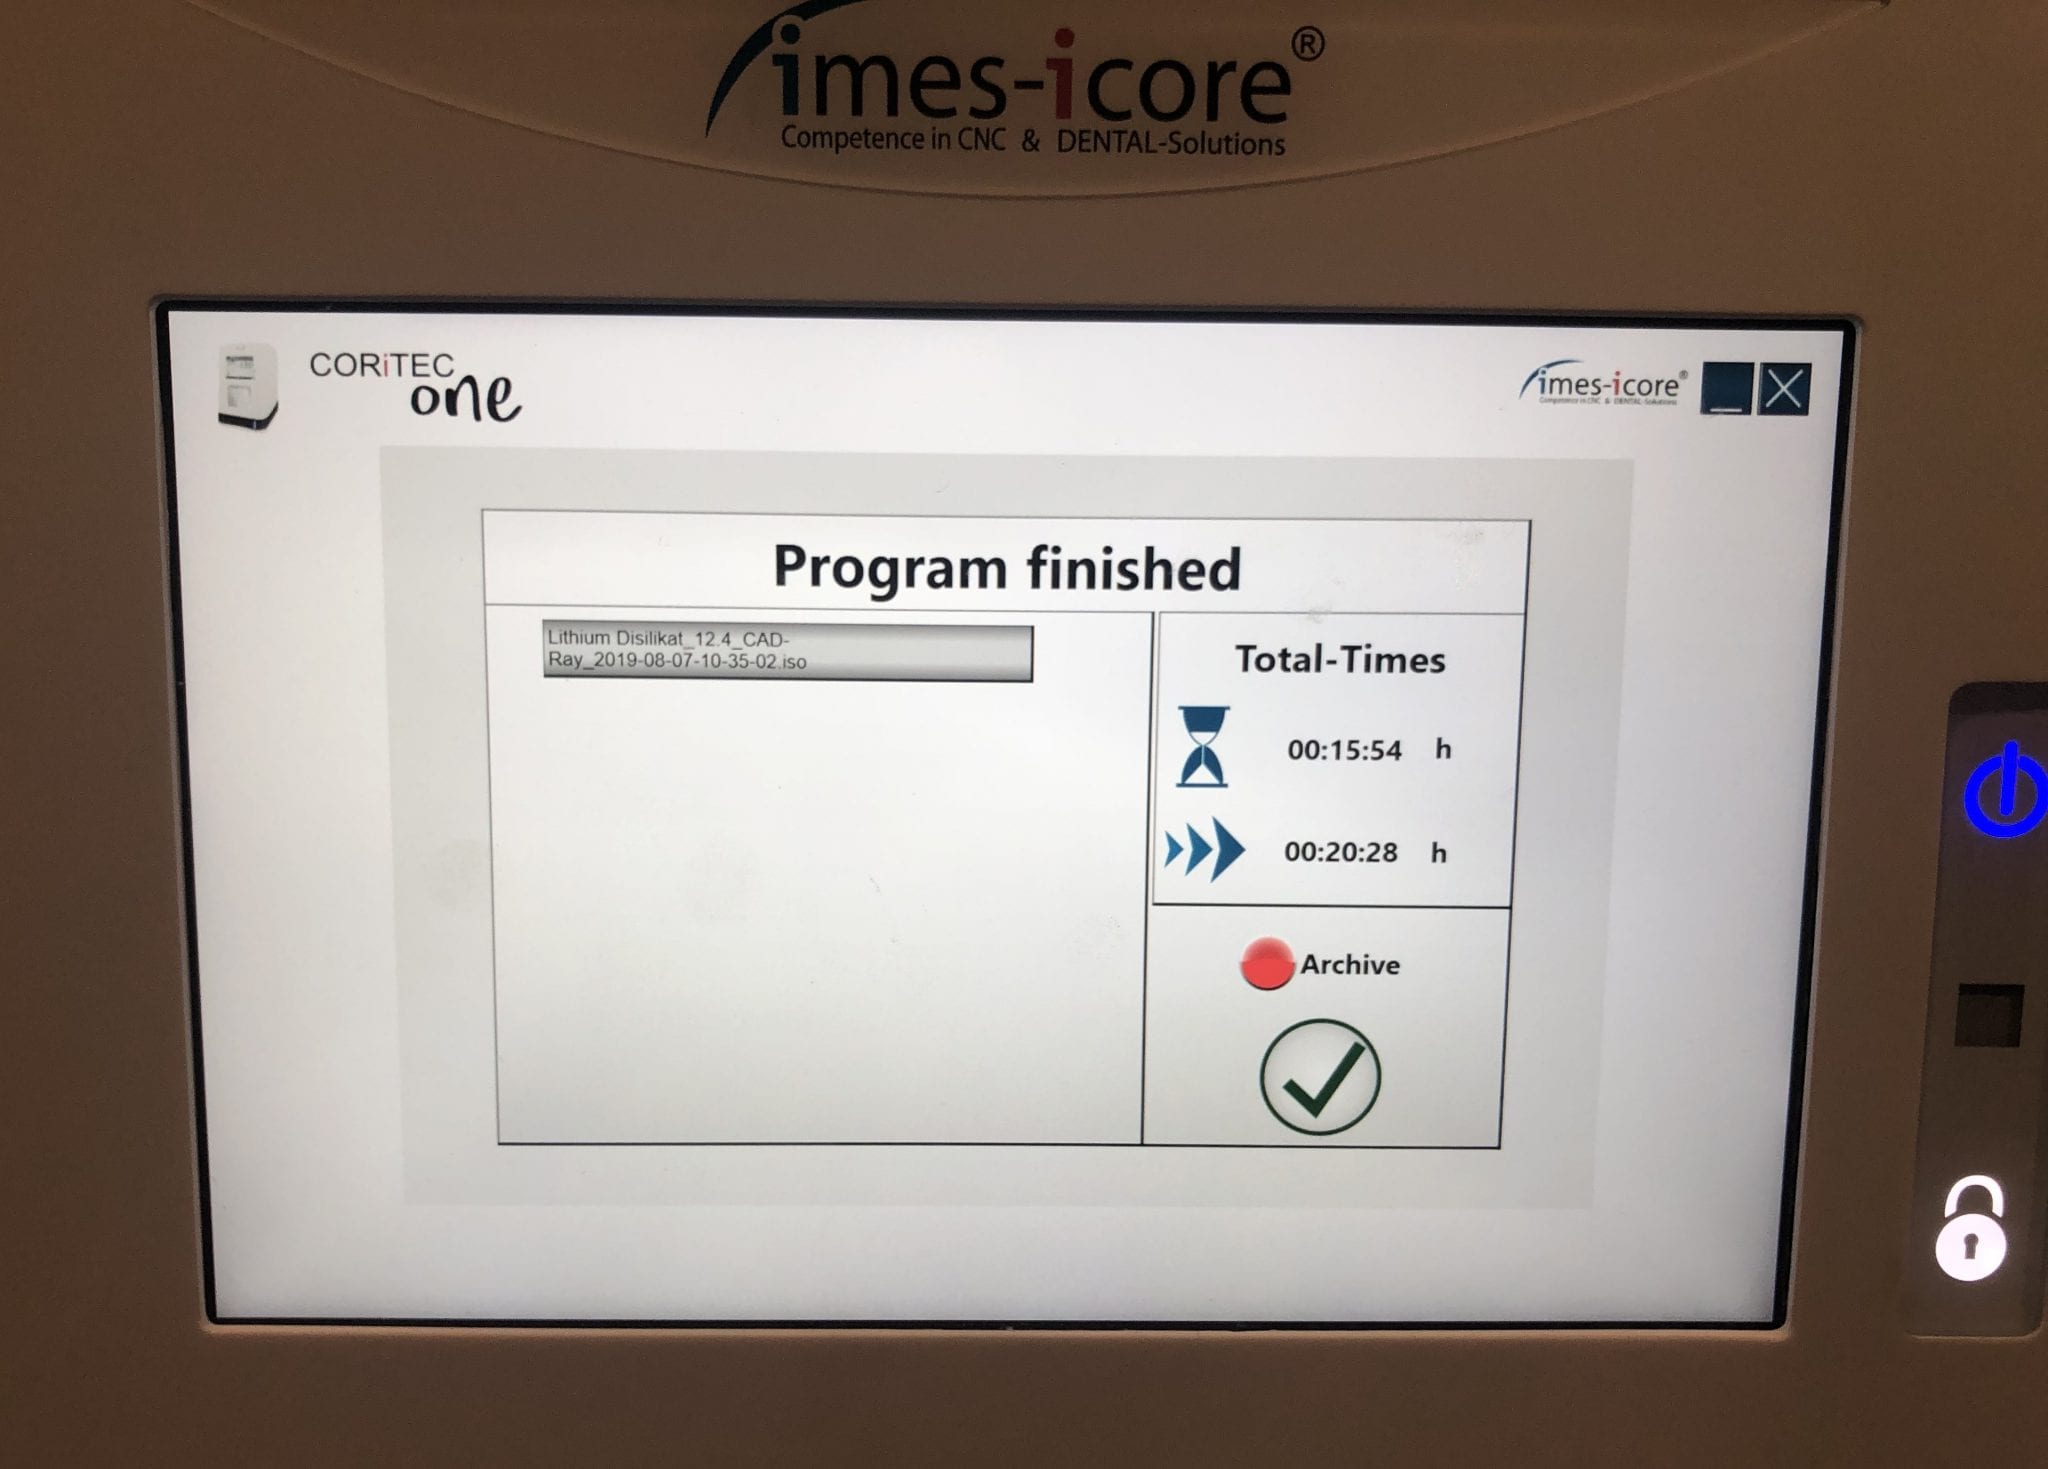
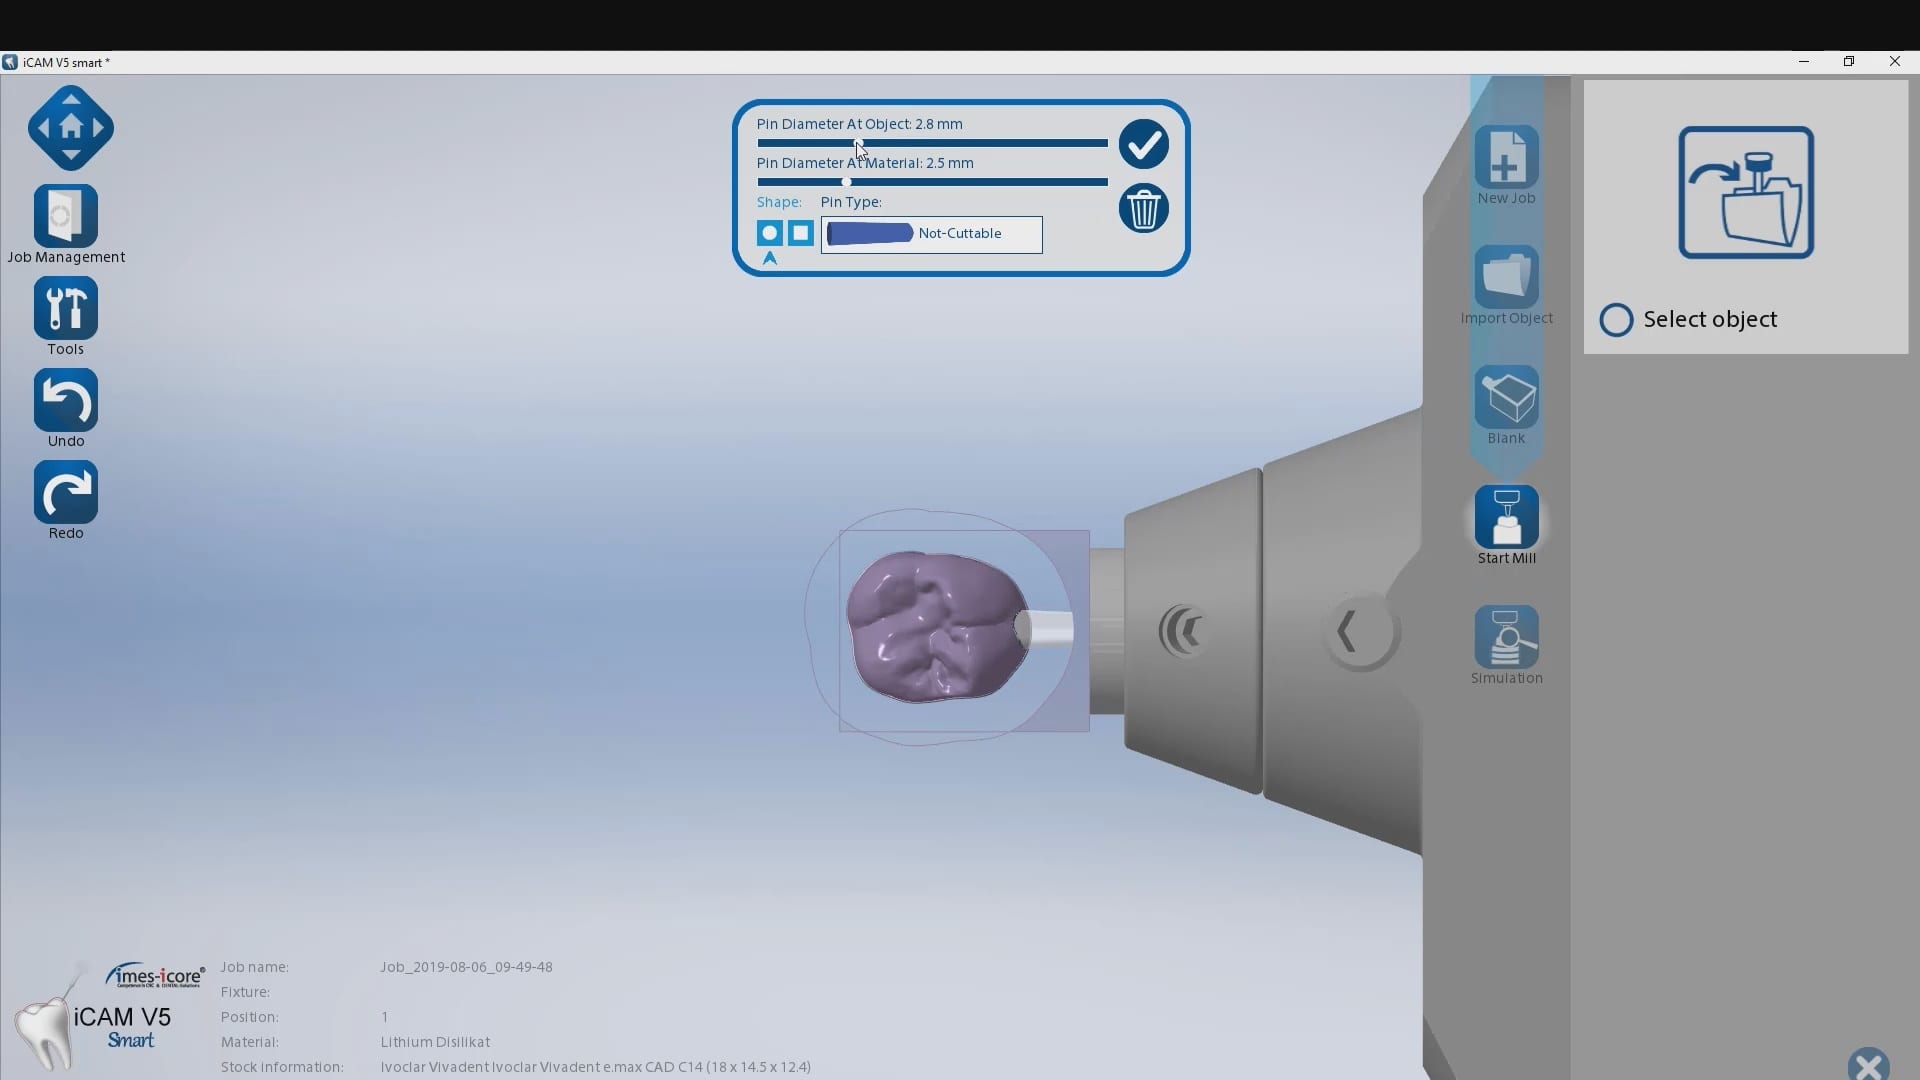
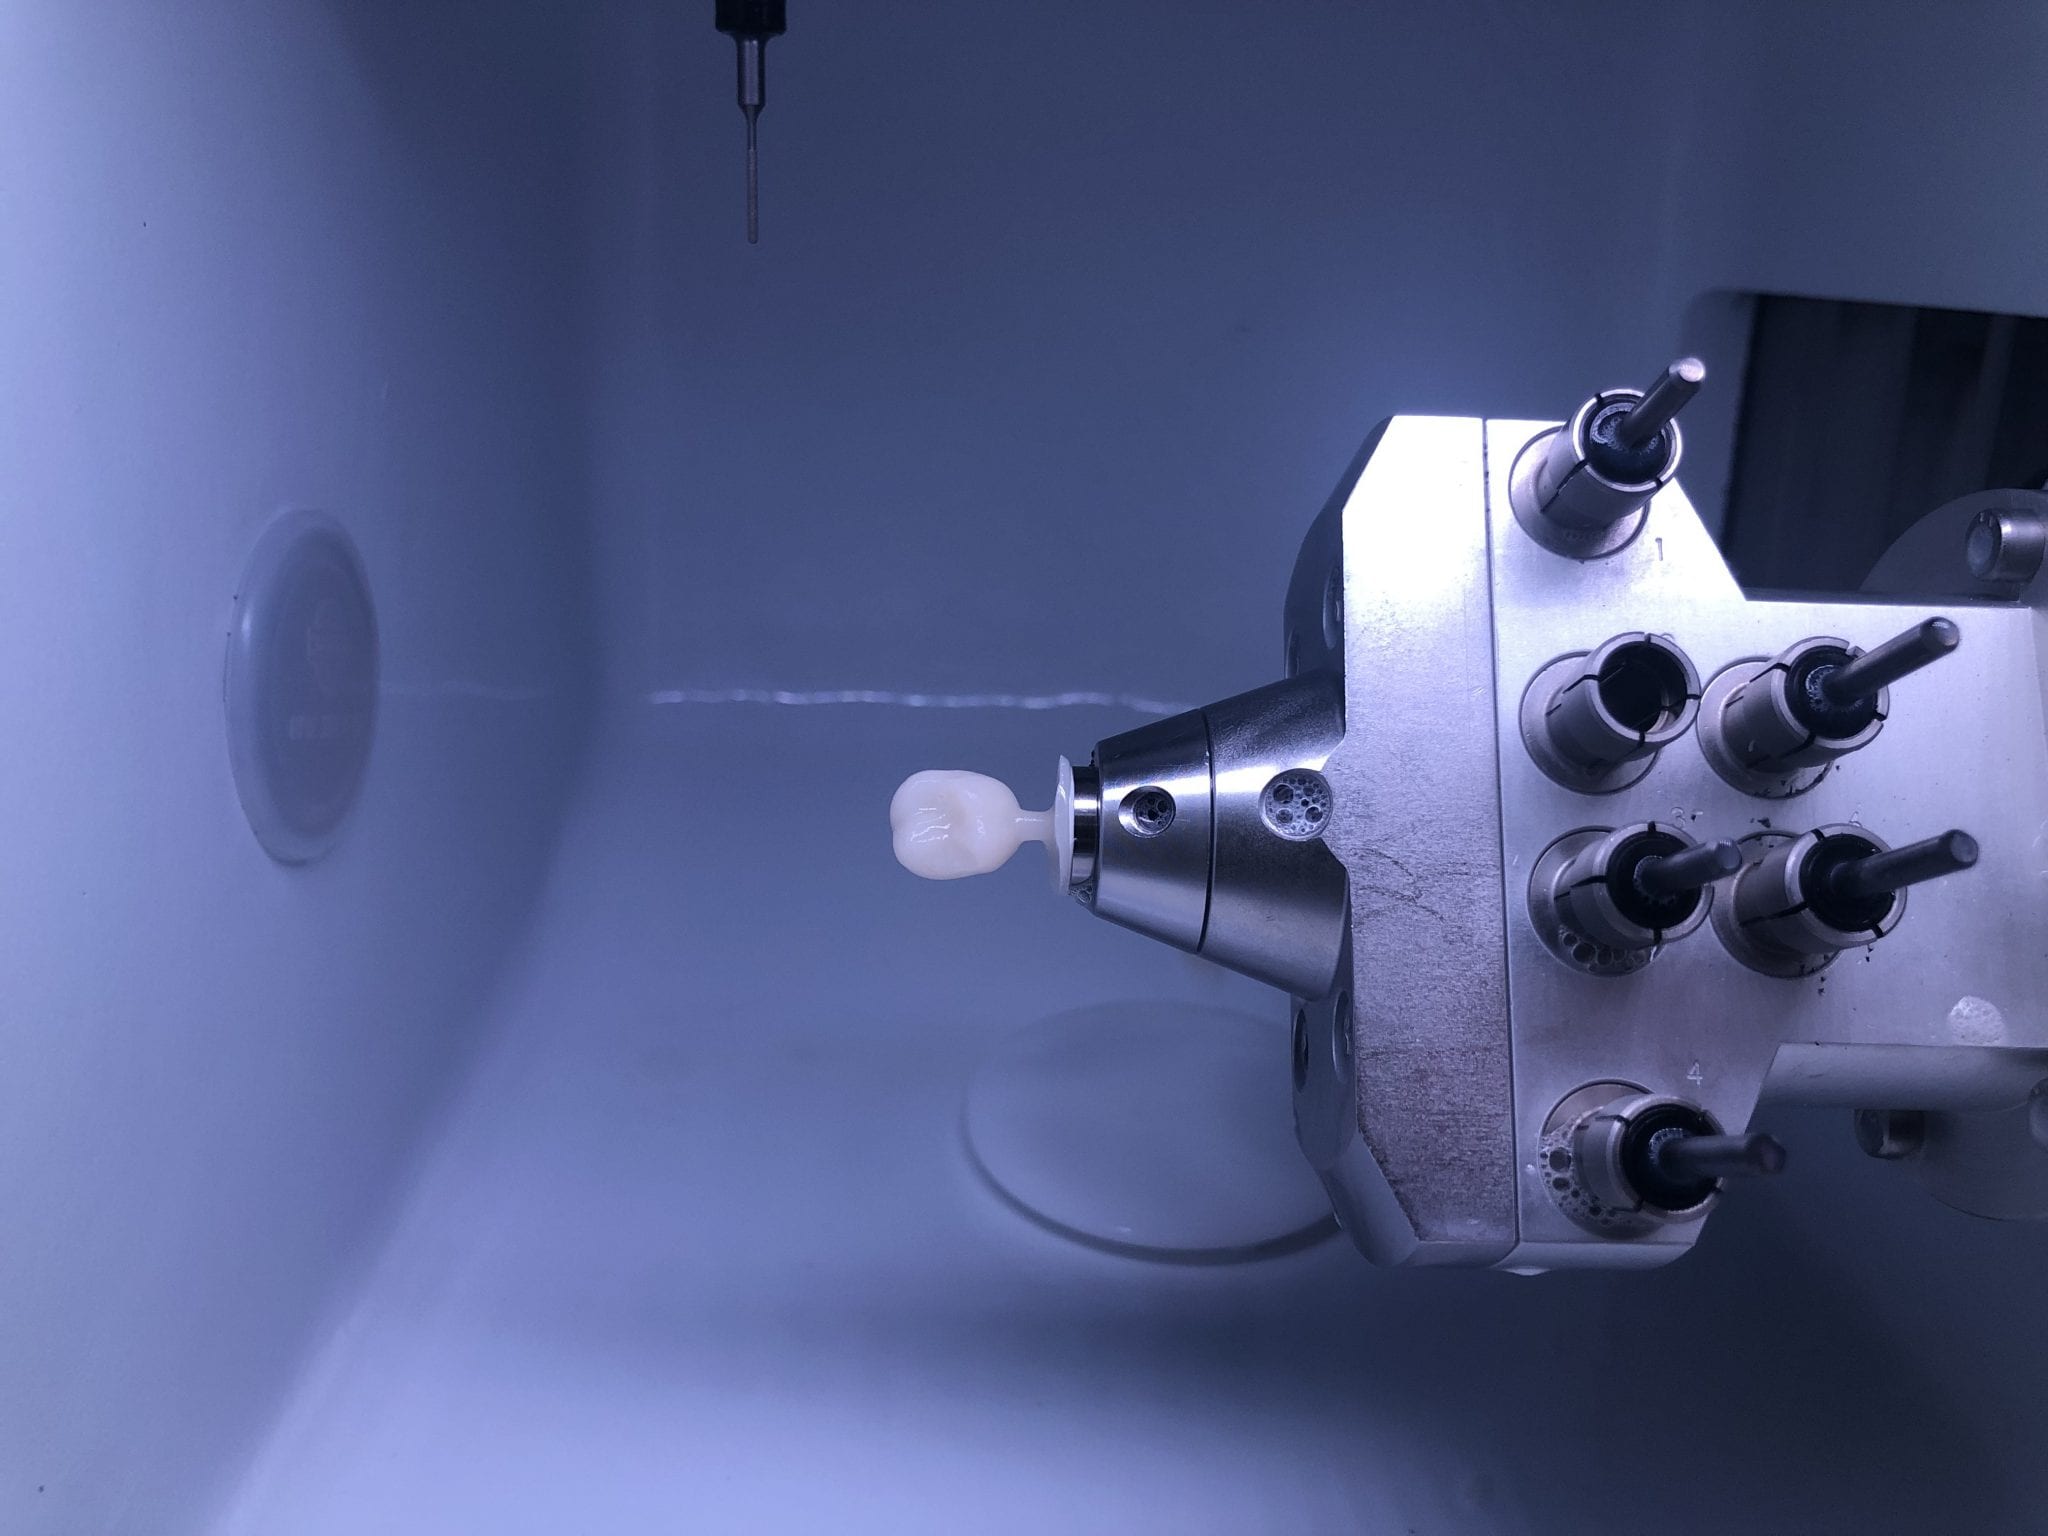
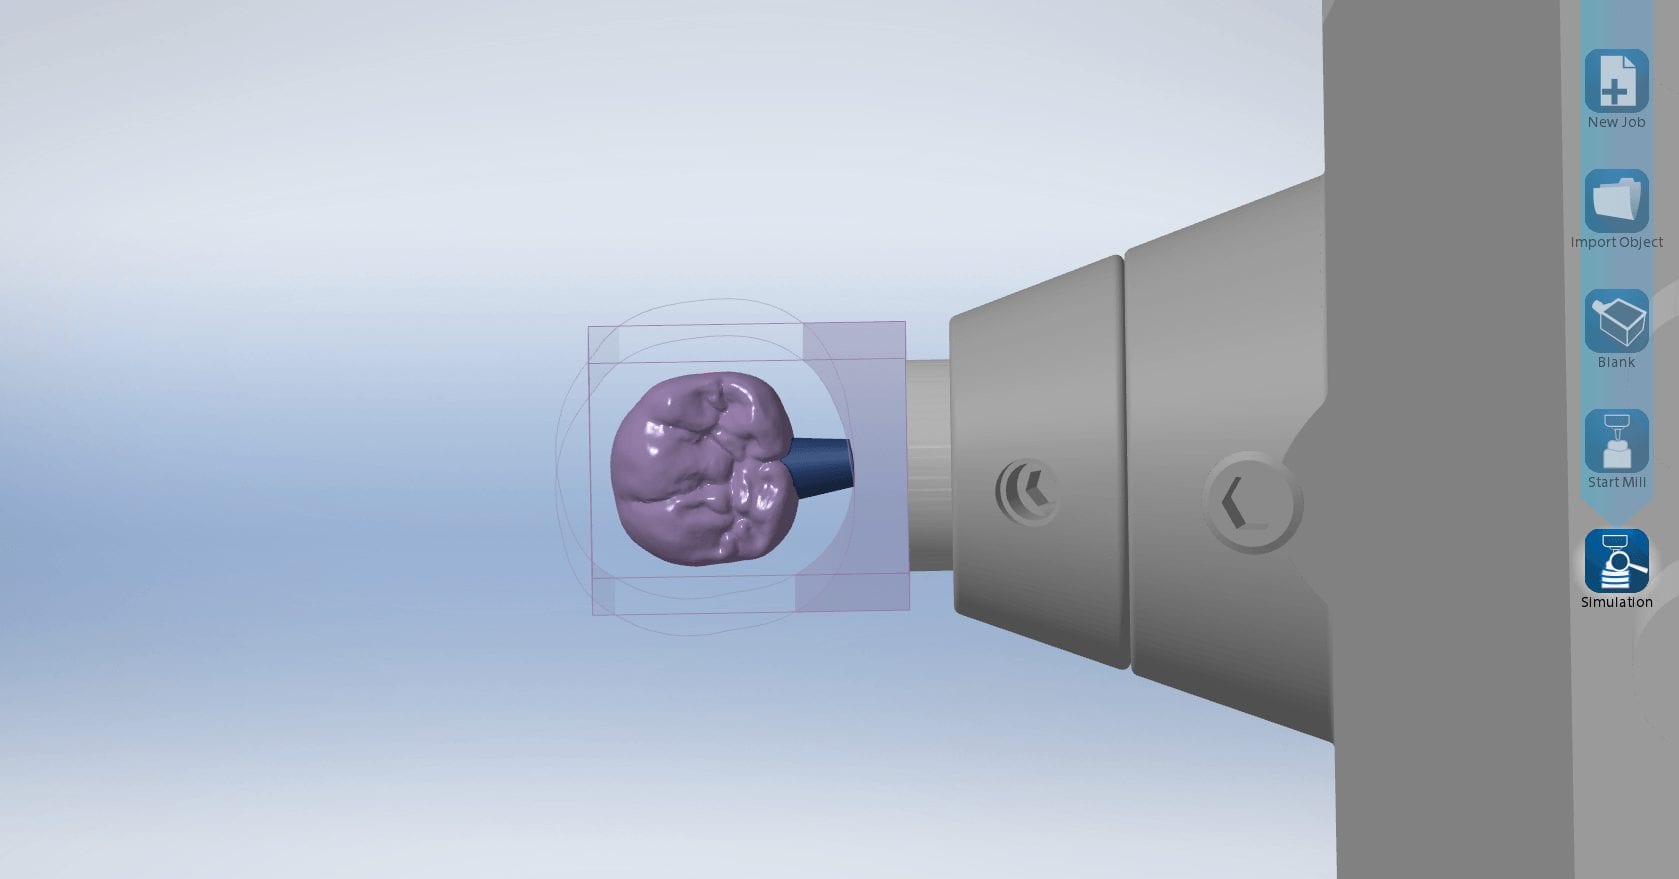
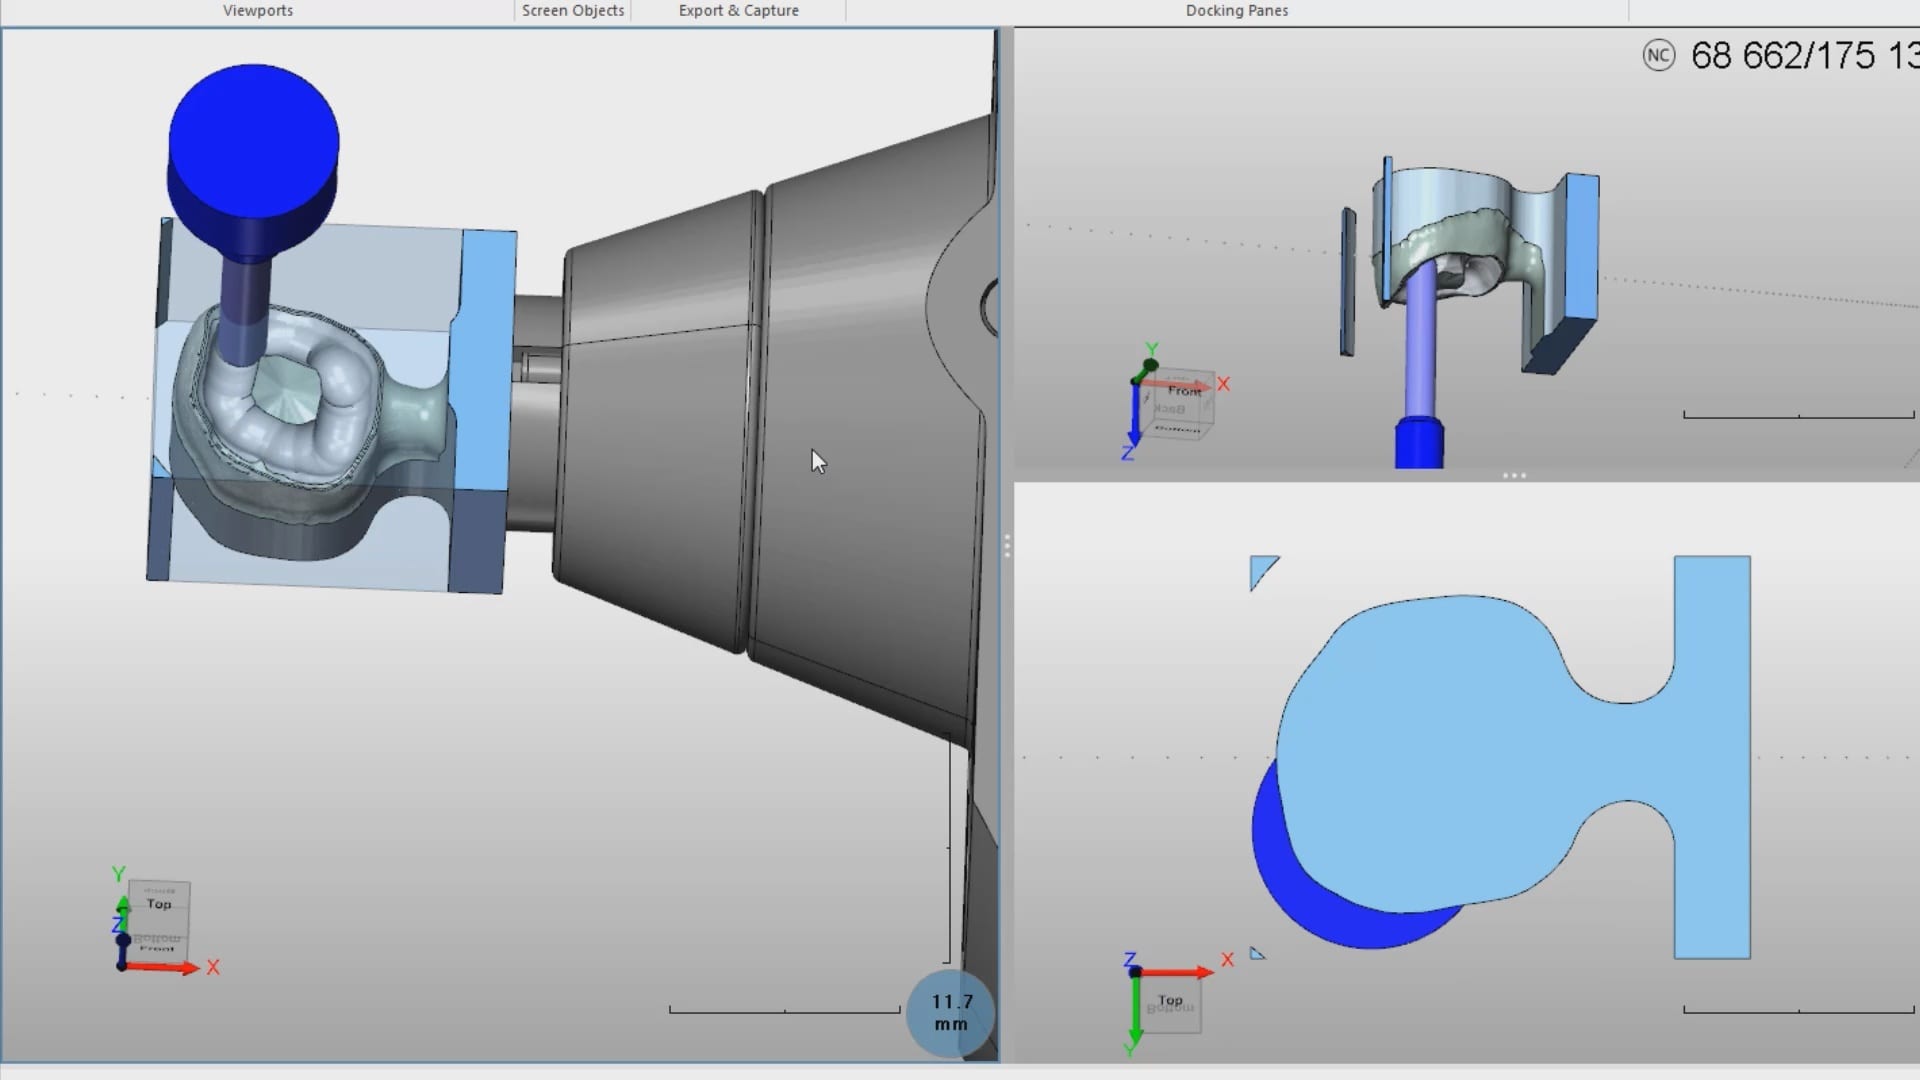
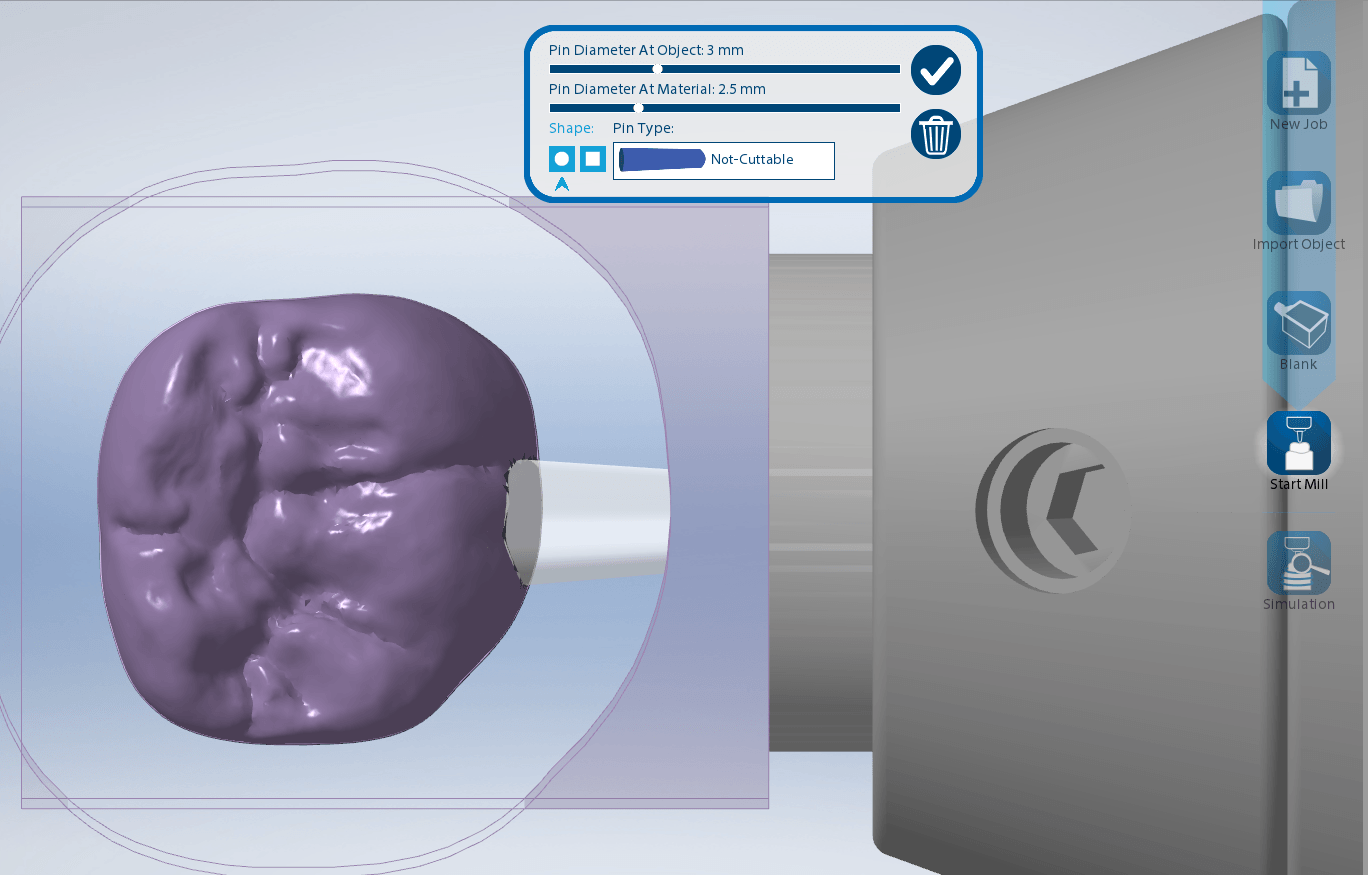
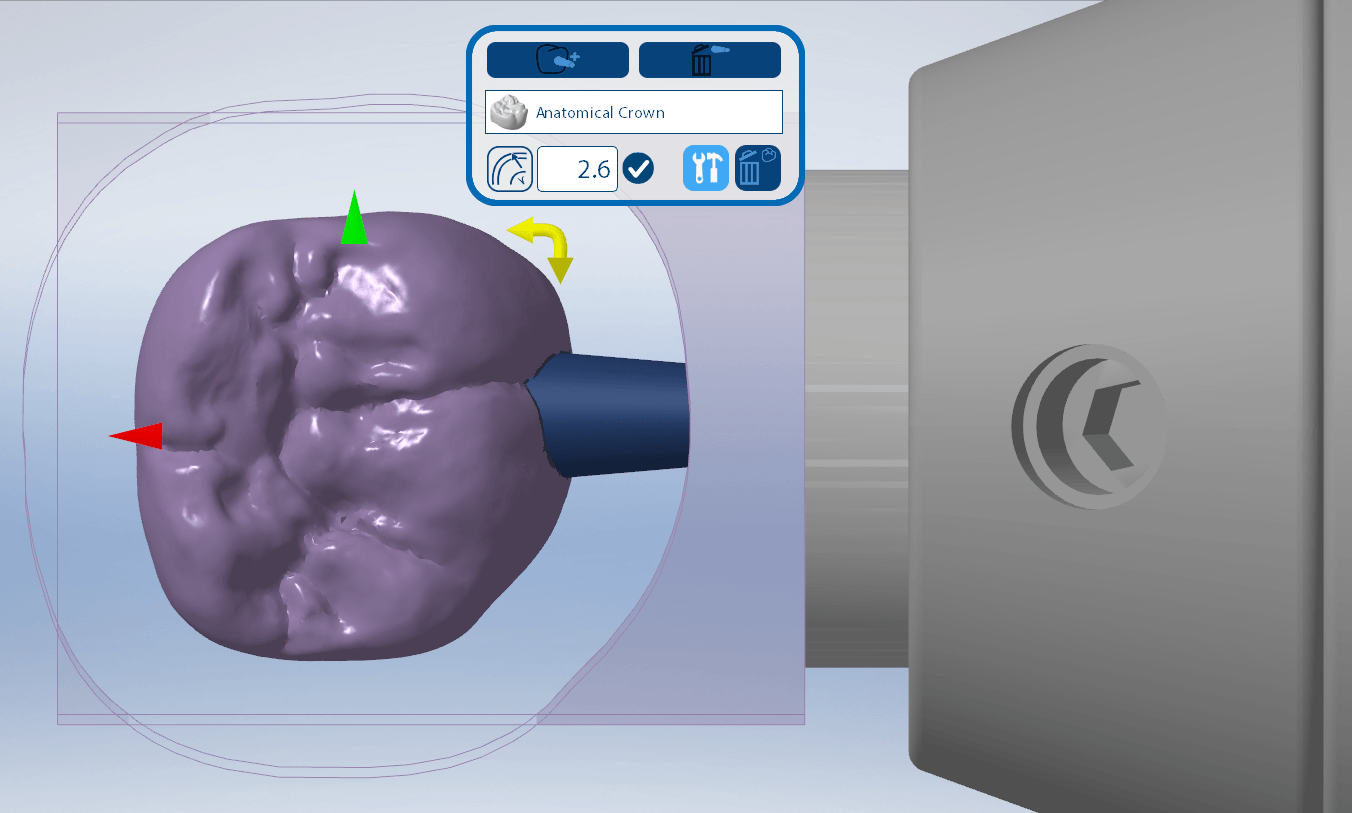
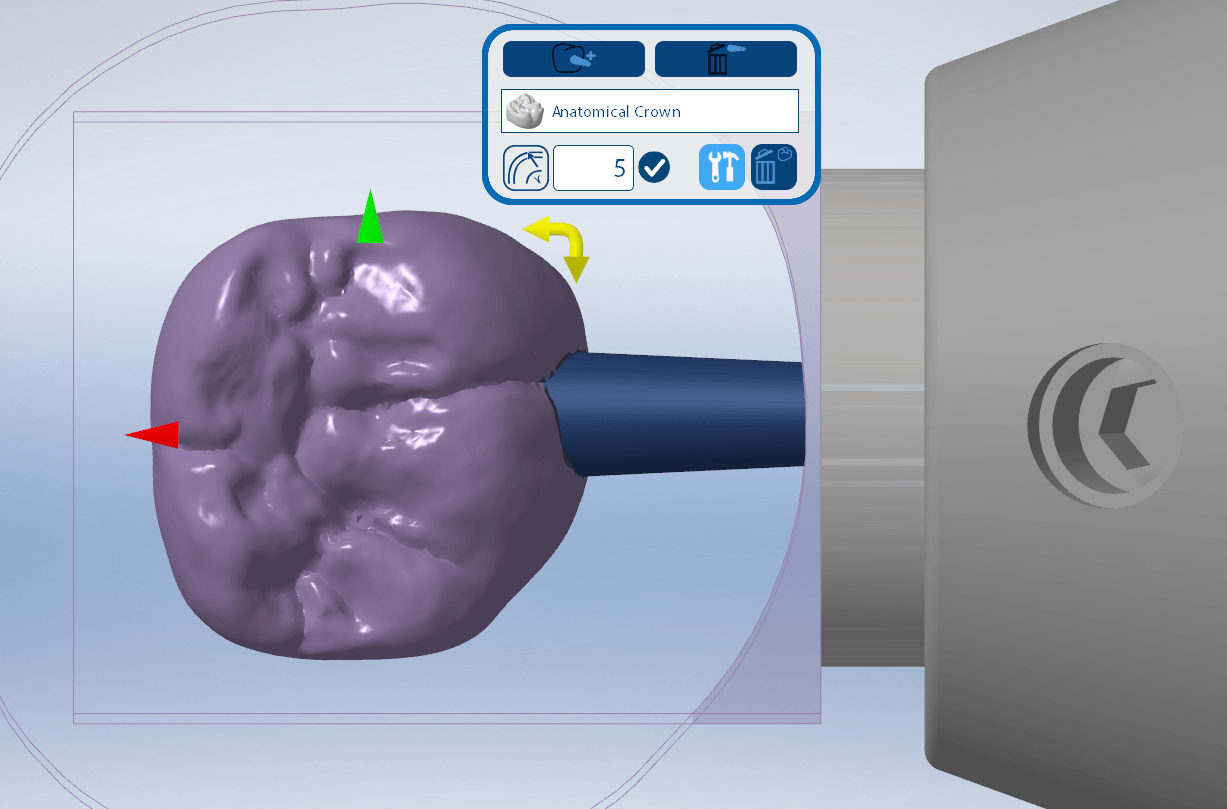
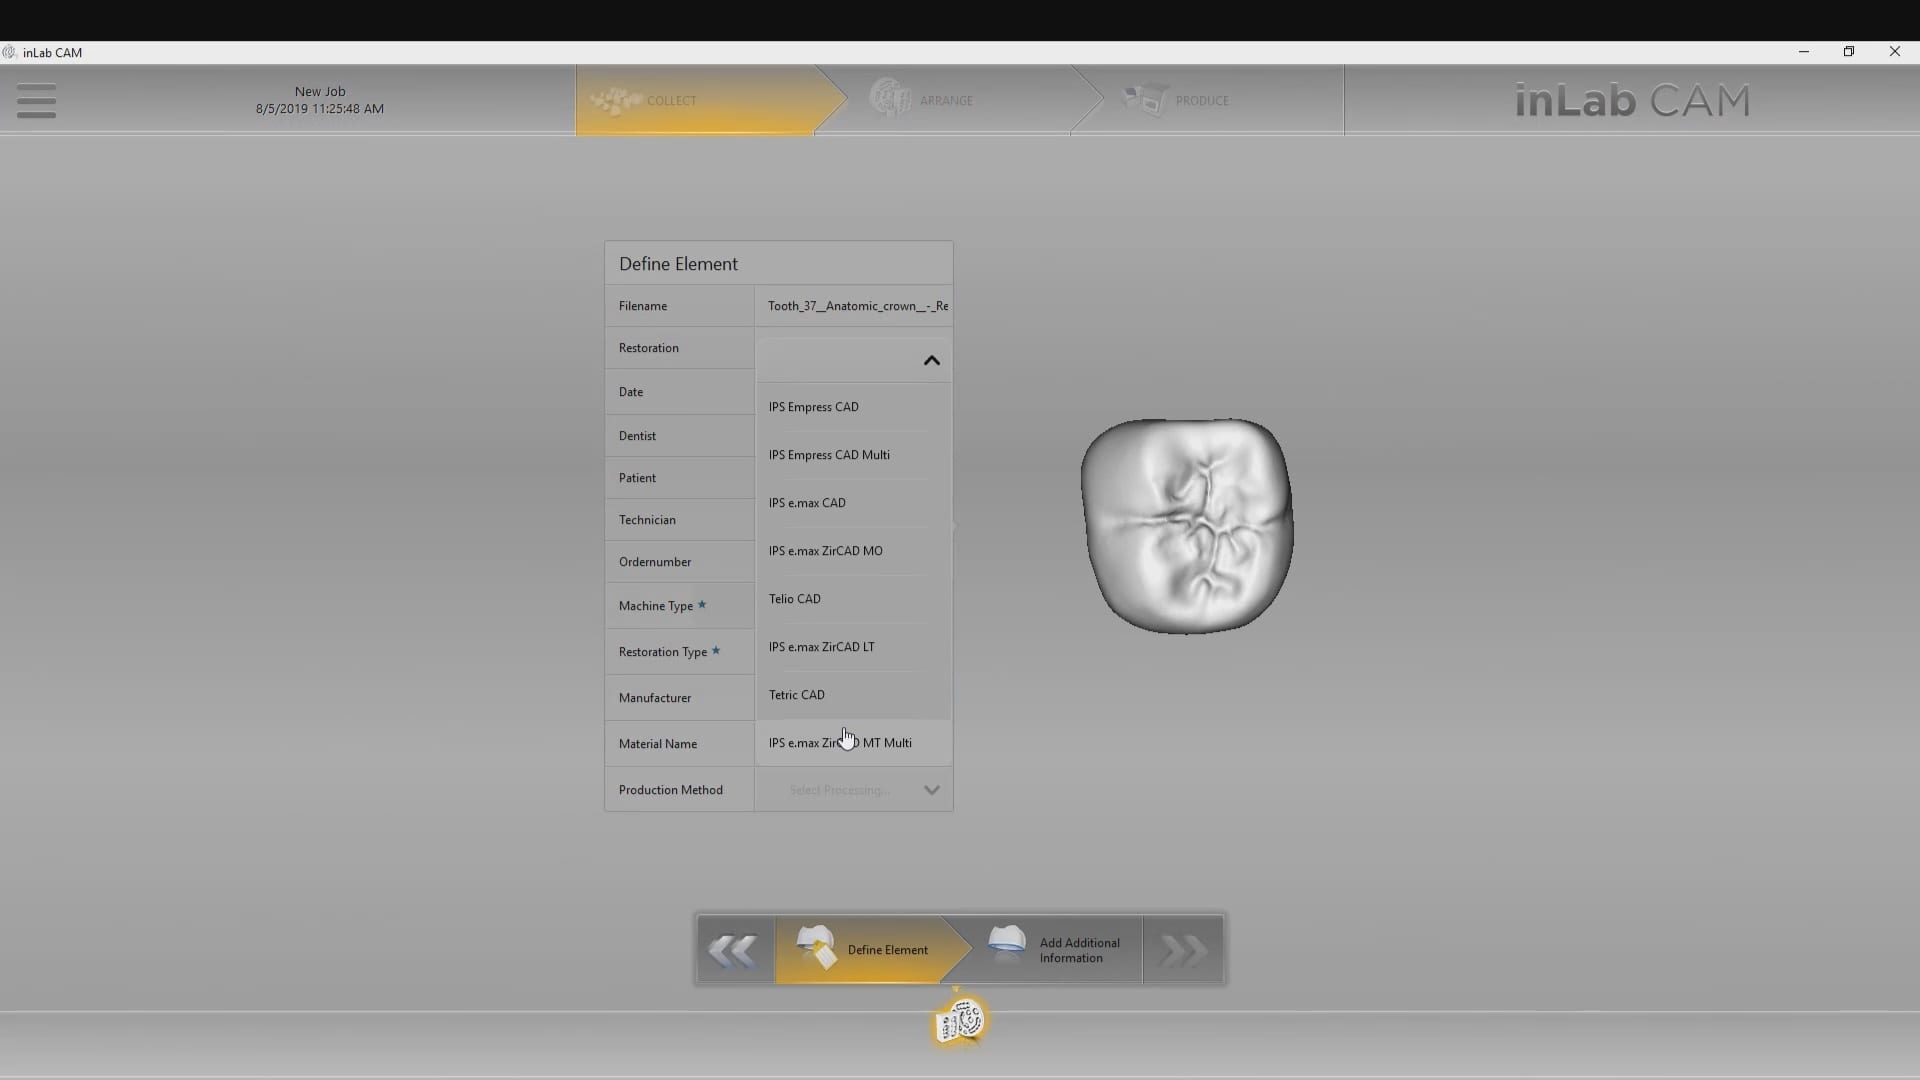
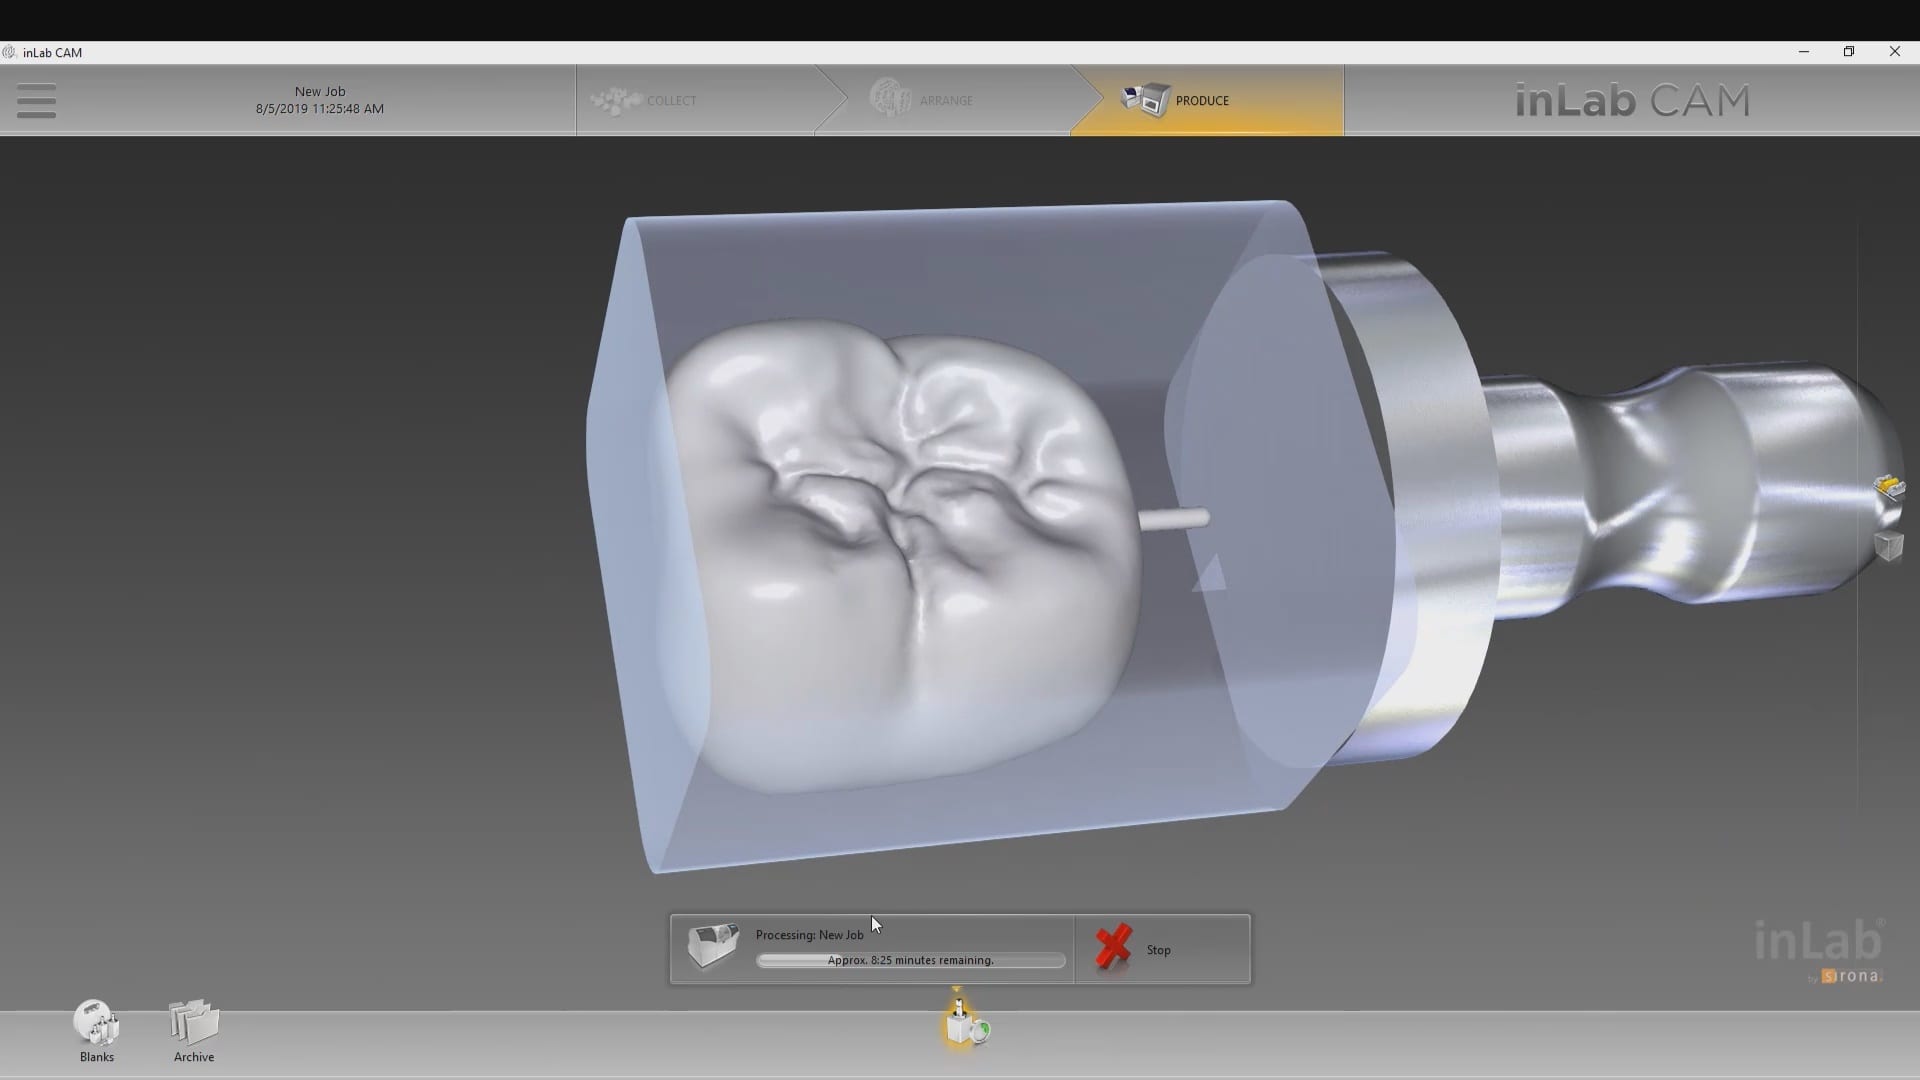
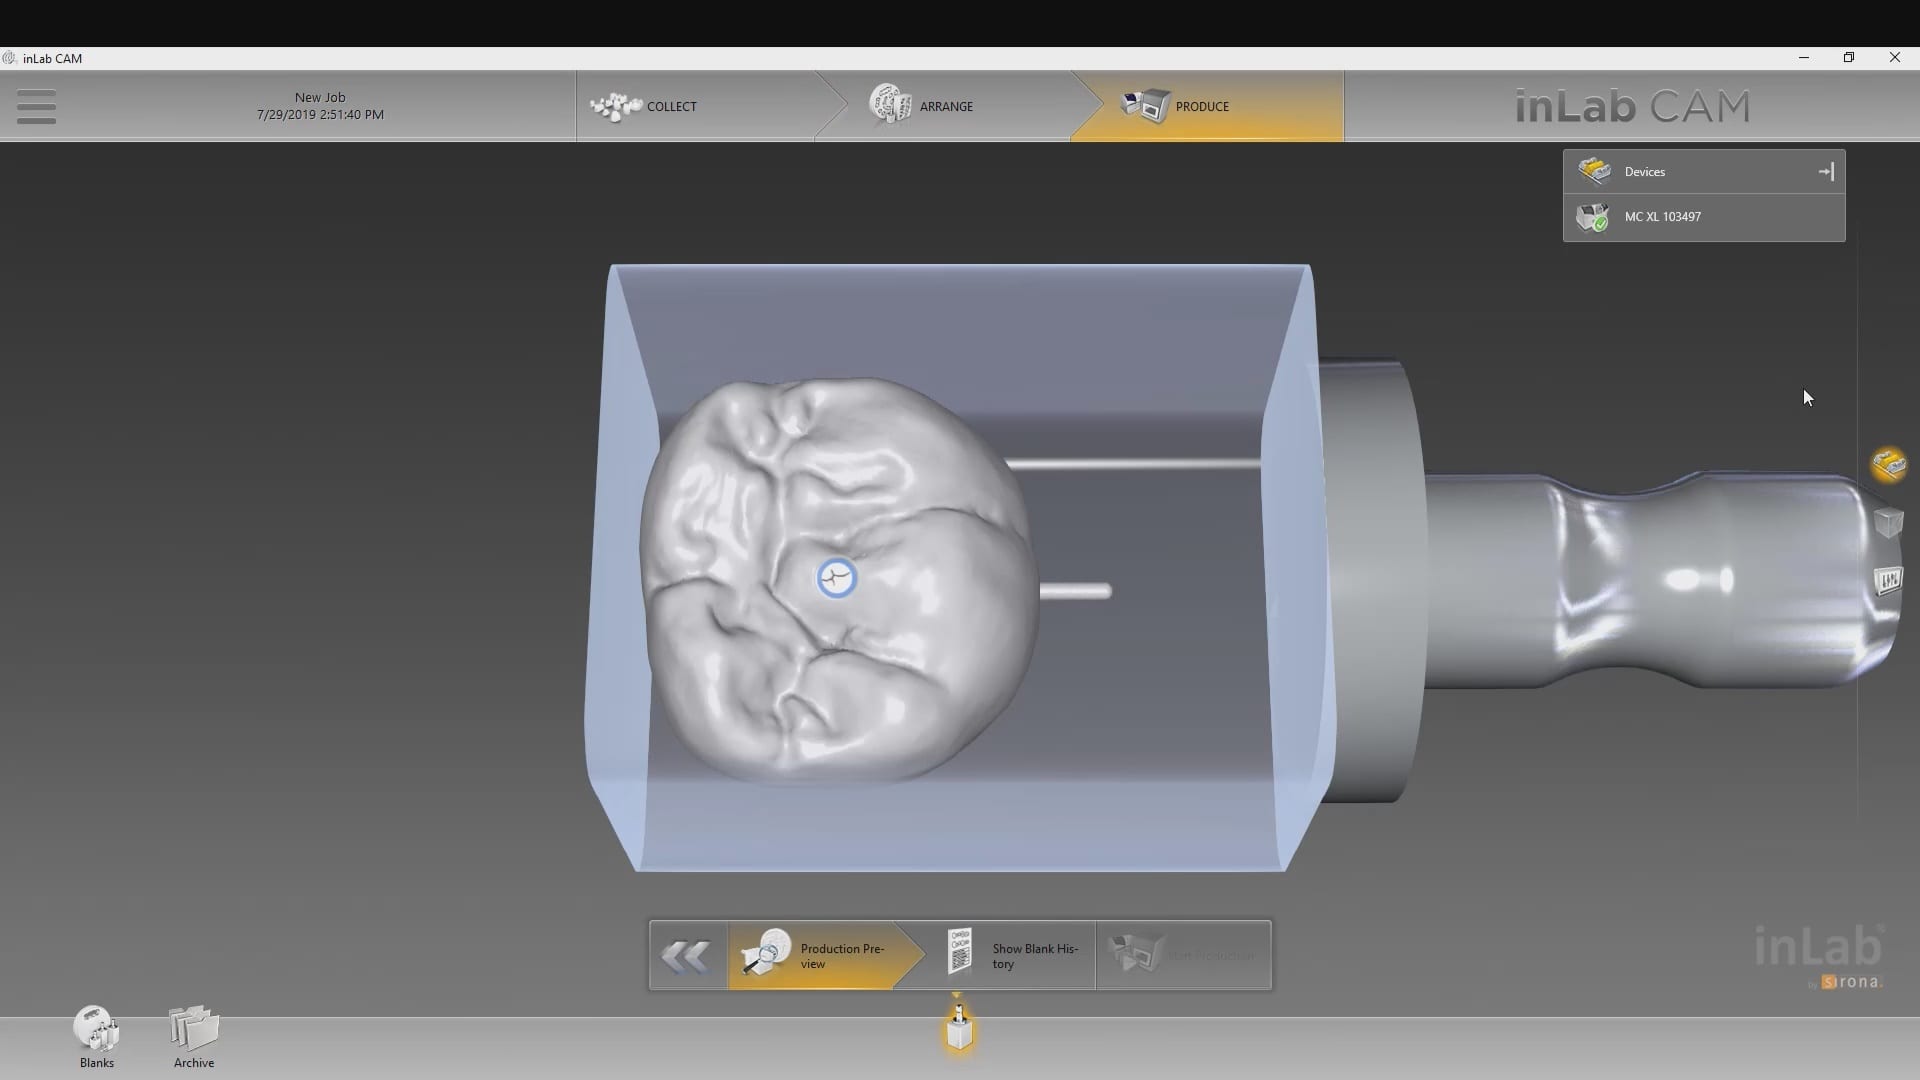
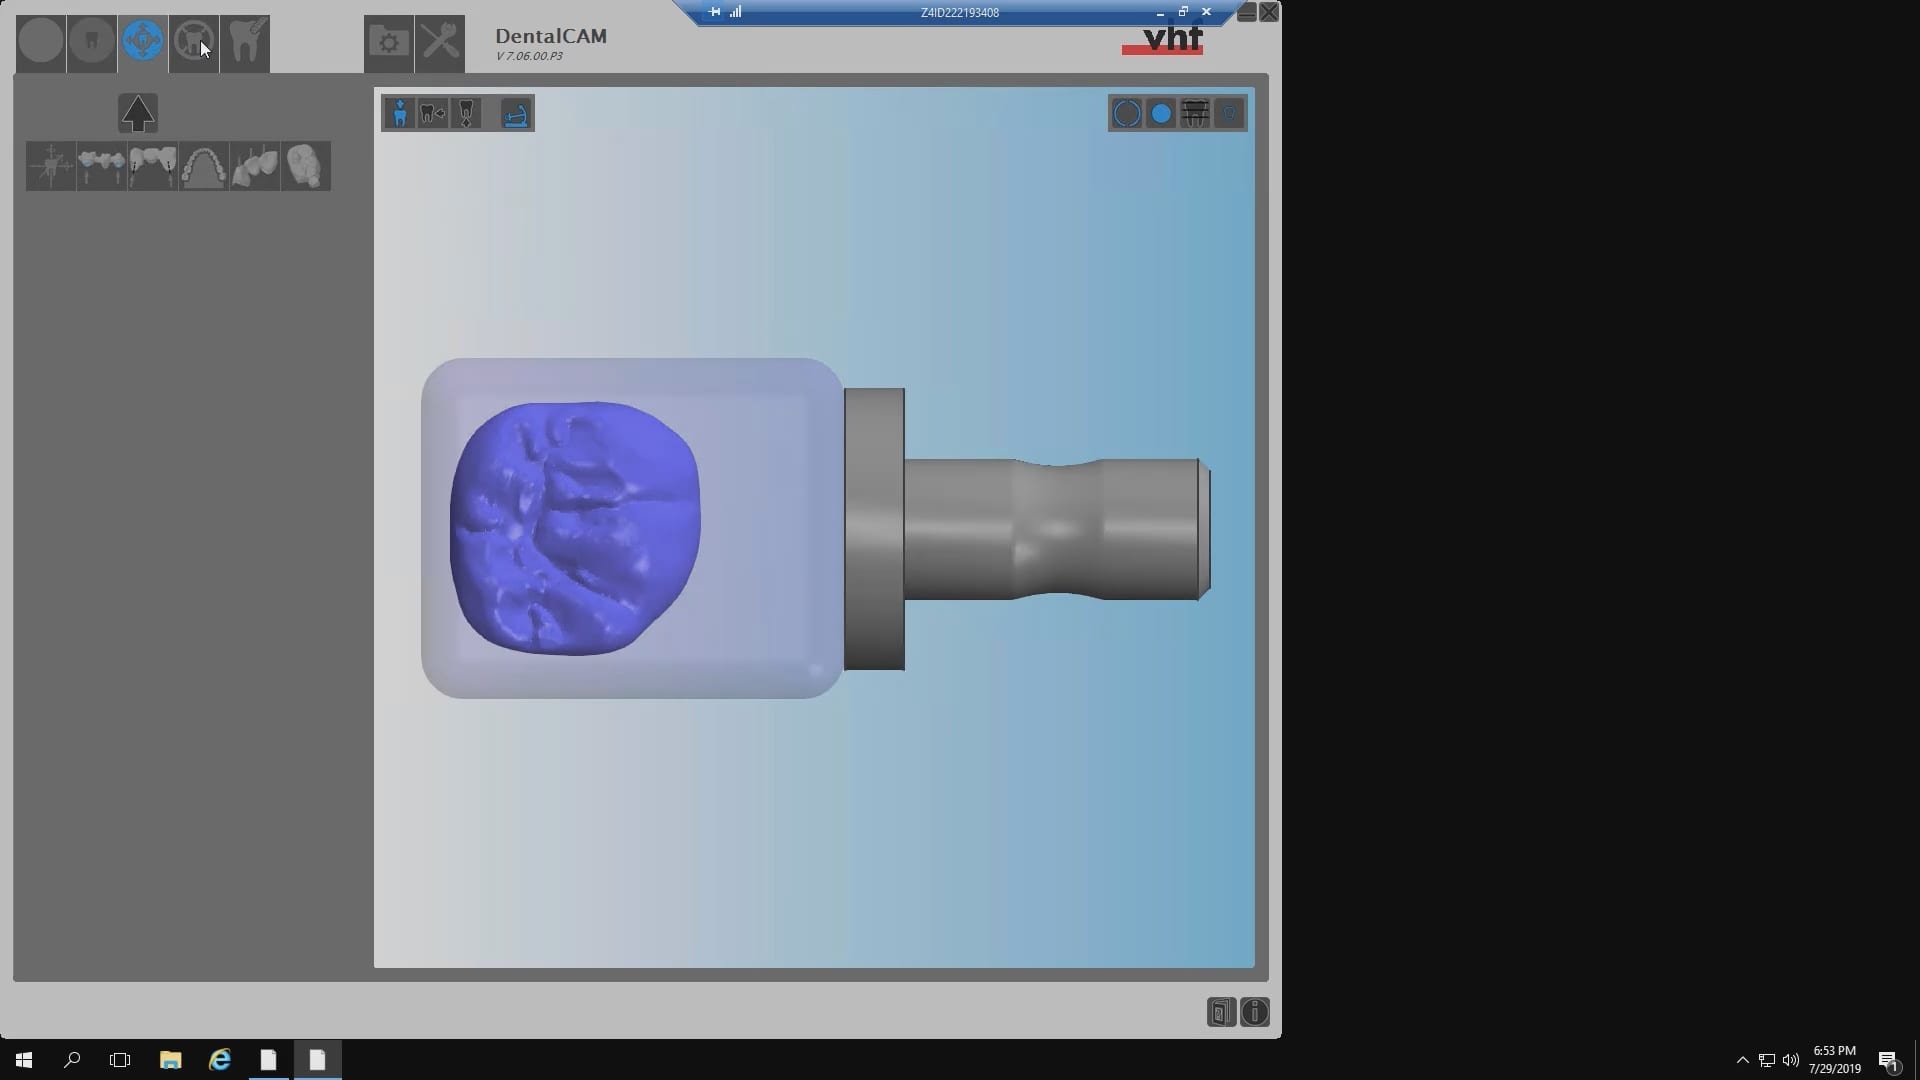
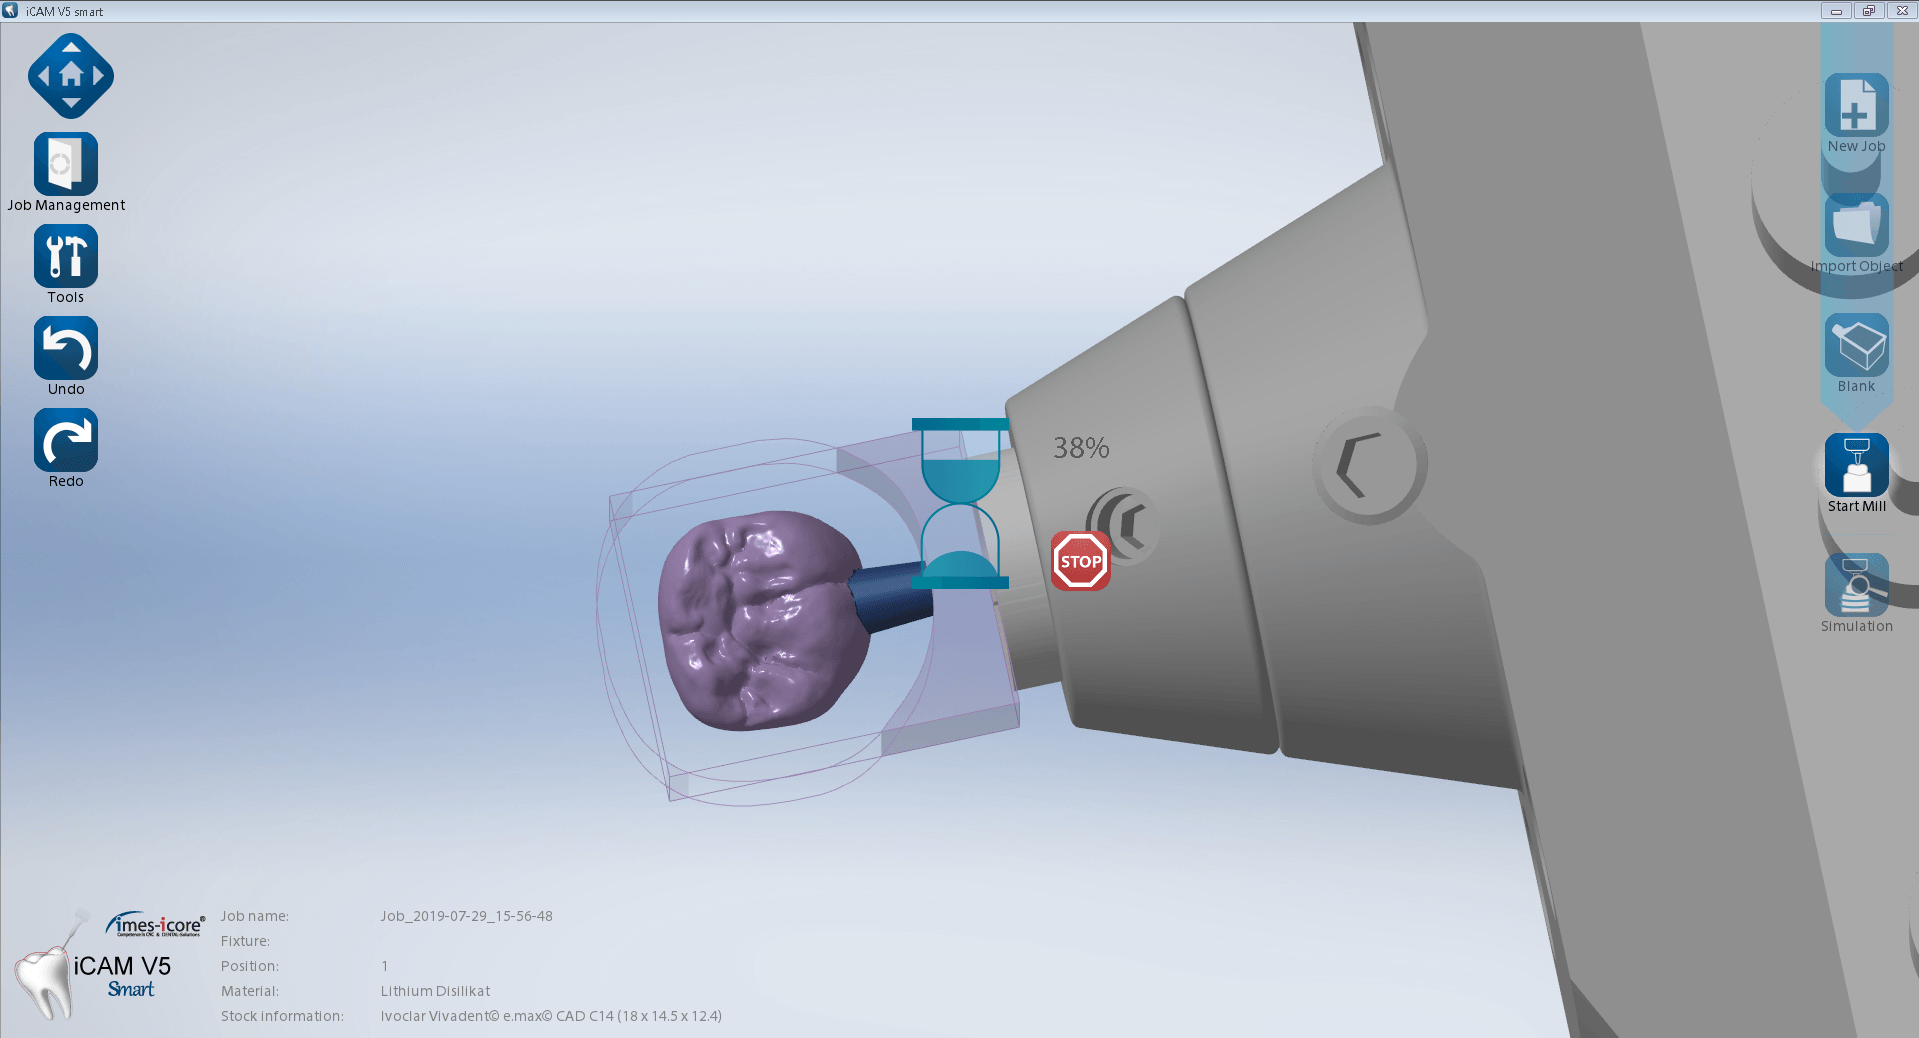
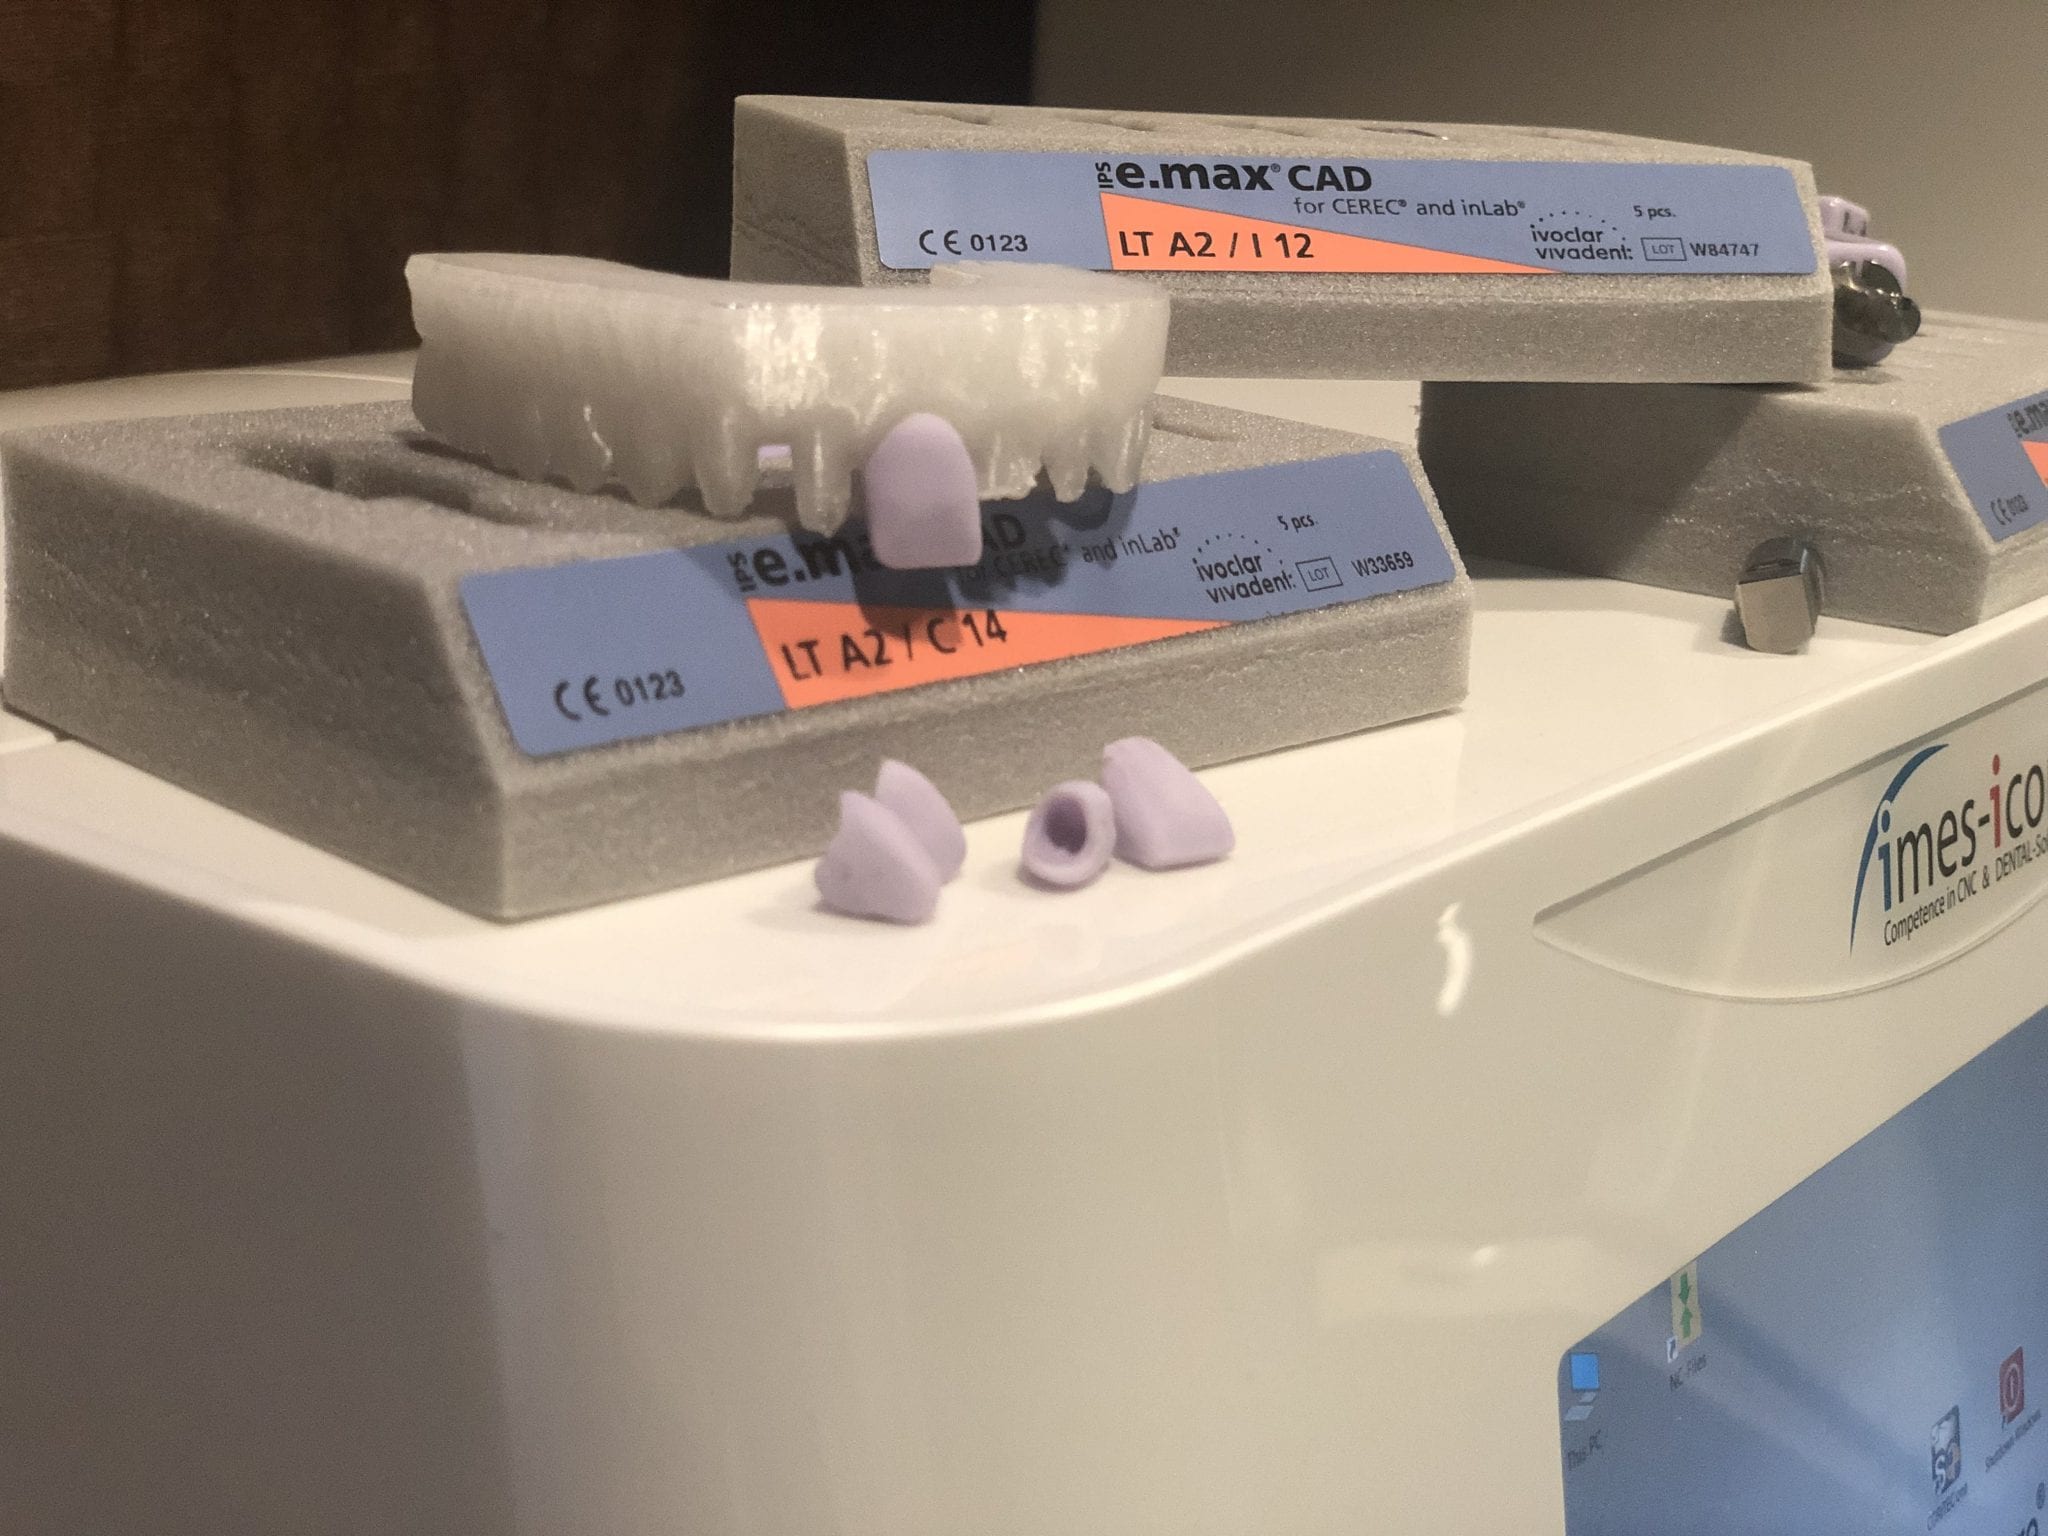
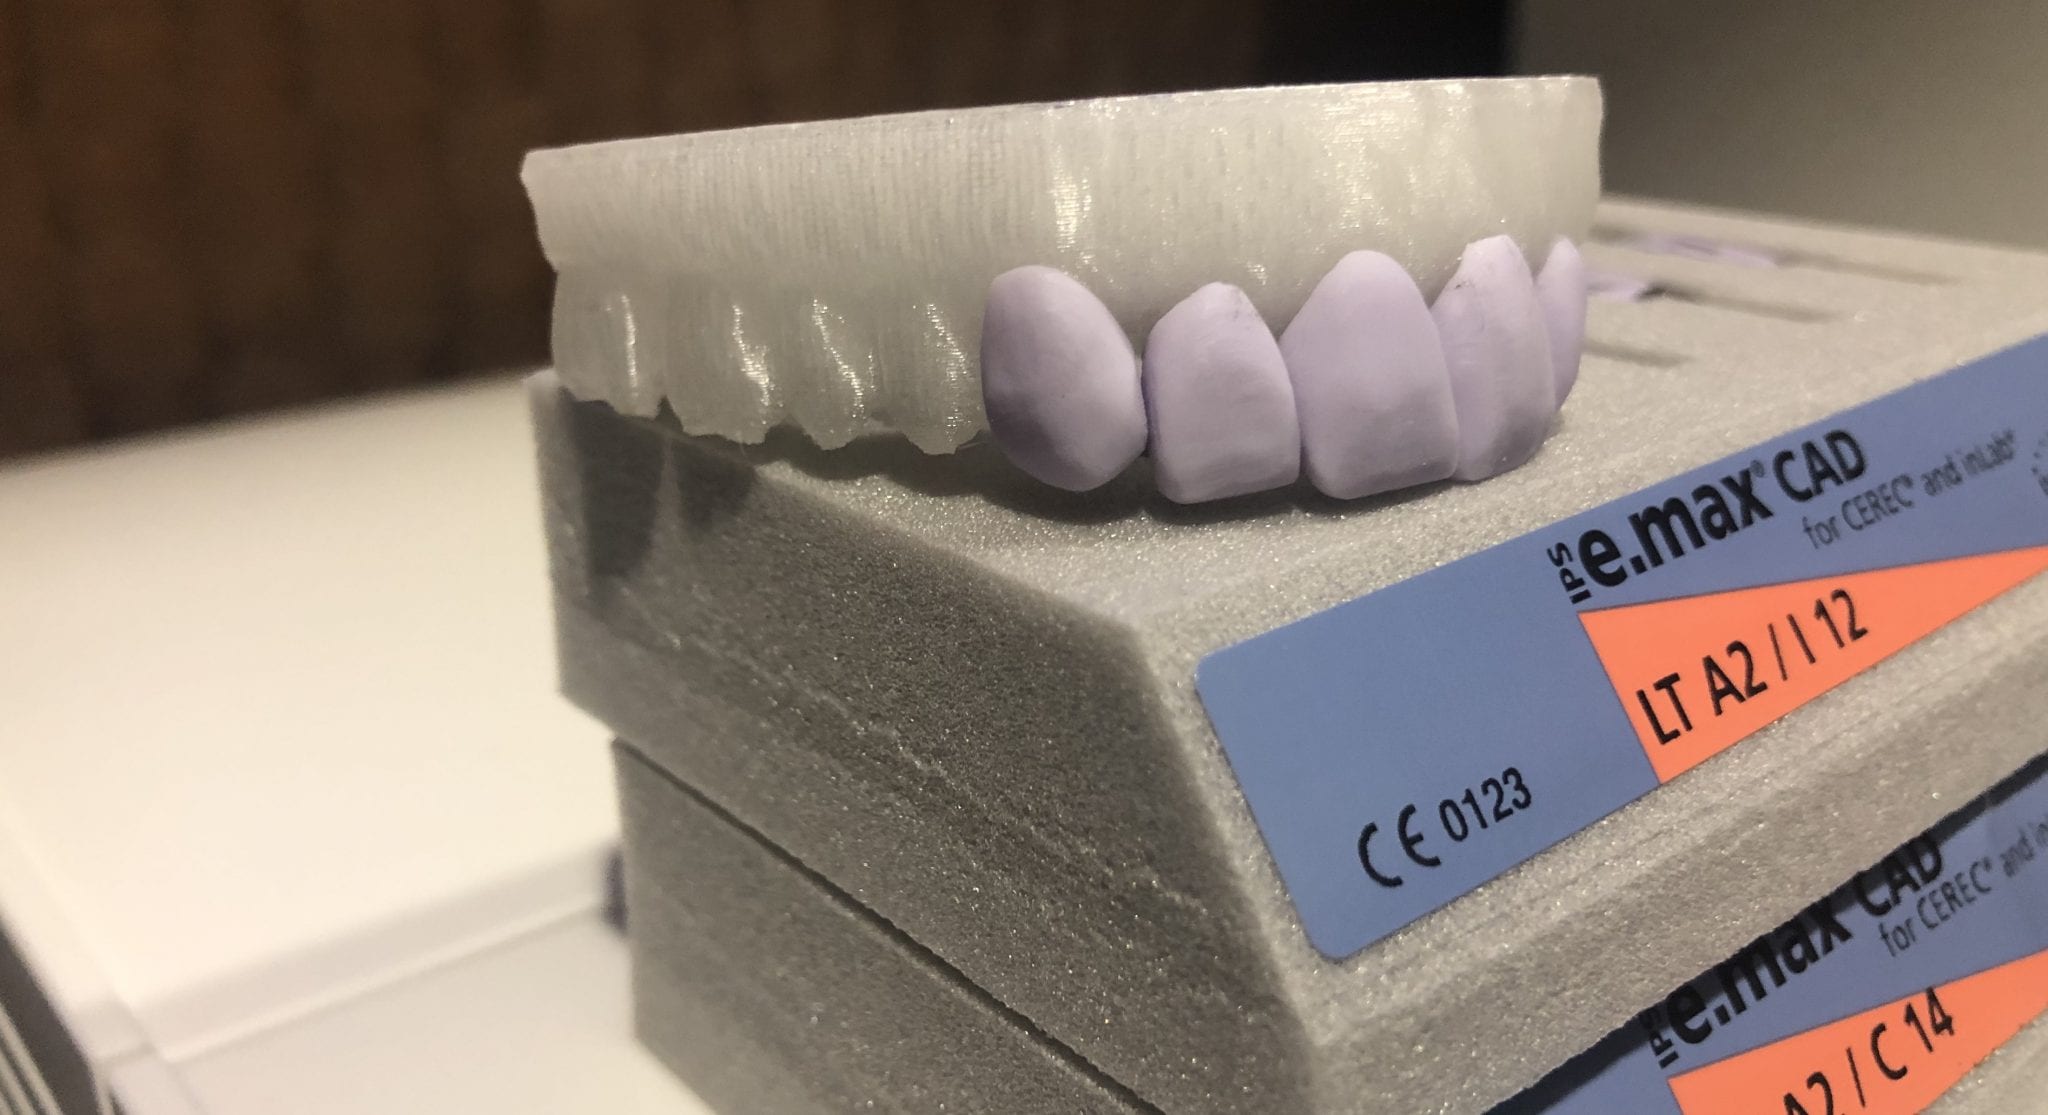
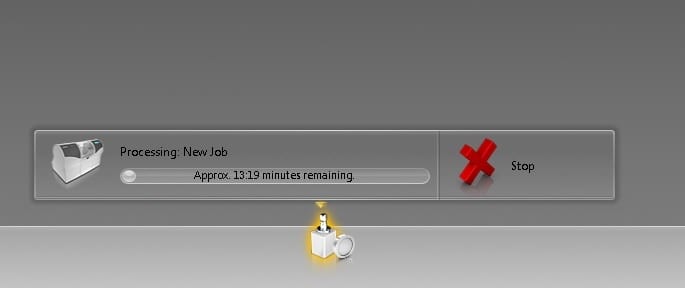
Once the case is designed in the CAD software, you can then take it to any CAM and Milling Machine to produce a restoration. Here we milled an emax restoration with the CEREC MCXL and the imes icore CORiTEC ONE at the same time so we can compare the final results. The CEREC milling machine produced a restoration faster by about 90 seconds but the final results of the margins by the CORiTEC Machine was far superior. Also, the CAM software, Millbox in this situation, allows us to choose a third drill that is 0.6 mm in diameter. This increases milling time but results in less overmilling than the 1.2 mm burrs that milll the intaglio of the CEREC Machine.


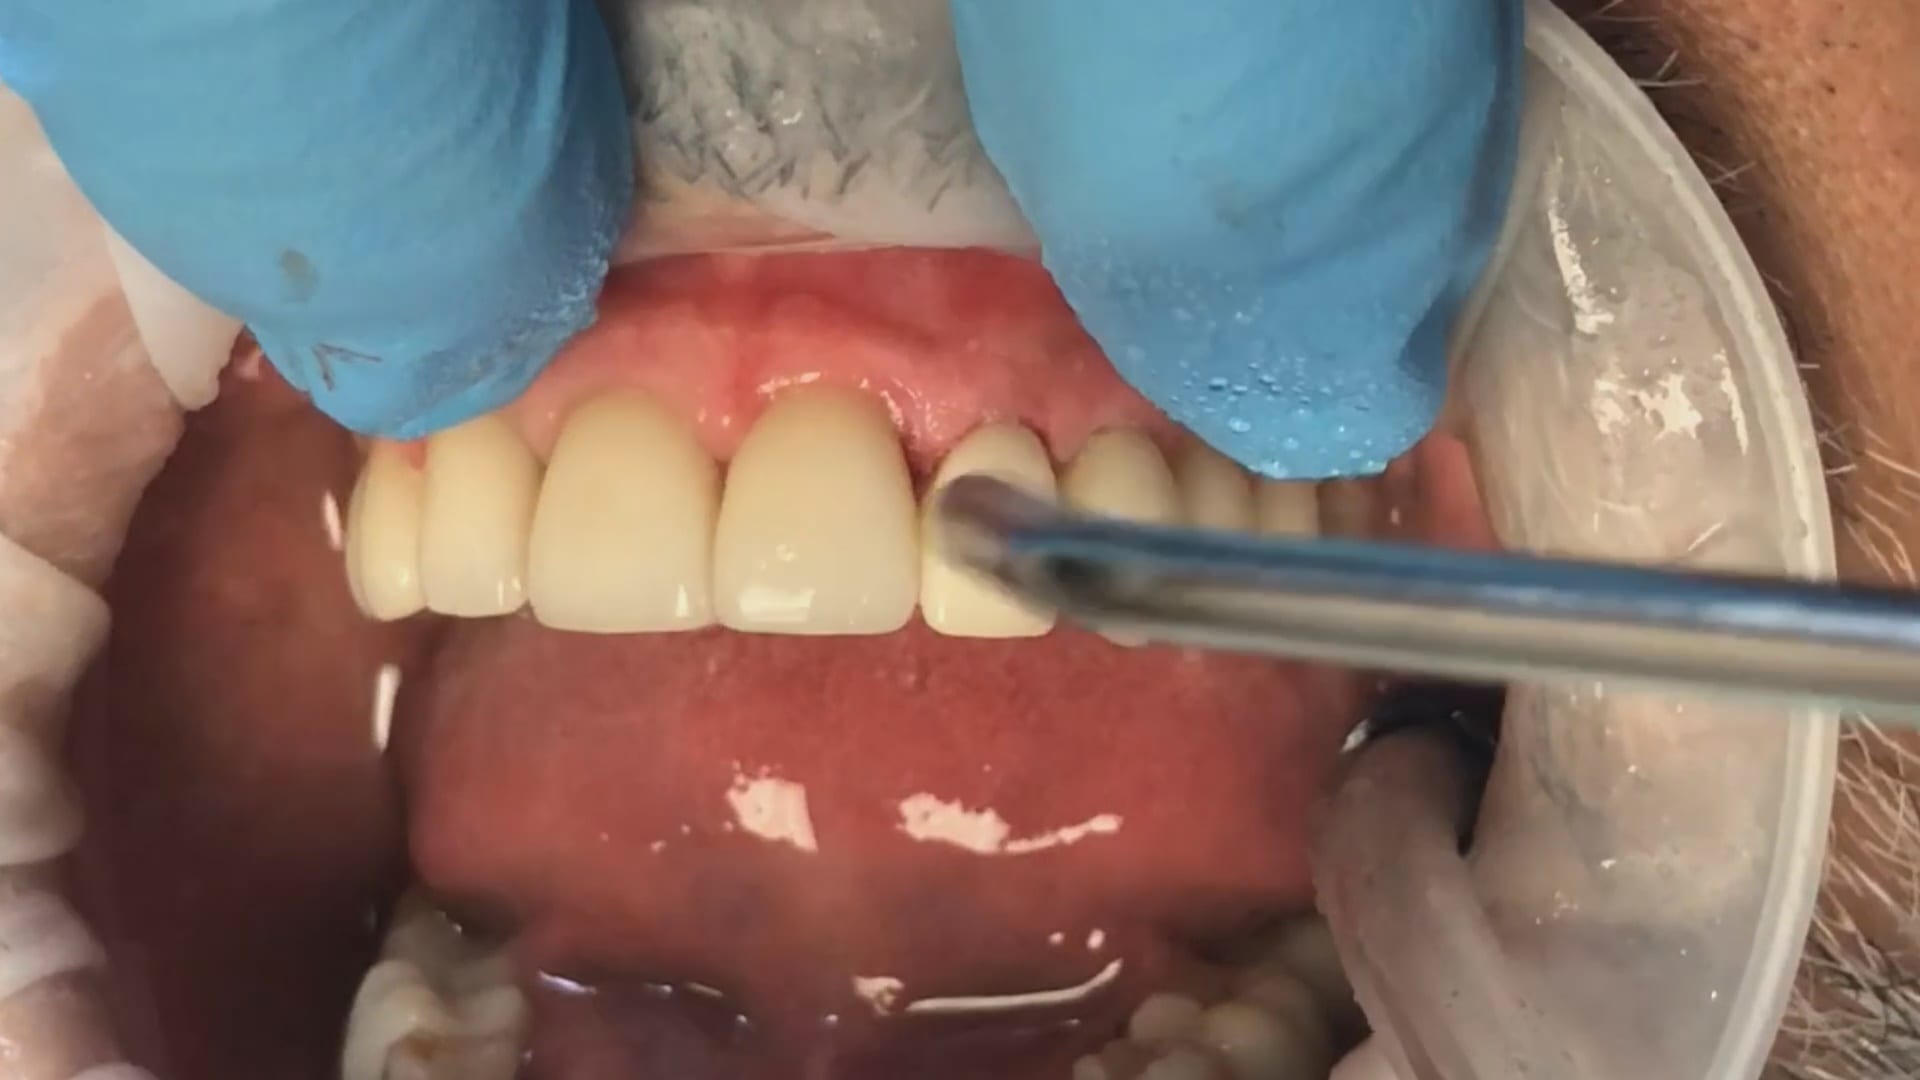
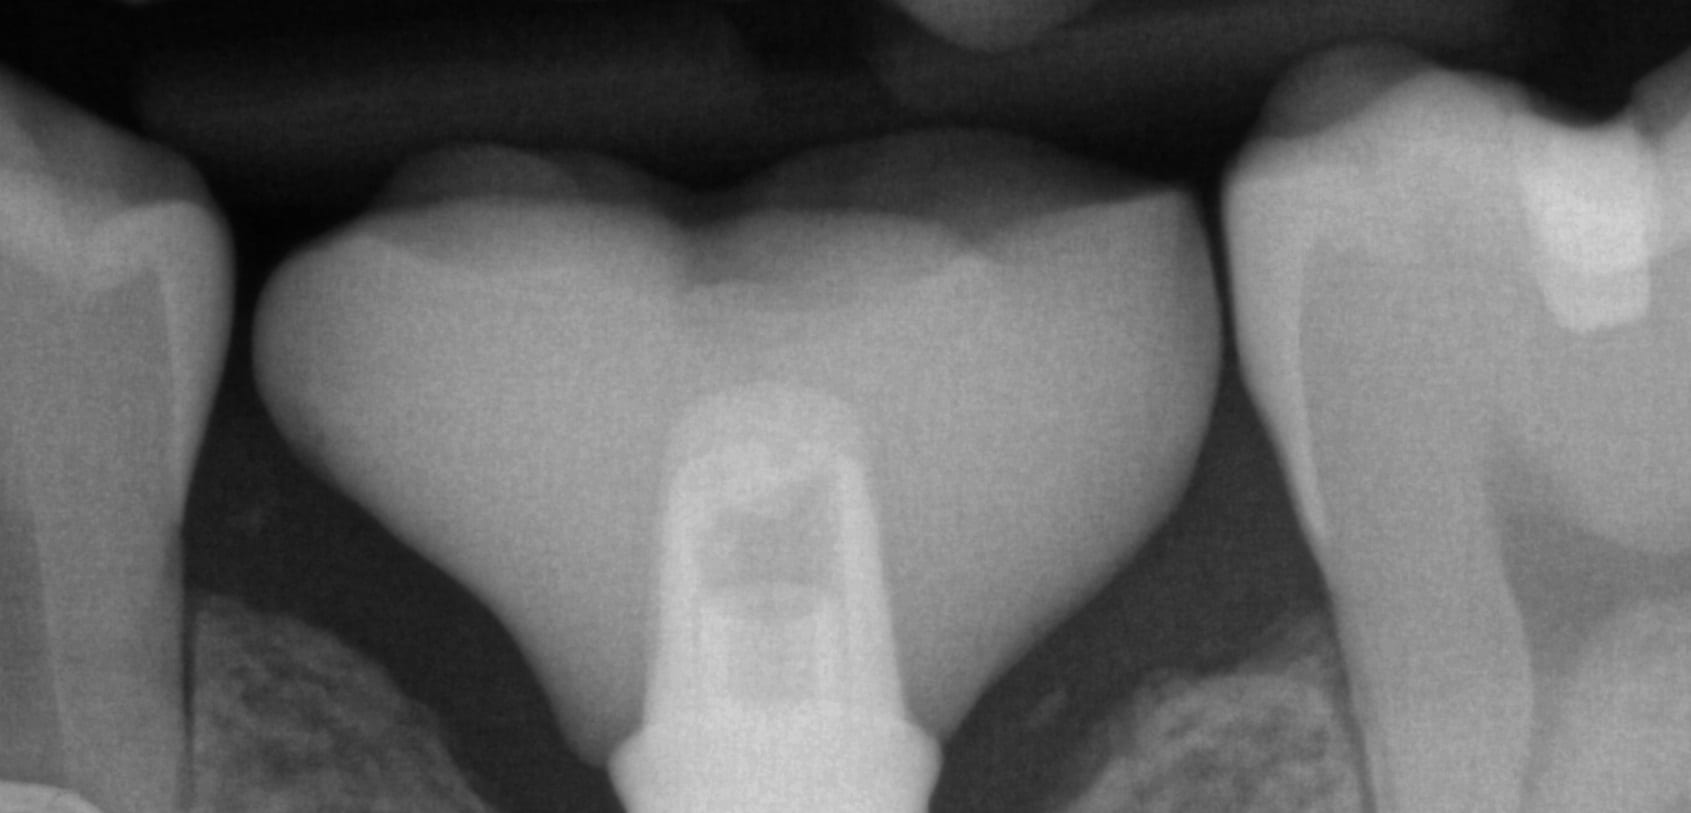
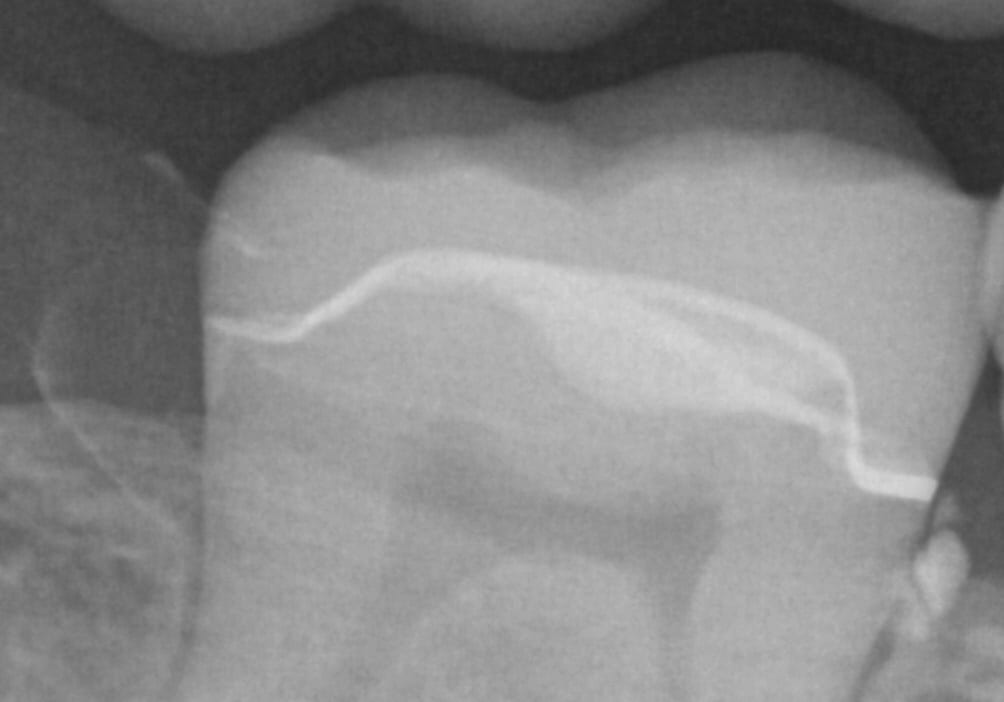
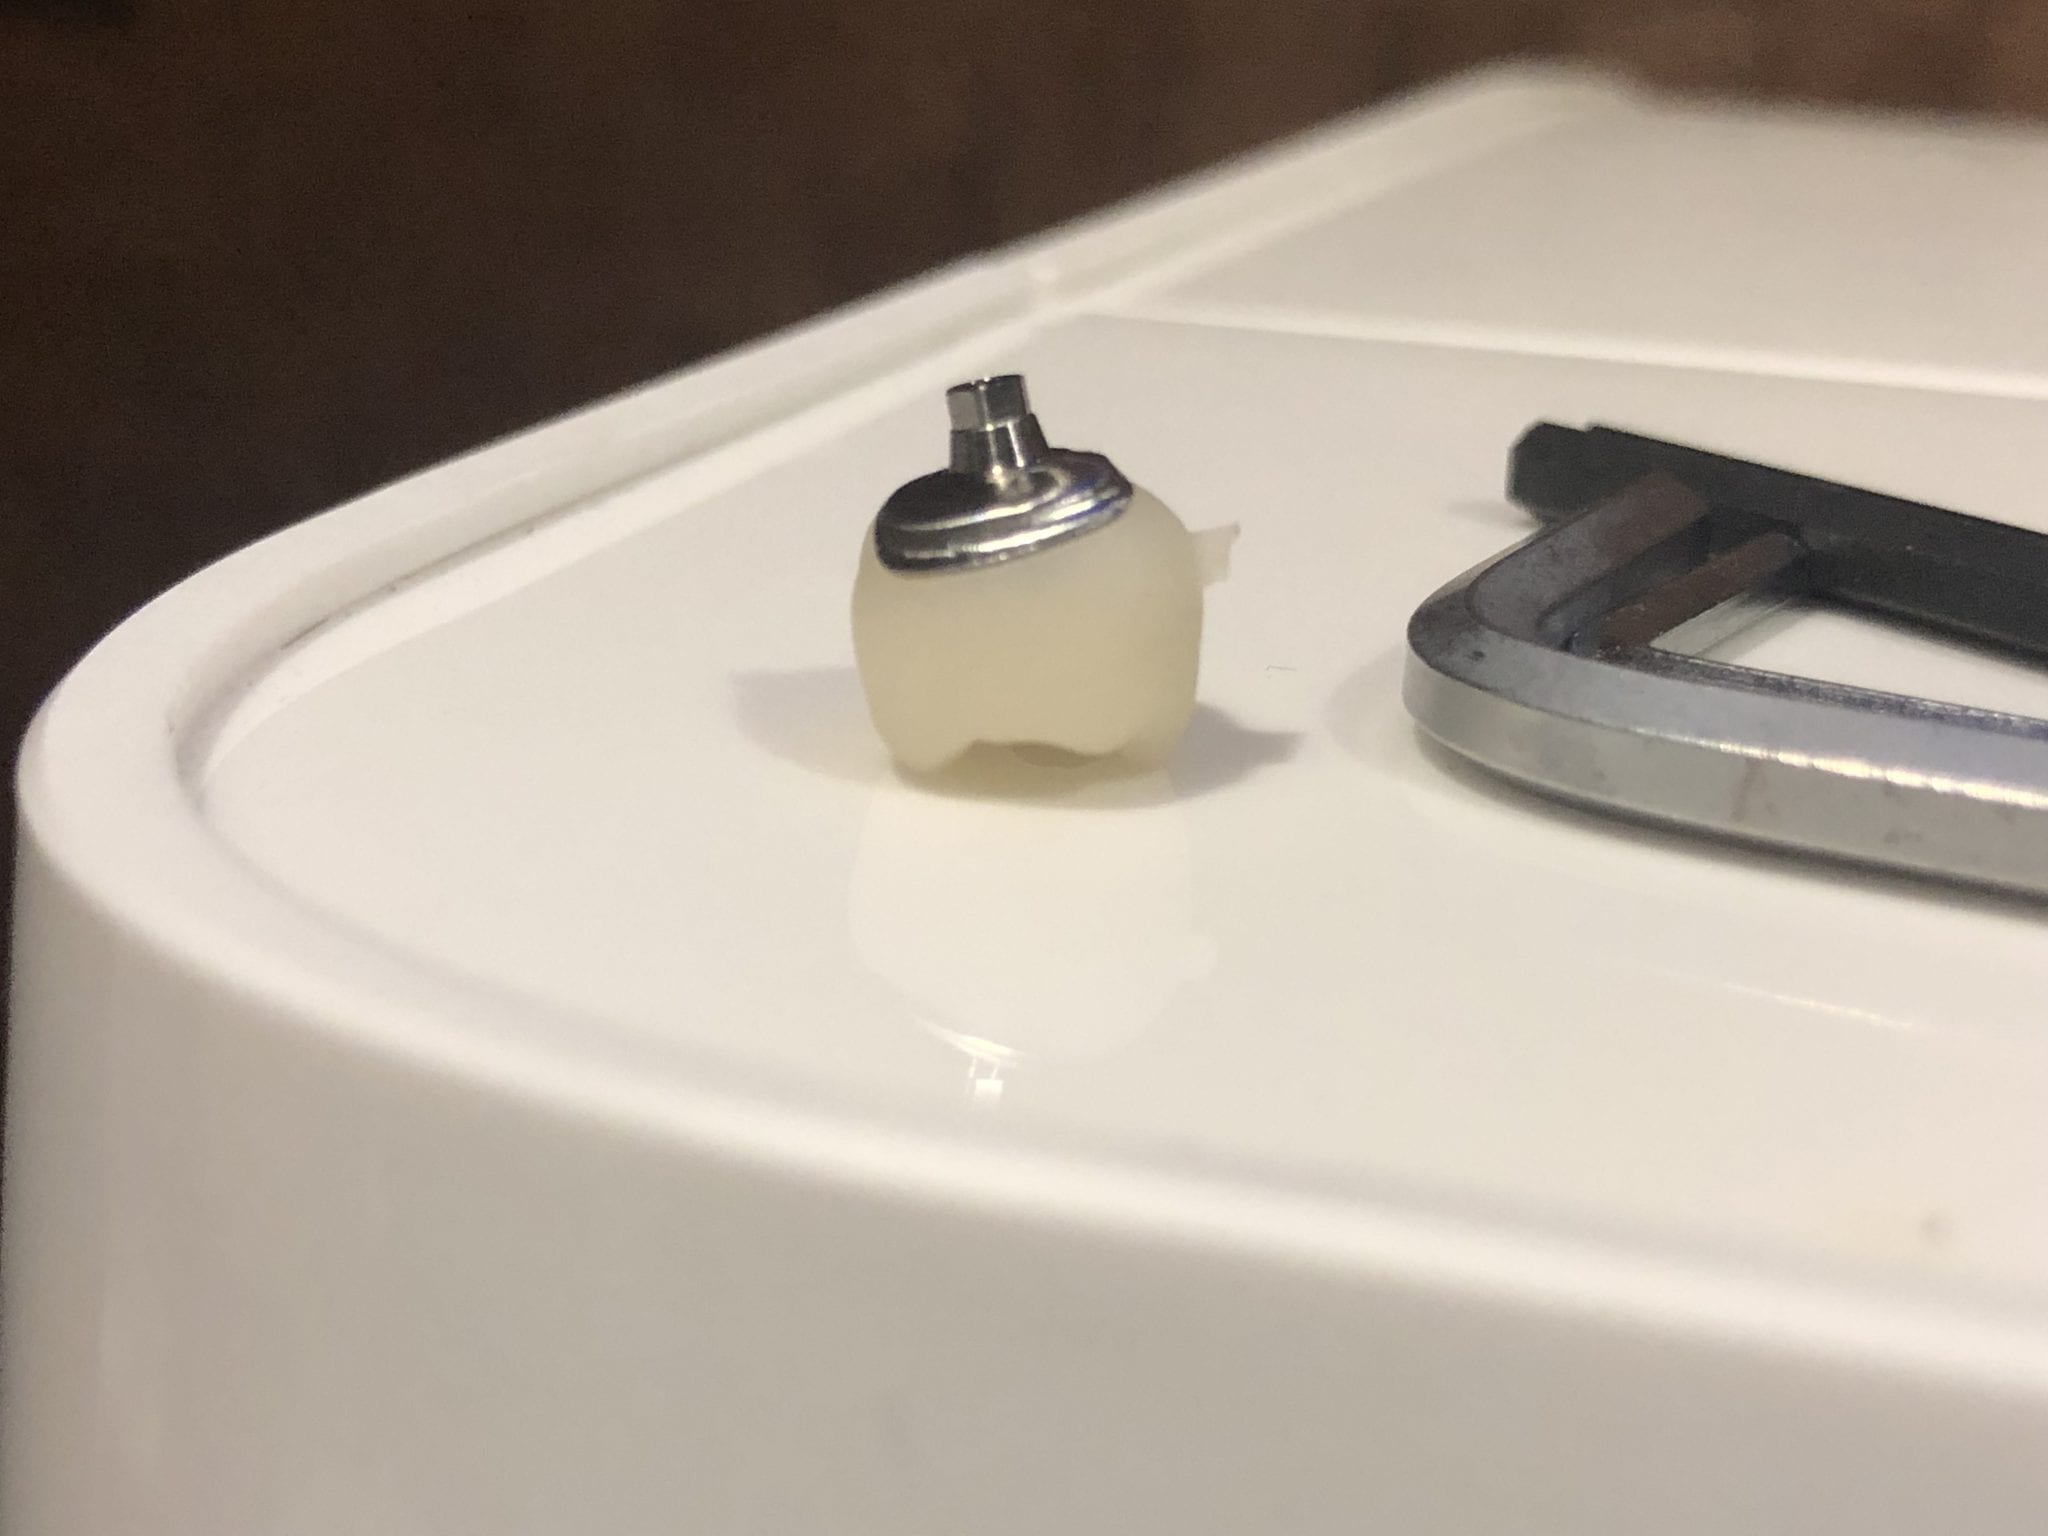
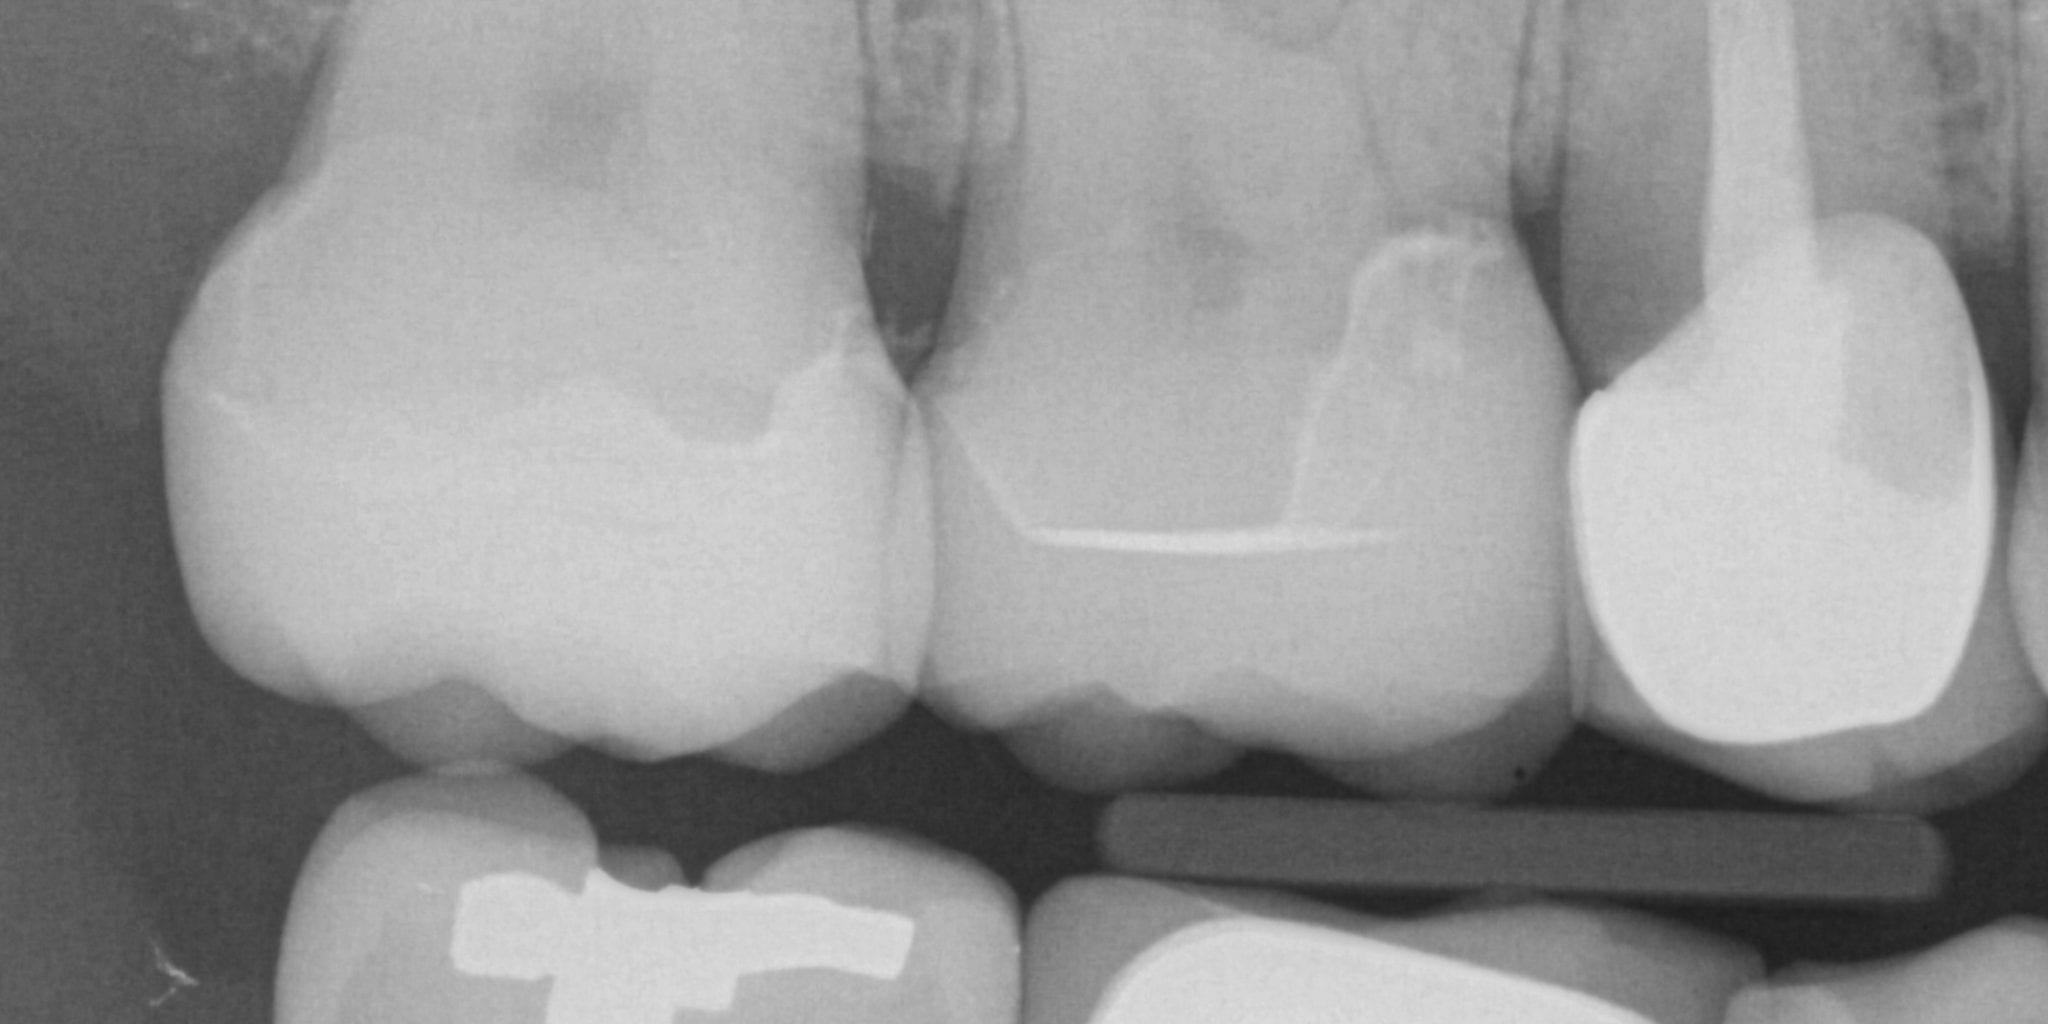
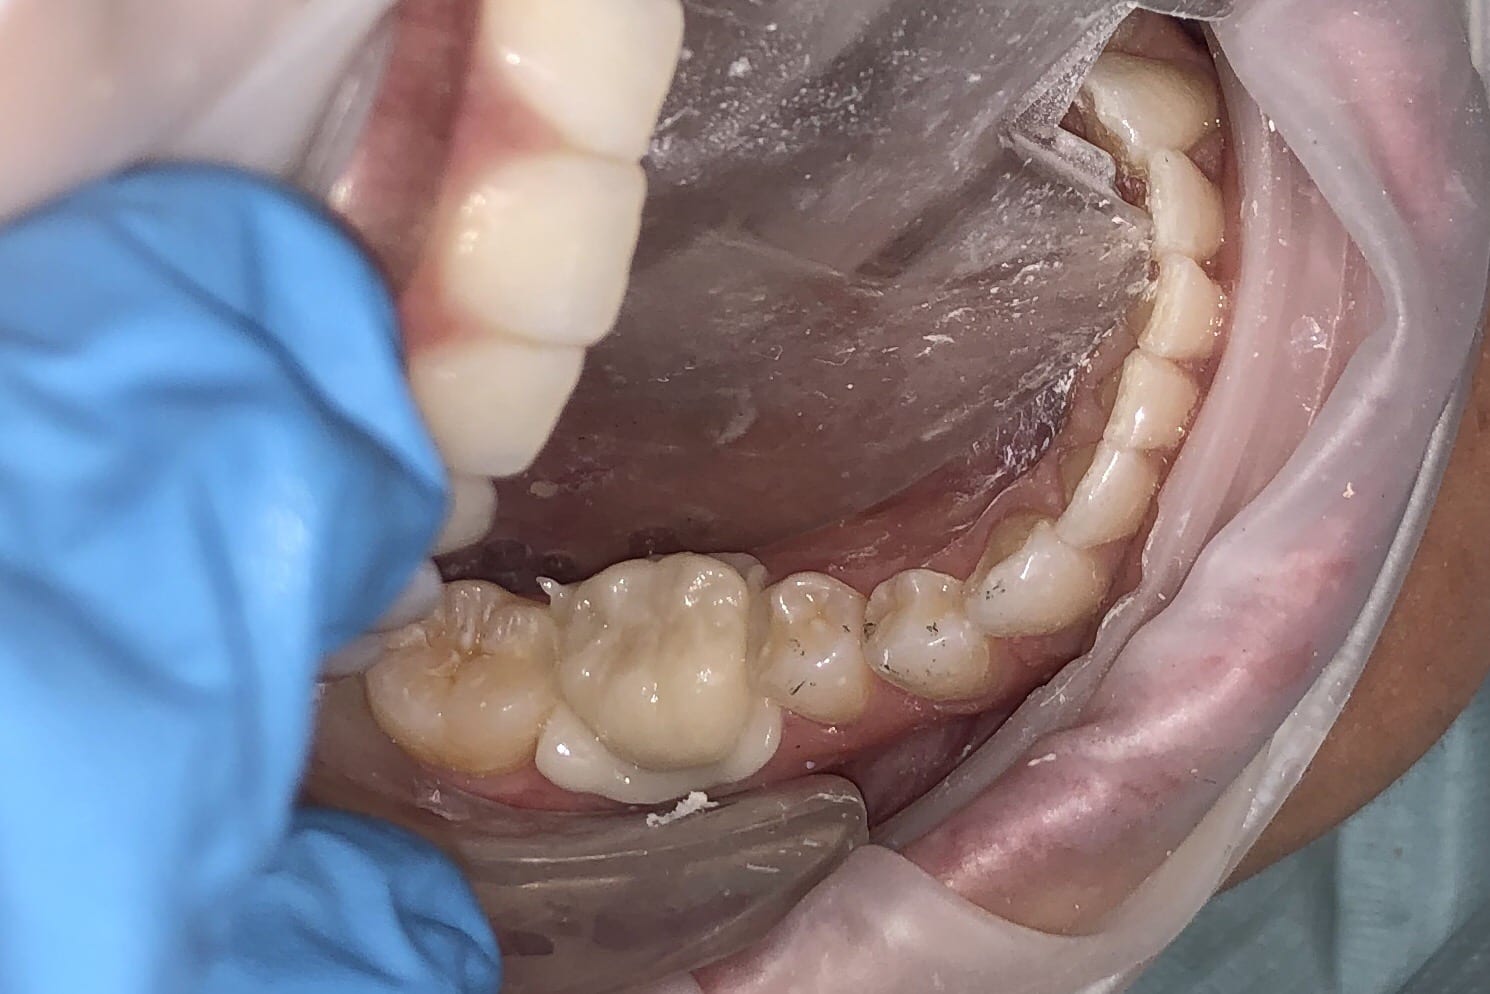
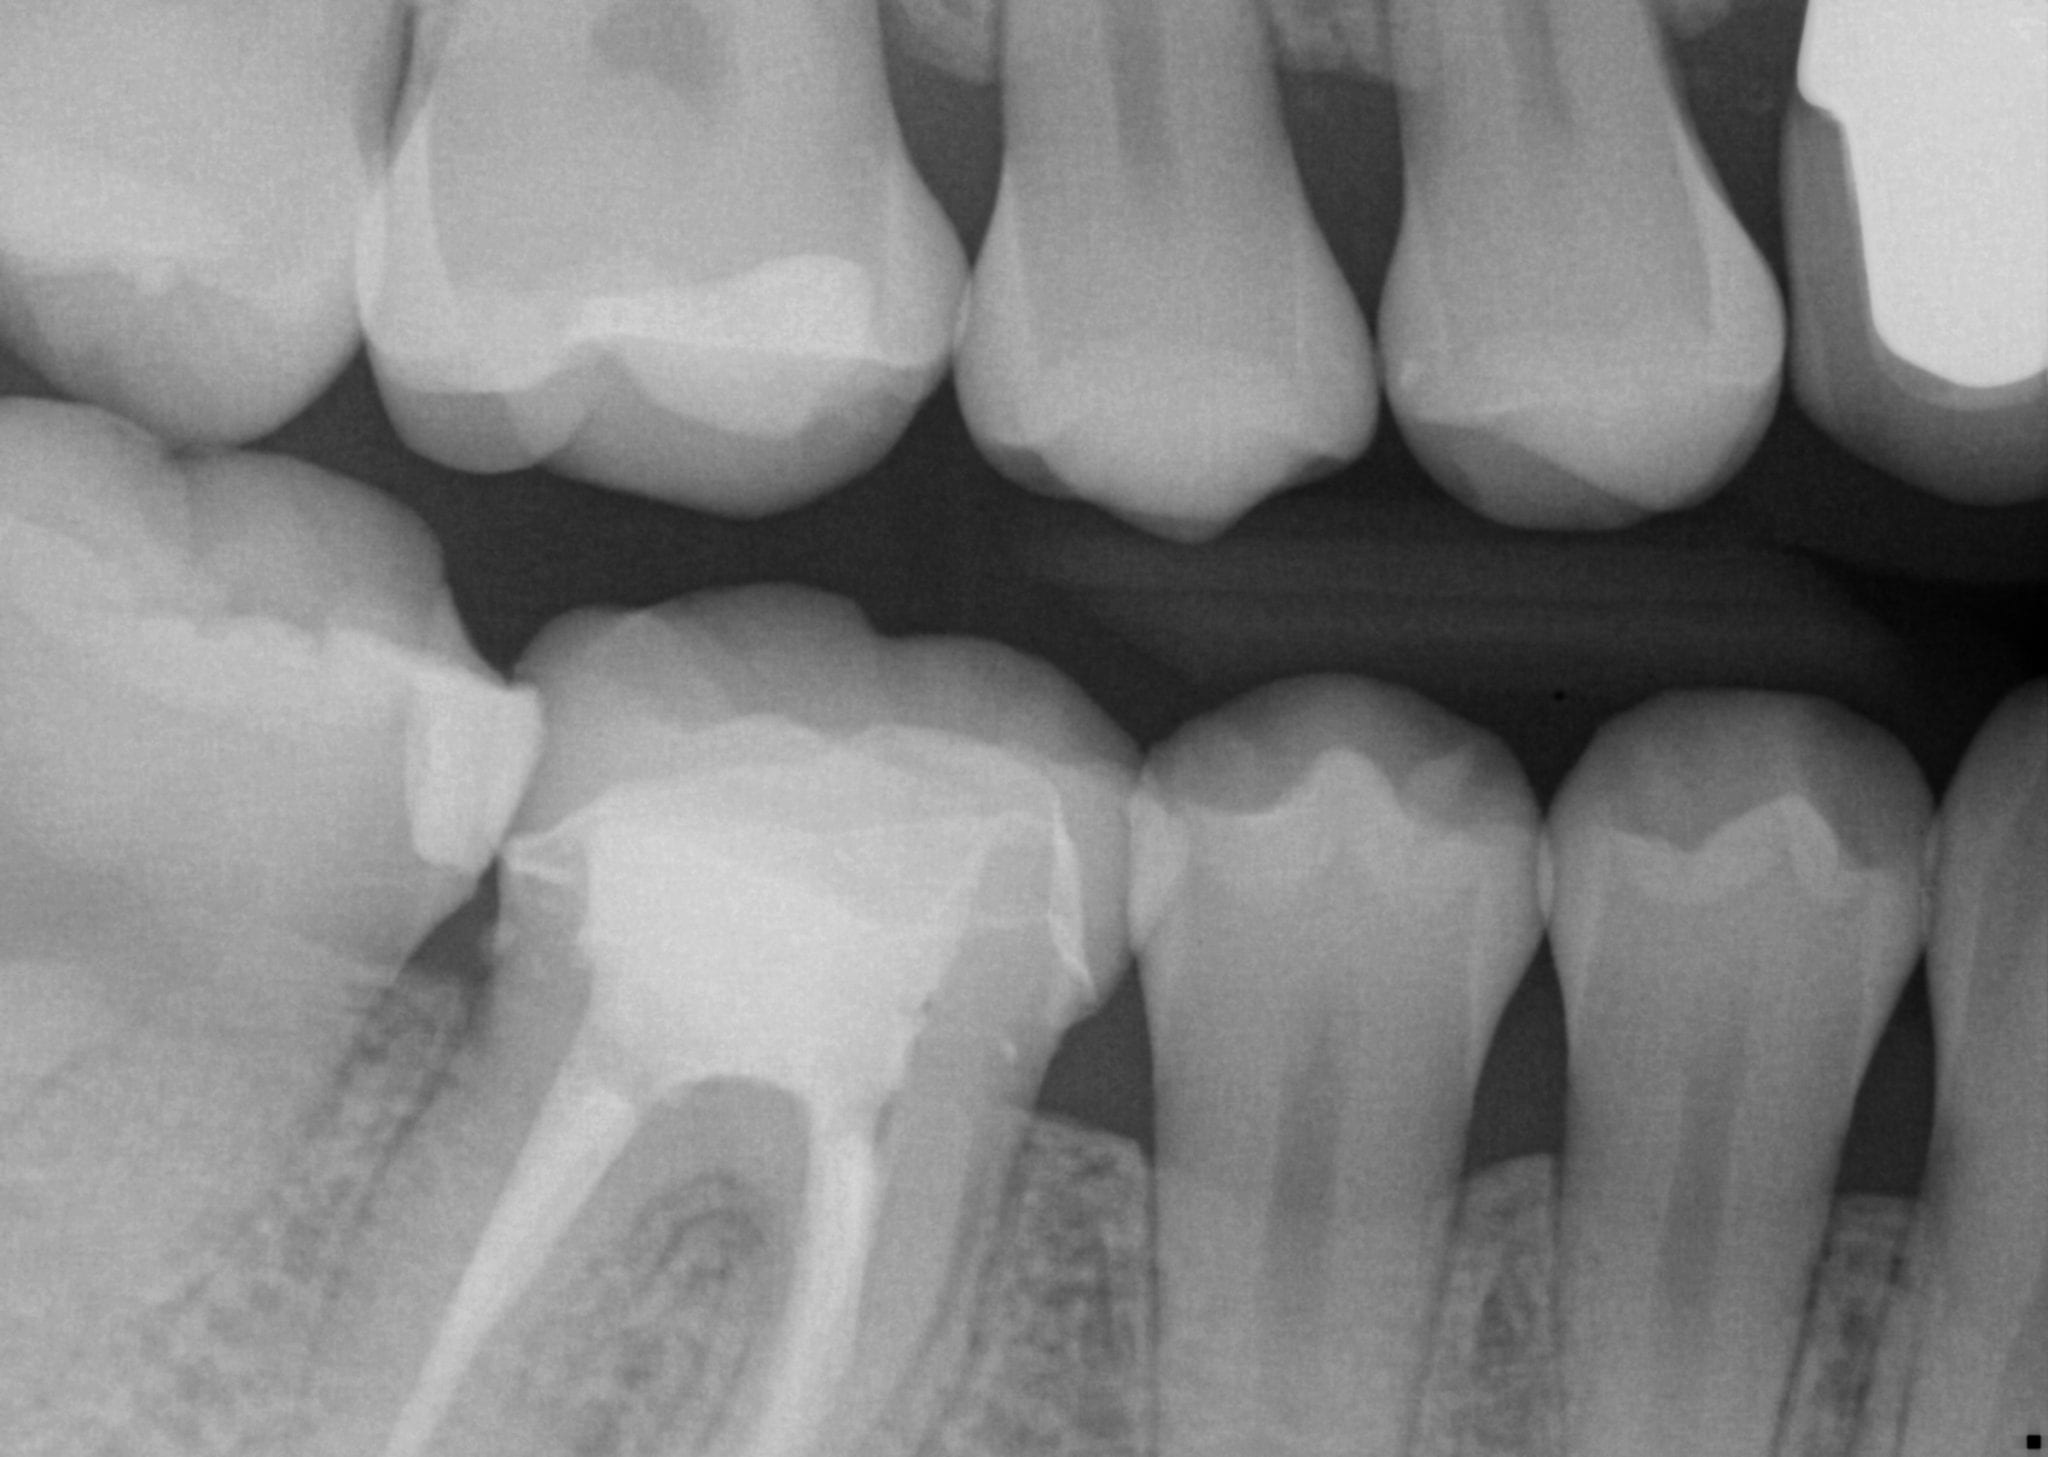
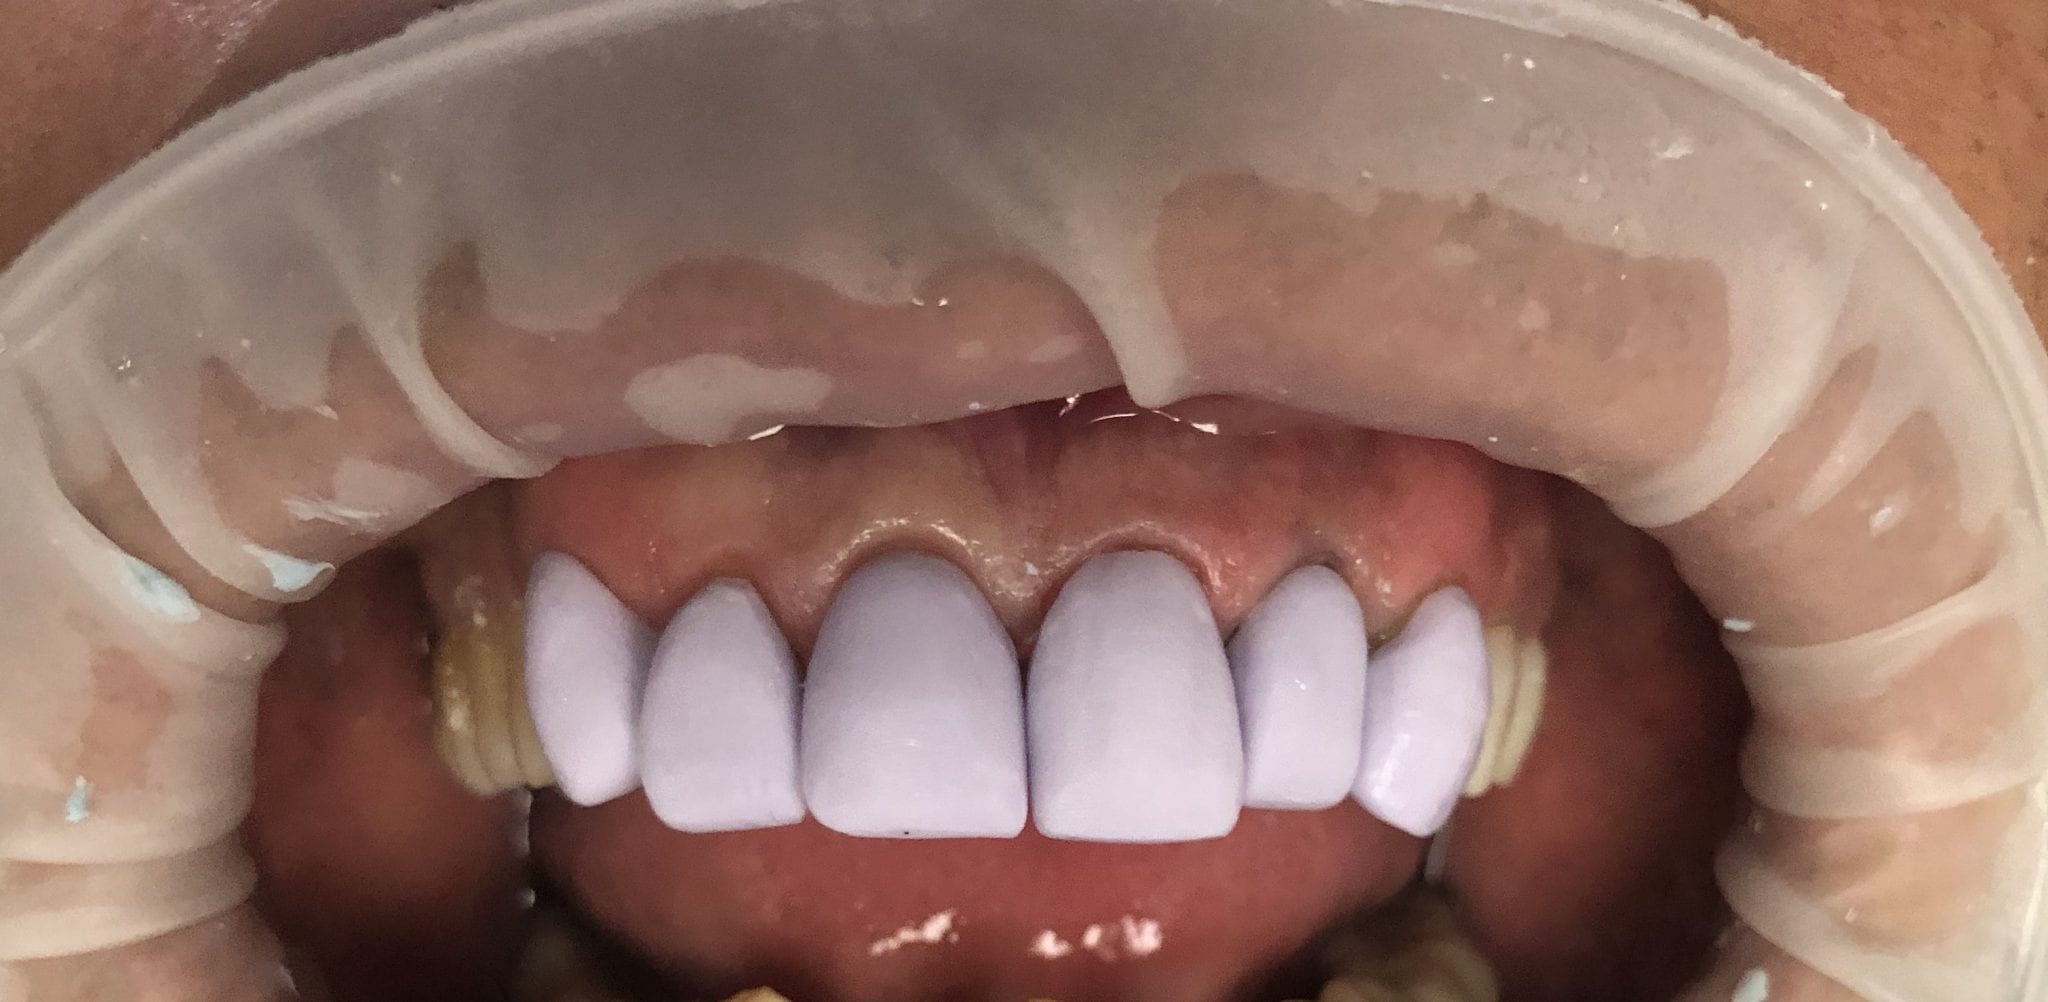
Immediate post op

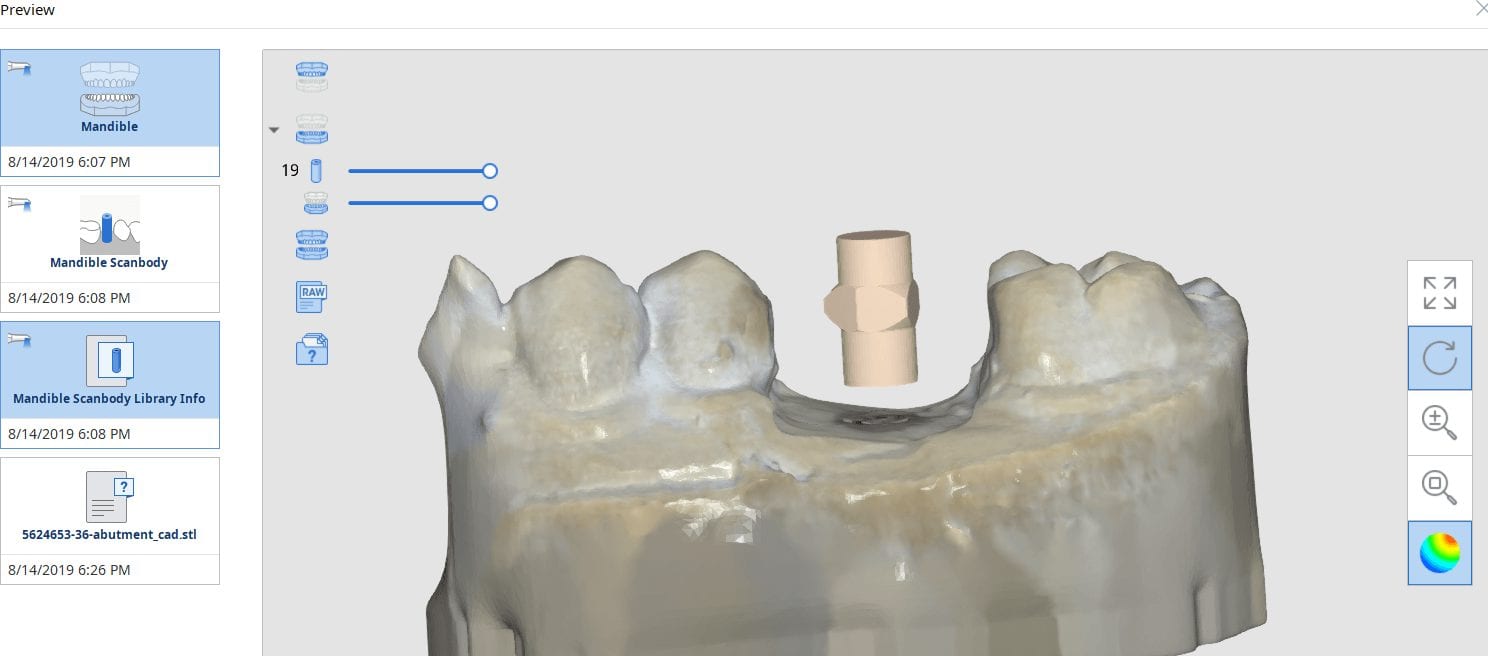
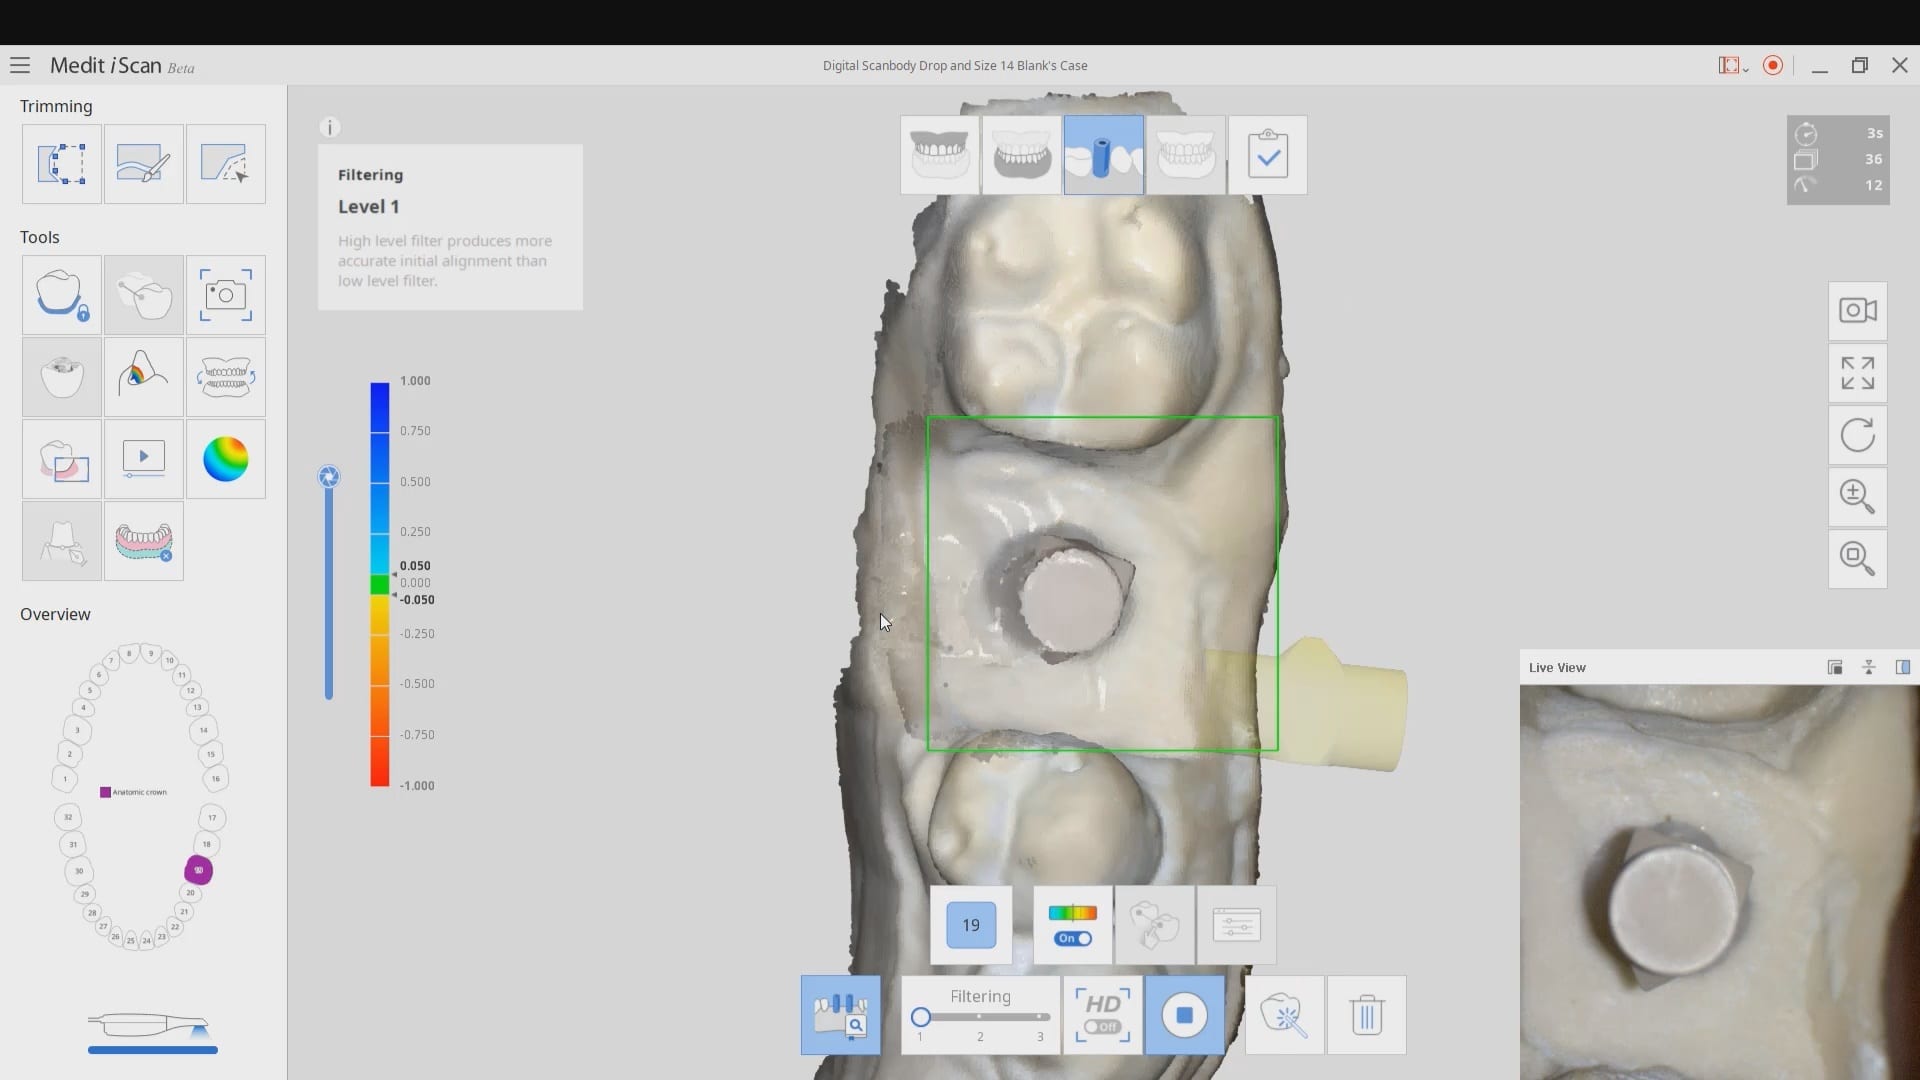
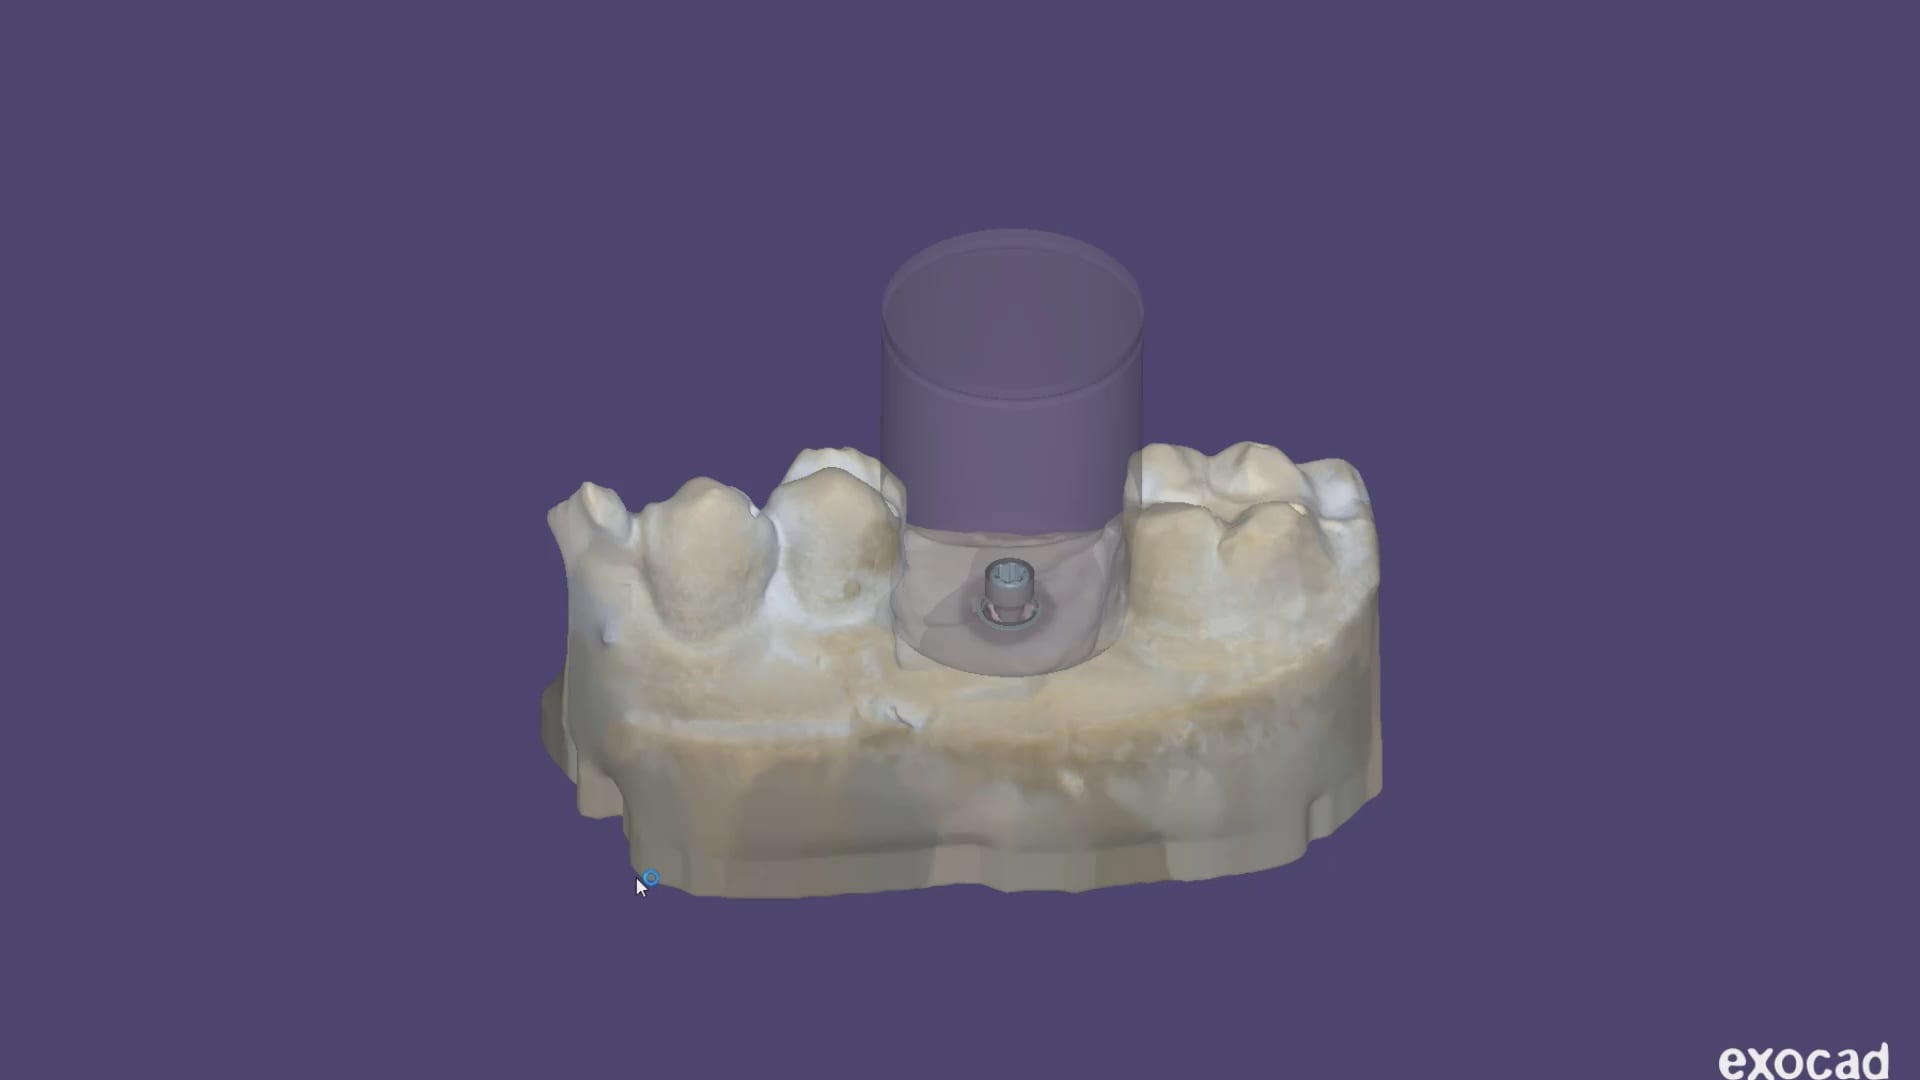

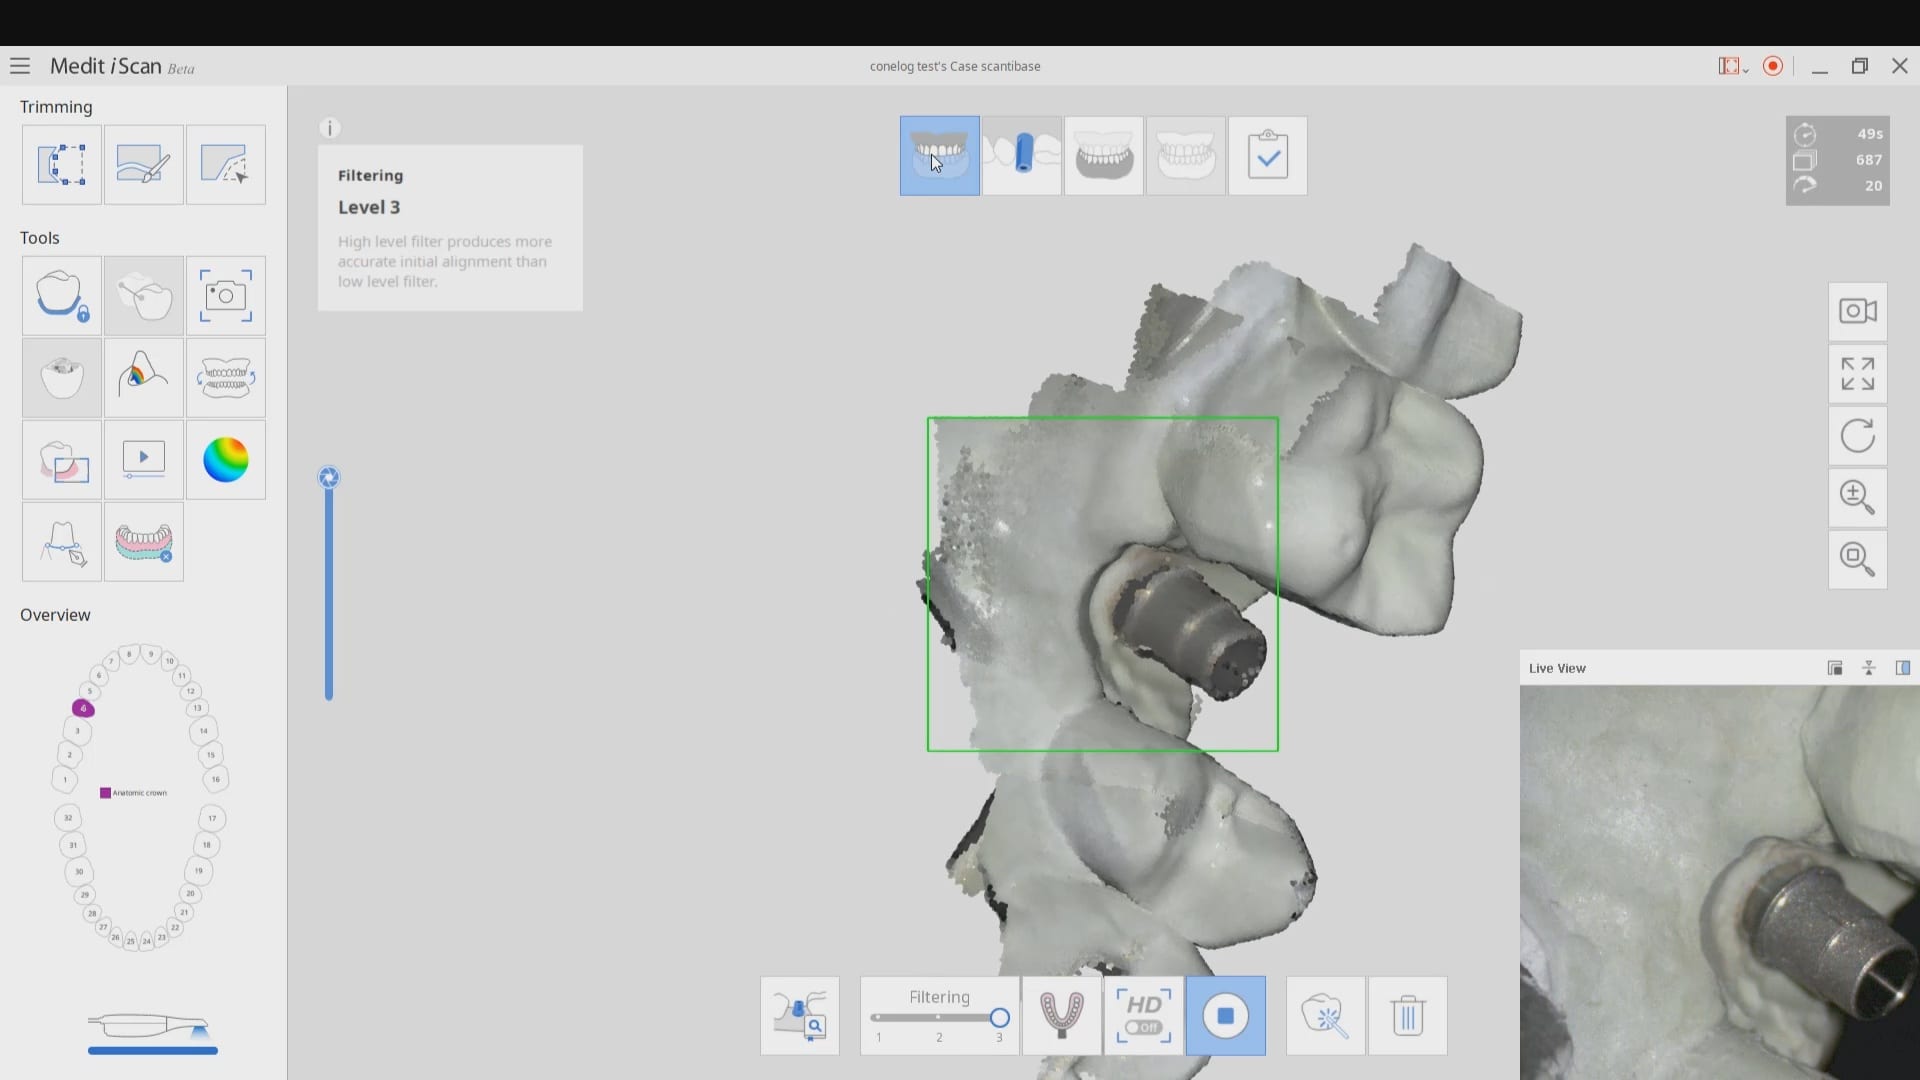

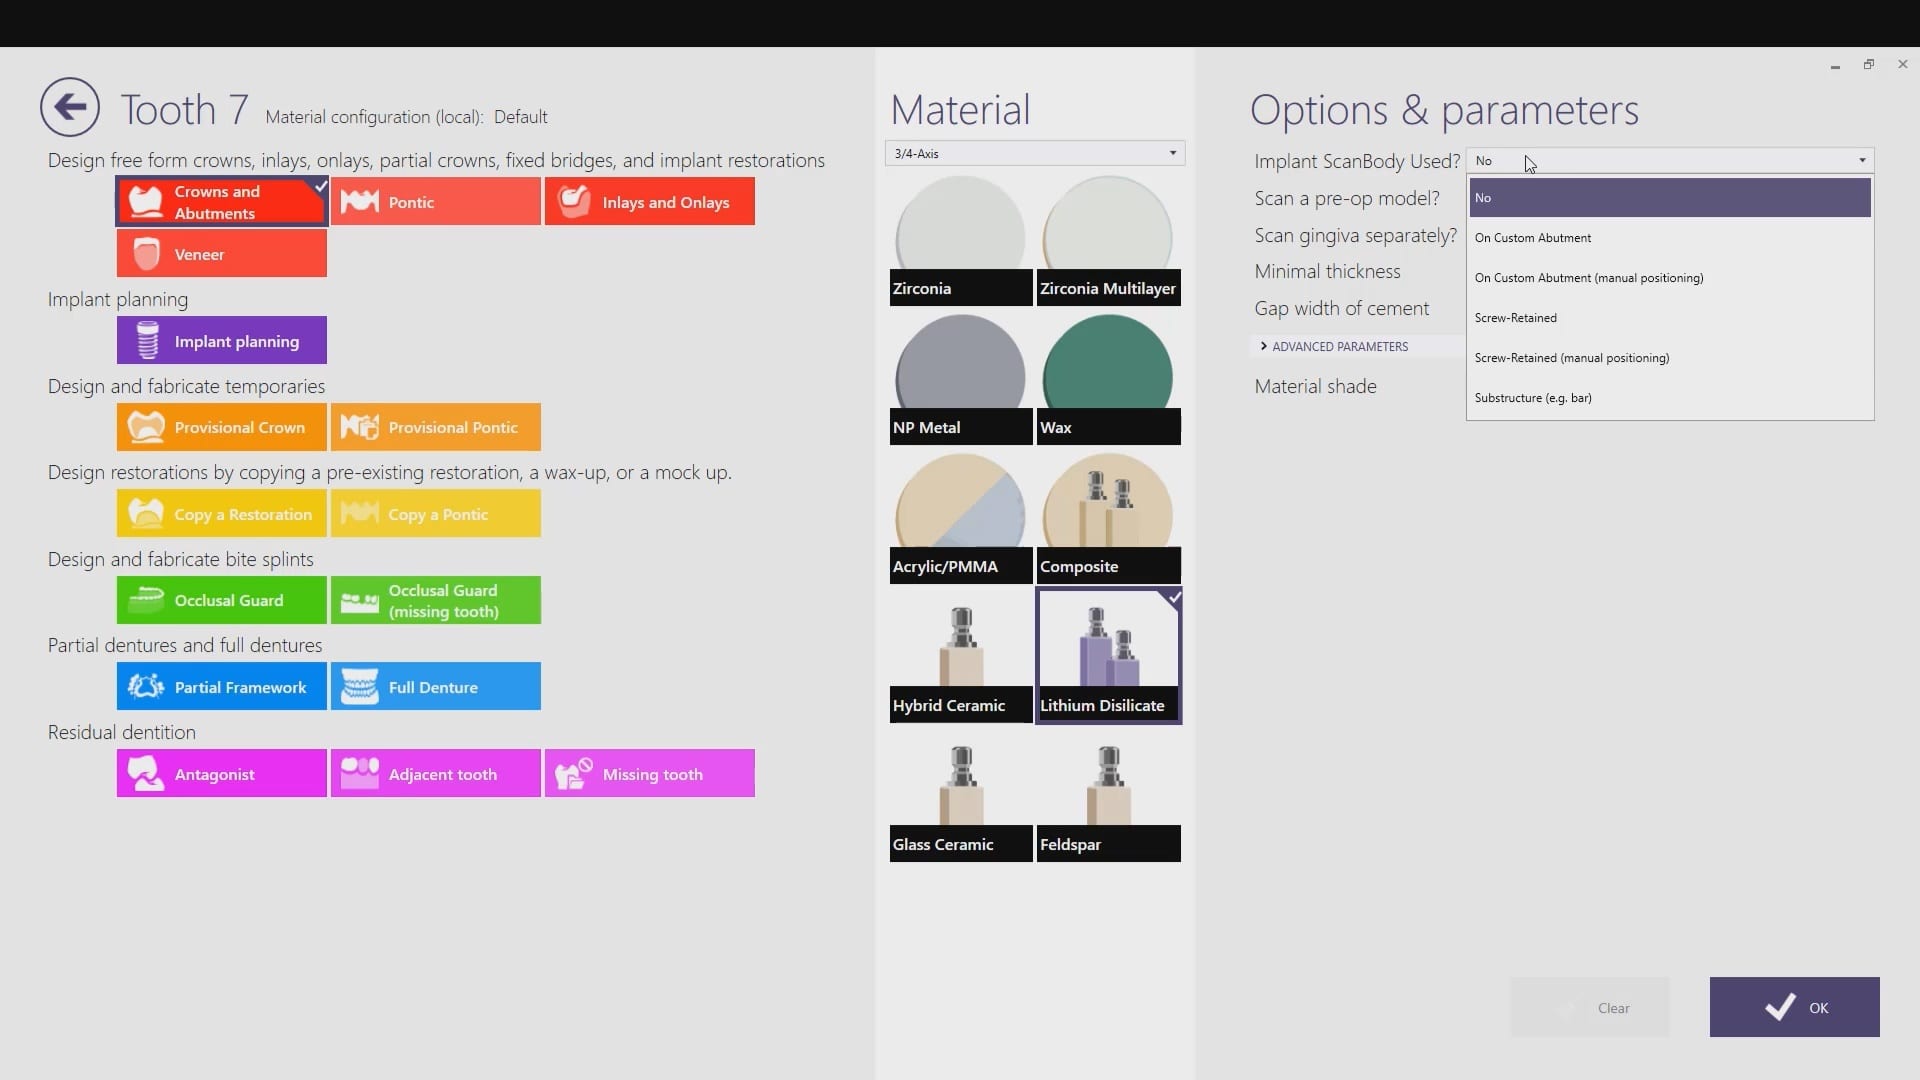
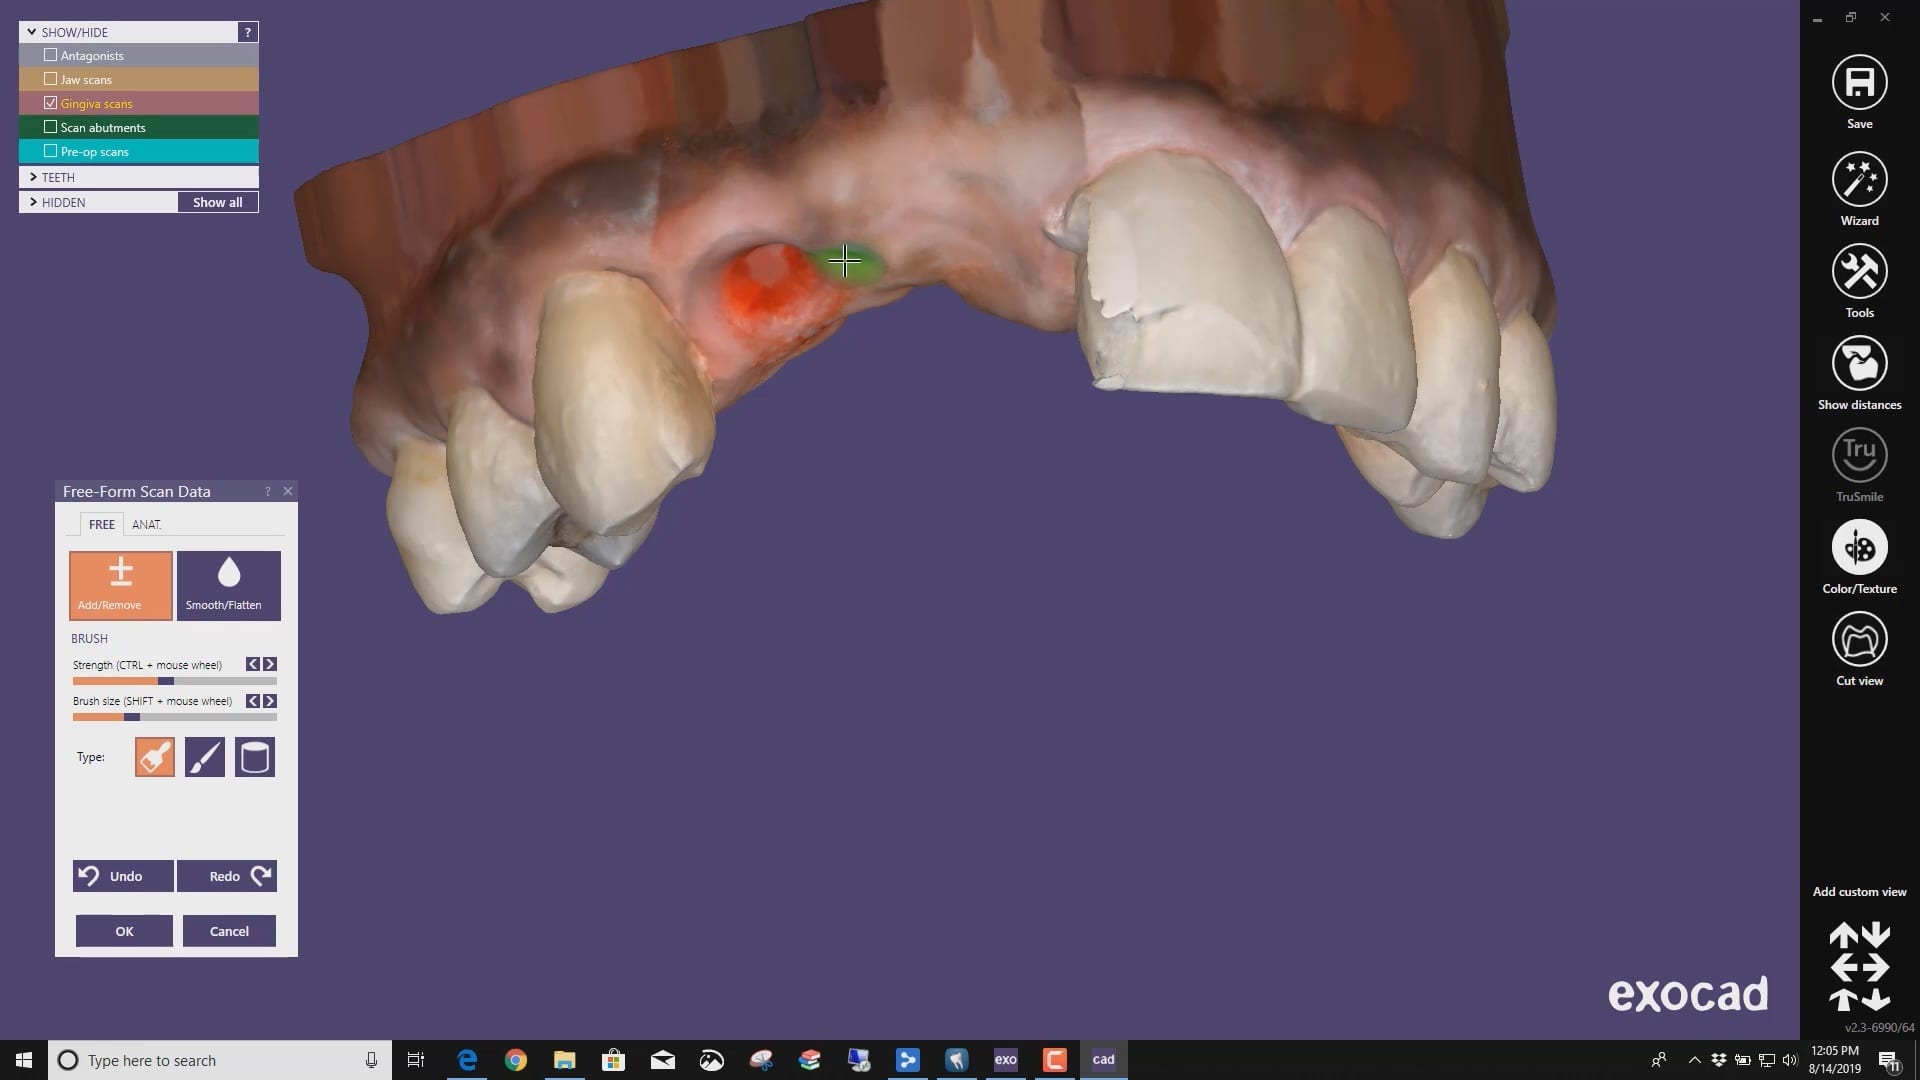
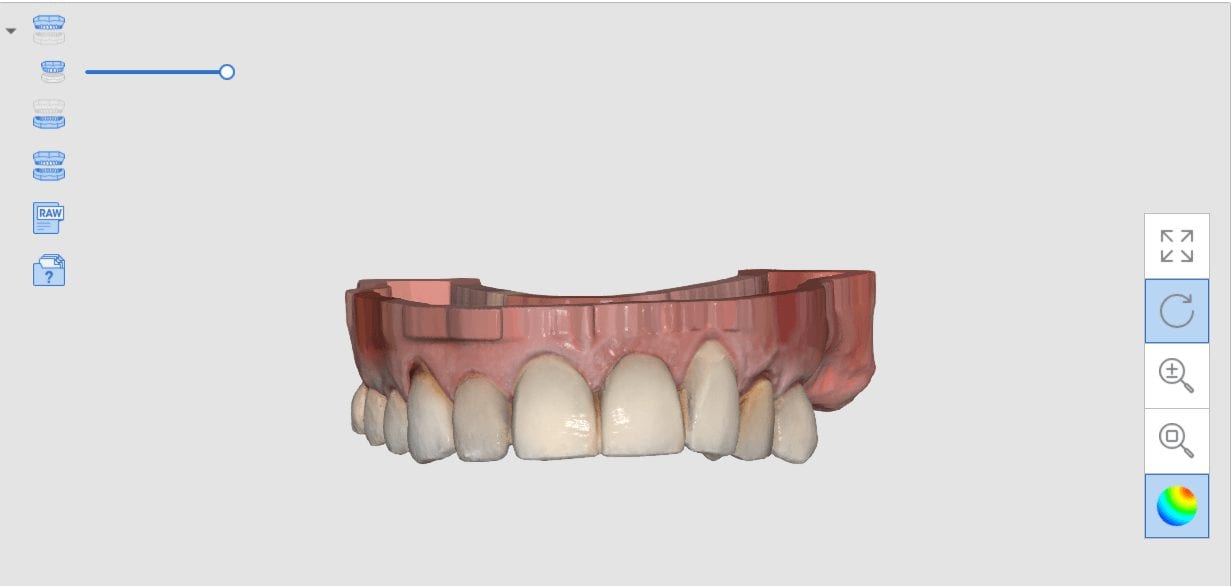
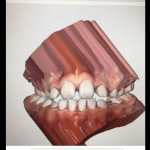
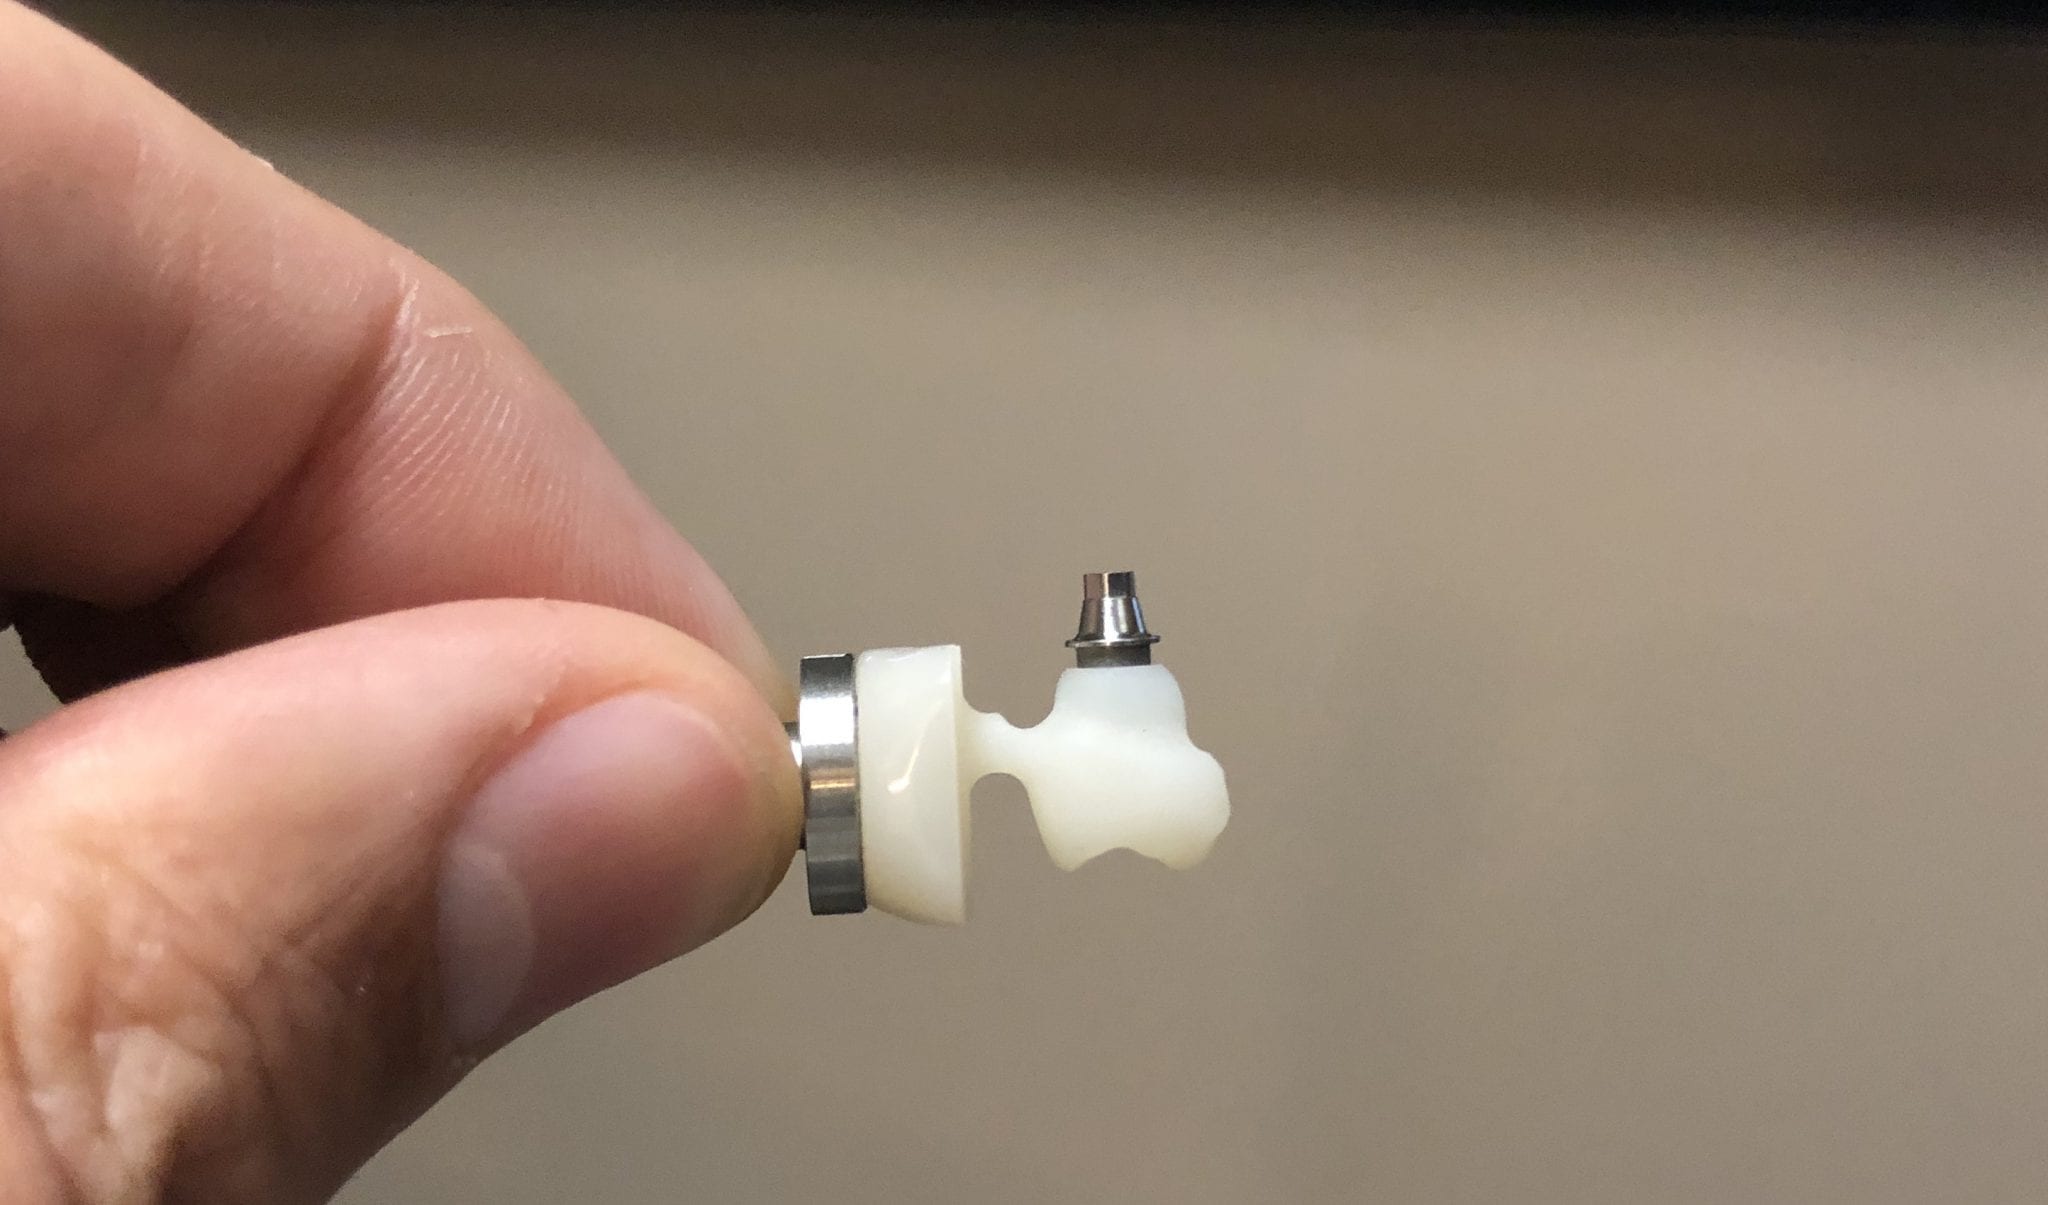
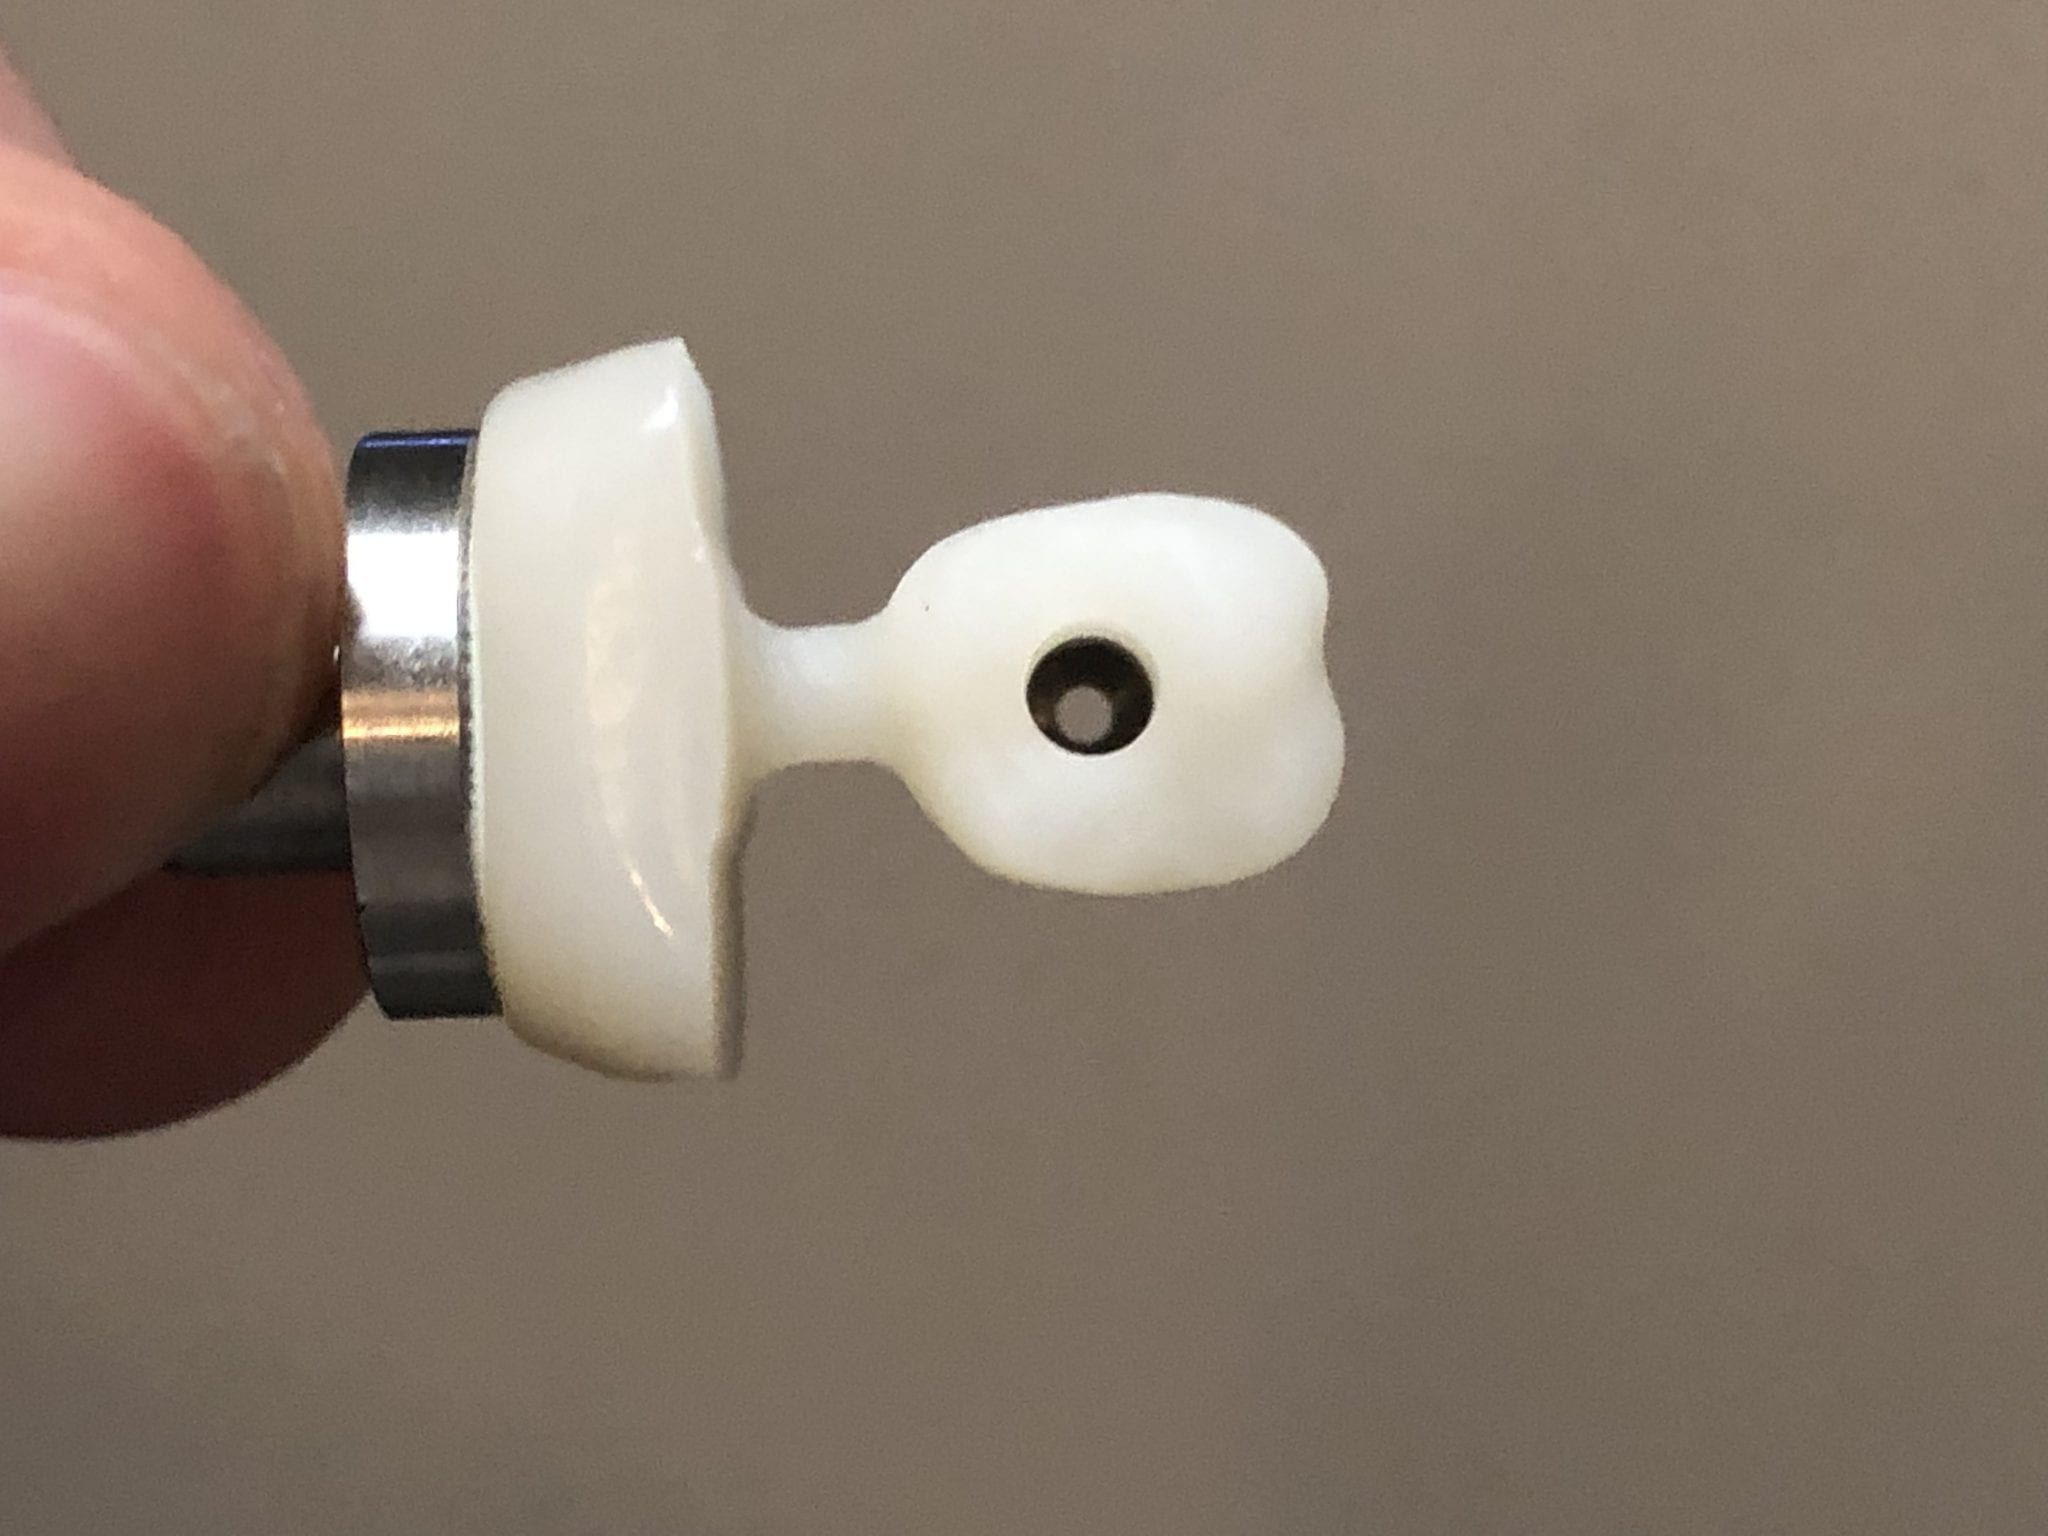
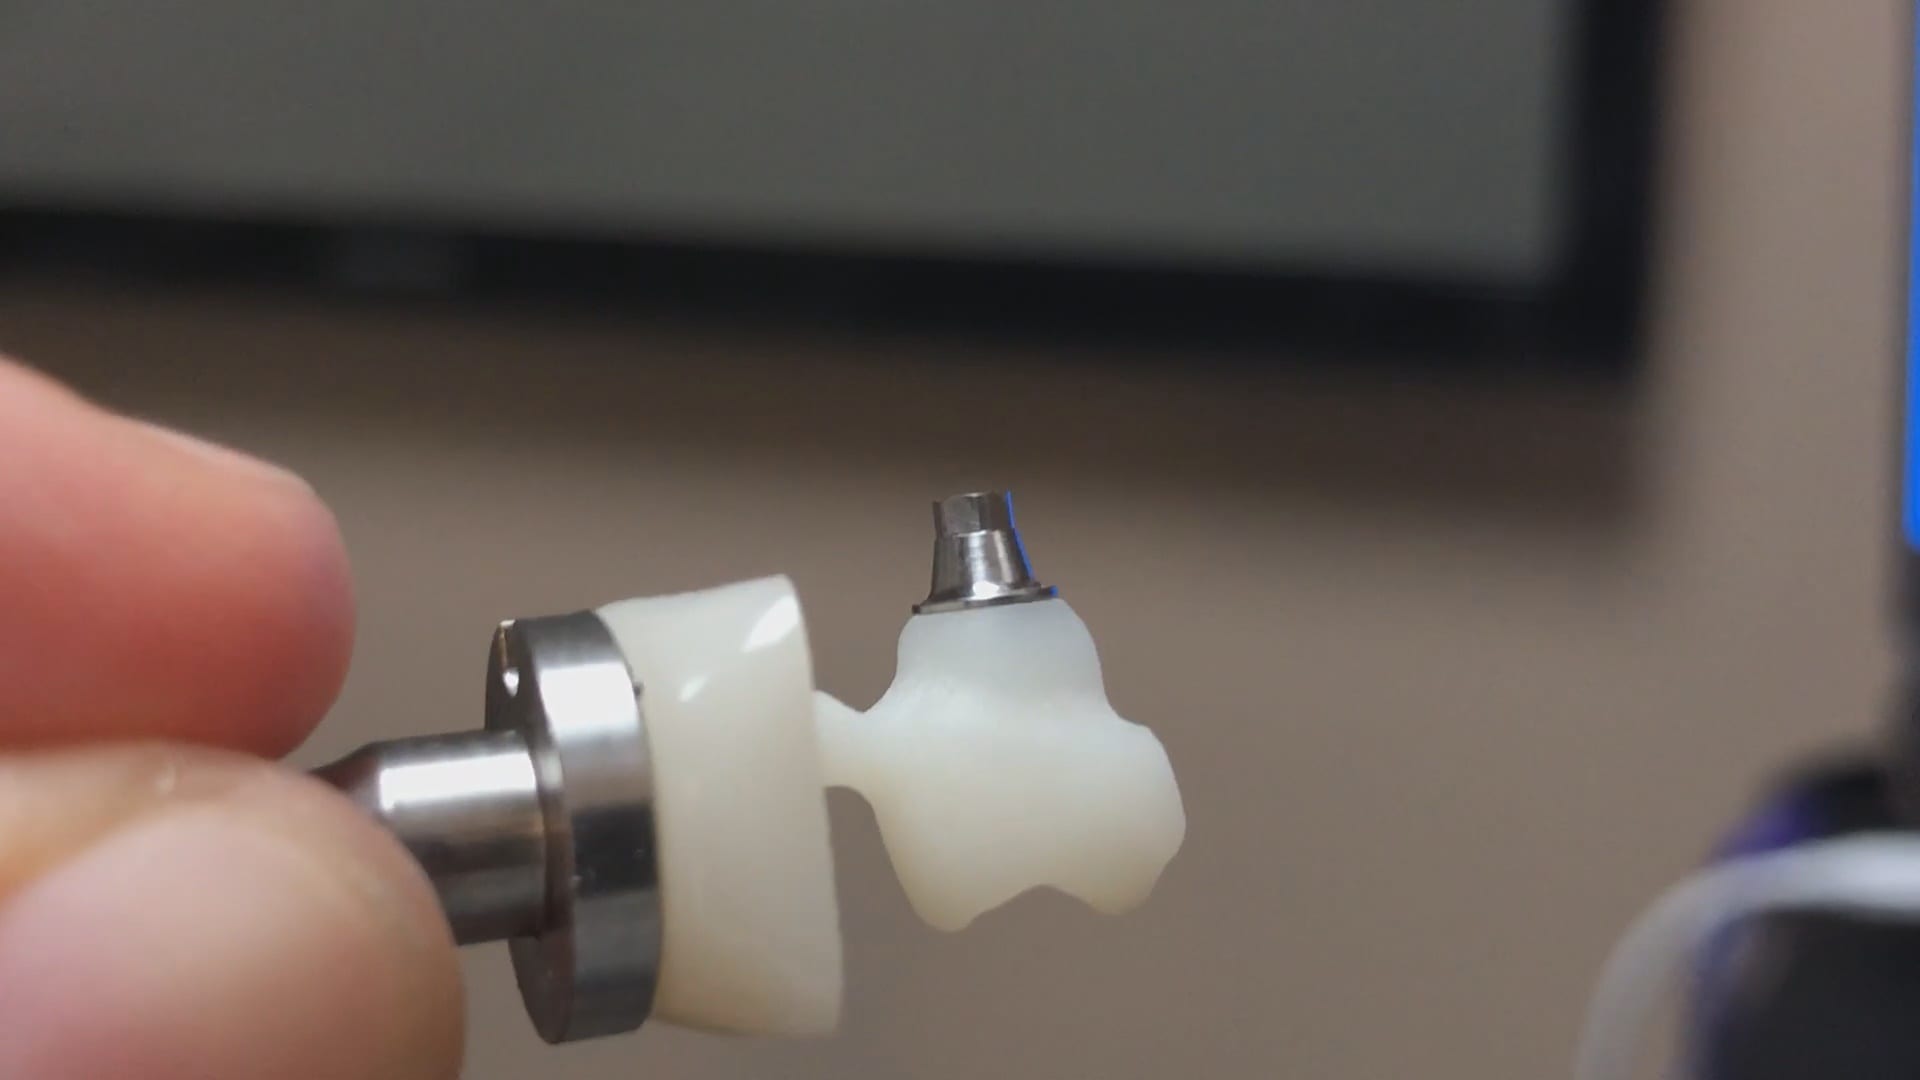
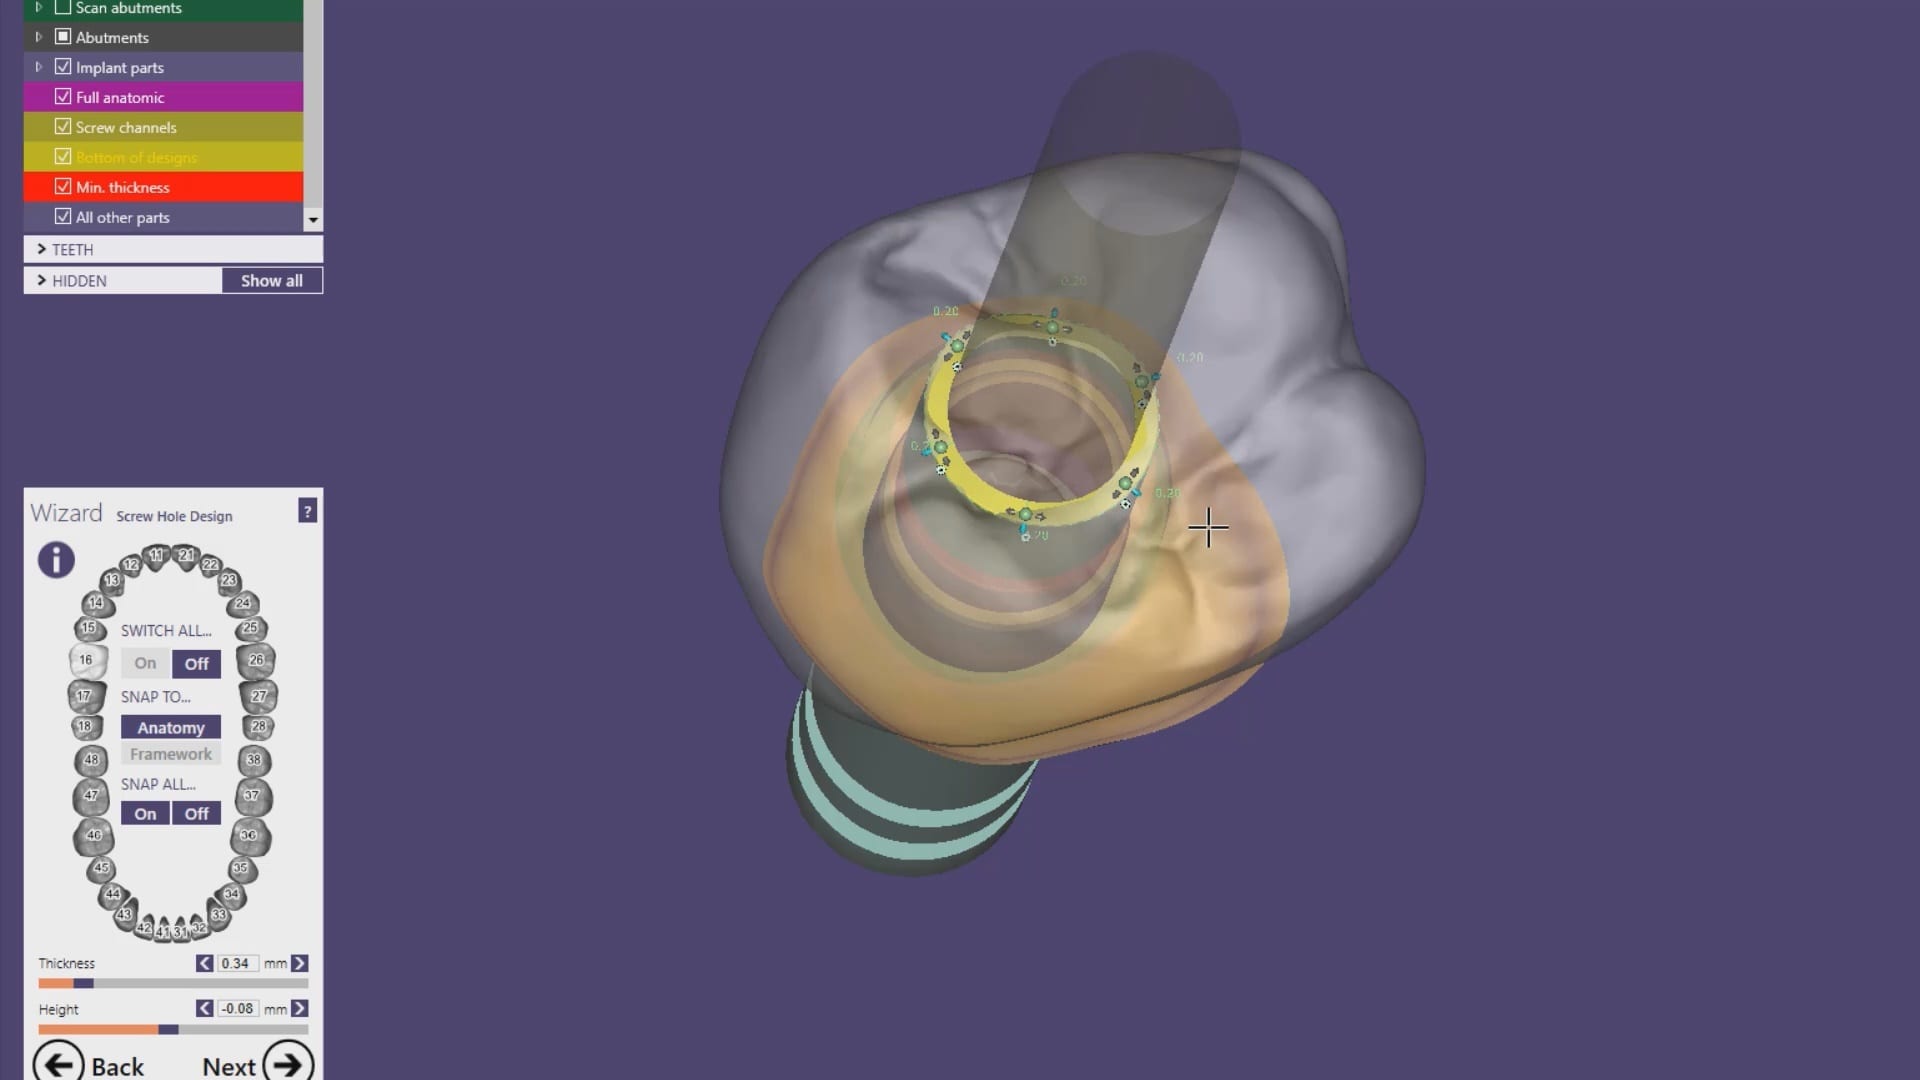
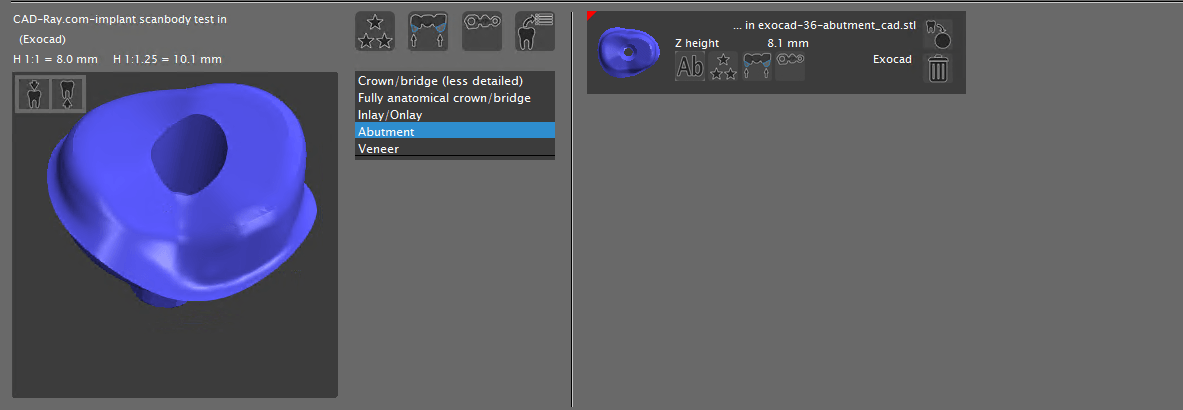
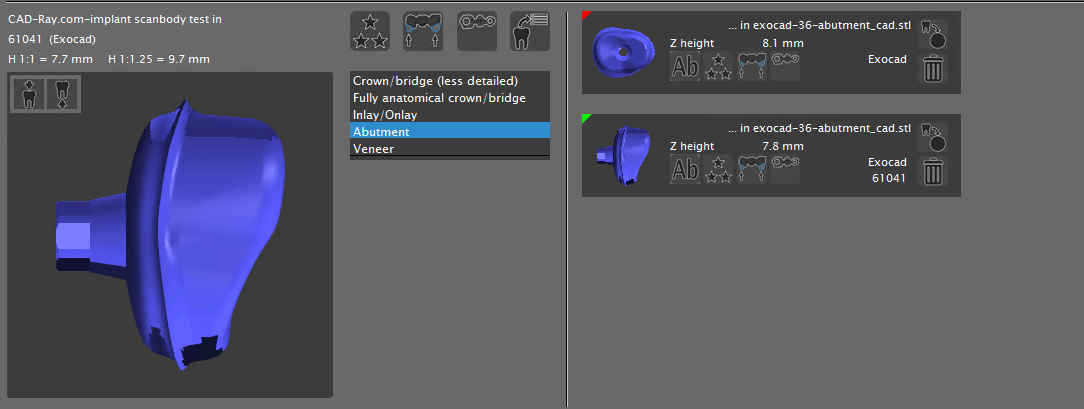
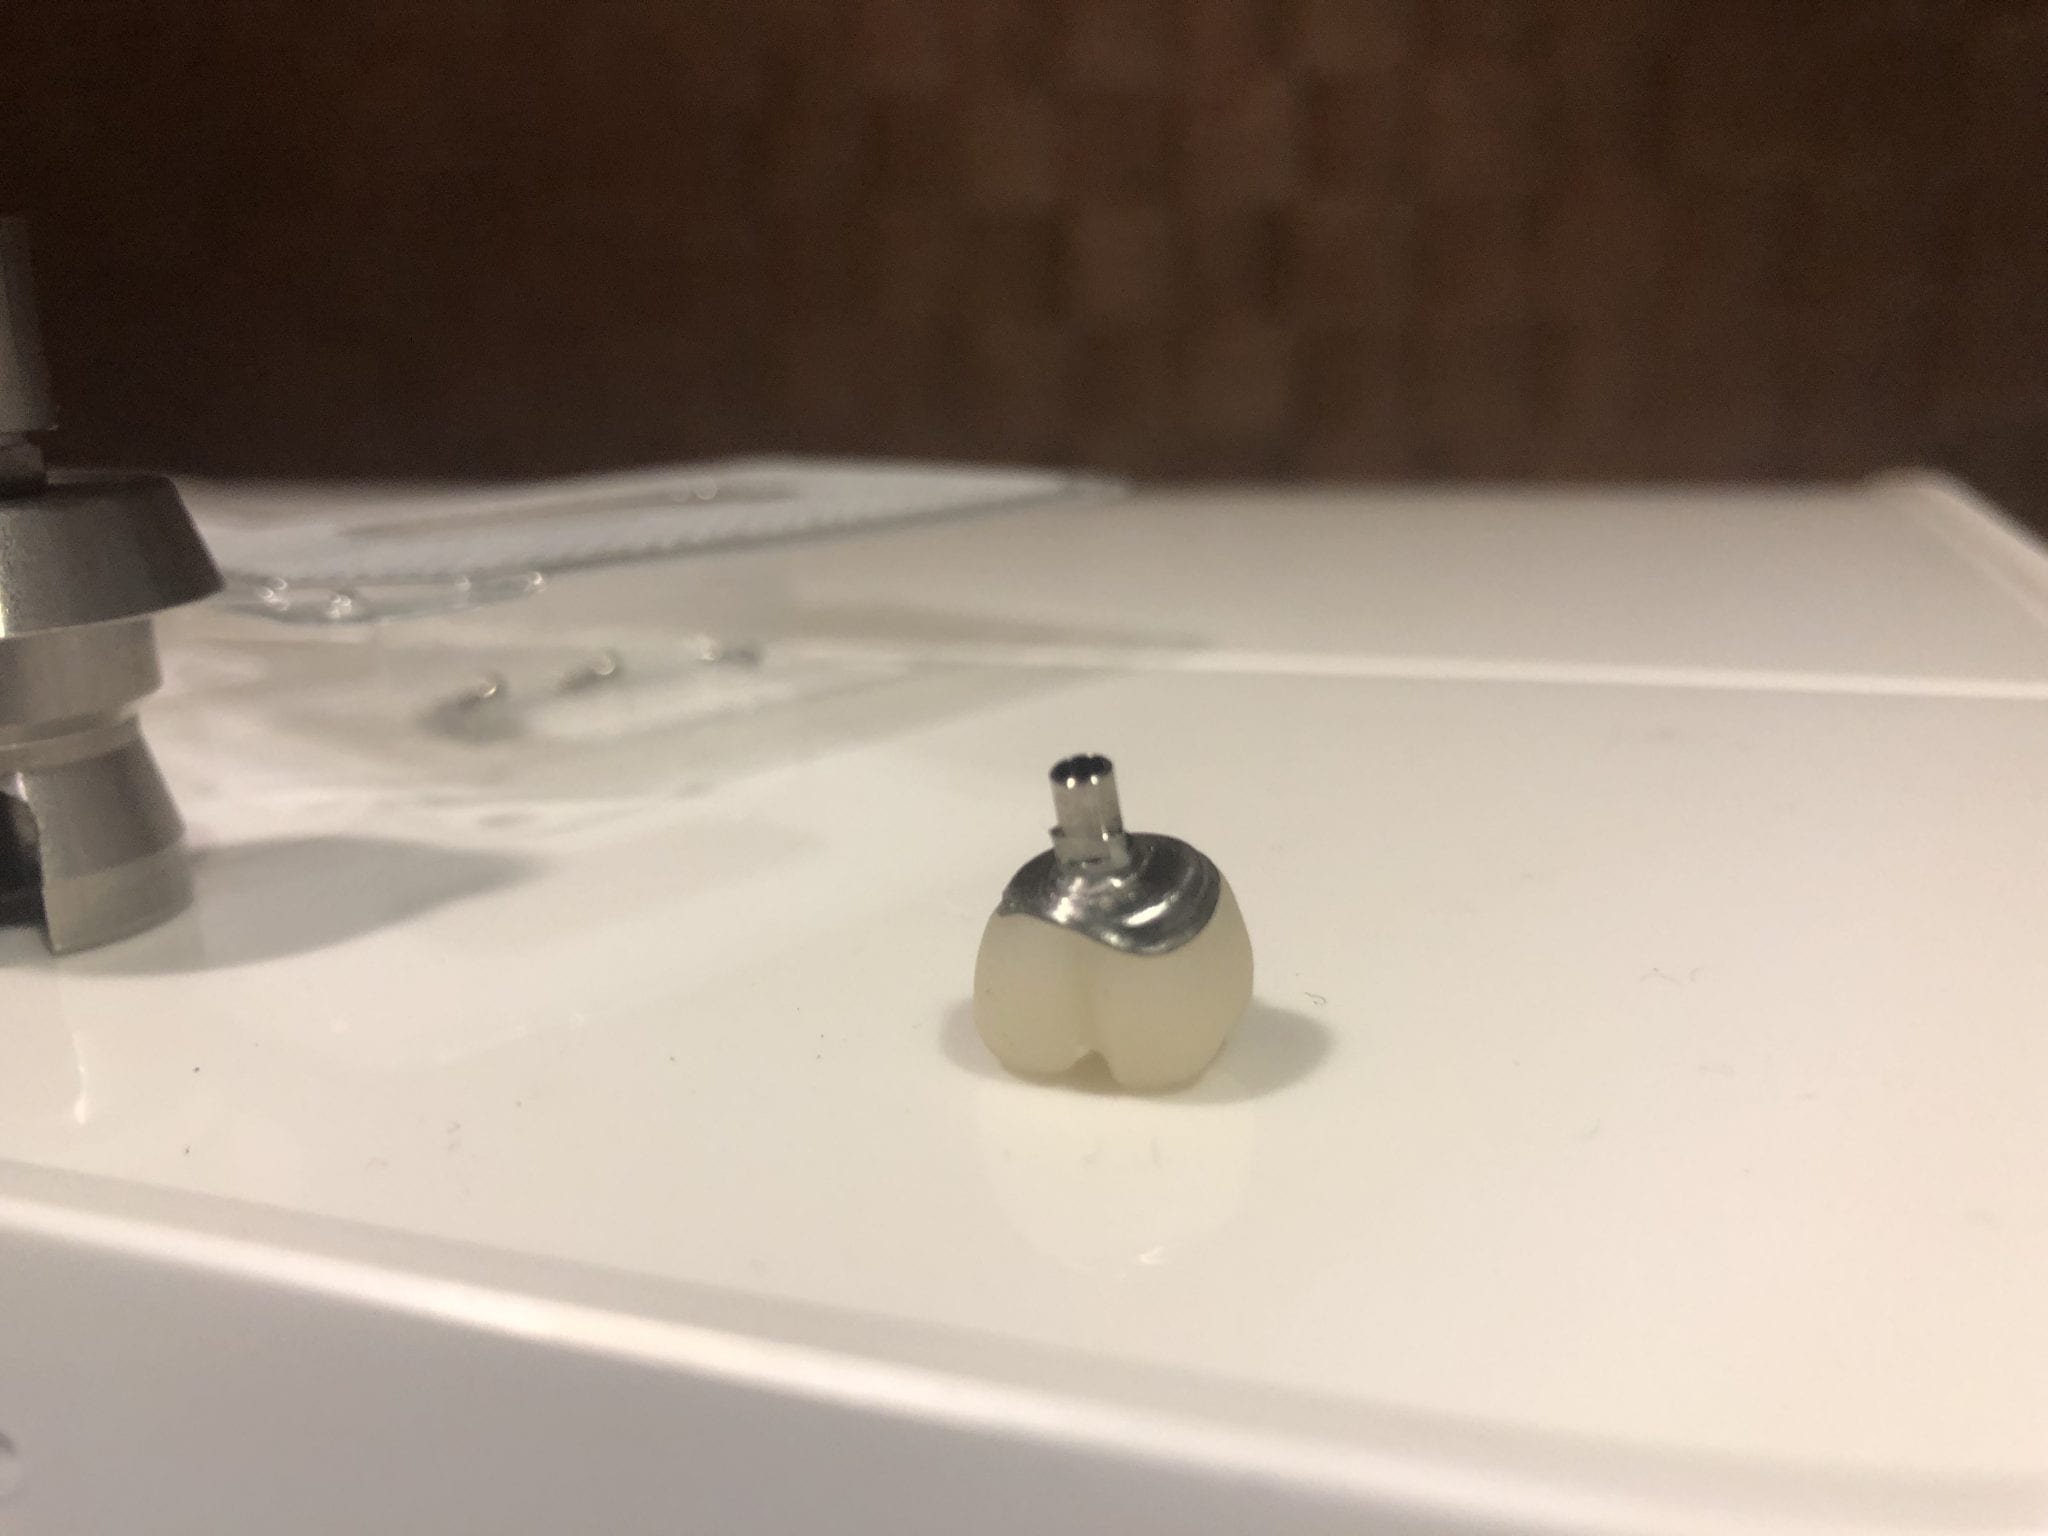
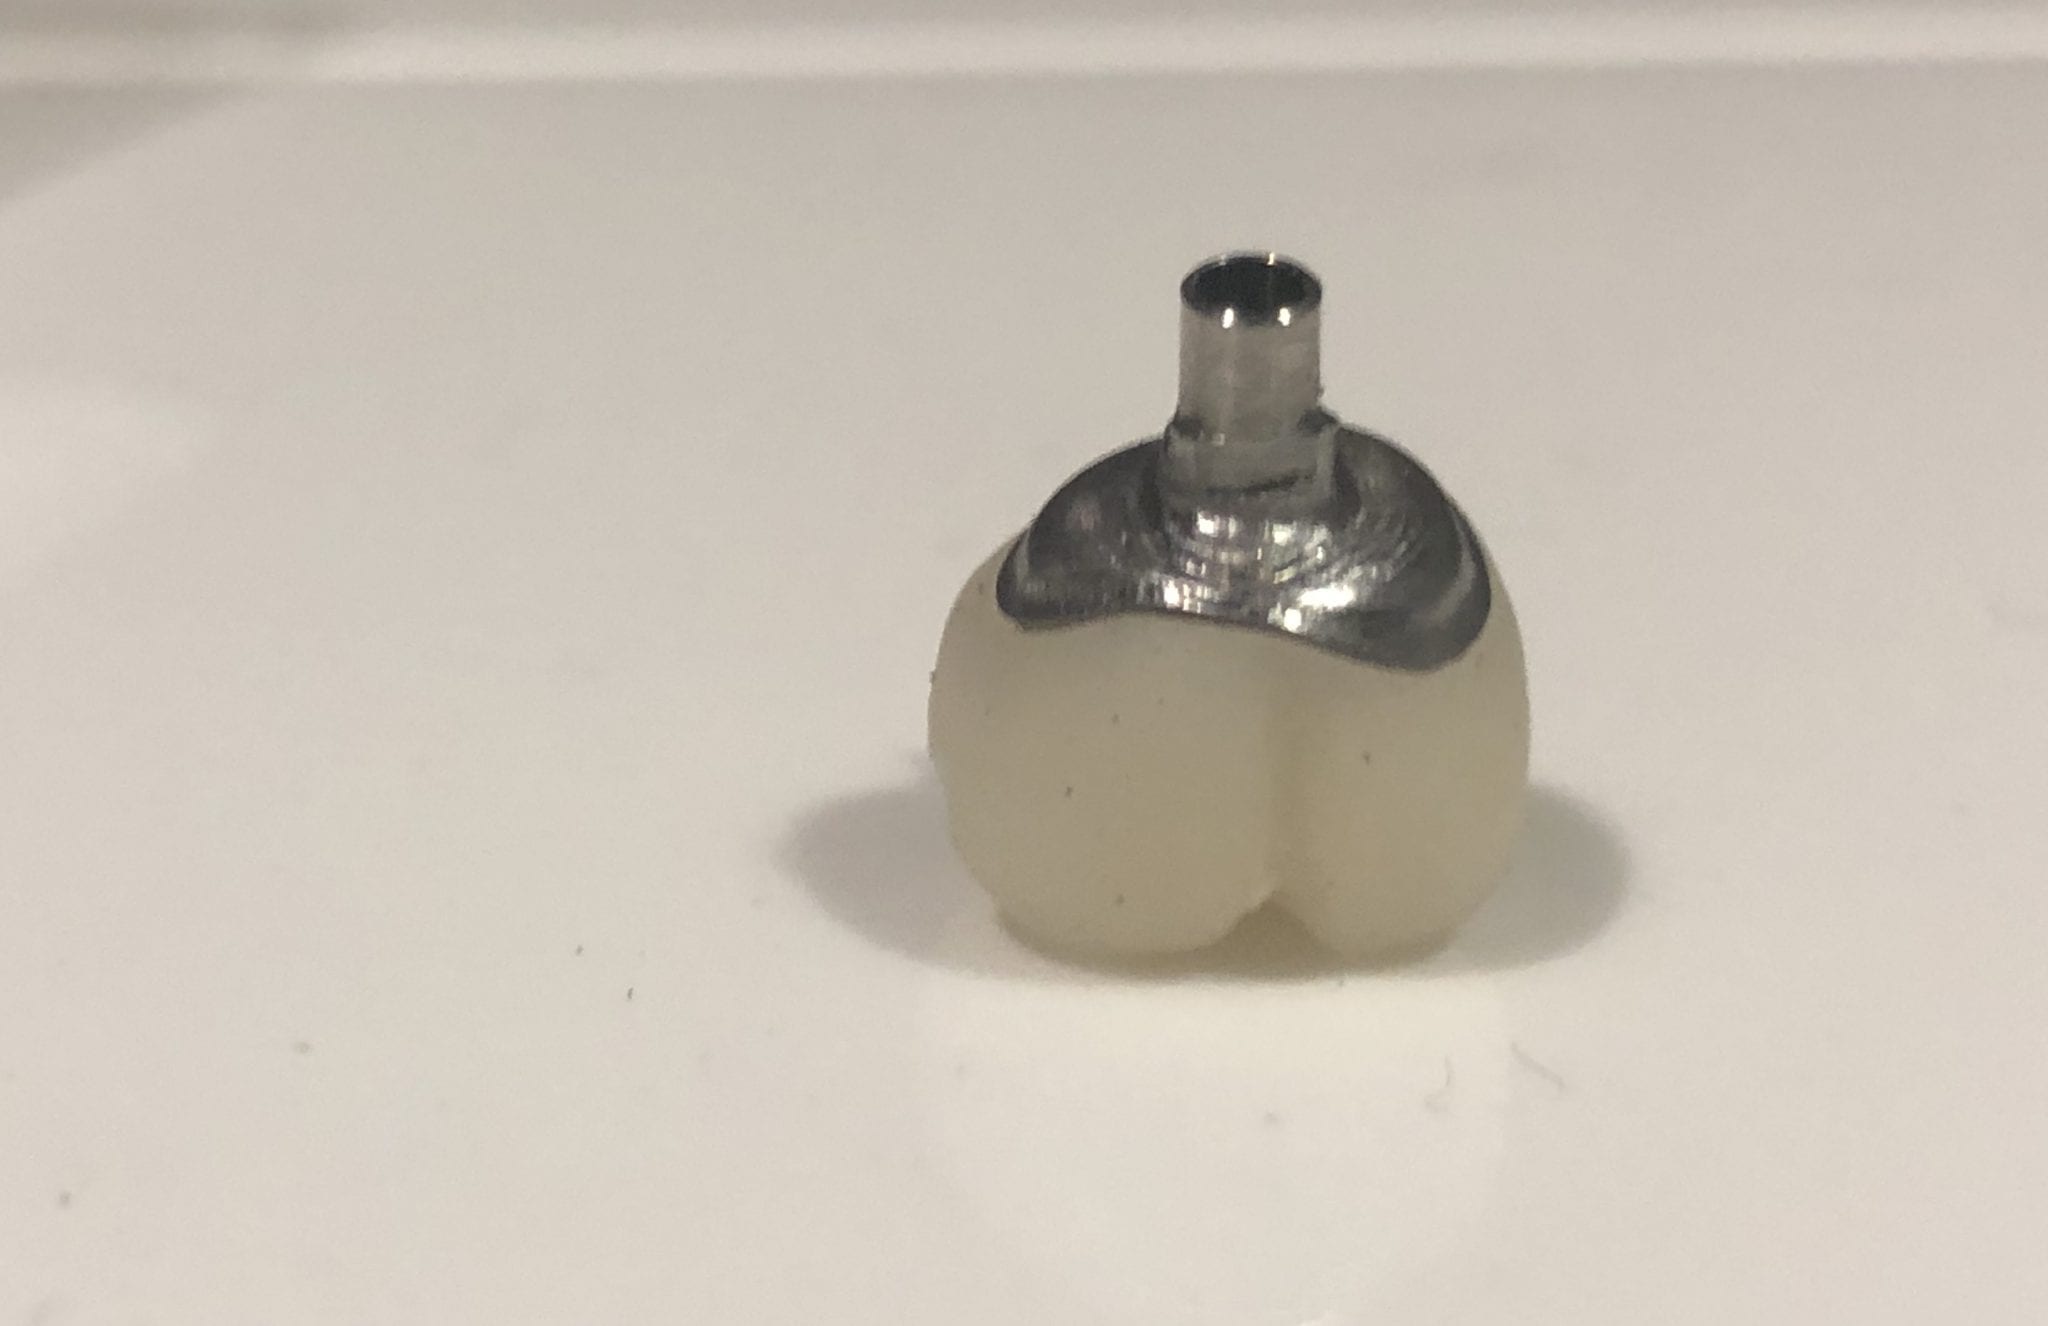
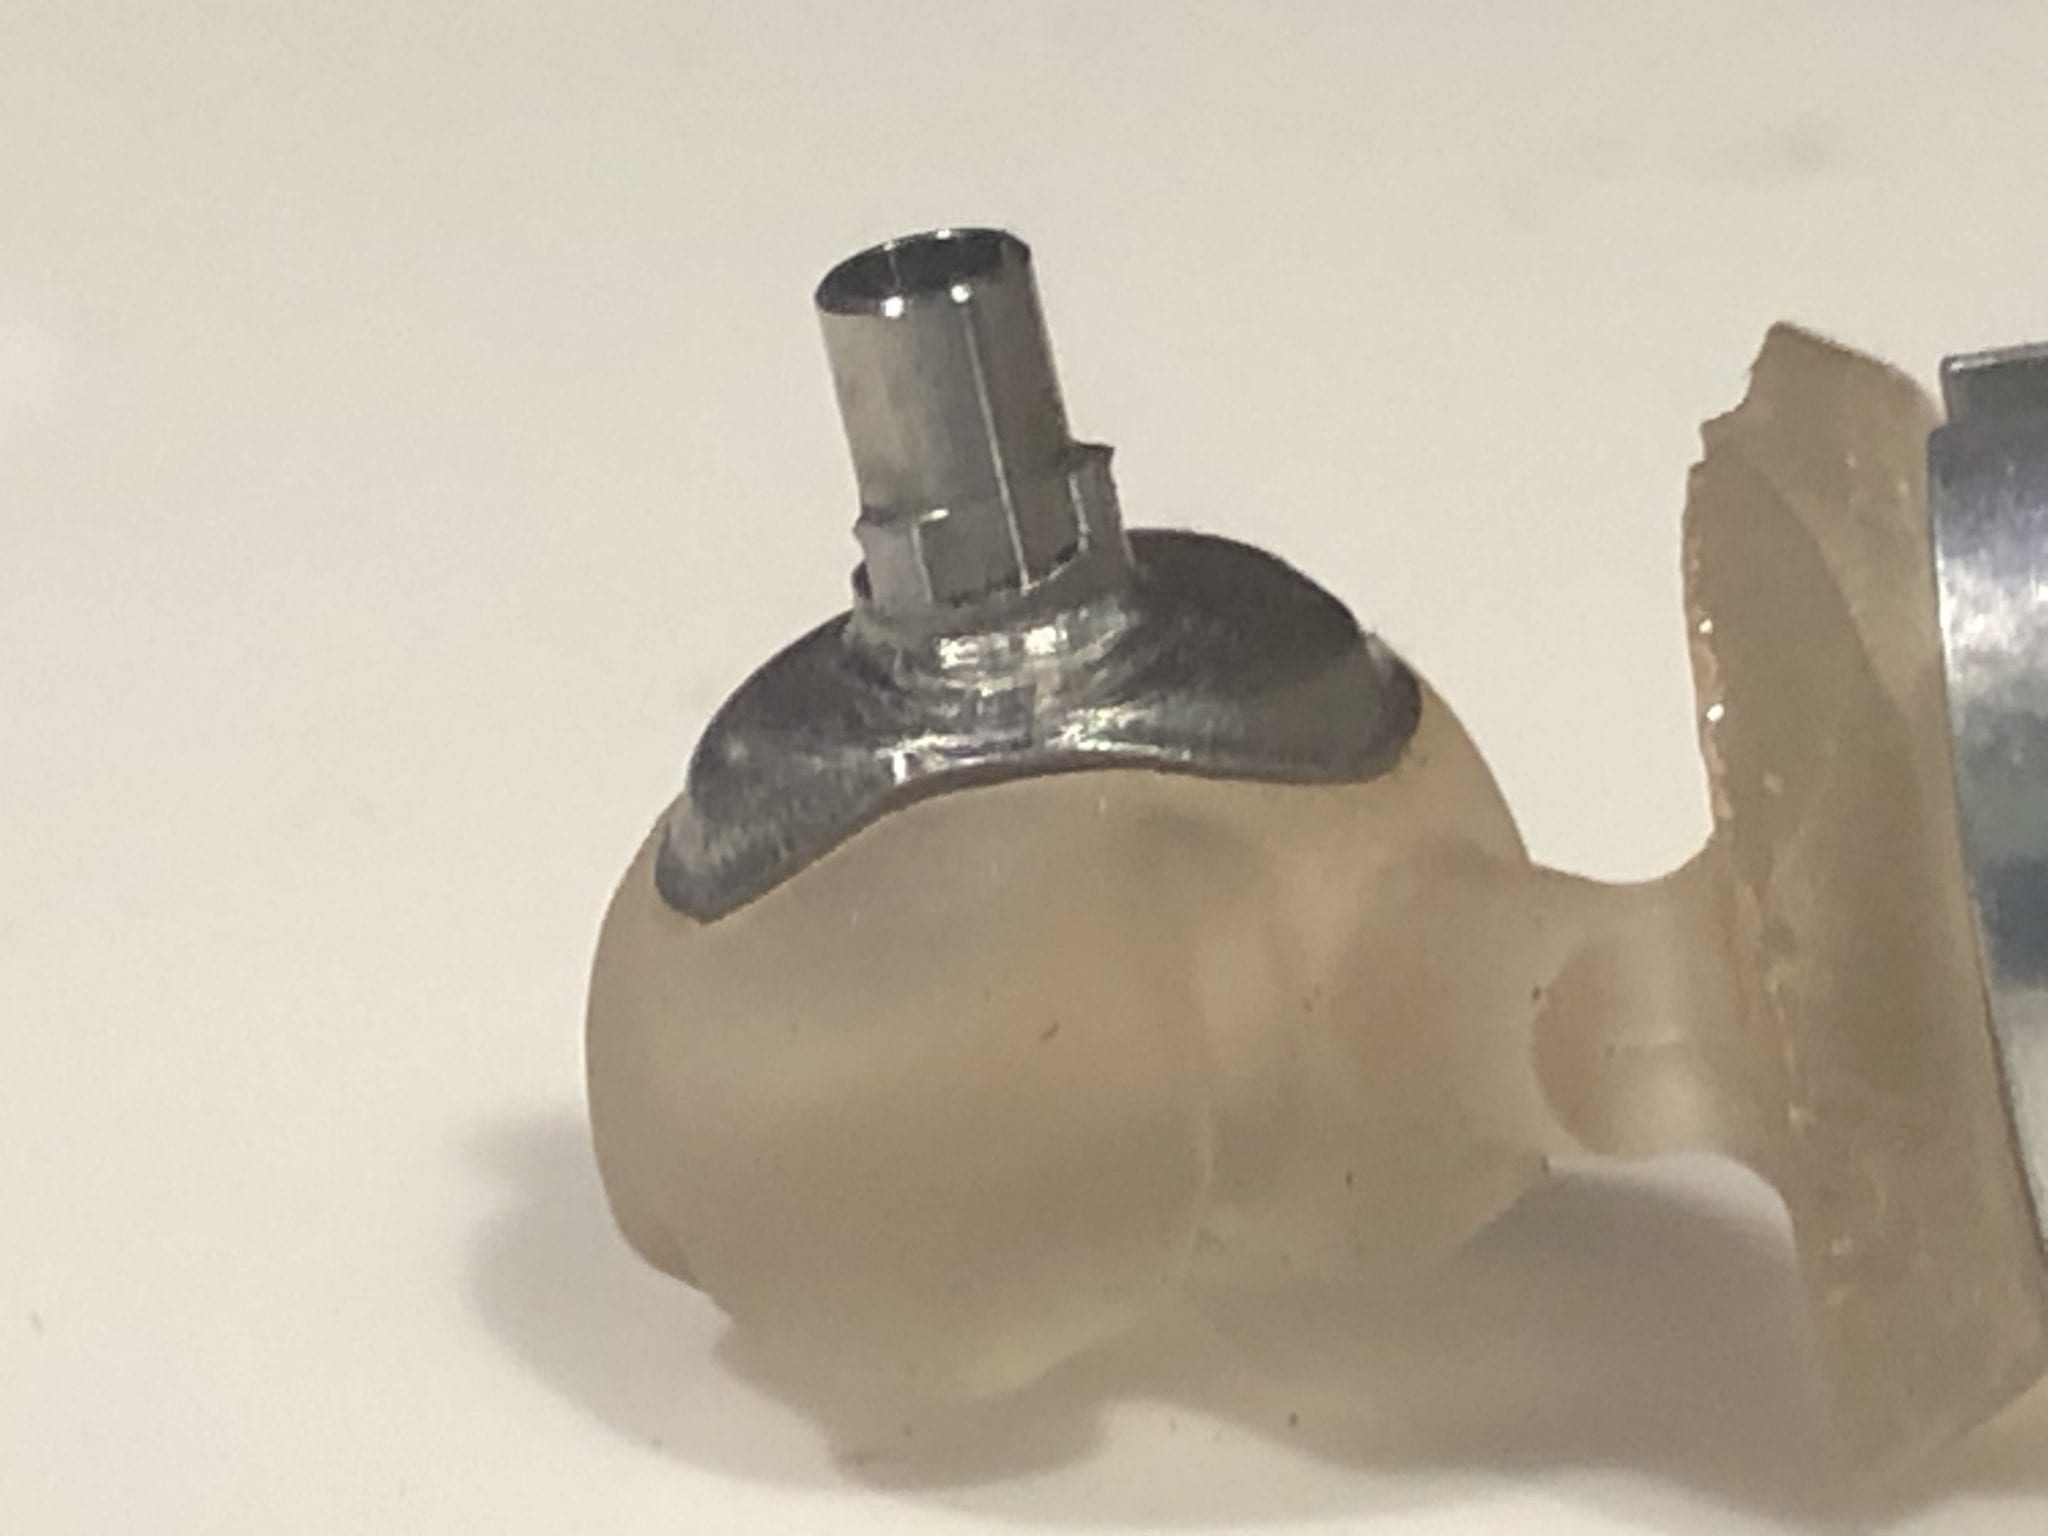
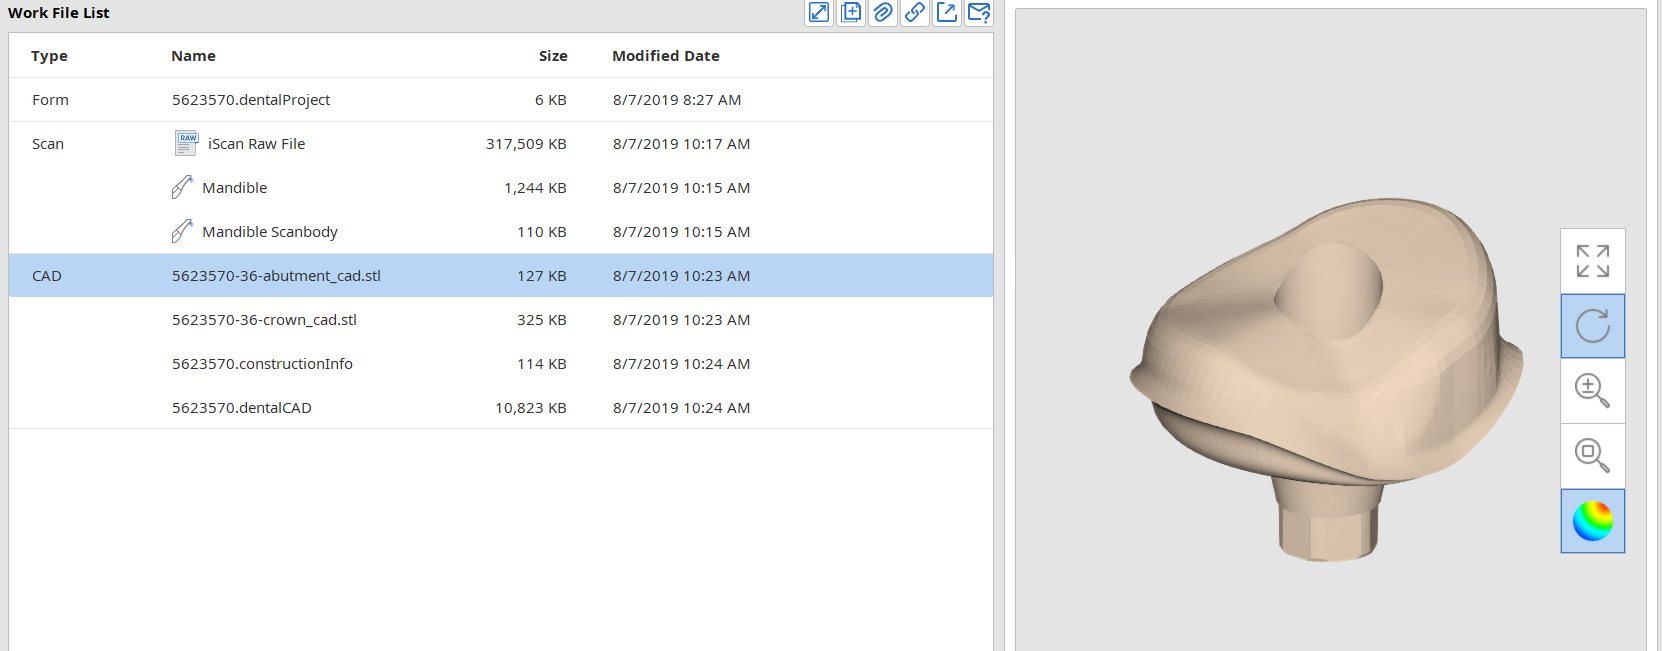
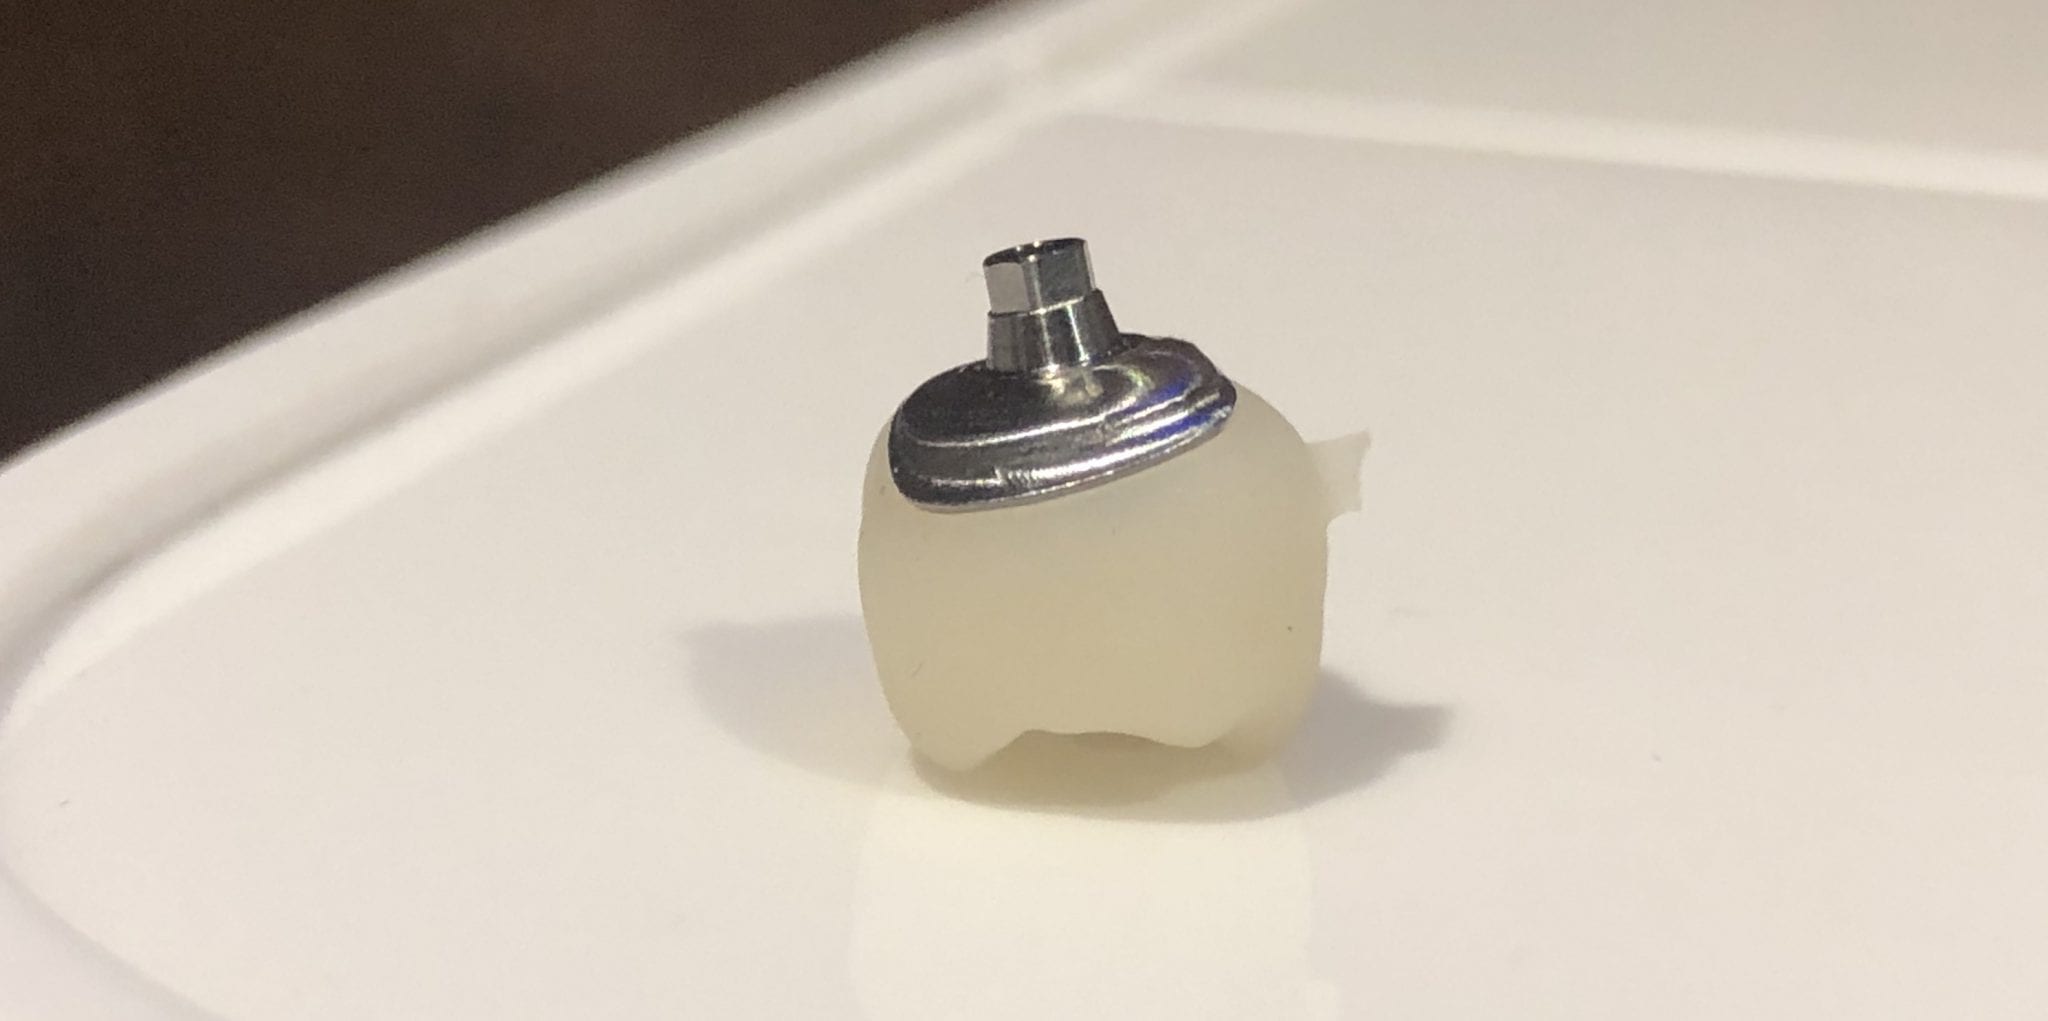
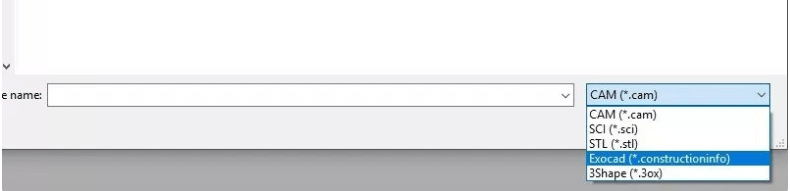
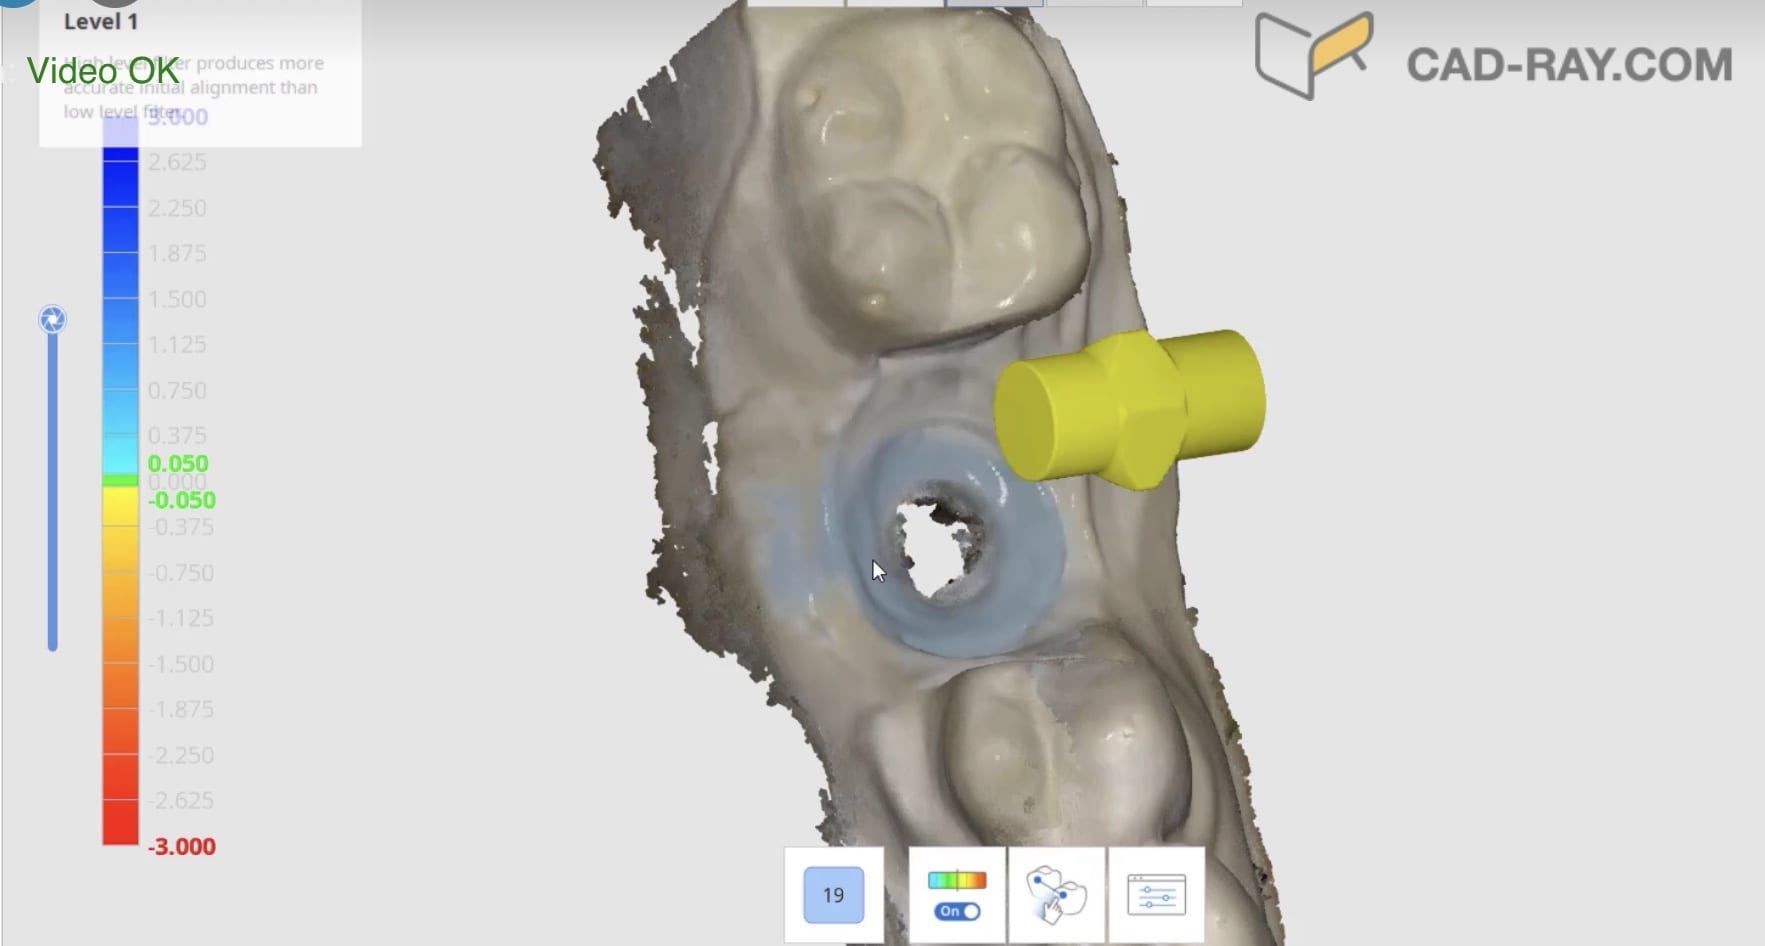
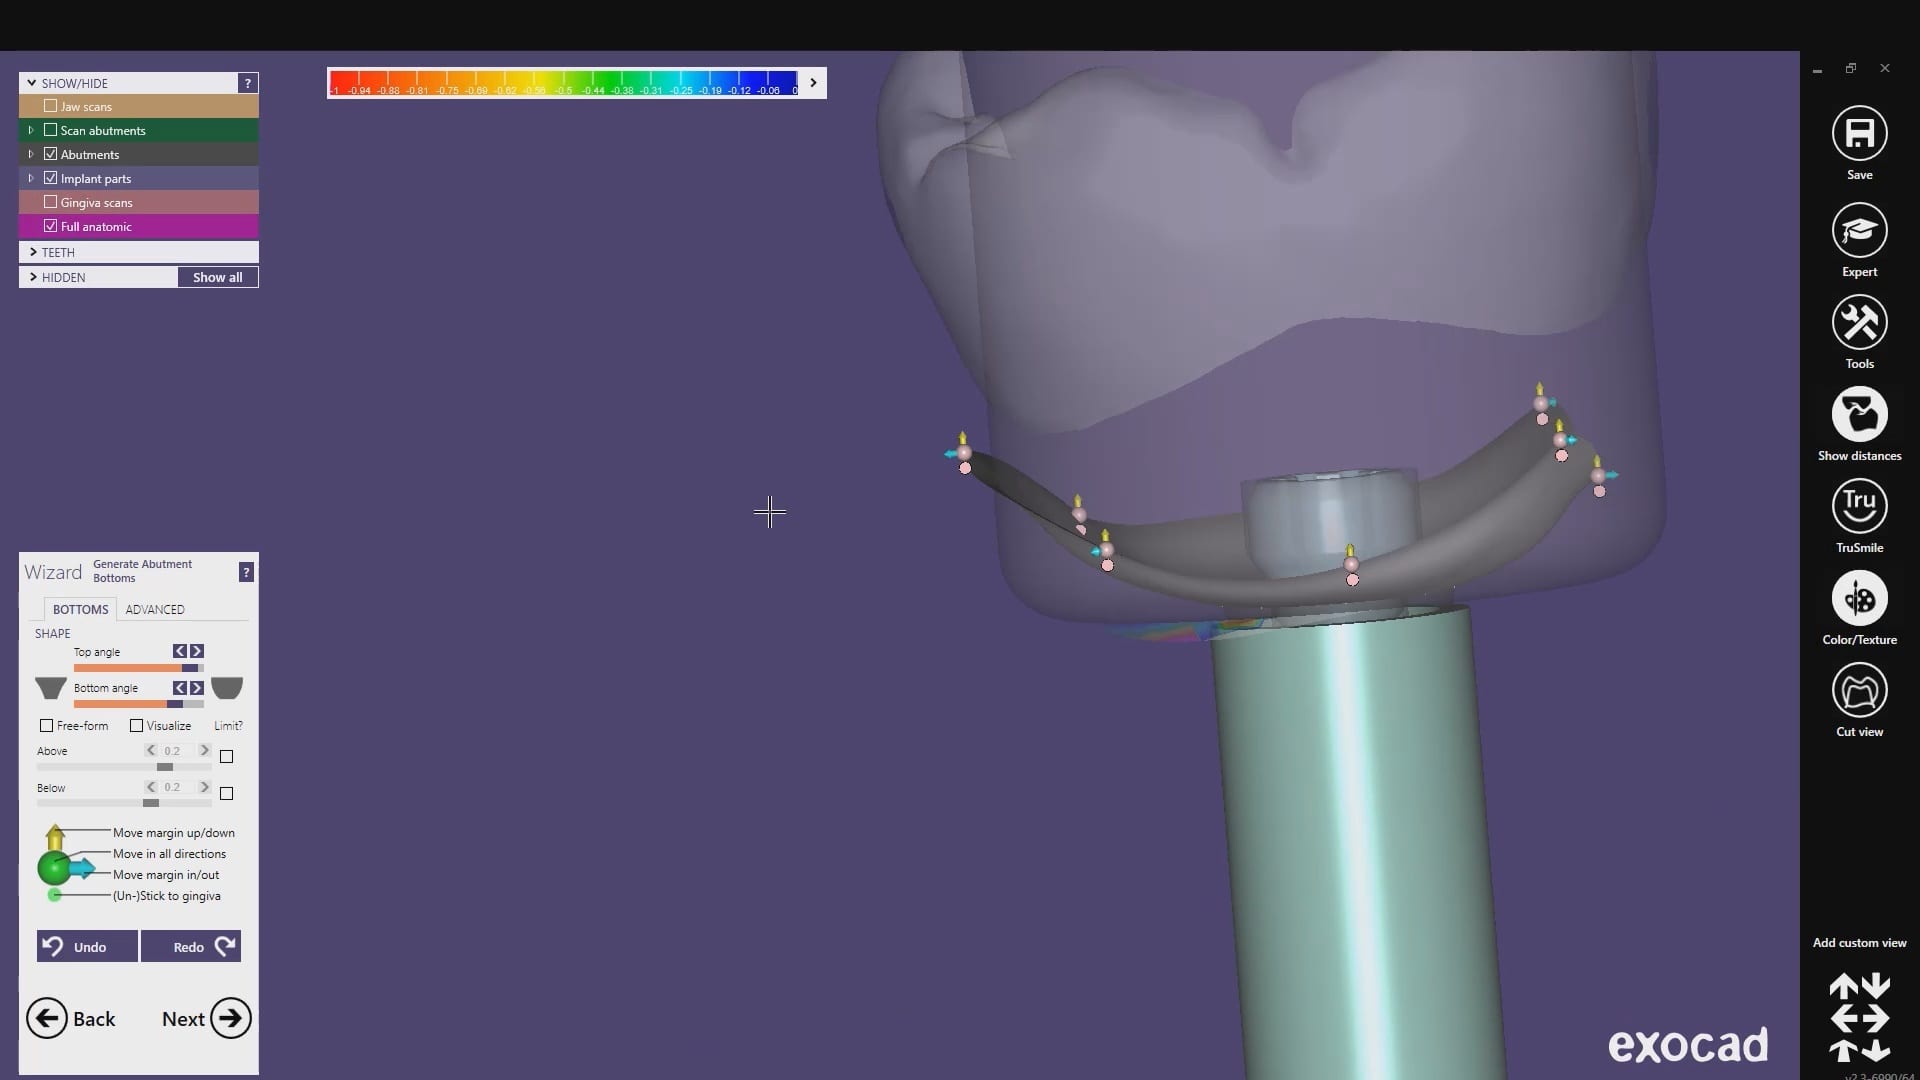
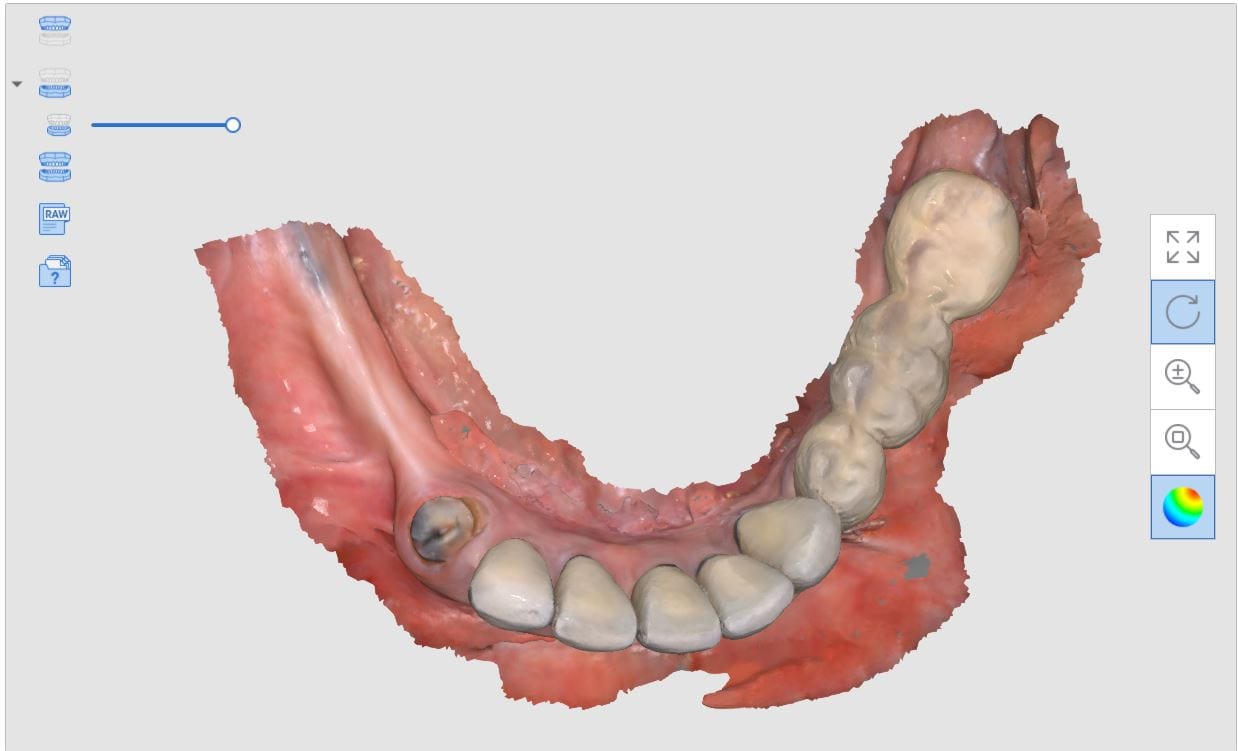
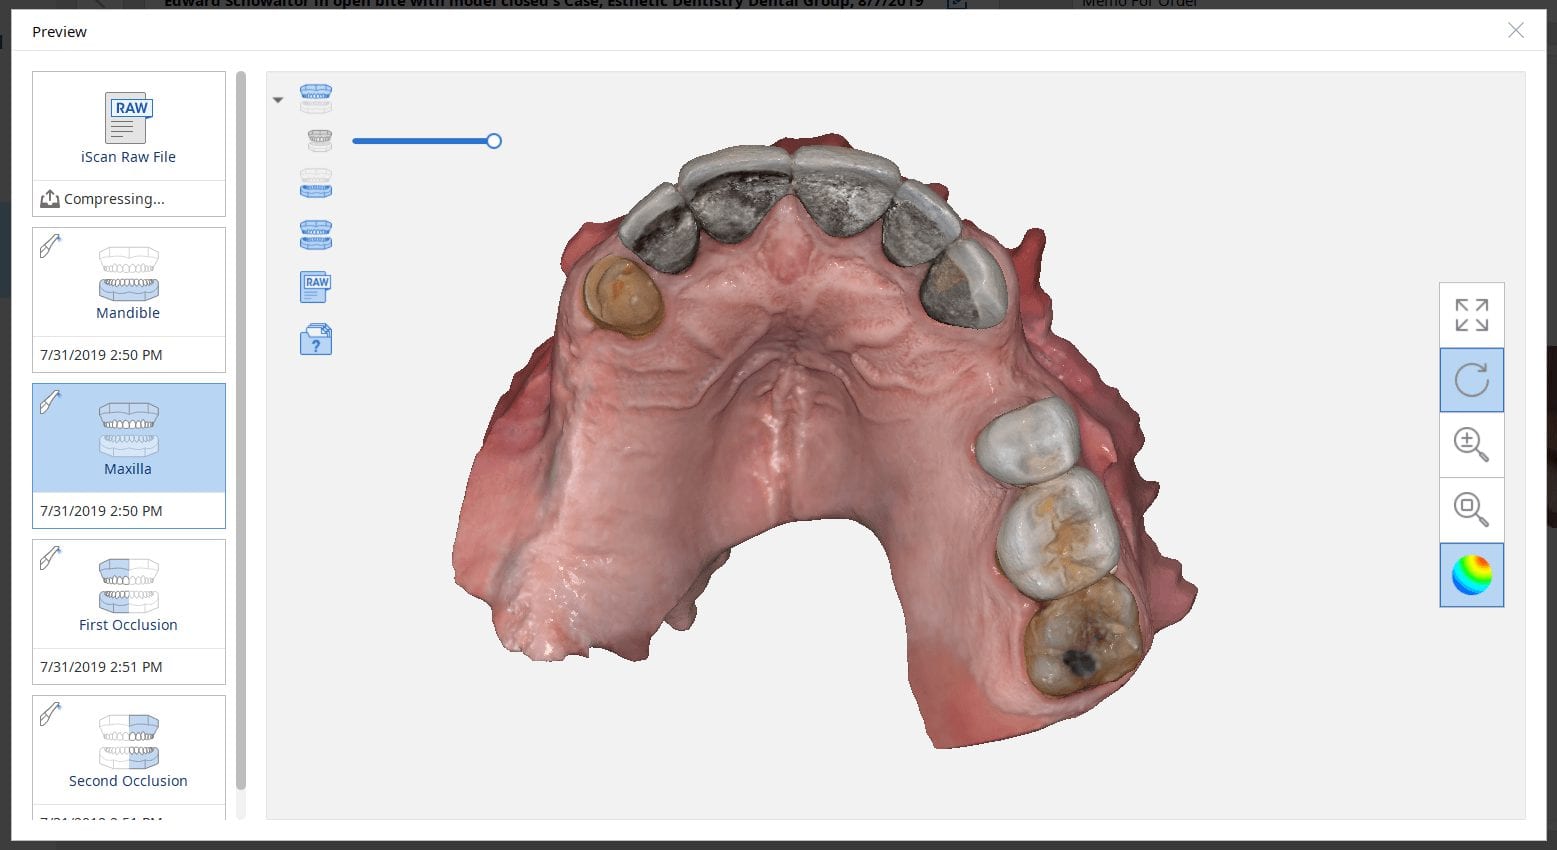
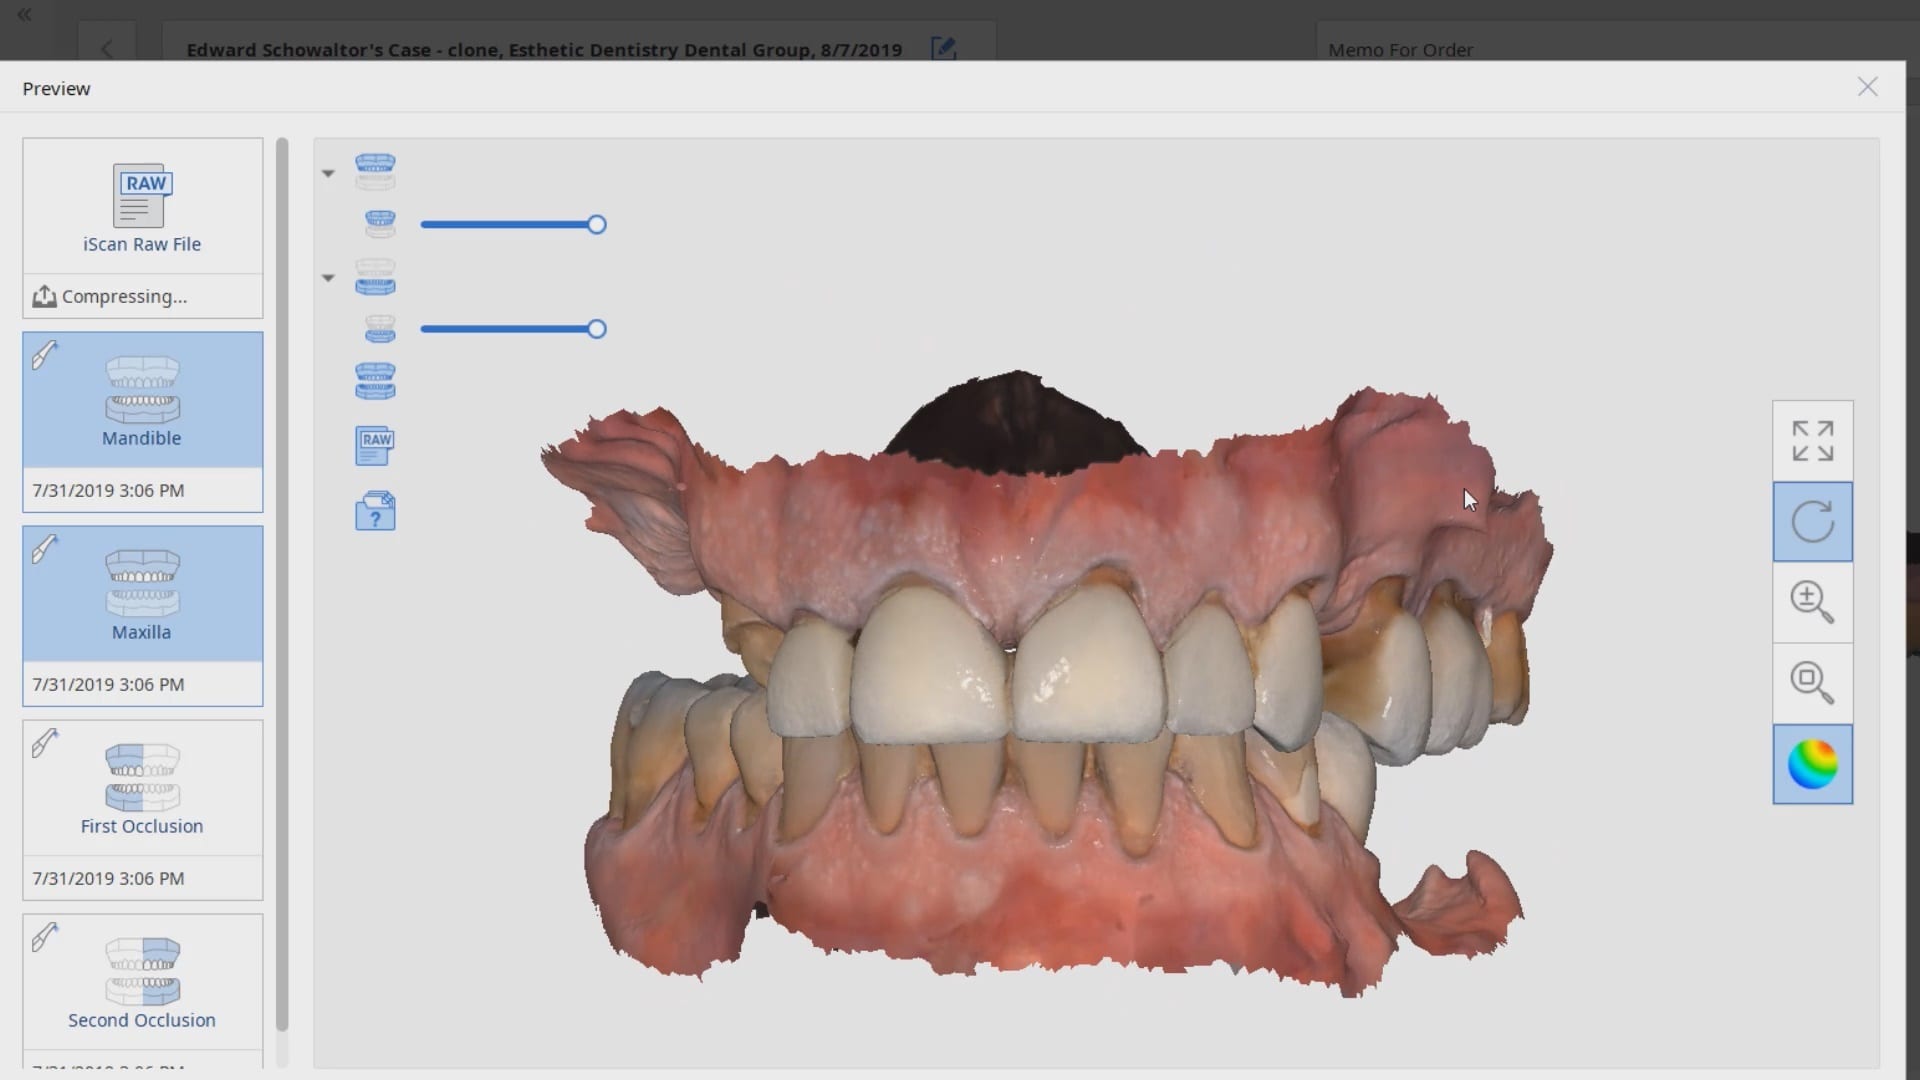
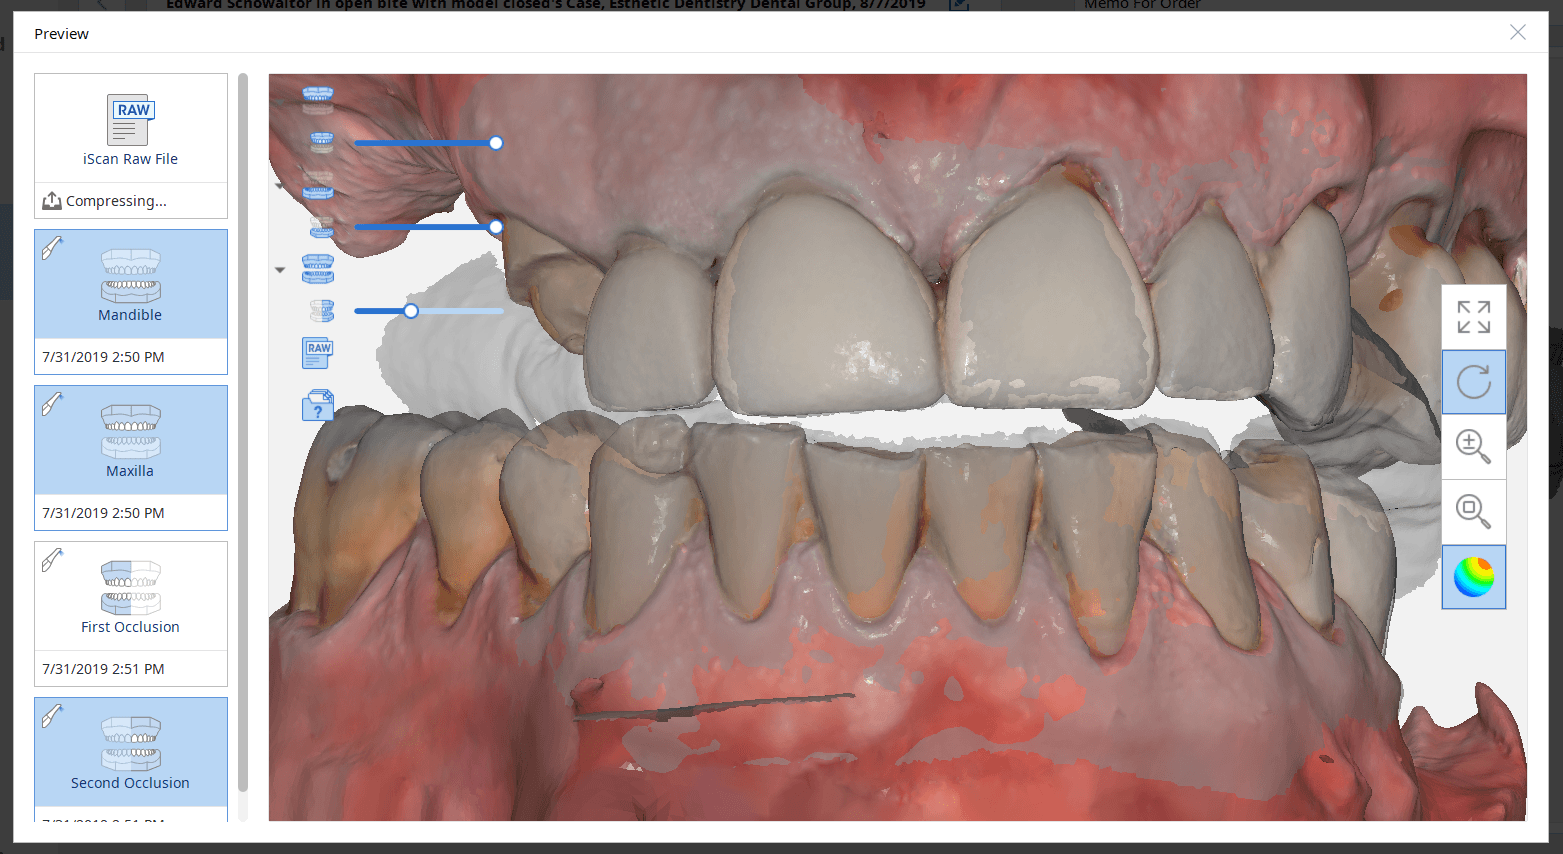
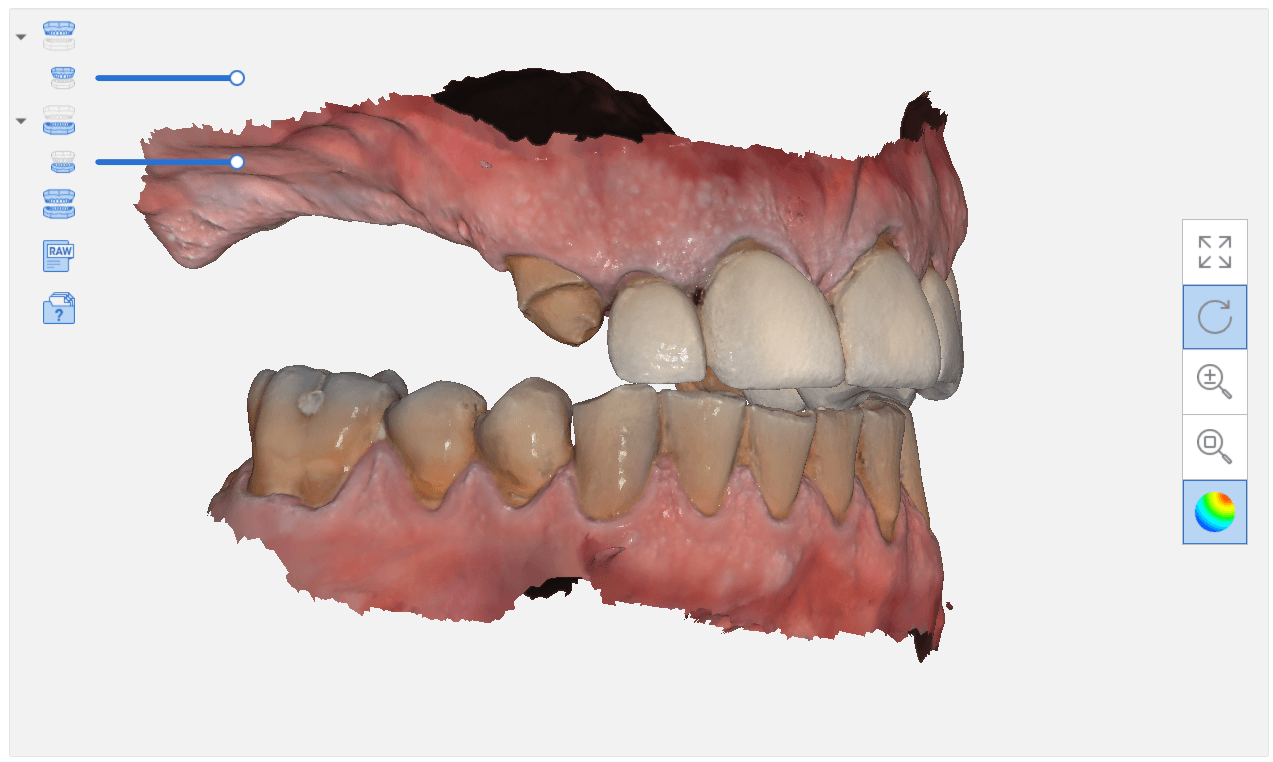
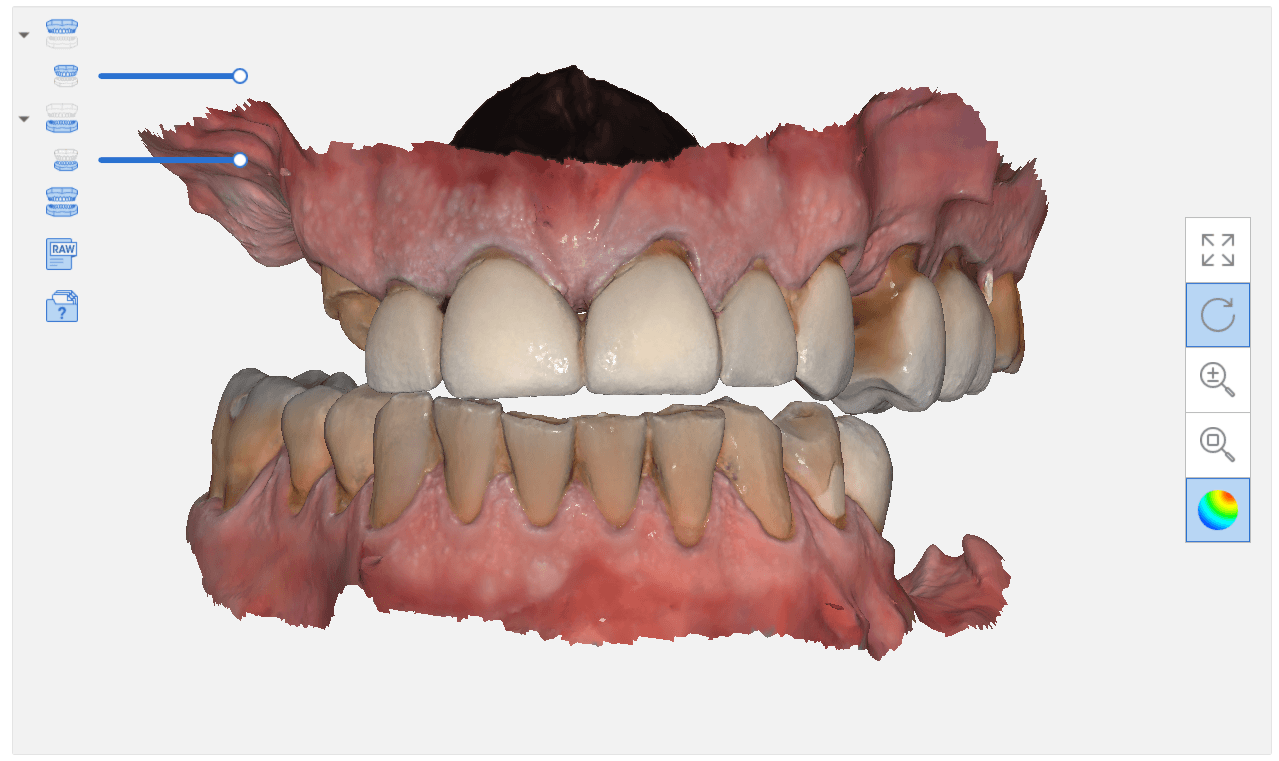
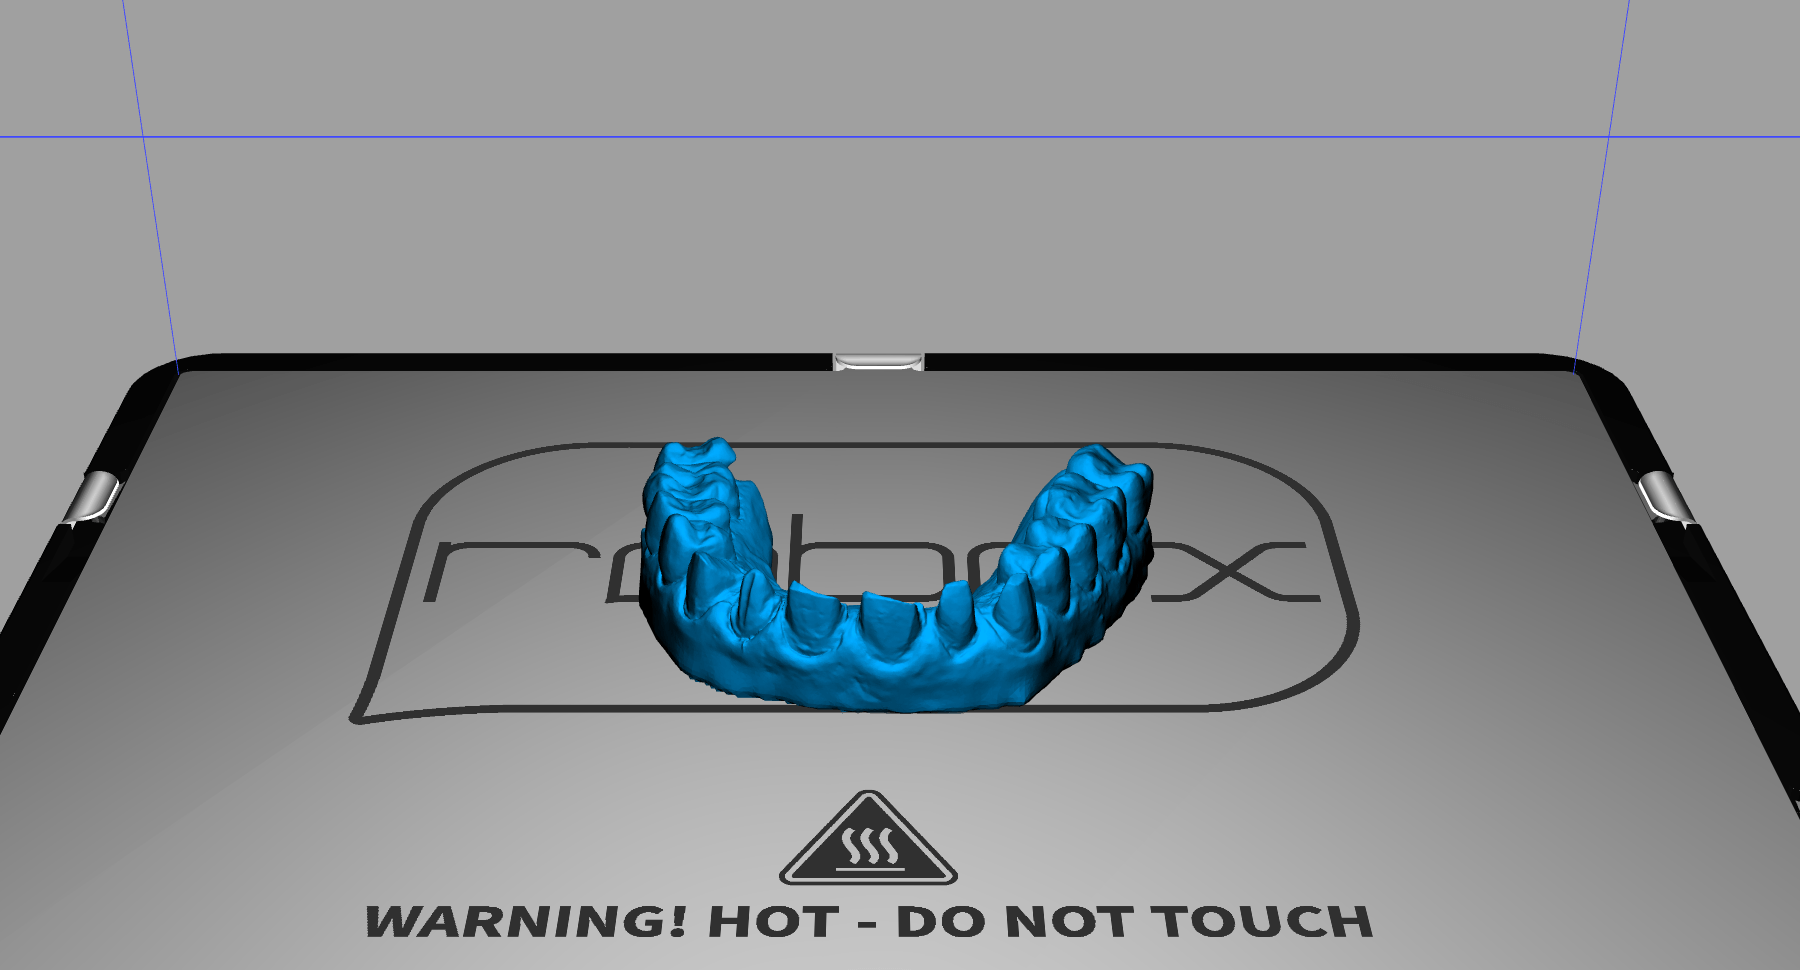
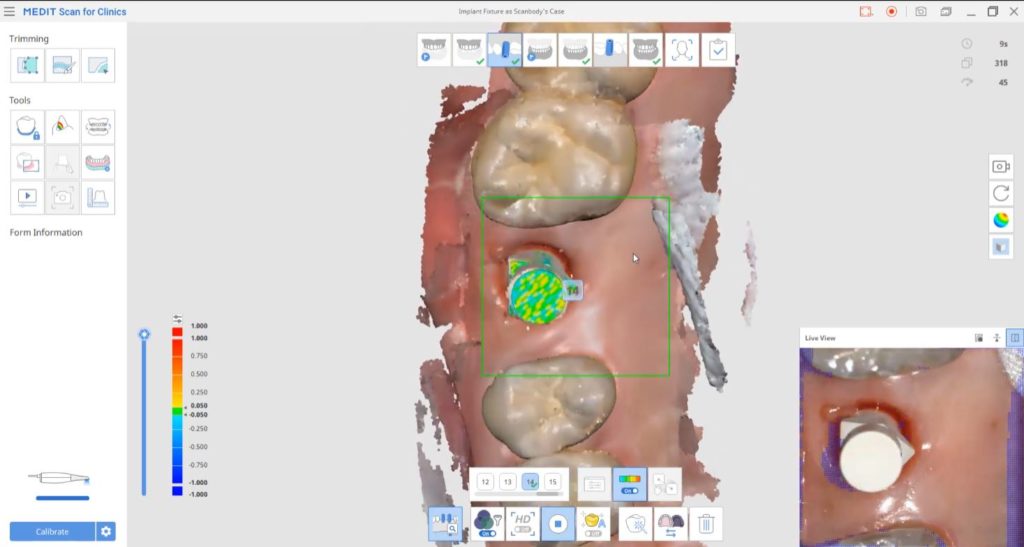
 A very common source of frustration for most dentists or those who are new to designing implant crowns is the emergence profile of the abutment or crown. Most of the time, the shape of the tissue dictates the digital design and this article showcases how we used the medit i500 for the intra-oral scan of the patient and then used exocad to design the restorations. Our advanced users can appreciate how we bring the arch model in twice- once as the maxillary model and once as the gingiva model. We then digital sculpt the tissue to create the proper profile yet we still have the original model to reflect back to asses the changes.
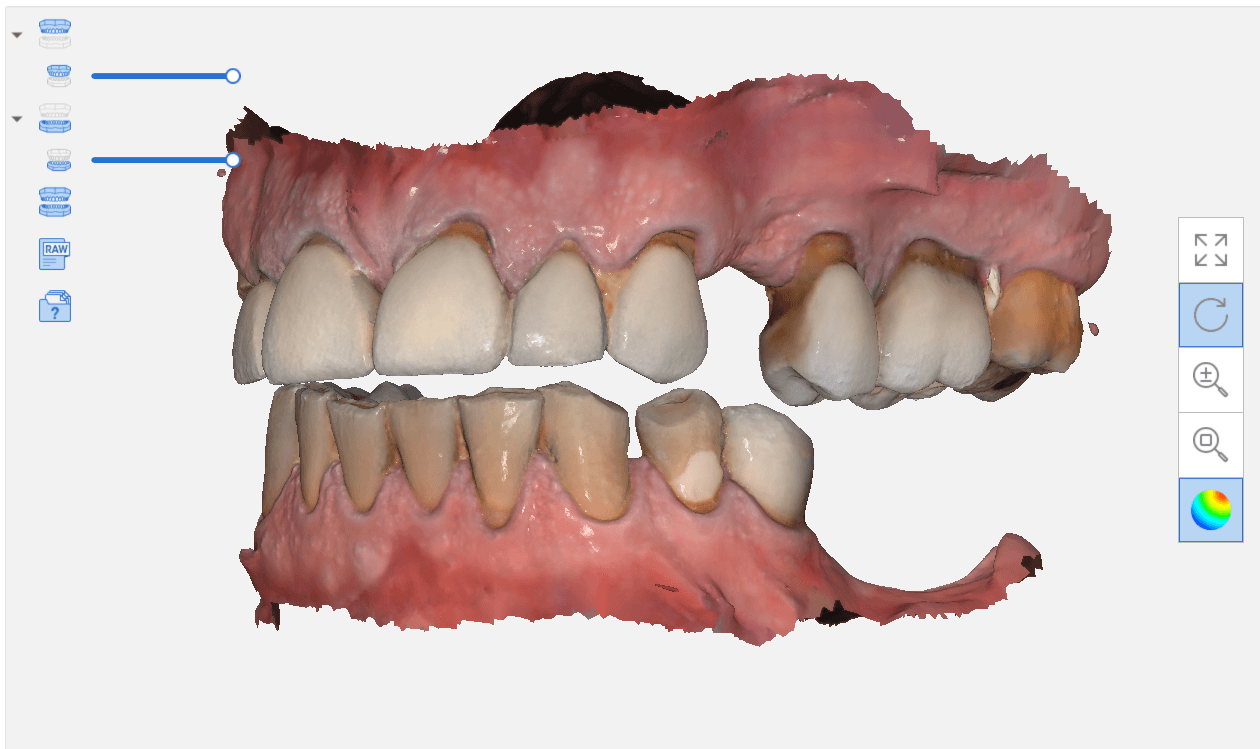
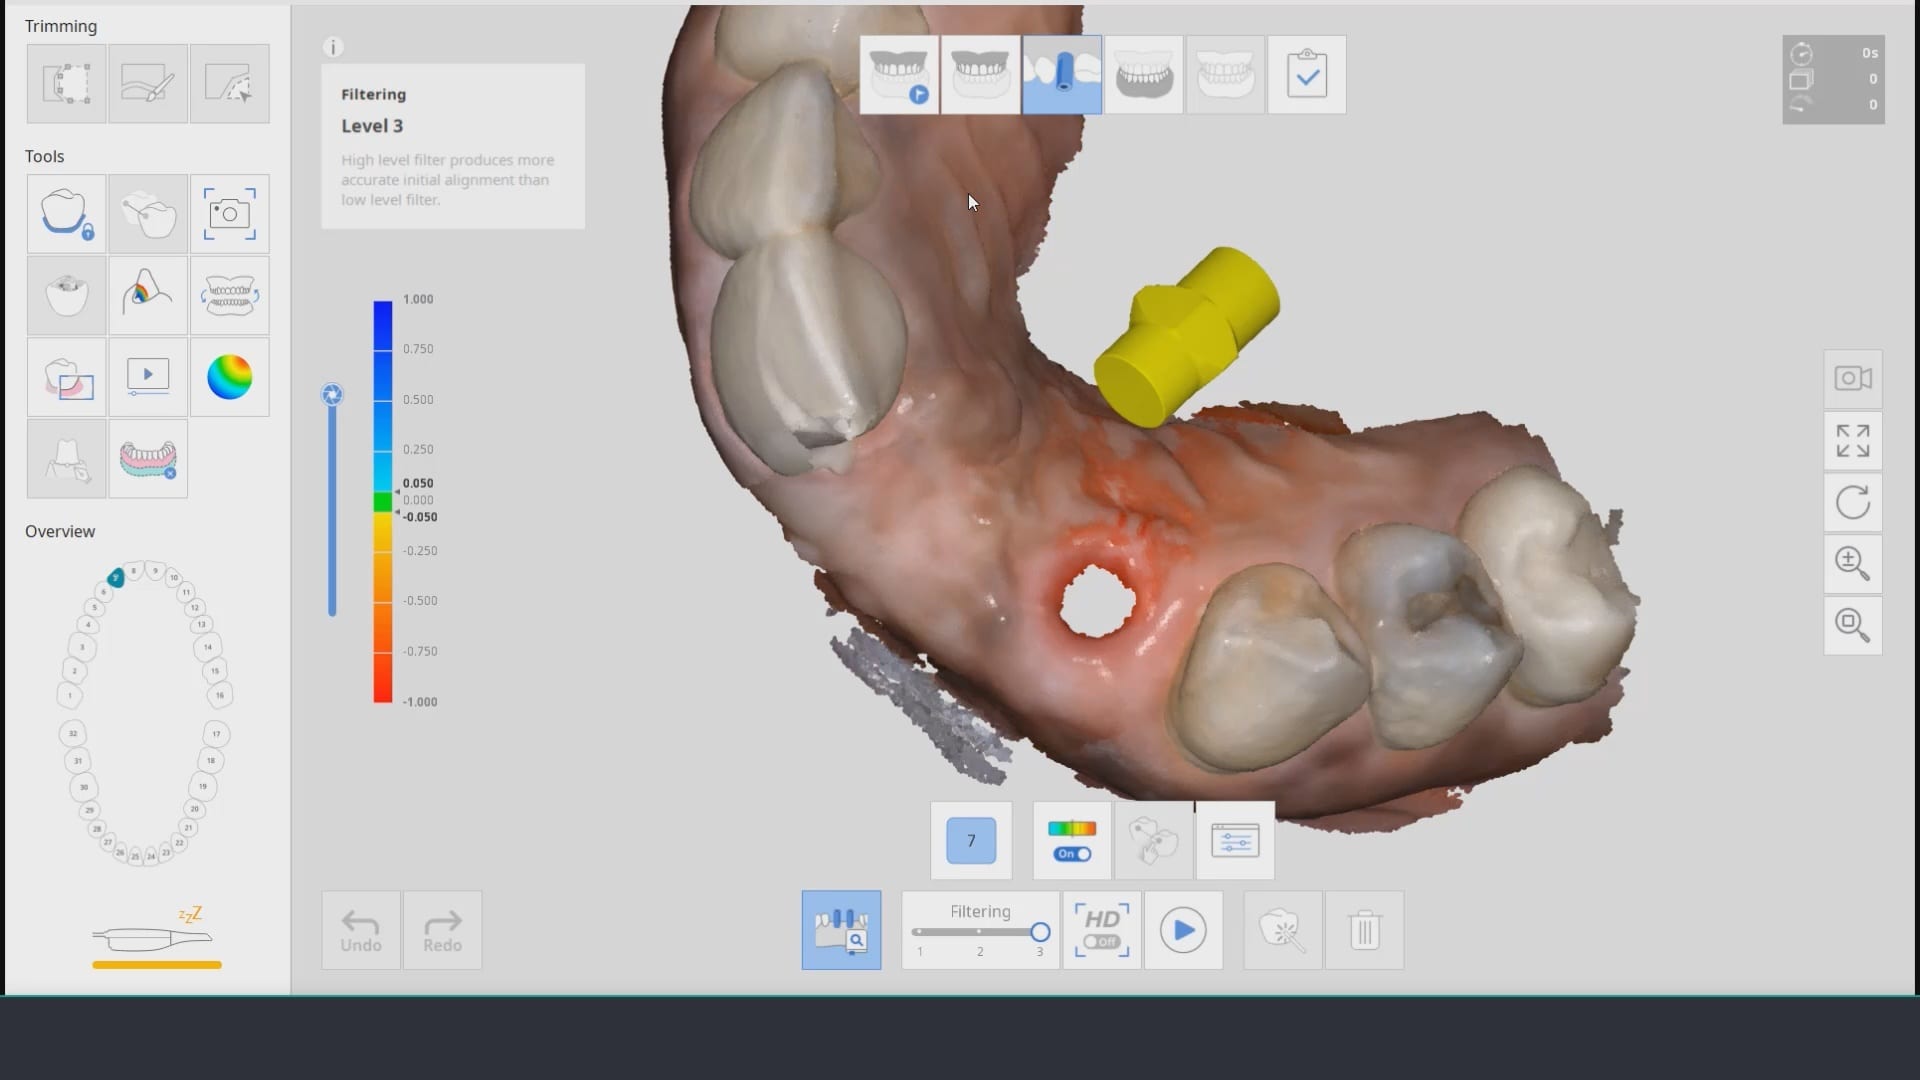


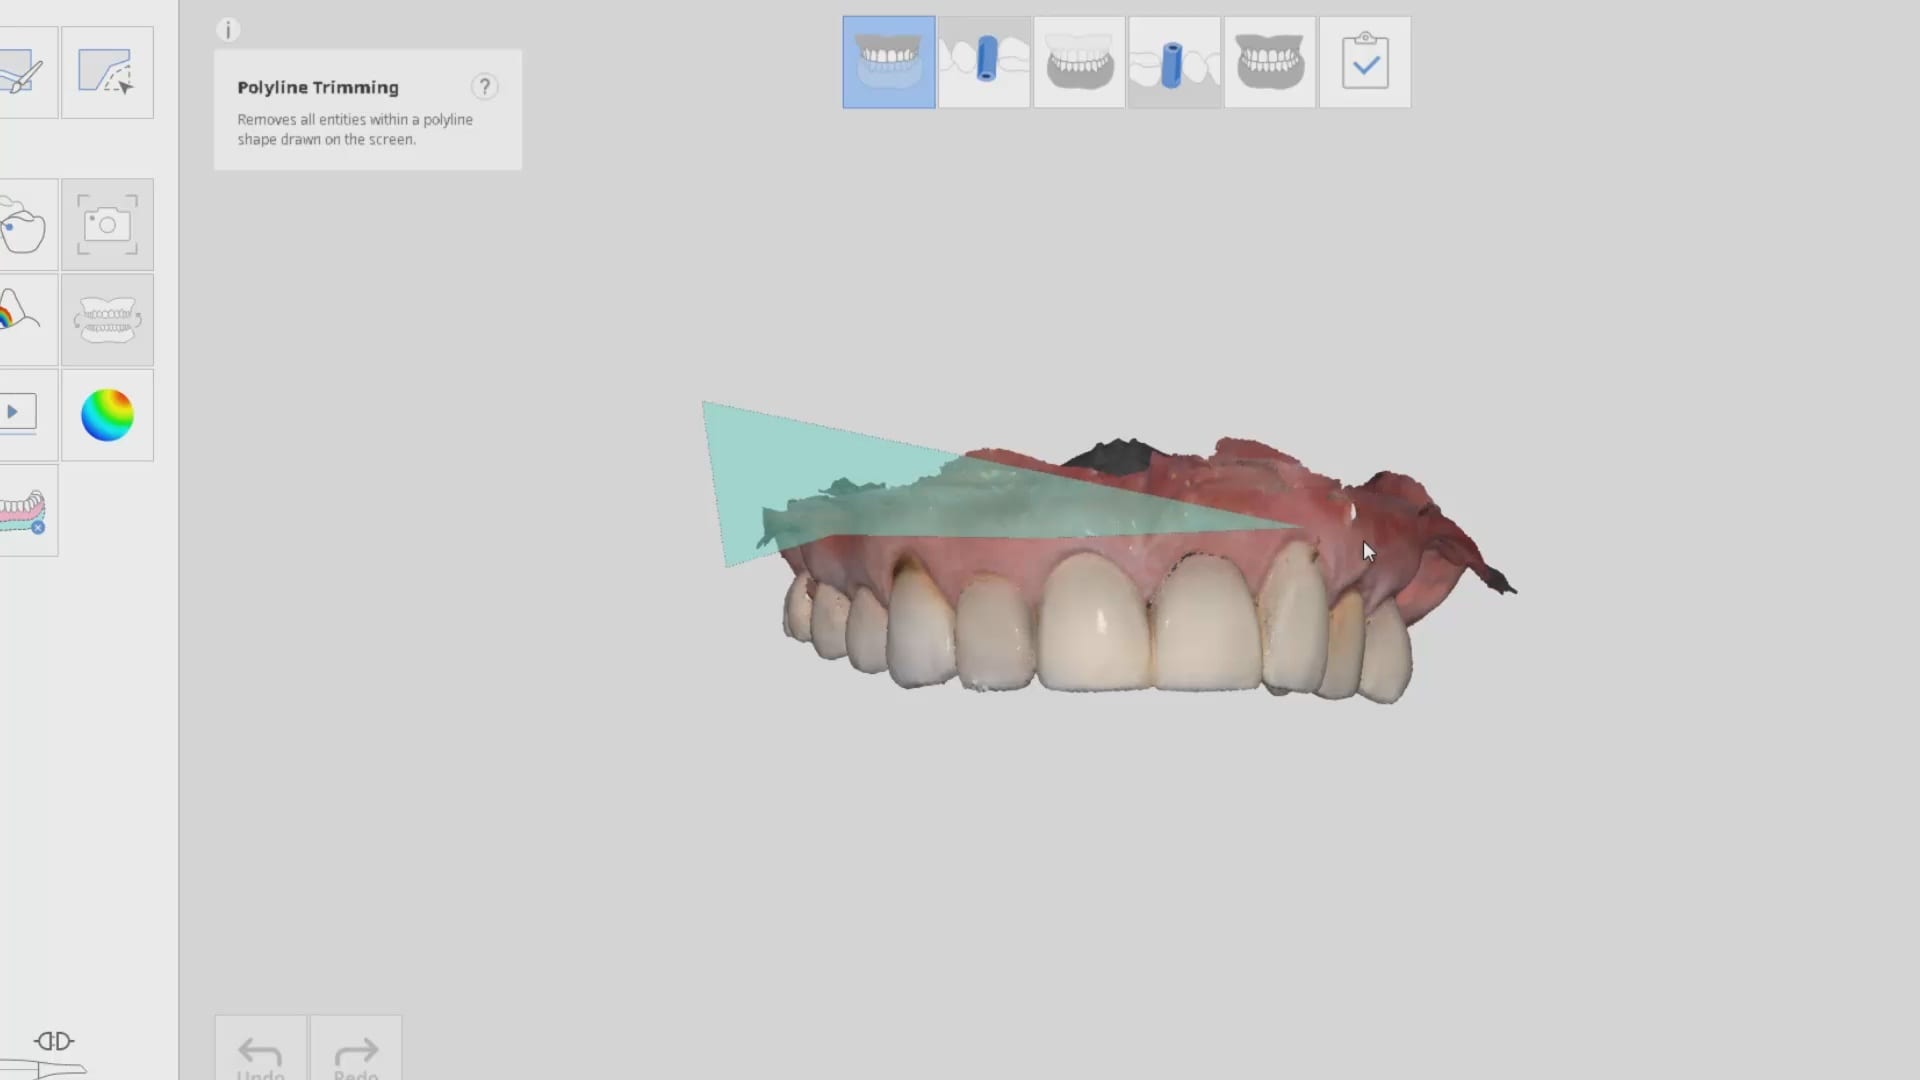

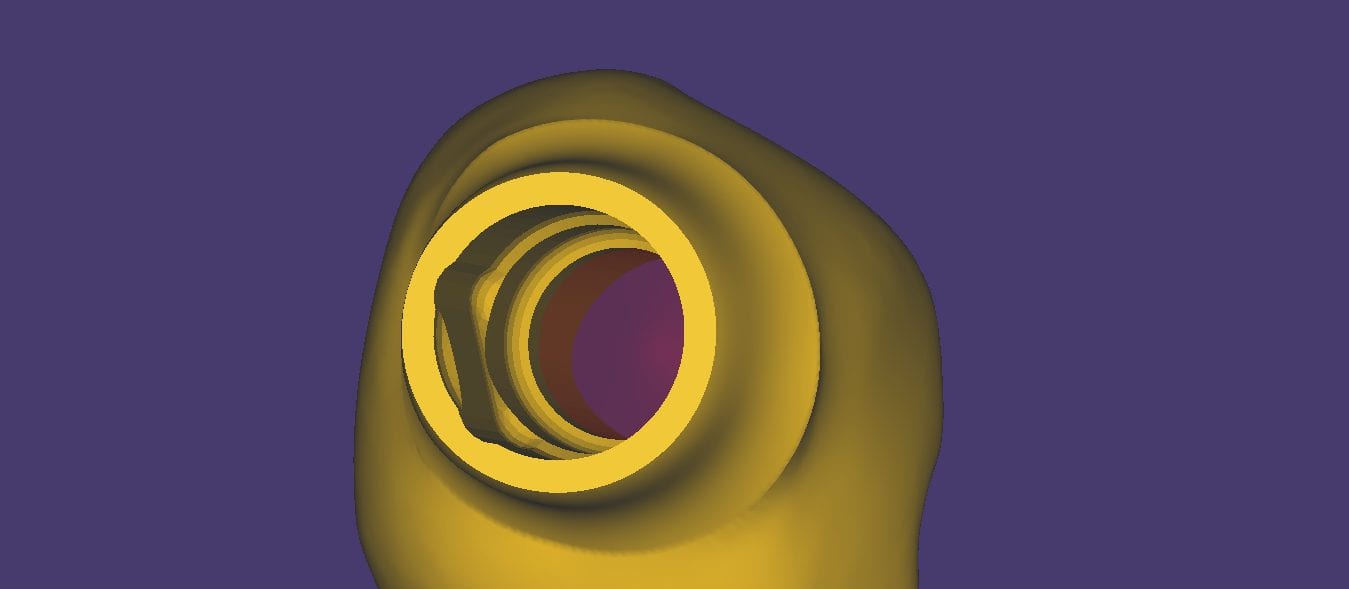
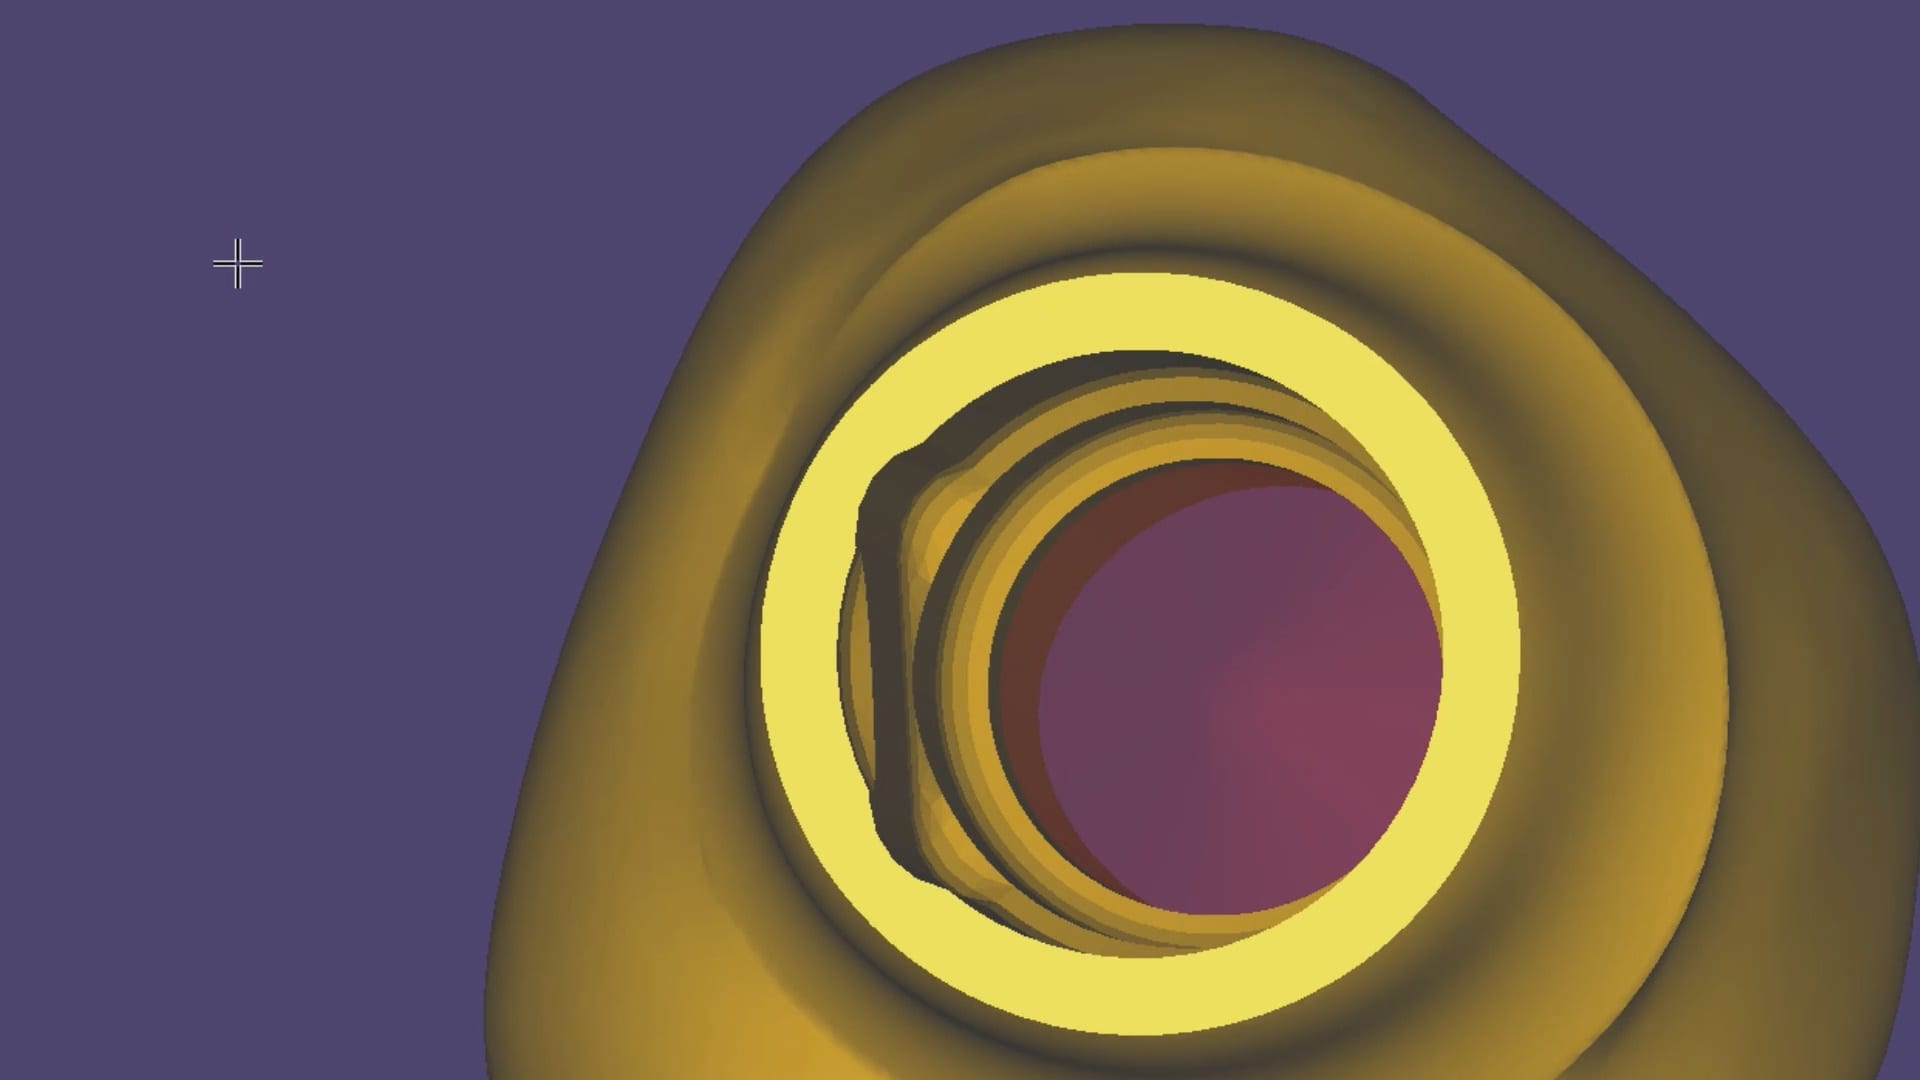

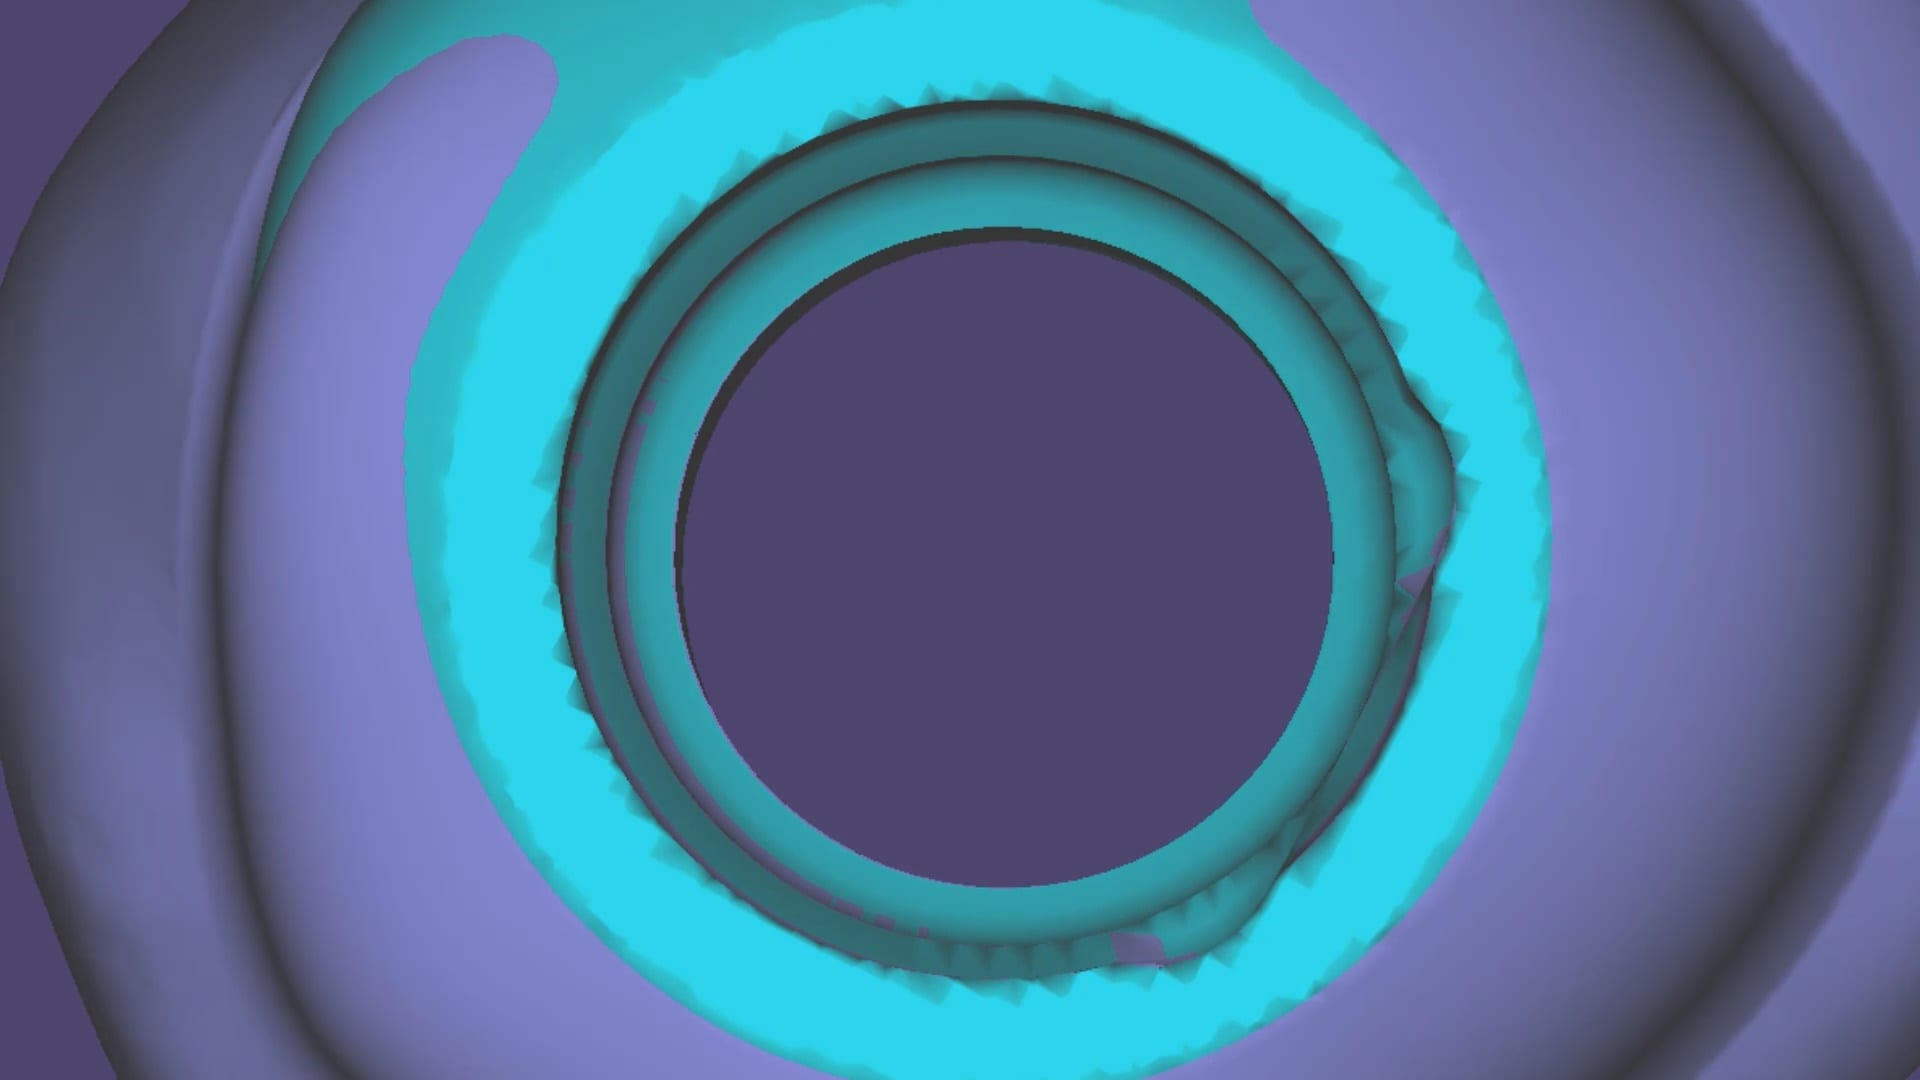
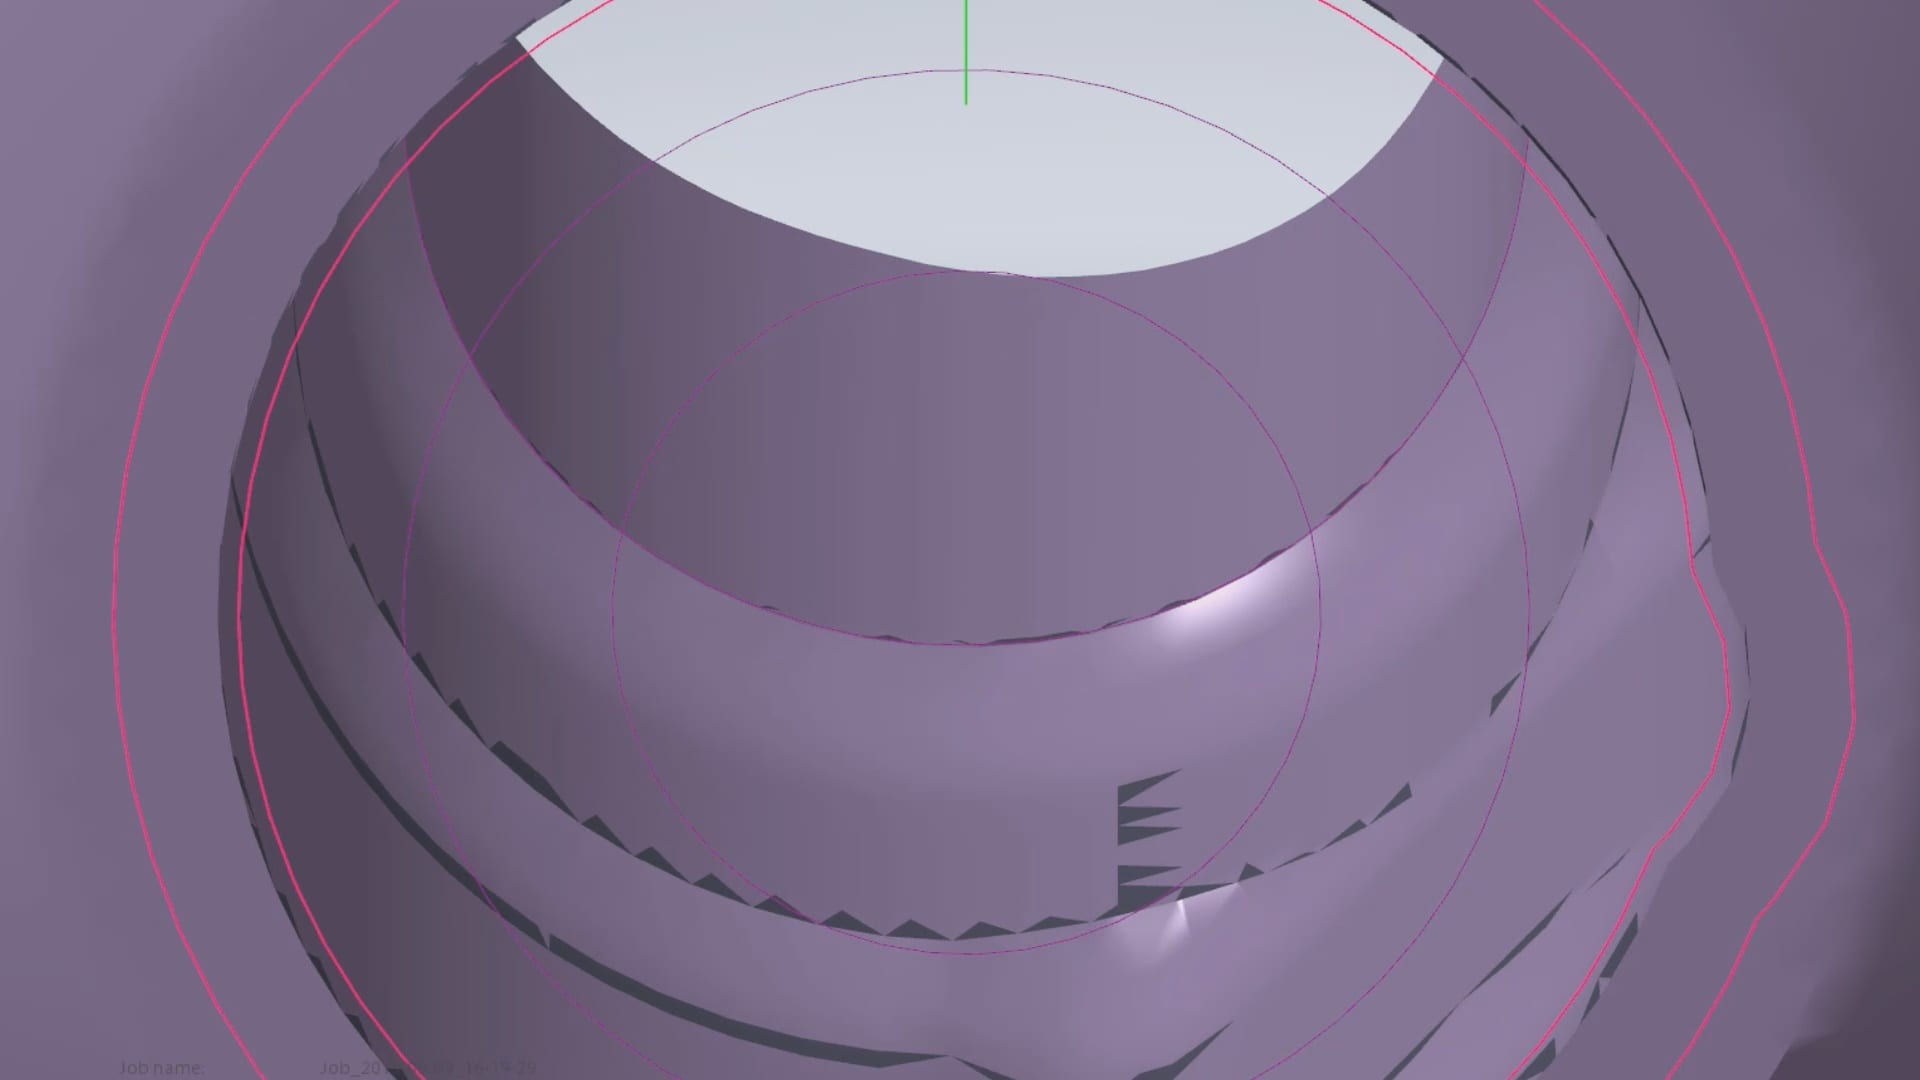


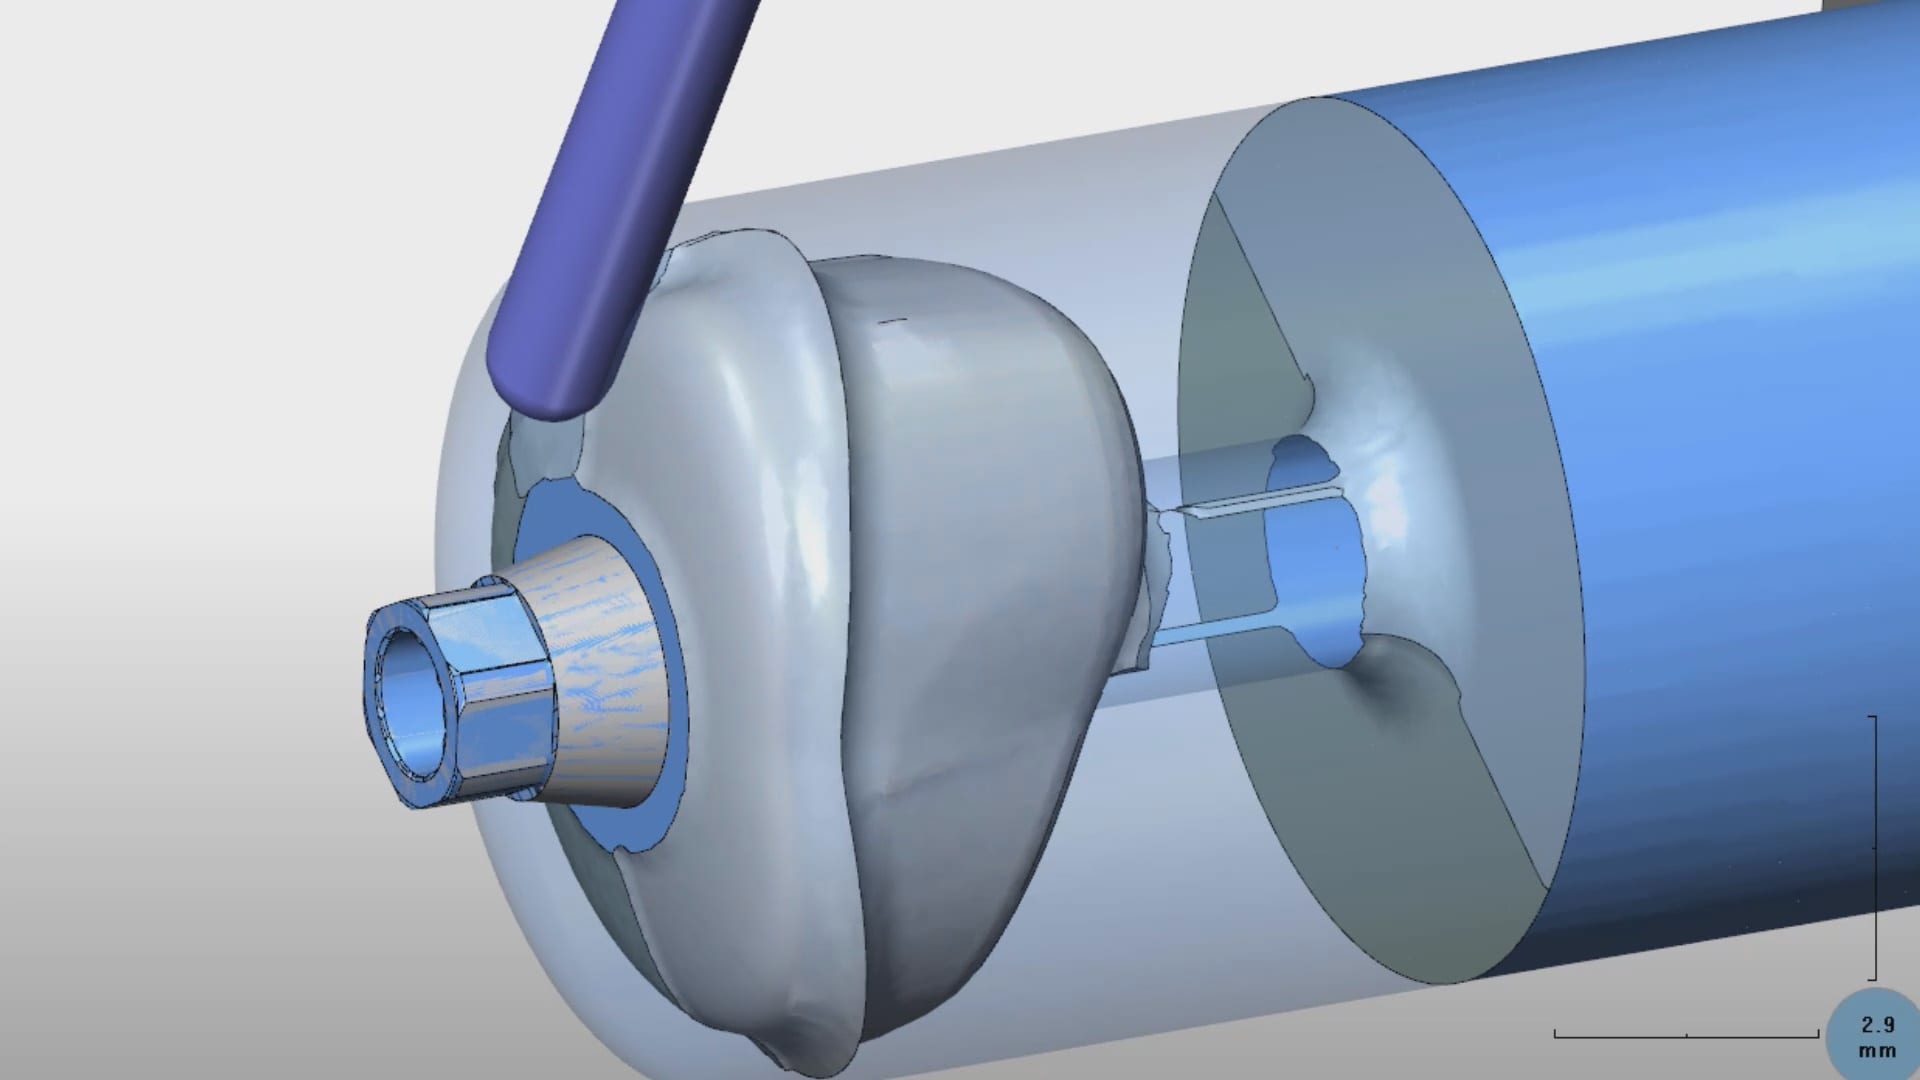


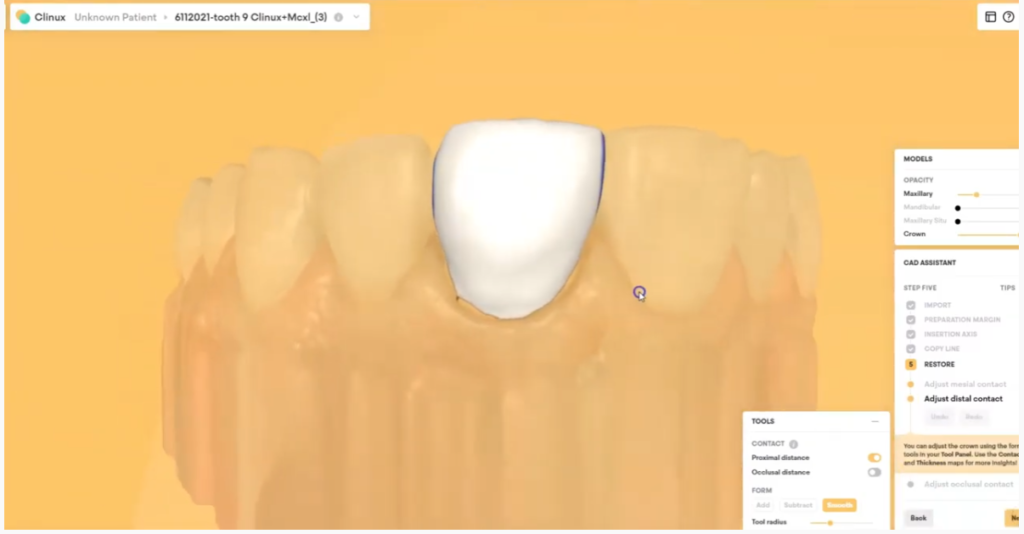
 When we 3D scan the surface of an object, we plot geometric figures (usually triangles) on the surface of that object which is usually round or has some other geometric shape. A satellite beam hitting the surface of the earth is a good way to visualize the scanning process as the photo illustrates.
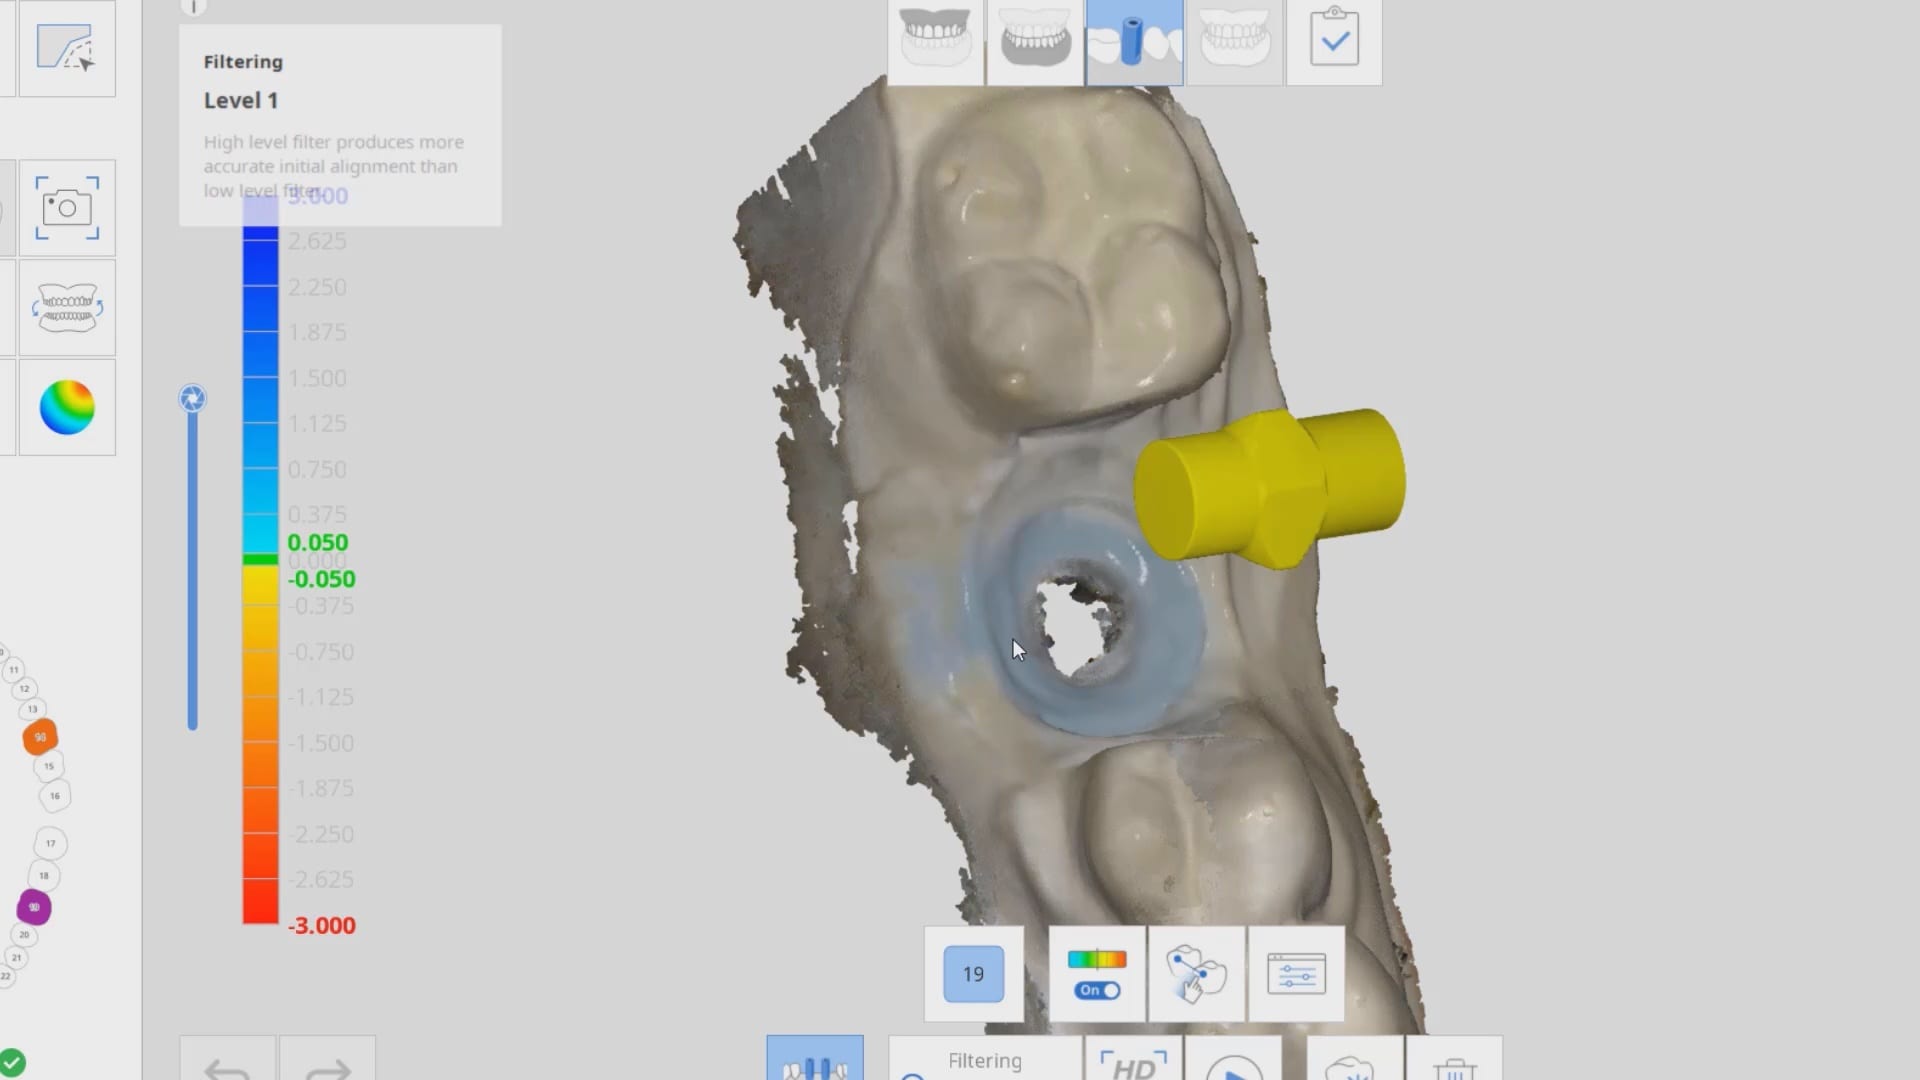


You must be logged in to post a comment.